
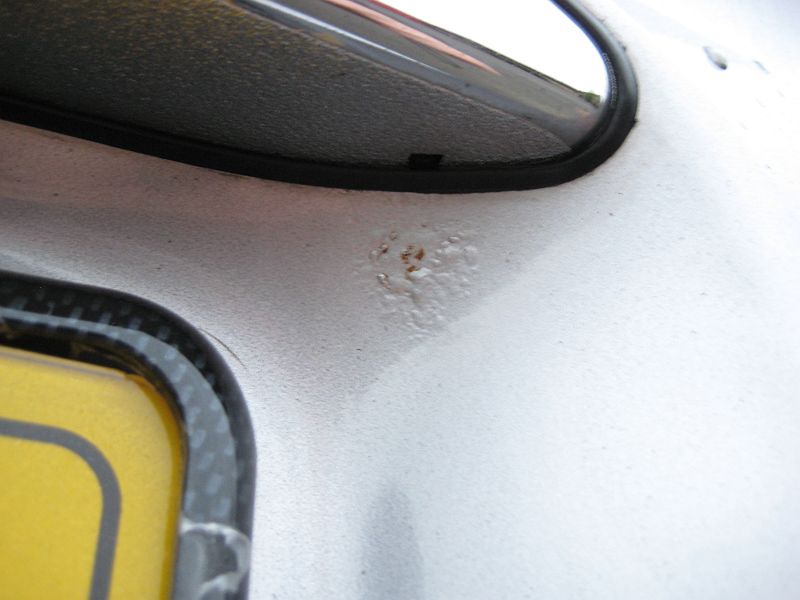
Two rust spots to deal with


Thread Starter
|
Veteran Member


Joined: Apr 2012
Posts: 1,854
Likes: 987
From: UK
One on the boot lid here, I checked in the inside skin and it is clean, so luckily its just surface rust.
the other to the side of this badge, is this badge tricky to remove?
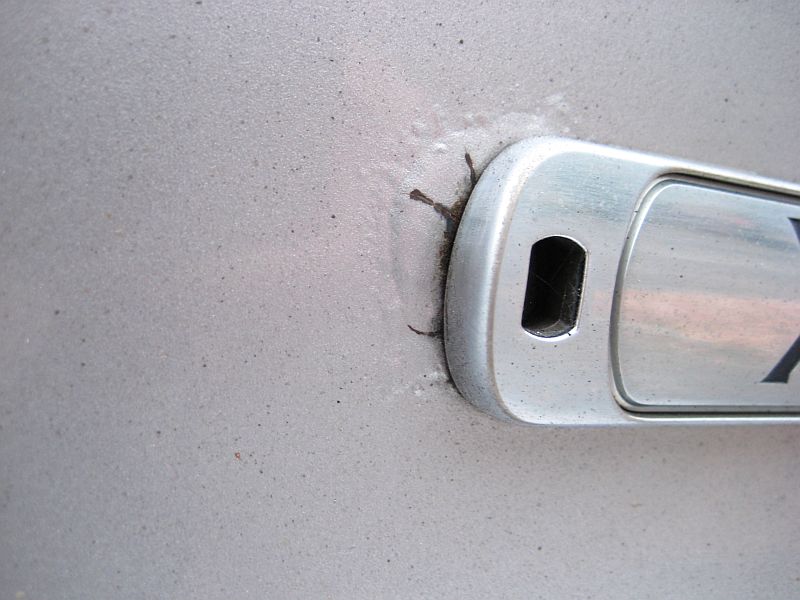
the other to the side of this badge, is this badge tricky to remove?
Thread Starter
|
Veteran Member
Joined: Apr 2012
Posts: 1,854
Likes: 987
From: UK
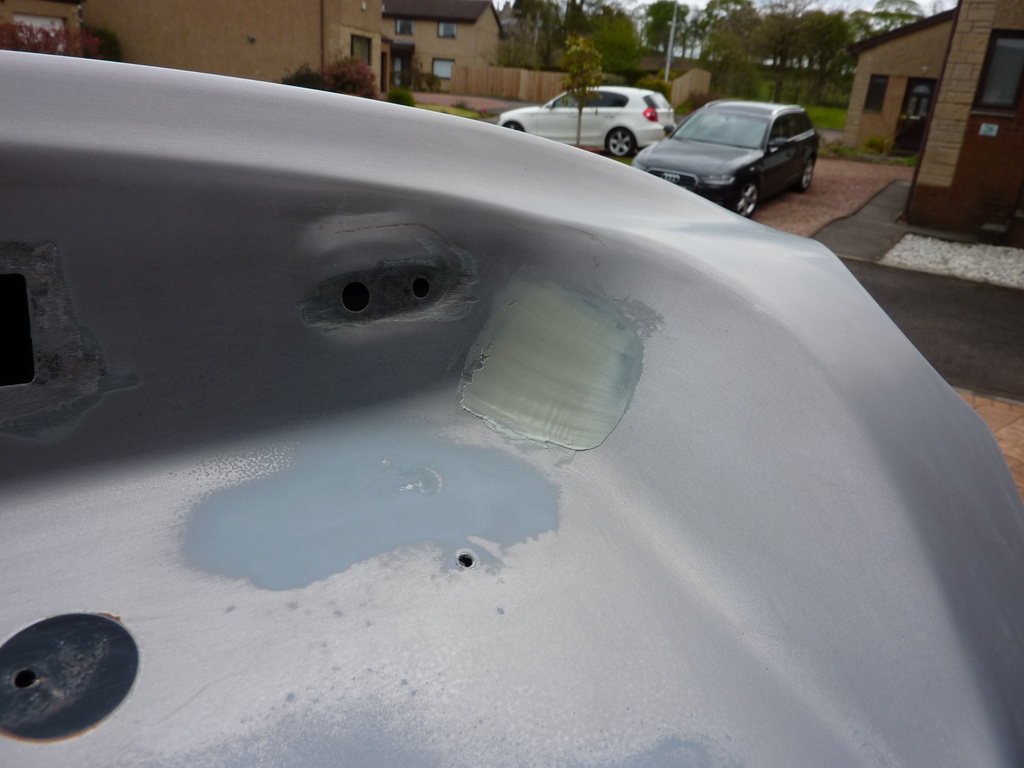
First attempt at painting a panel that can be seen for me.
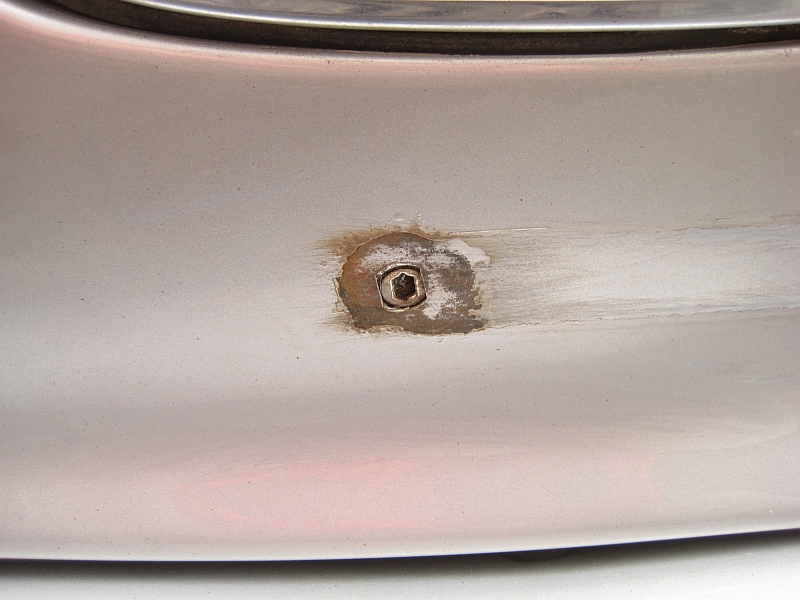
I peeled the badge off after heating with a hair dryer, it took the paint of with it.
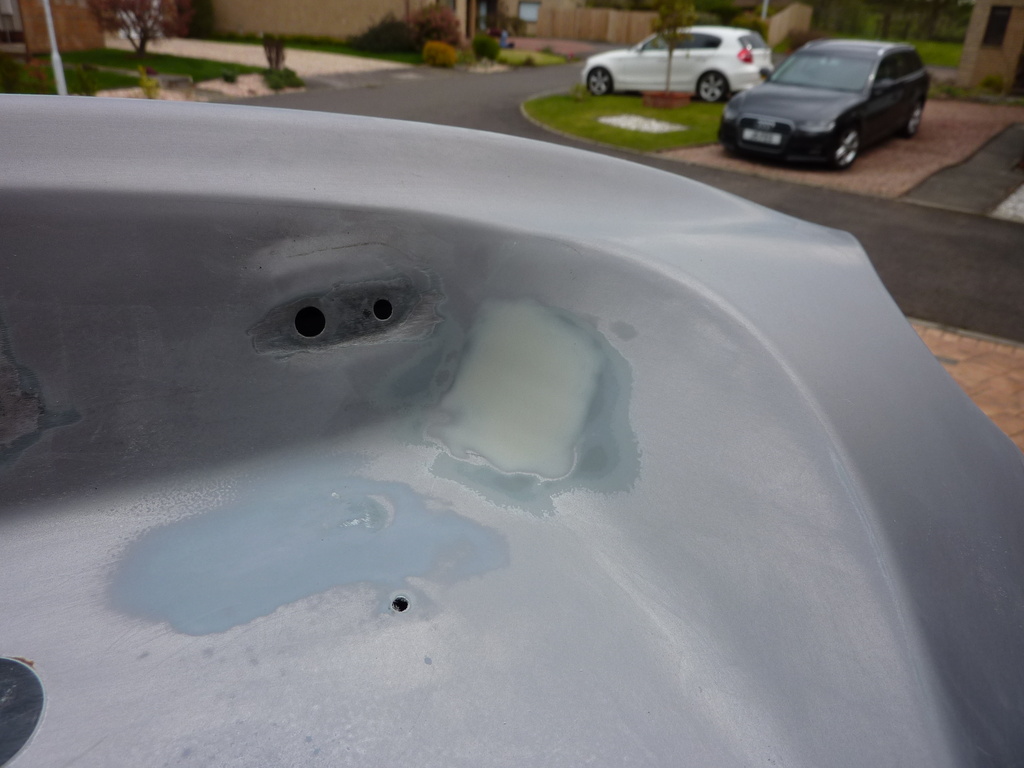
After a bit of scraping I could see the extent of the rust.
600 wet and dry got it to this, put some rust eater on the exposed part then sanded it back again.
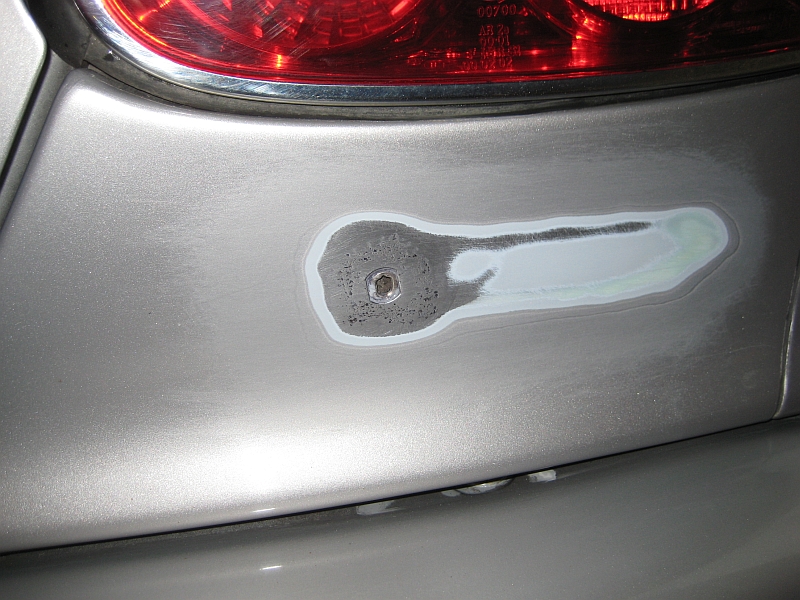
A couple of coats of acid etch primer next.
Now I was thinking, I could do with some high build primer, but cart be bothered driving up to halfords to get some, big mistake. It looked ok at this stage with about 4 coats of standard halfors primer.
Flatted it back, and was thinking, "I think I will see the sanded part when I top coat, should have gone for the high build primer."
This is about 5 layers of topcoat, halfords made up spray can. The colur match is good but I should have featherd it more. The colour is consistent but the change in reflection gives it away.
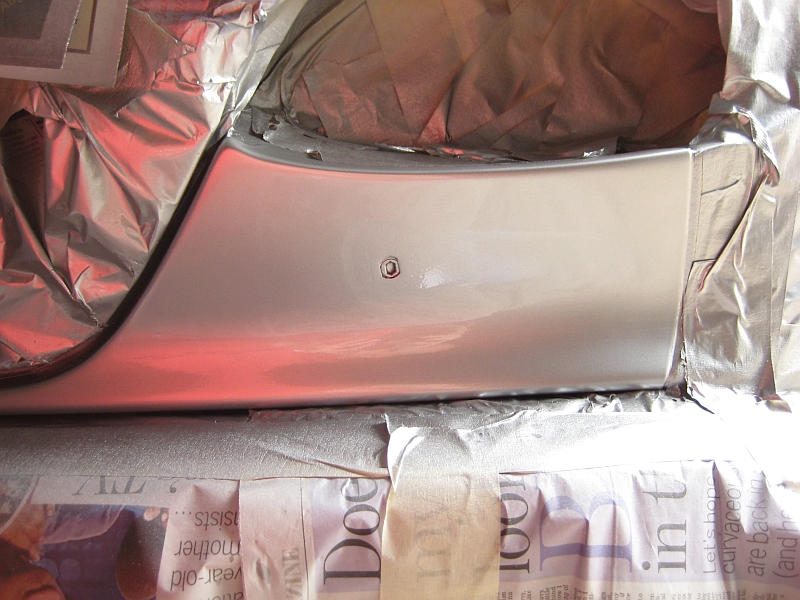
Now when the badge is on it will not look so obvious, but I will need to fix it properly sometime.
Clearcoat will go on tomorrow.

I peeled the badge off after heating with a hair dryer, it took the paint of with it.
After a bit of scraping I could see the extent of the rust.
600 wet and dry got it to this, put some rust eater on the exposed part then sanded it back again.
A couple of coats of acid etch primer next.
Now I was thinking, I could do with some high build primer, but cart be bothered driving up to halfords to get some, big mistake. It looked ok at this stage with about 4 coats of standard halfors primer.
Flatted it back, and was thinking, "I think I will see the sanded part when I top coat, should have gone for the high build primer."
This is about 5 layers of topcoat, halfords made up spray can. The colur match is good but I should have featherd it more. The colour is consistent but the change in reflection gives it away.
Now when the badge is on it will not look so obvious, but I will need to fix it properly sometime.
Clearcoat will go on tomorrow.


Joined: Dec 2011
Posts: 120,439
Likes: 17,005
From: Durham, UK
Very unusual place for corrosion. Perhaps someone has tried to take the badge as a trophy in the past?
Looks to be a successful refinish job.
Graham
Looks to be a successful refinish job.
Graham
Trending Topics
Thread Starter
|
Veteran Member
Joined: Apr 2012
Posts: 1,854
Likes: 987
From: UK
Better late than never, six years on I decided to fix the rust spot on the trunk lid. Previously I had just rubbed it down and put on a bit of epoxy primer as I knew I would have problems getting the chrome plinth off.
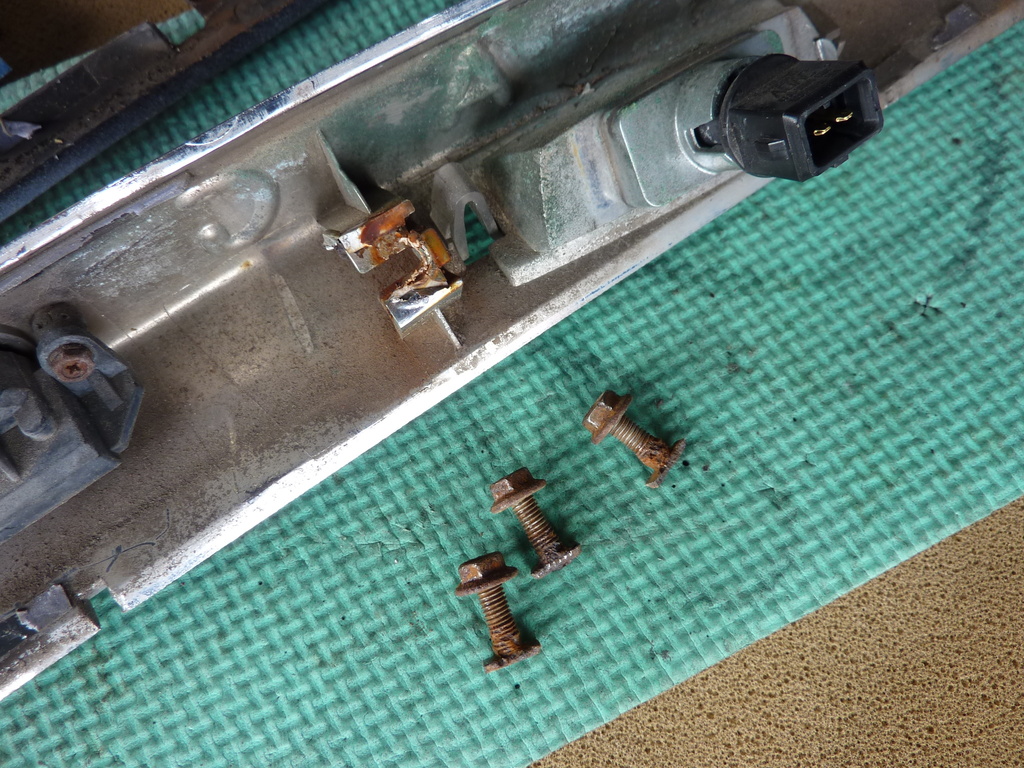
One of the four studs on the plinth was missing and the nuts on the other three were just spinning.
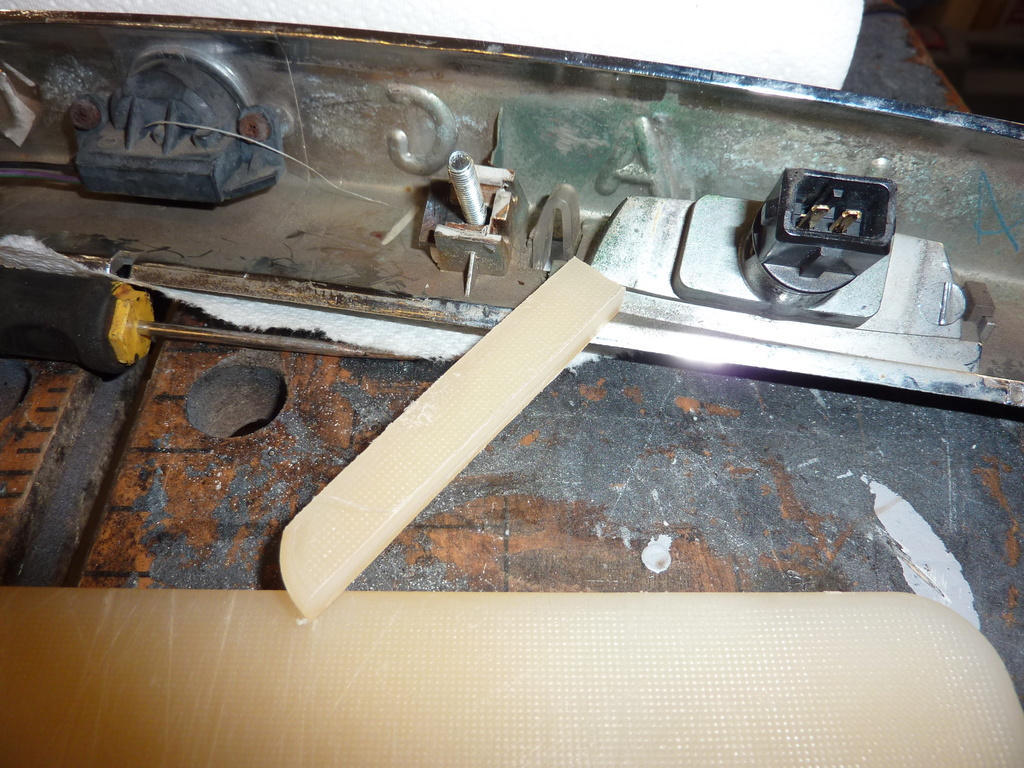
I managed to lever the plinth off and was left with this. The best deal I can find for a second hand unit is �70 so I will see if I can salvage this one.
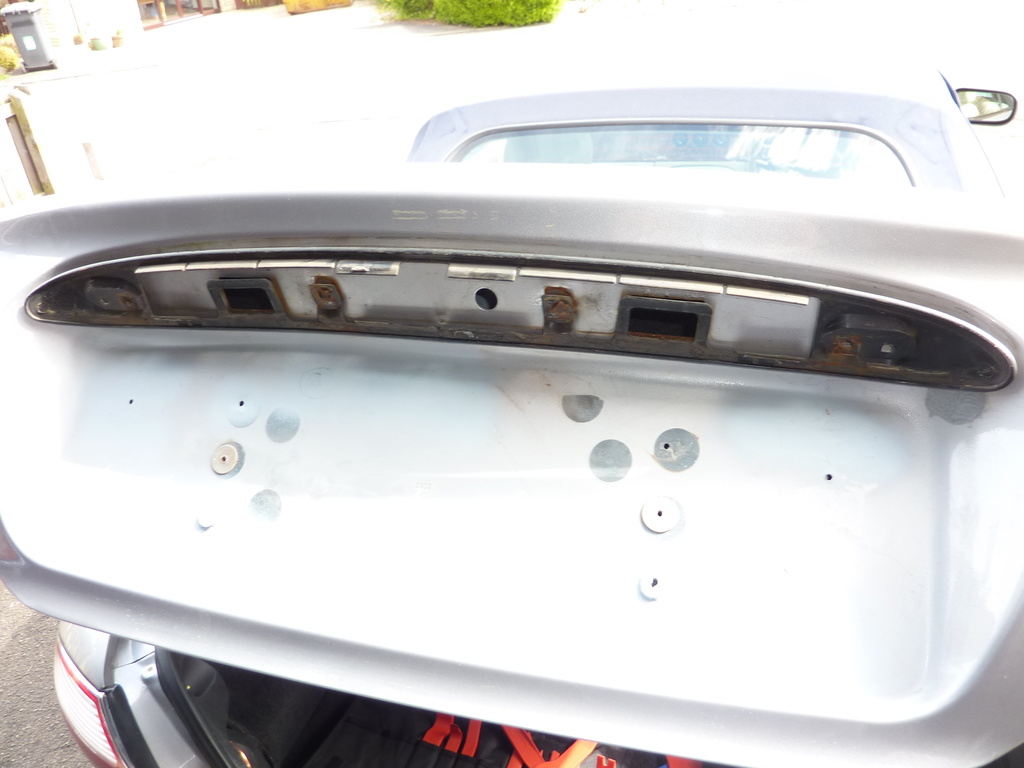
All four of the plastic stud mounts were broken.
A few more rust spots to deal with.
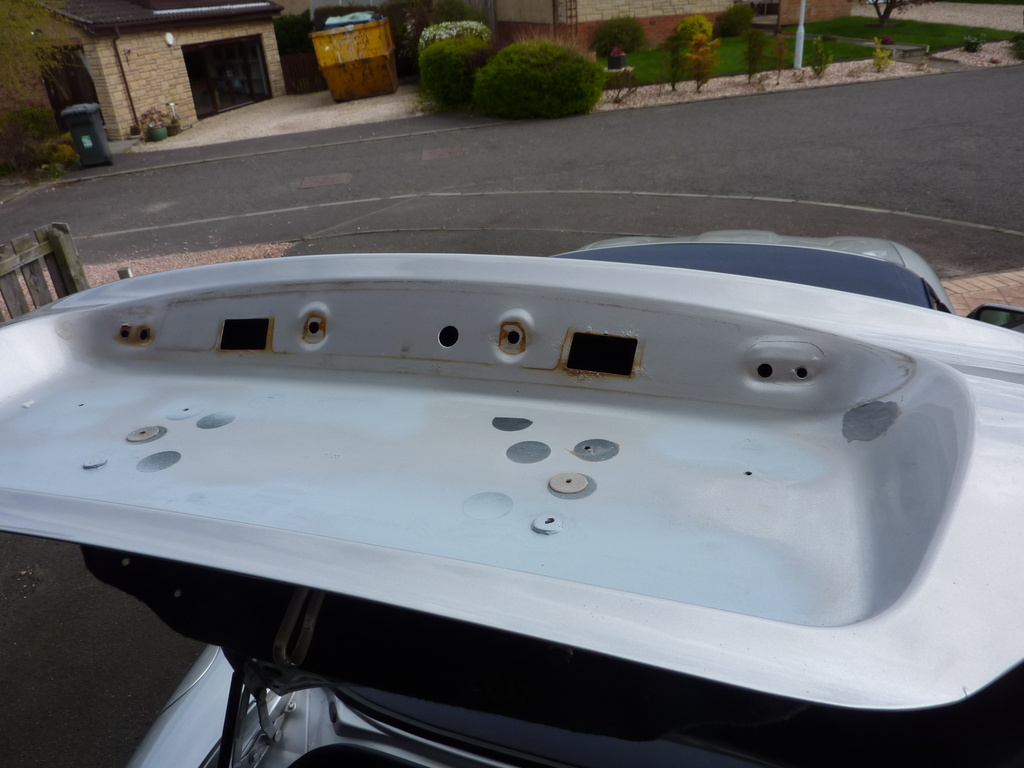
After a bit of grinding and sanding.
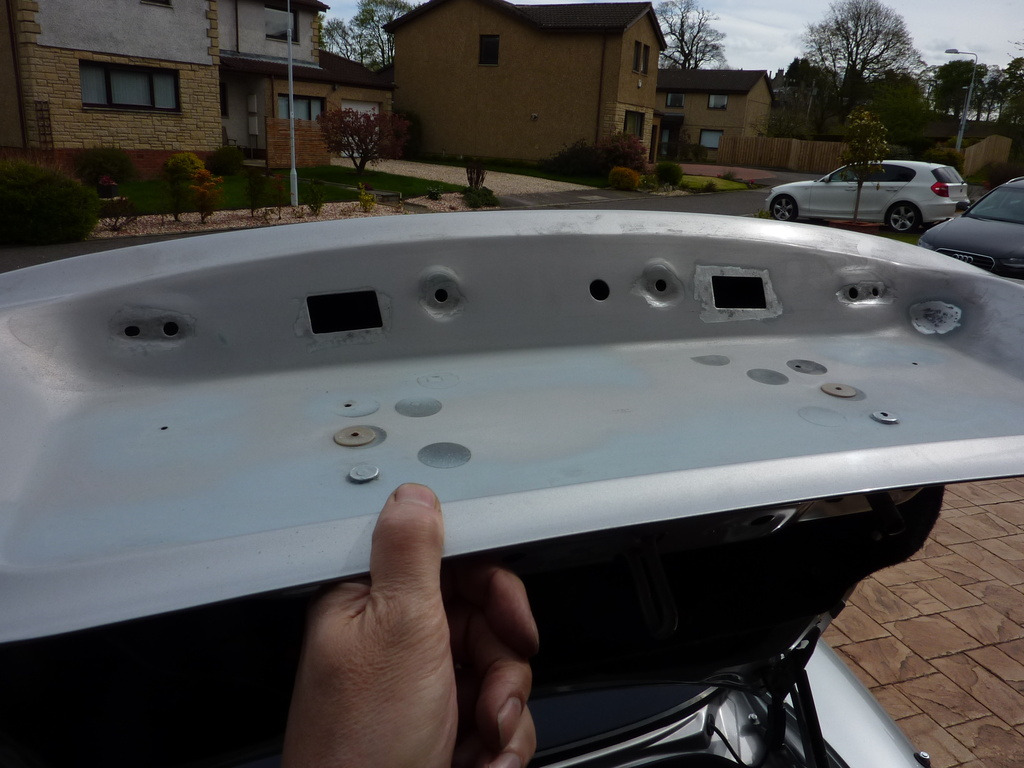
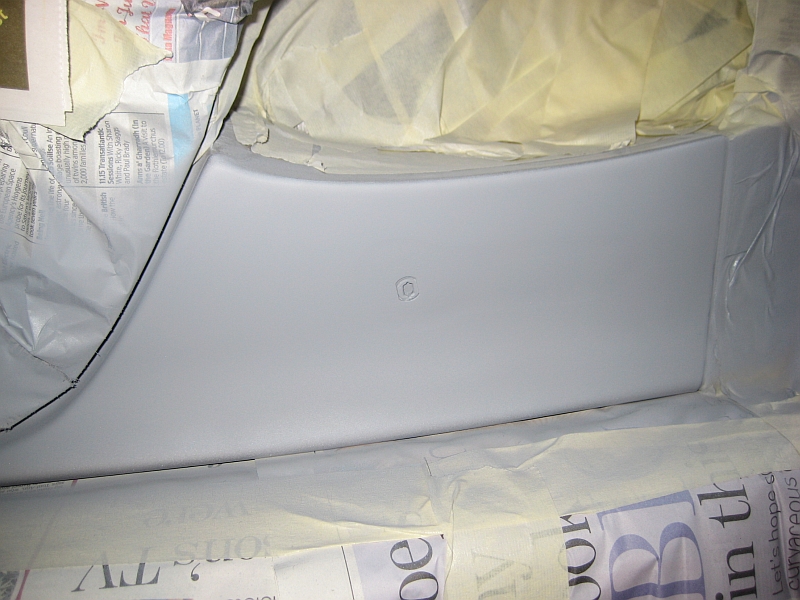
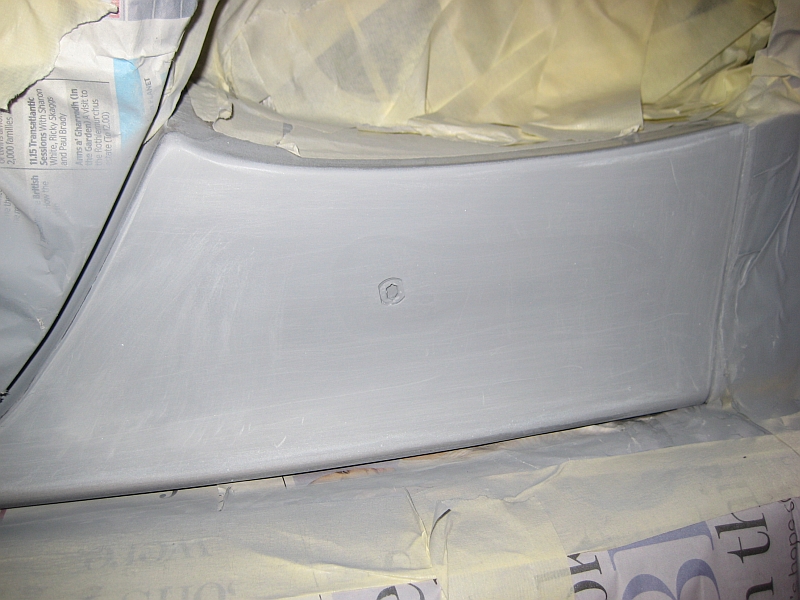
Then some filler on the original problem area, it's the only part that needs to be finished carefully as the rest is hidden by the number plate.
I used a cut up part of a spray can lid to push the filler into the curve.
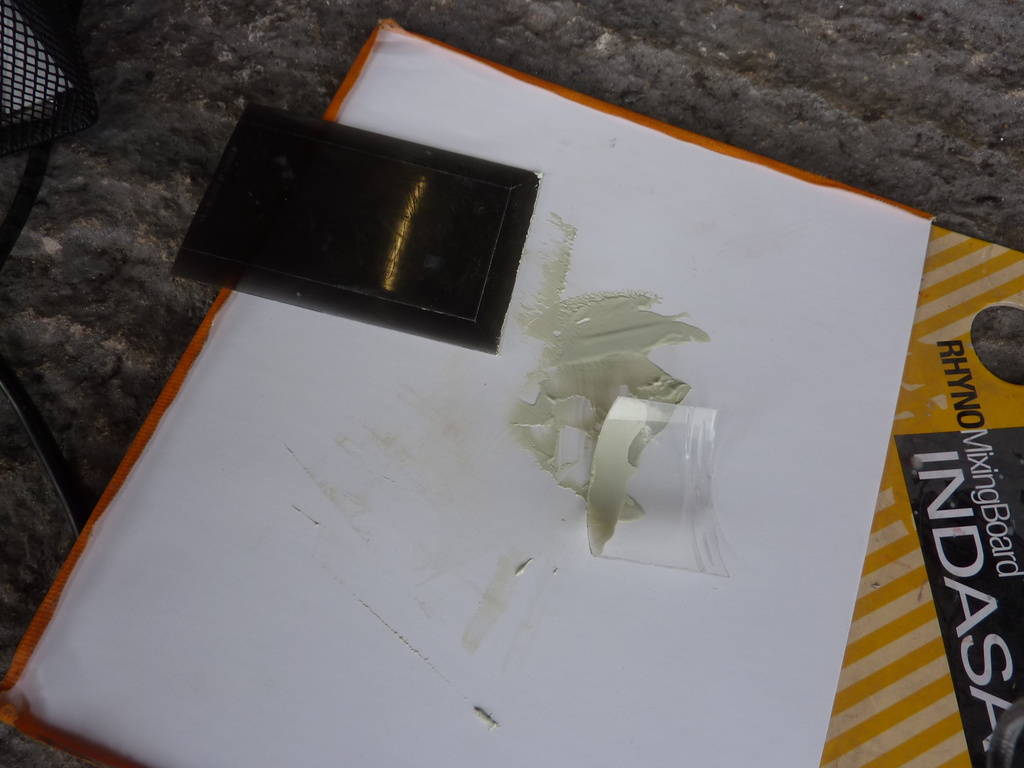
Then sanded it down.
Then some more primer.
Back to the plinth, I will make up 4 new flat head bolts to fit the remaining part of the mount, then pack out the upper part so there is not too much strain and hopefully it will bolt back on without too much of a problem.
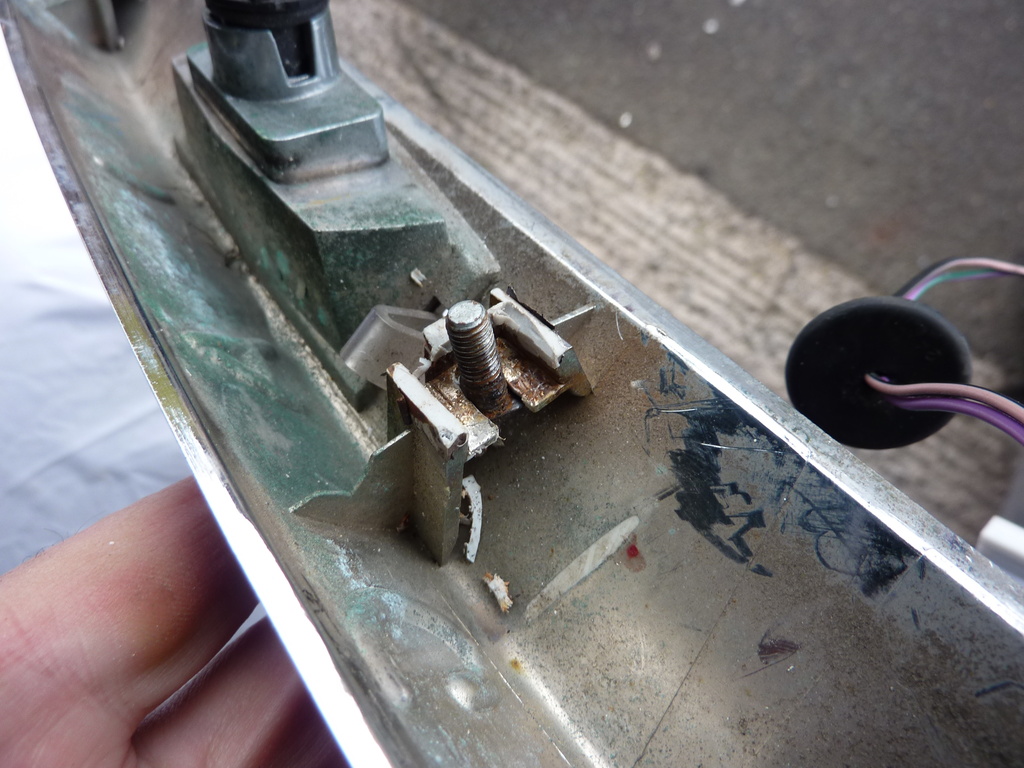
One of the four studs on the plinth was missing and the nuts on the other three were just spinning.
I managed to lever the plinth off and was left with this. The best deal I can find for a second hand unit is �70 so I will see if I can salvage this one.
All four of the plastic stud mounts were broken.
A few more rust spots to deal with.
After a bit of grinding and sanding.
Then some filler on the original problem area, it's the only part that needs to be finished carefully as the rest is hidden by the number plate.
I used a cut up part of a spray can lid to push the filler into the curve.
Then sanded it down.
Then some more primer.
Back to the plinth, I will make up 4 new flat head bolts to fit the remaining part of the mount, then pack out the upper part so there is not too much strain and hopefully it will bolt back on without too much of a problem.
Thread Starter
|
Veteran Member
Joined: Apr 2012
Posts: 1,854
Likes: 987
From: UK
I repaired the plinth today.
Drilled out some mild steel sheet.
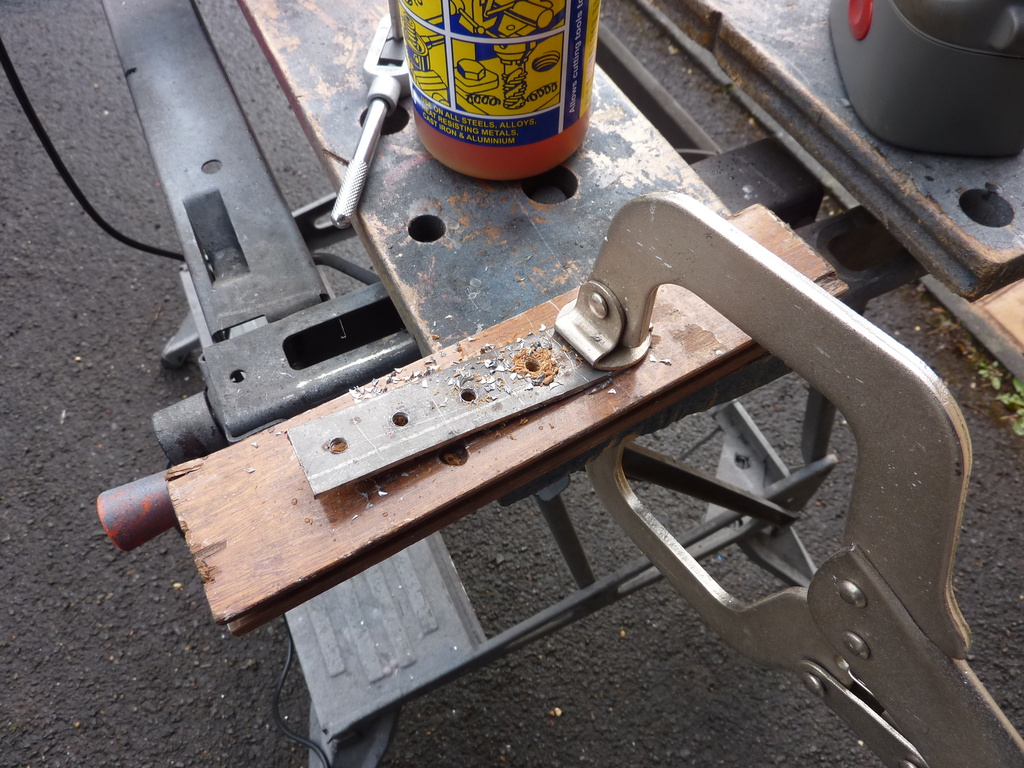
M5 tap.
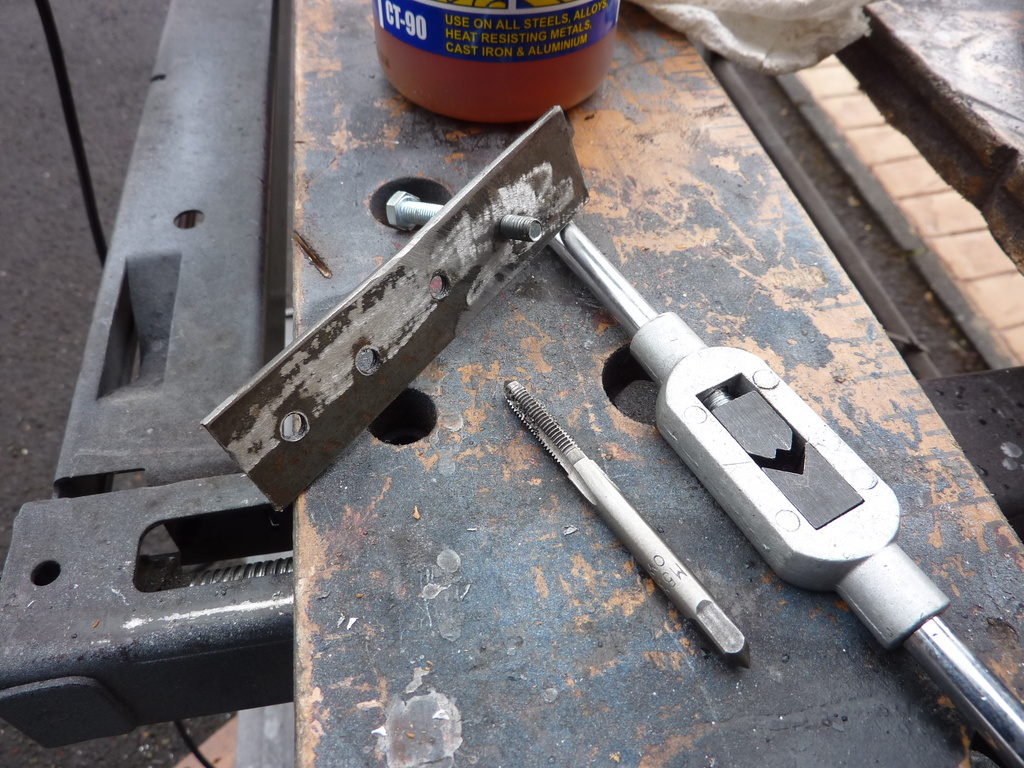
Cut down to size with some threaded bar welded in.
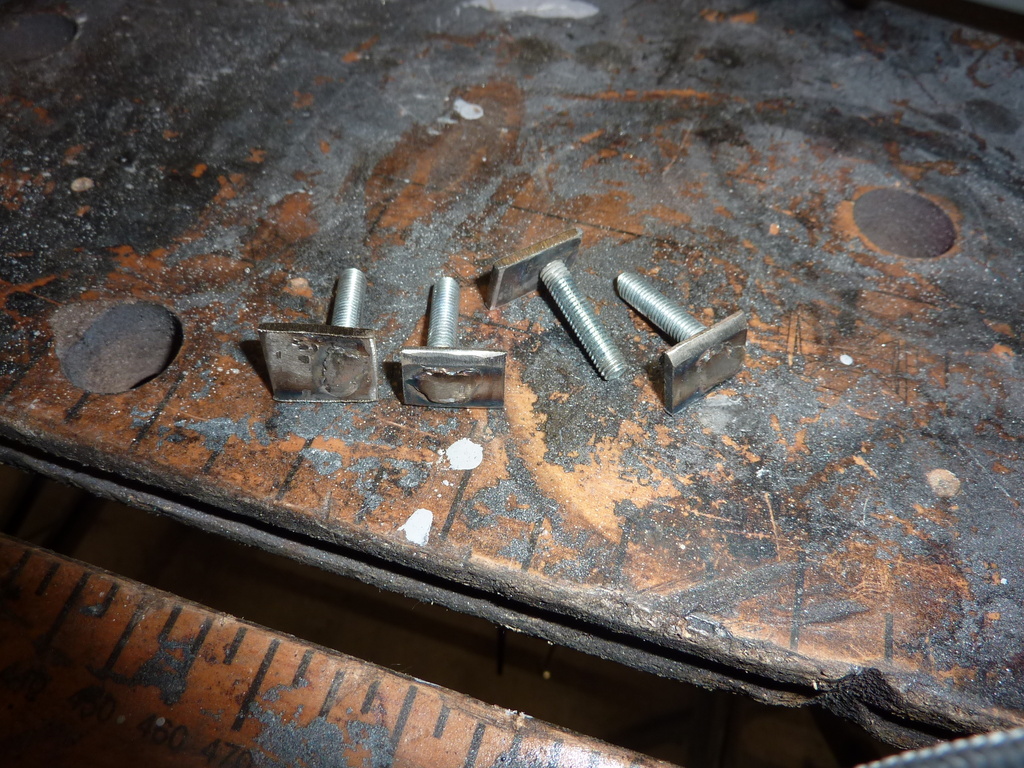
Cut up a bit of old chopping board to make spacers.
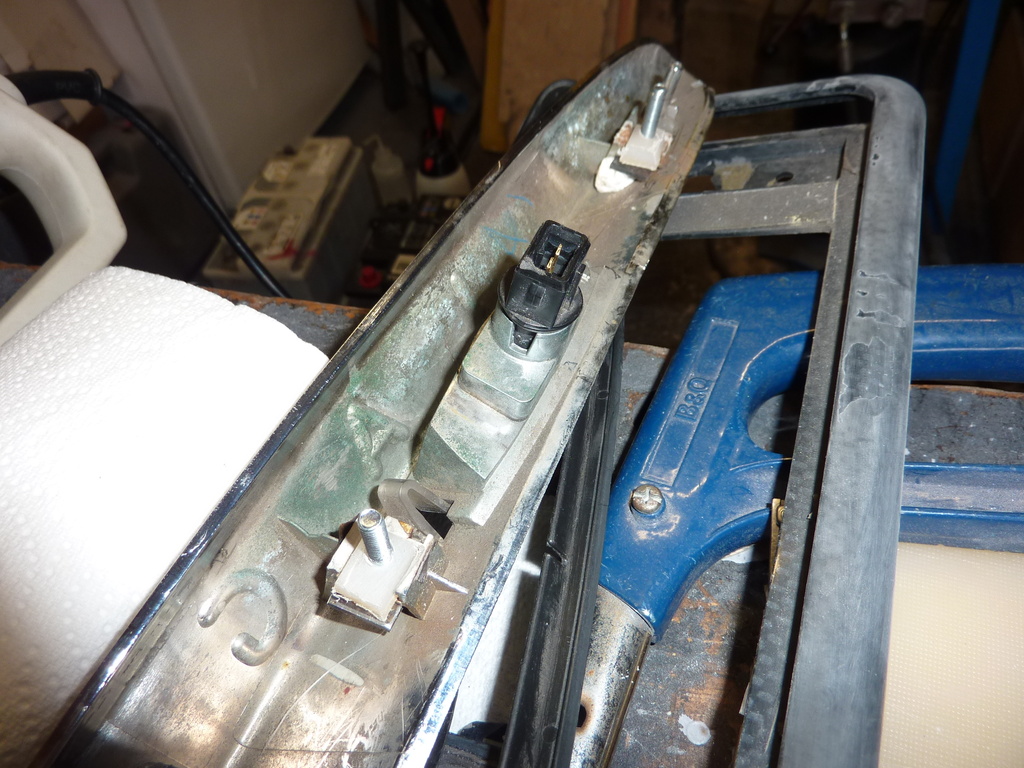
Put some dabs of PU sealant onto the studs and spacers and fitted it in place till the PU sealant goes off.
Drilled out some mild steel sheet.
M5 tap.
Cut down to size with some threaded bar welded in.
Cut up a bit of old chopping board to make spacers.
Put some dabs of PU sealant onto the studs and spacers and fitted it in place till the PU sealant goes off.
Veteran Member

Joined: Oct 2010
Posts: 2,047
Likes: 996
From: Spain
When I took my plinth off to fit a reversing camera, one of the bolts was rusted and had to be prised out - I refitted the plinth using a cable tie fed through from the inside of the boot lid instead of the bolt. Its a nice tight fit and has the advantage that it will never go rusty.
Thread Starter
|
Veteran Member
Joined: Apr 2012
Posts: 1,854
Likes: 987
From: UK
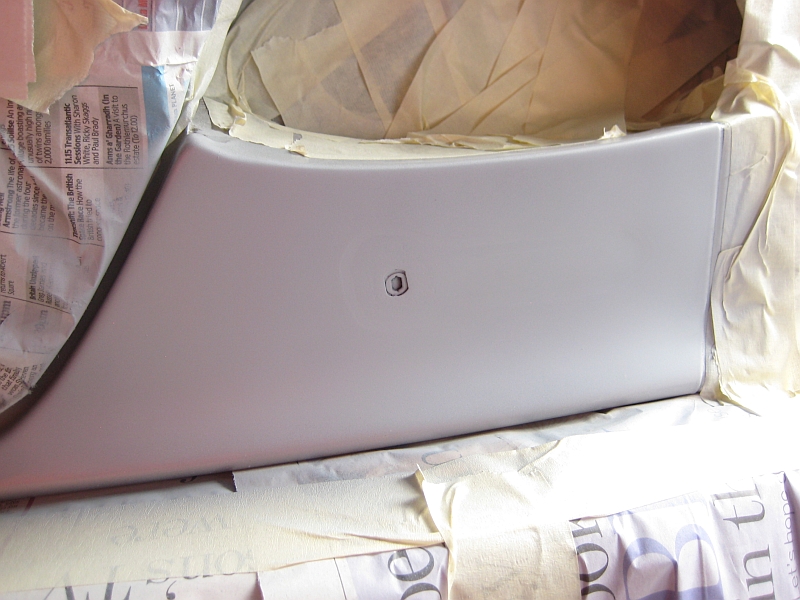
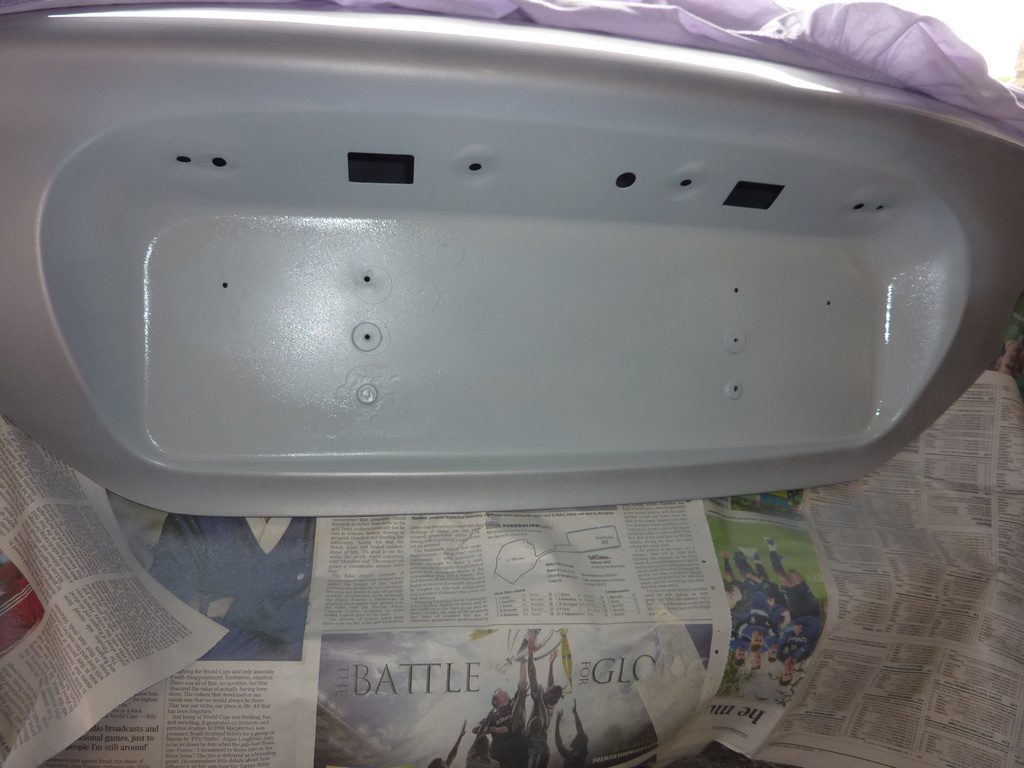
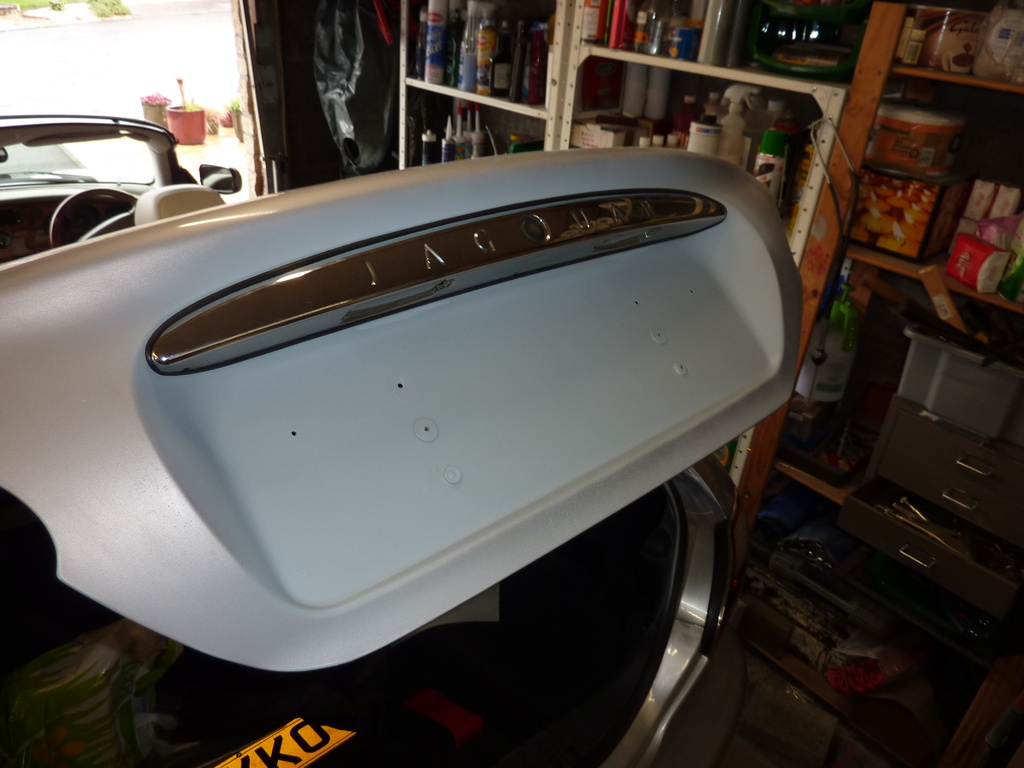
Prepped with 800 grit and masked up.

...base coat then clear, and the job of repairing the rear wheel arches and the trunk rust is now complete, 3 weeks work in all.
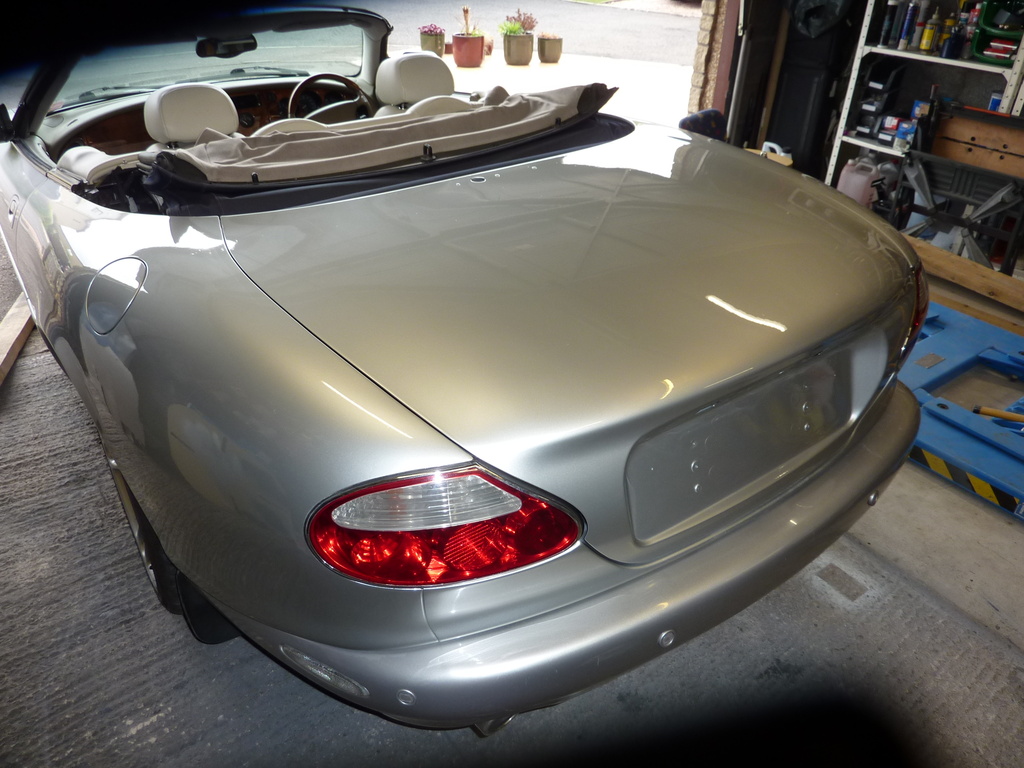
The rear bumper can wait till next year.
...base coat then clear, and the job of repairing the rear wheel arches and the trunk rust is now complete, 3 weeks work in all.
The rear bumper can wait till next year.
Veteran Member
Joined: Sep 2012
Posts: 1,473
Likes: 655
From: Devon. U.K.
I can just imagine the conversation on December 25th 2018 :
RD : Happy Christmas Darling. I know I promised you a fully restored Mercedes 350SL but I have got you a new chopping board instead. Hope that's OK !!
RD : Happy Christmas Darling. I know I promised you a fully restored Mercedes 350SL but I have got you a new chopping board instead. Hope that's OK !!

Thread
Thread Starter
Forum
Replies
Last Post
Larry-Cleveland
New Member Area - Intro a MUST
10
Sep 25, 2015 08:42 AM
shootingbrake
X-Type ( X400 )
4
Sep 23, 2015 10:54 AM
Currently Active Users Viewing This Thread: 1 (0 members and 1 guests)