When you click on links to various merchants on this site and make a purchase, this can result in this site earning a commission. Affiliate programs and affiliations include, but are not limited to, the eBay Partner Network.
You're my hero. Please take lots of pics! This is very soon for me too (next week). Maybe do water pump as long as you're in there? Can you give as your grocery list of rubber bits and part numbers? Did you get this all from 1 place? Can you show us definitively how you get the Norma connections apart? Maybe a short video of it? Is that valley hoses too?
I know that's asking a lot. Just give us what you can Please! Maybe an assistant with less grimey hands for pictures? Tyia.
I will do my best, I did the water pump, thermostat tower & timing chains and tensioners a few years ago. Parts all came from British Parts U.K. I will get a picture of the part numbers, it is hard to find part numbers with photos and descriptions.
I will do my best, I did the water pump, thermostat tower & timing chains and tensioners a few years ago. Parts all came from British Parts U.K. I will get a picture of the part numbers, it is hard to find part numbers with photos and descriptions.
I need to do this job as well. It would be great to have a list of all the relevant part numbers
Started dismantling today, did not get a lot done but tomorrow will be more productive.
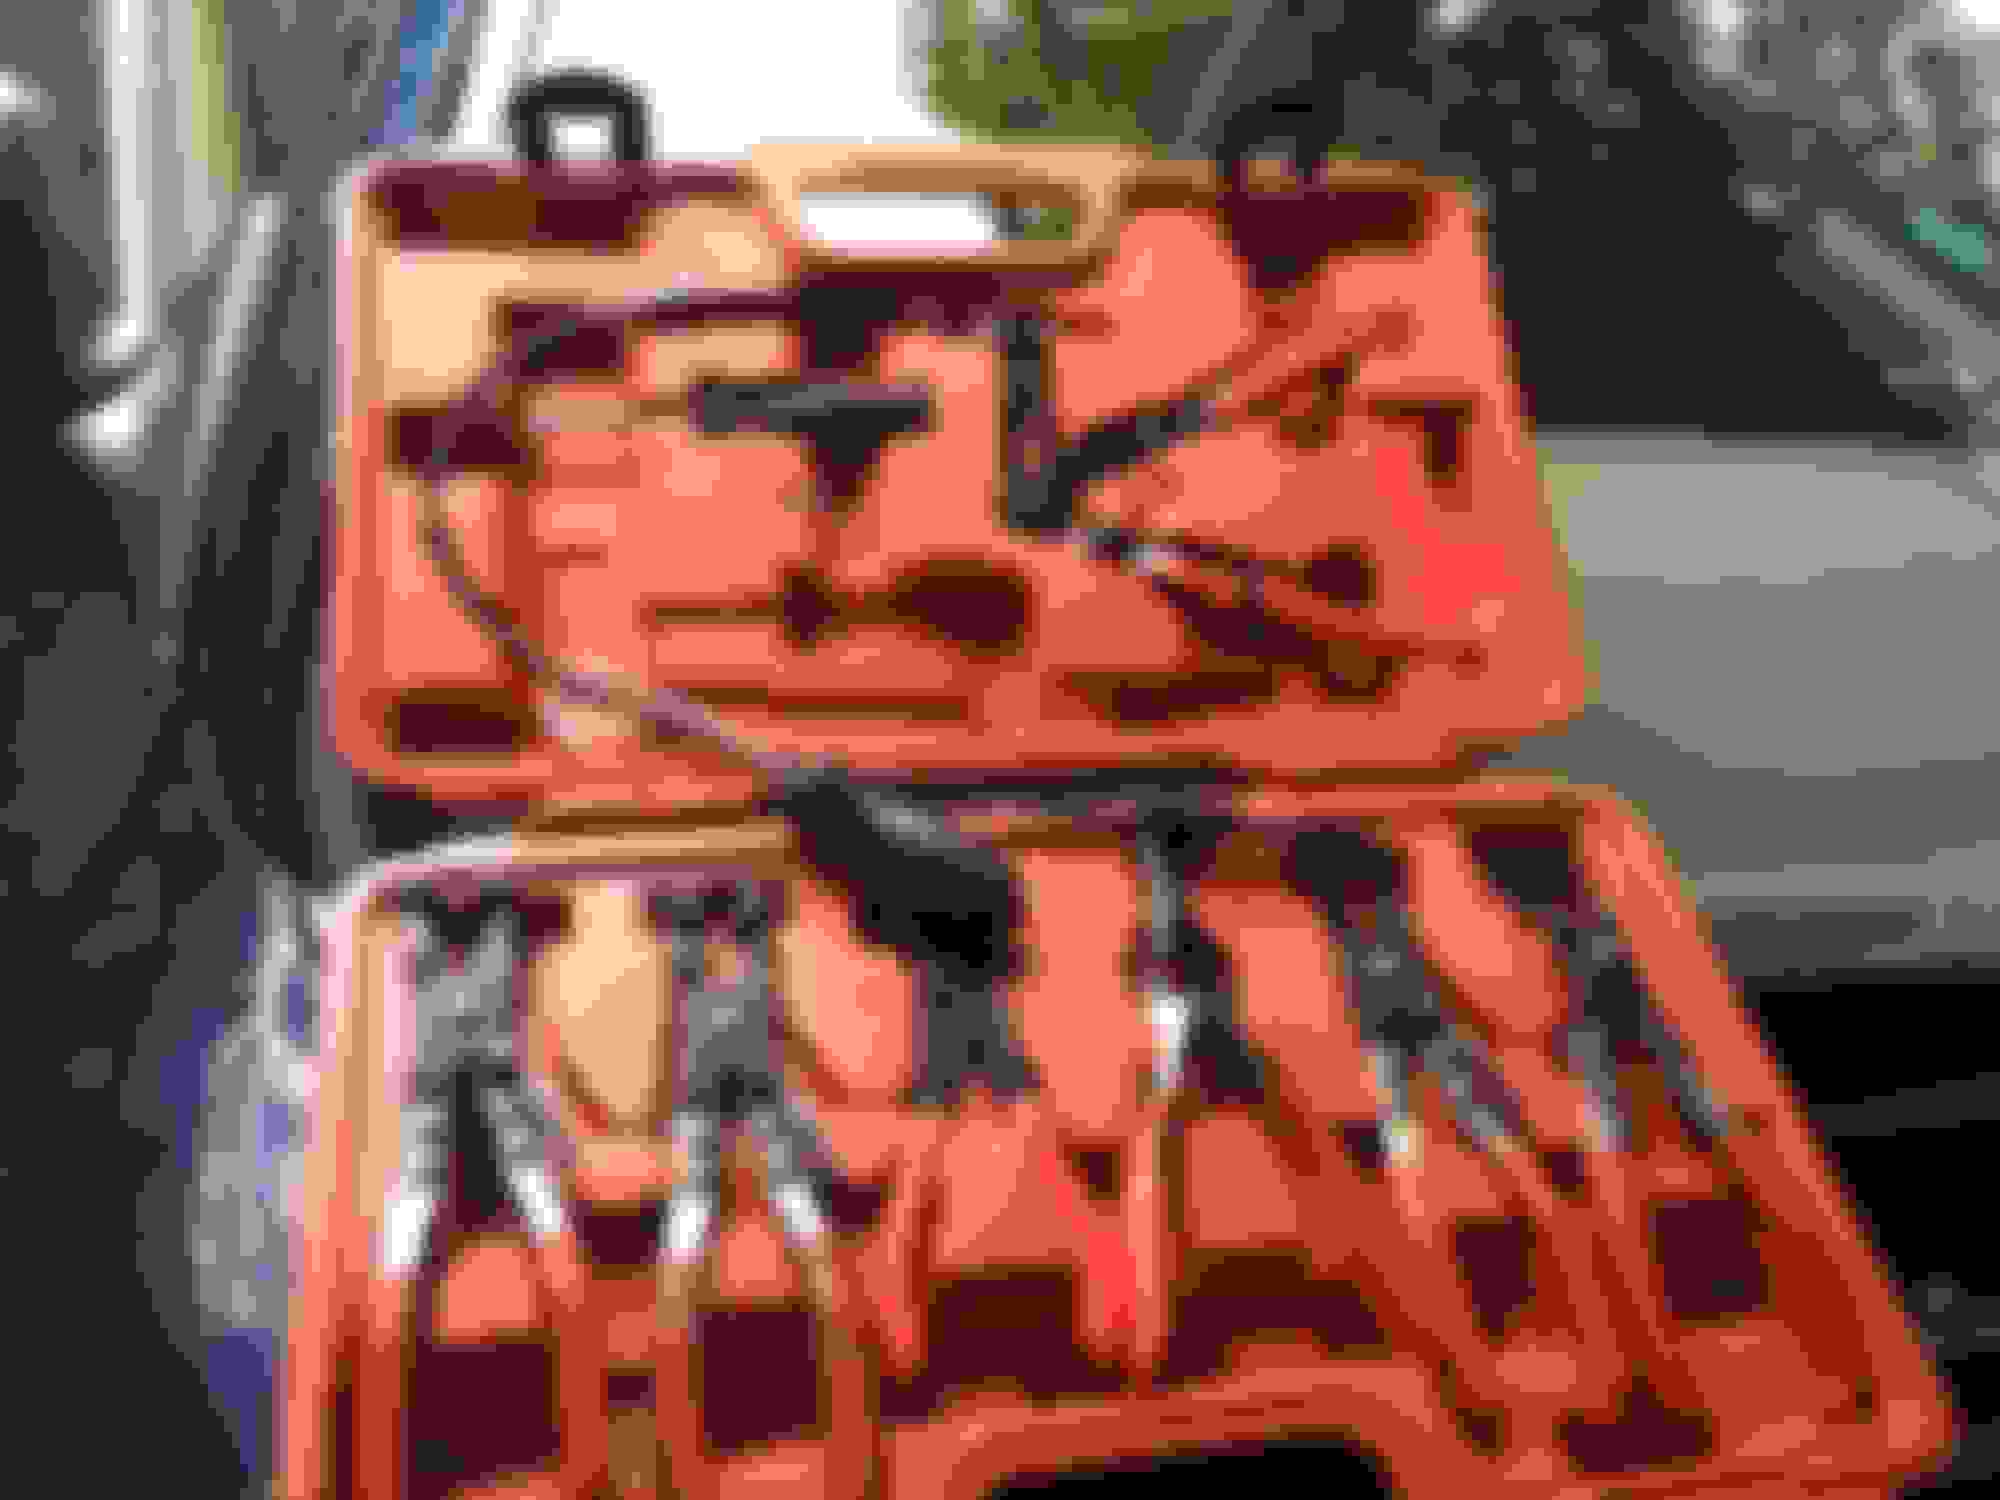
Firstly you really need a kit for getting the spring clamps off some are not accessible.
Car is a bit of a mess been sitting unused for 3 months. I have been saving to get the parts. I will also be replacing the power steering pump, that's leaking and do an oil change.
I had to unbolt the fan shroud to get access to the lower radiator hose clamp, was inaccessible by hand, even with the correct tool you need a lot of force to release them.
Next was the reservoir return pipes off & disconnect the reservoir.
Next onto the Coolant Crossover Pipe, bonnet struts are in the way so I had to squeeze myself in between bonnet and strut, not good for the back.
4 x 8mm bolts.
In the U.K. Most of us don't have the luxury of large garages, you can just about squeeze out of the car. I'm doing this at my brothers place have a marquee in front of garage, not only for room but it's guaranteed to rain
I would like to say at this point the replacement of all these hoses is OK, with the right tools but you do need a lot of patience and confident at dismantling engine components.
Right back to the job in hand. Next stage is to take the throttle body off and the inlet manifold. I looked on the net for some useful vids but could not find anything helpful.
I cant upload today's pictures message saying corrupt data was fine yesterday
Just back from my Uncles Funeral, so i did not get anything done today. I will try and upload yesterdays progress if i can.
So i started by unhocking the throttle cable.
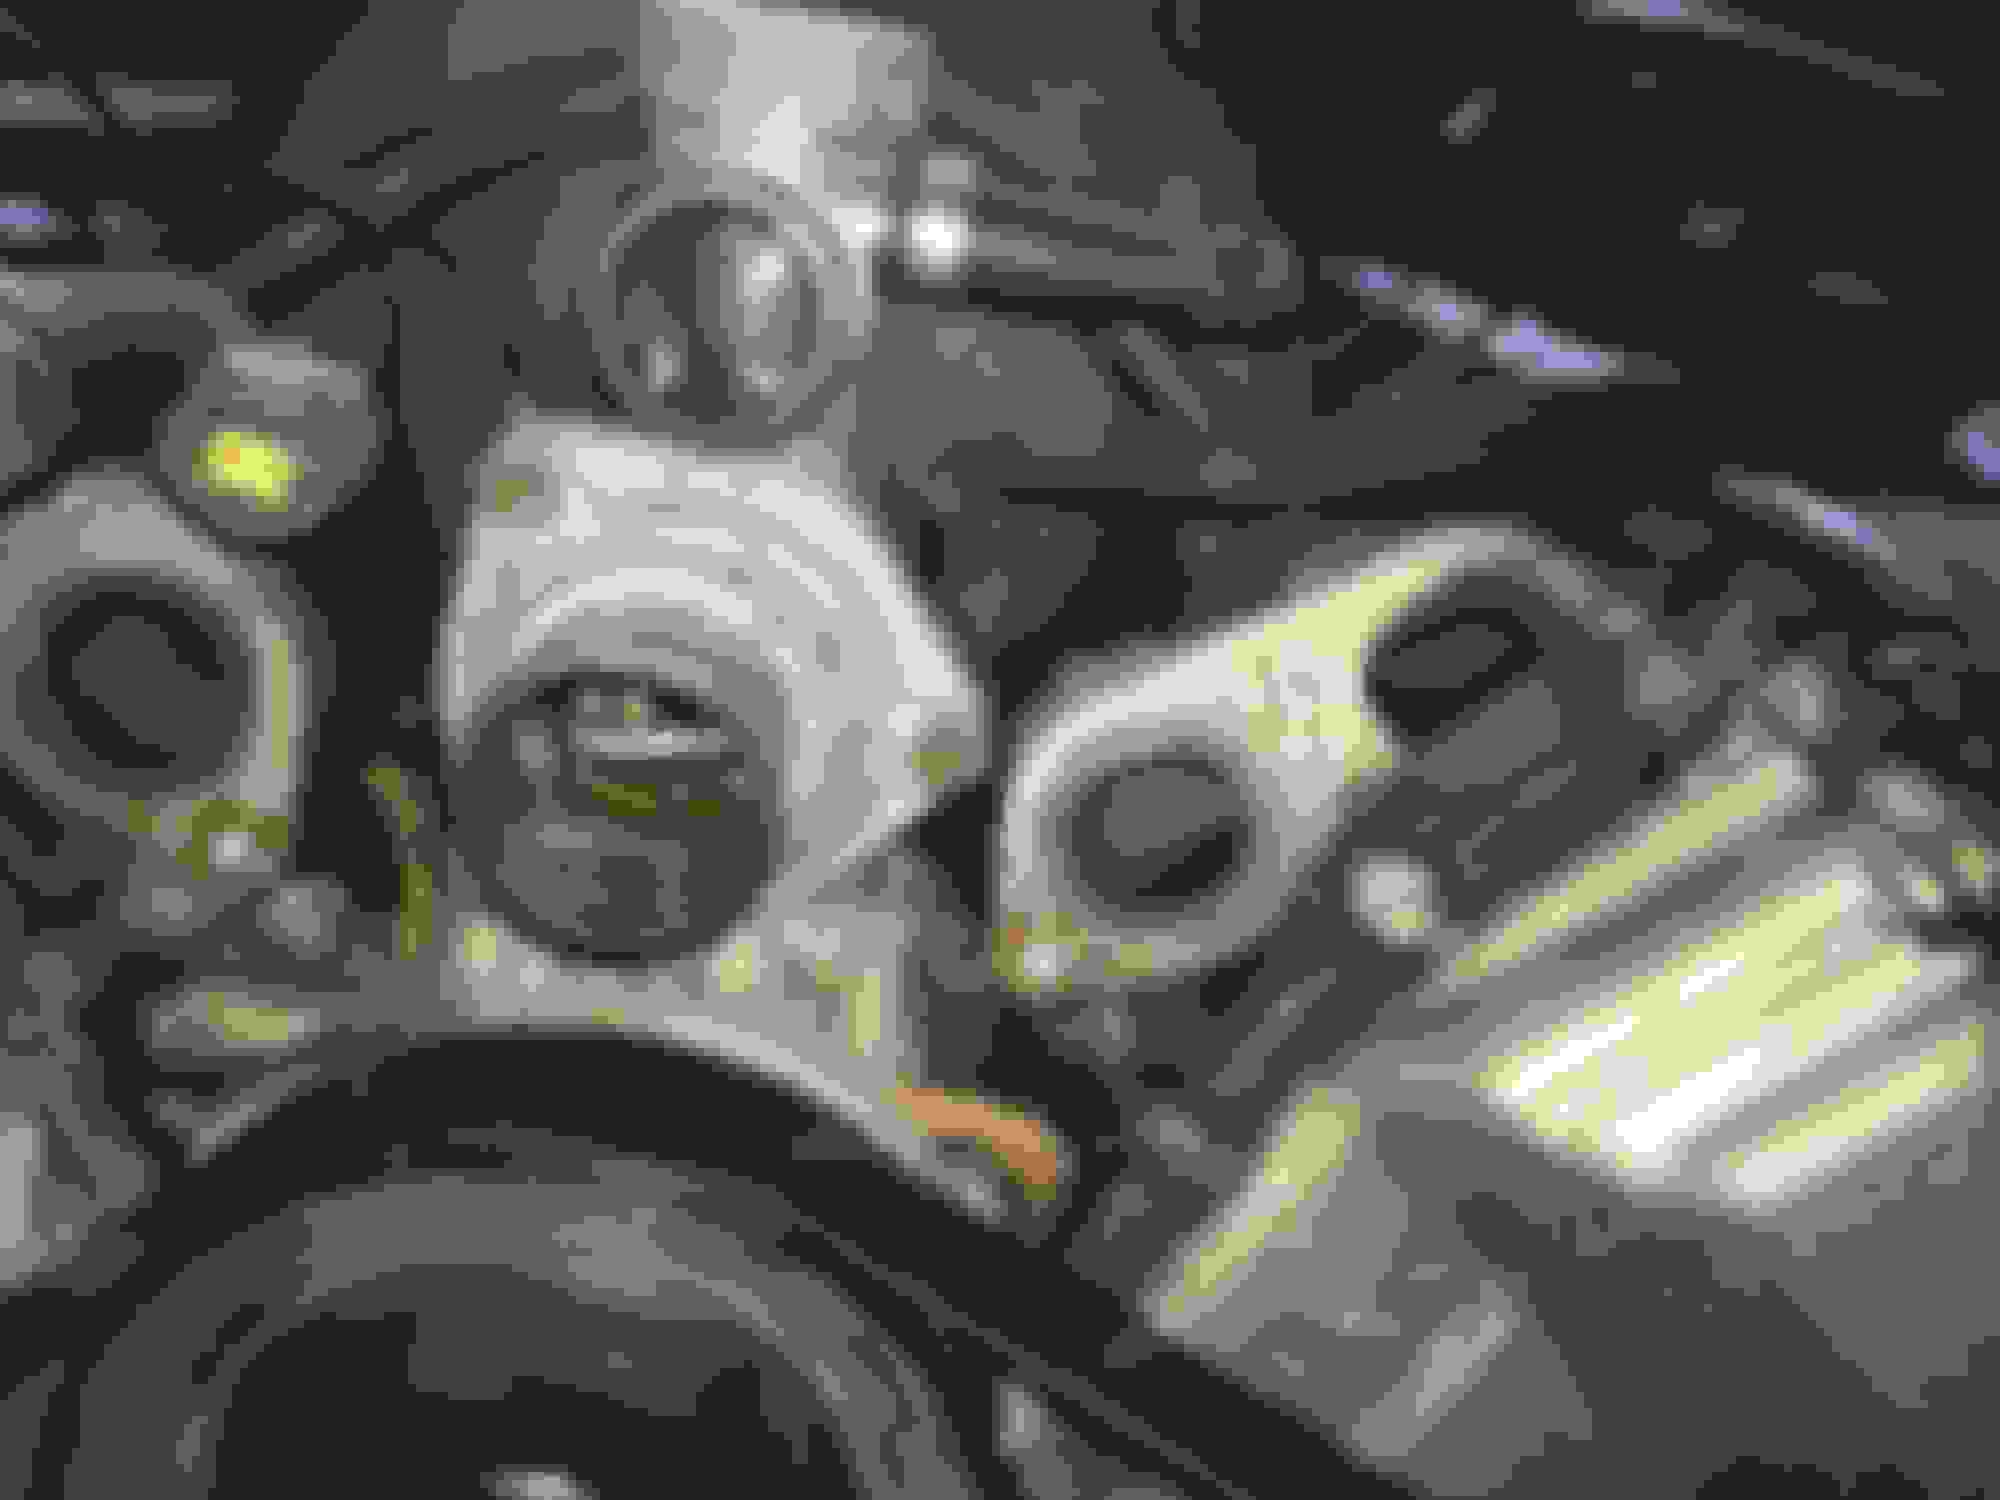
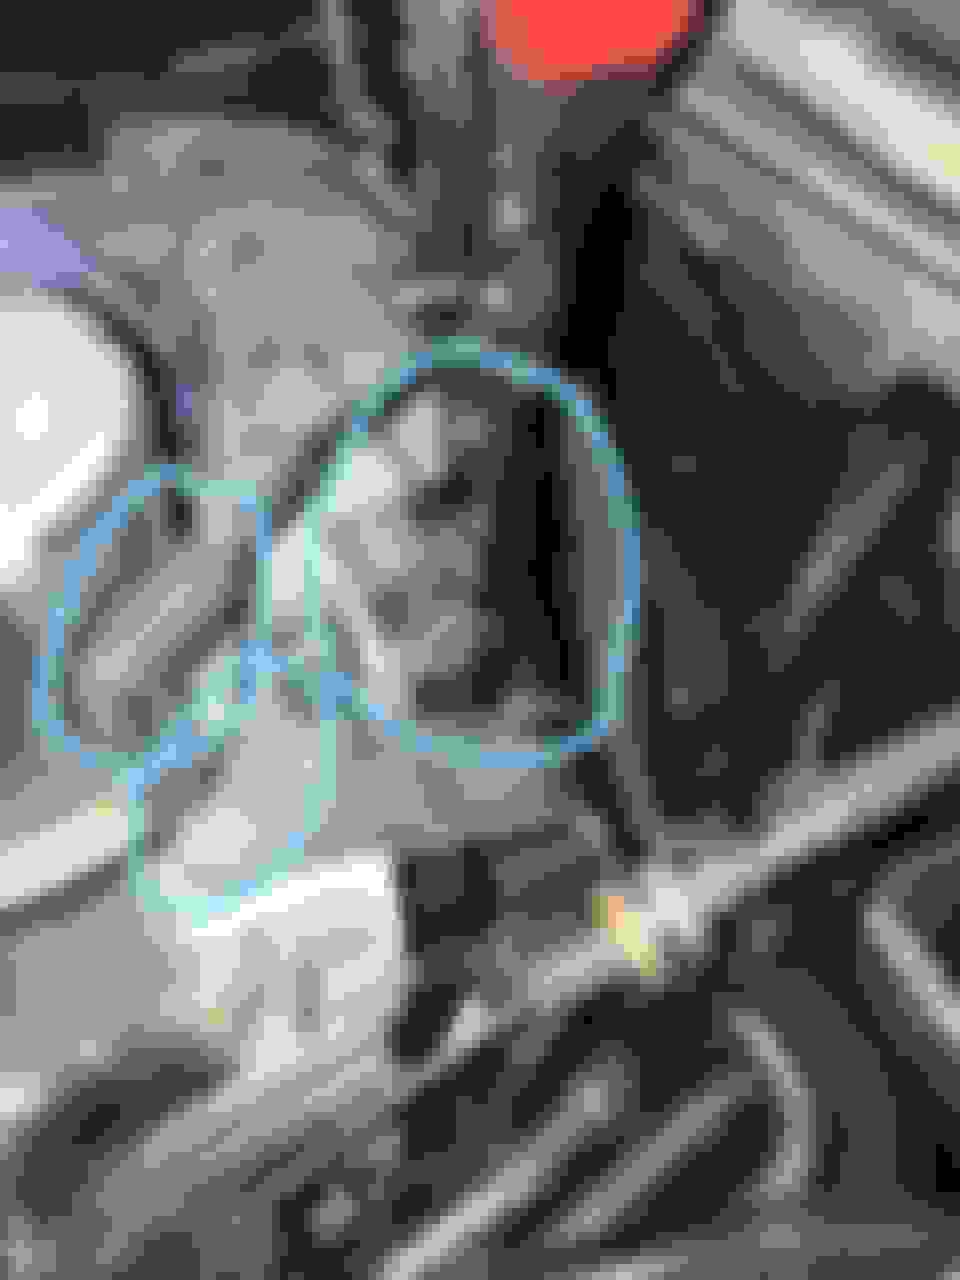
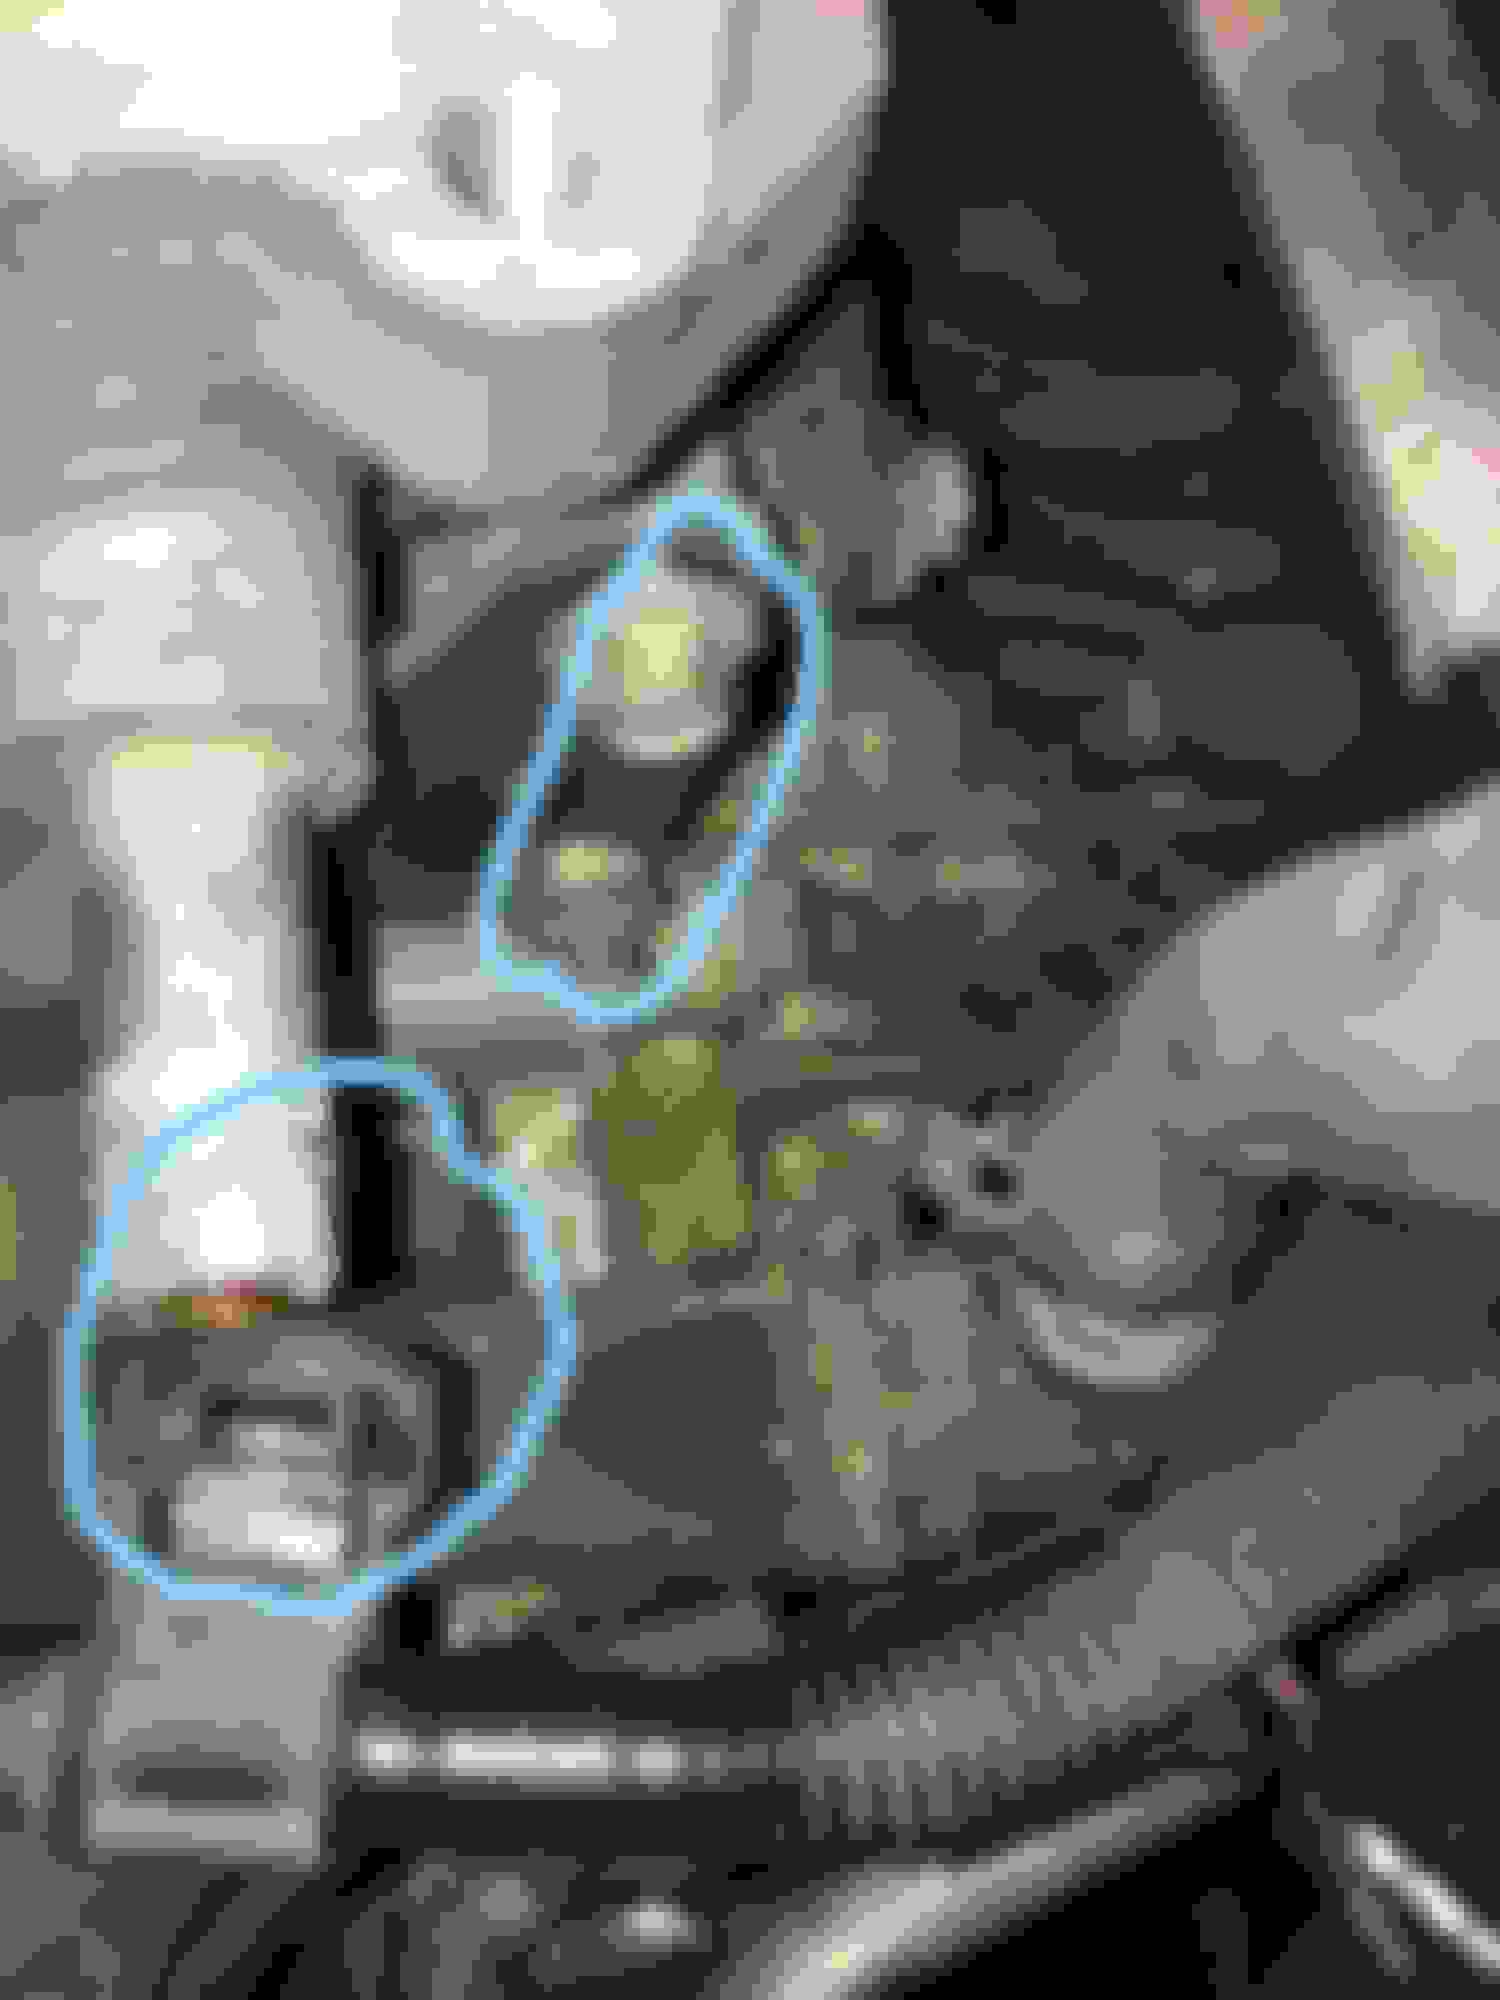
Next take off the vacuum hose on top of TB, then undo the 2xH20 torx screws and move cable aside, disconnect the water pipe circled.
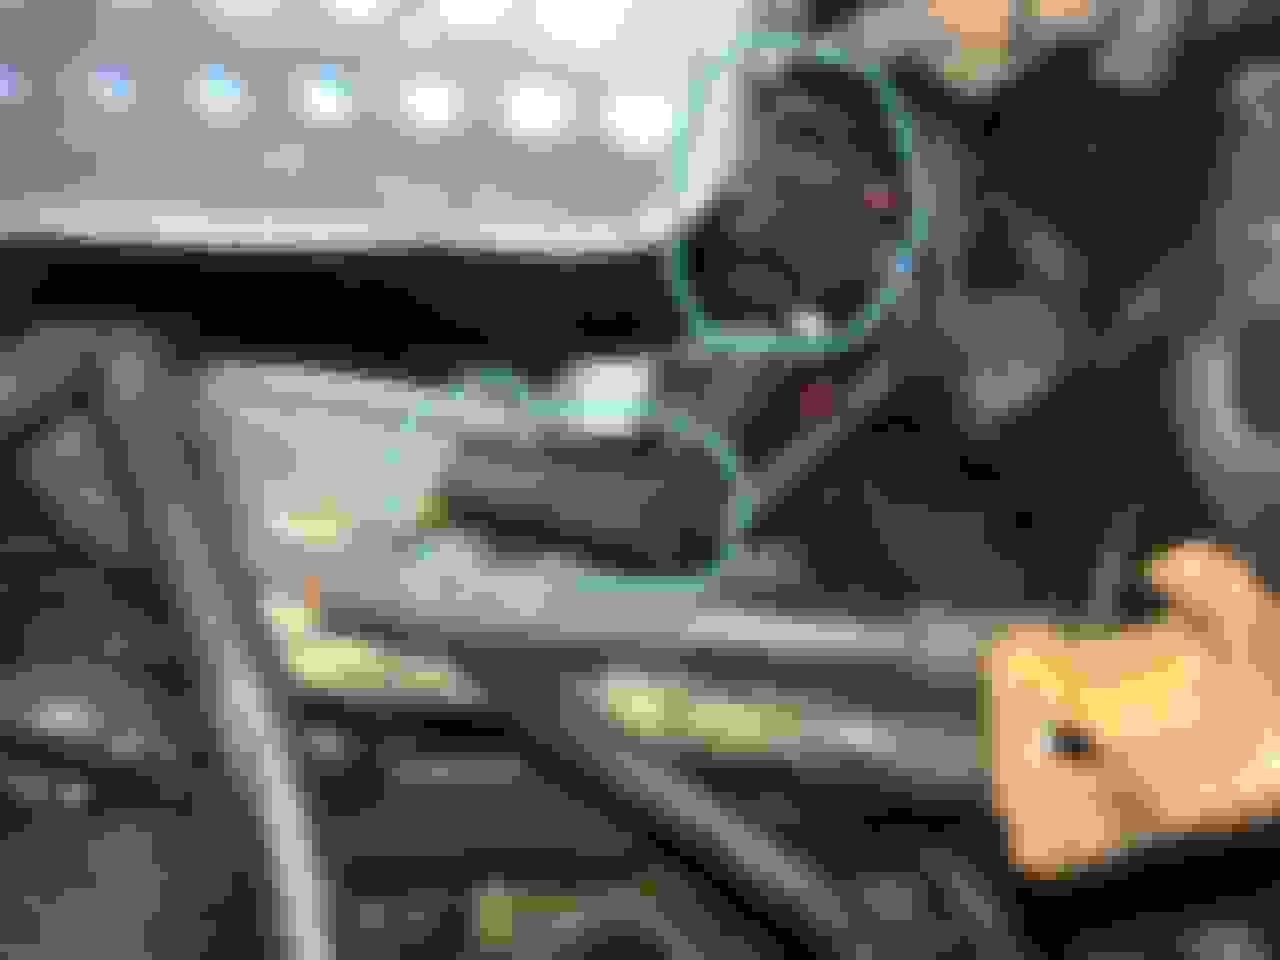
Now you can gain access to the electrical plug on the TB. The connector at the bottom only has to be slid off its mounting not undone.
Now on the other side of the TB disconnect the 2 black electrical connectors, and i disconnected the water pipe from the engine block side it was easier to get at.
Now you can undo the 4x10mm bolts on top of the TB and remove it.
Now onto the Inlet Manifold. I had the petrol pipe release tool from doing my friends XJ8 fuel pump. Clip tool around the fuel pipes and push it in to release, mine were quite hard so used a spanner to help push it in.
Next the fuel injector loom needs to be moved, with a screwdriver i uncliped it from around the rocker covers, then on to the injector connectors push in the metal clip with a flat blade screw driver and pull up a little, one at a time.
Next undo the 4x10mm bolts on the mounting bracket for the manifold under the TB housing mount, 2 on each side. The black breather pipe is disconnected by pushing a clip from underneath it, then pull to remove. there is a small rubber vacuum hose next to it that needs to be pulled off.
There is a vacuum pipe rapped in silver heat shield that connects to the inner wing I removed it from the wing side.
Next remove the 10x10mm bolts that hold the inlet manifold down and gently pull until it comes off.
Quick clean with a hover and plug the inlet holes with tissue or rags.
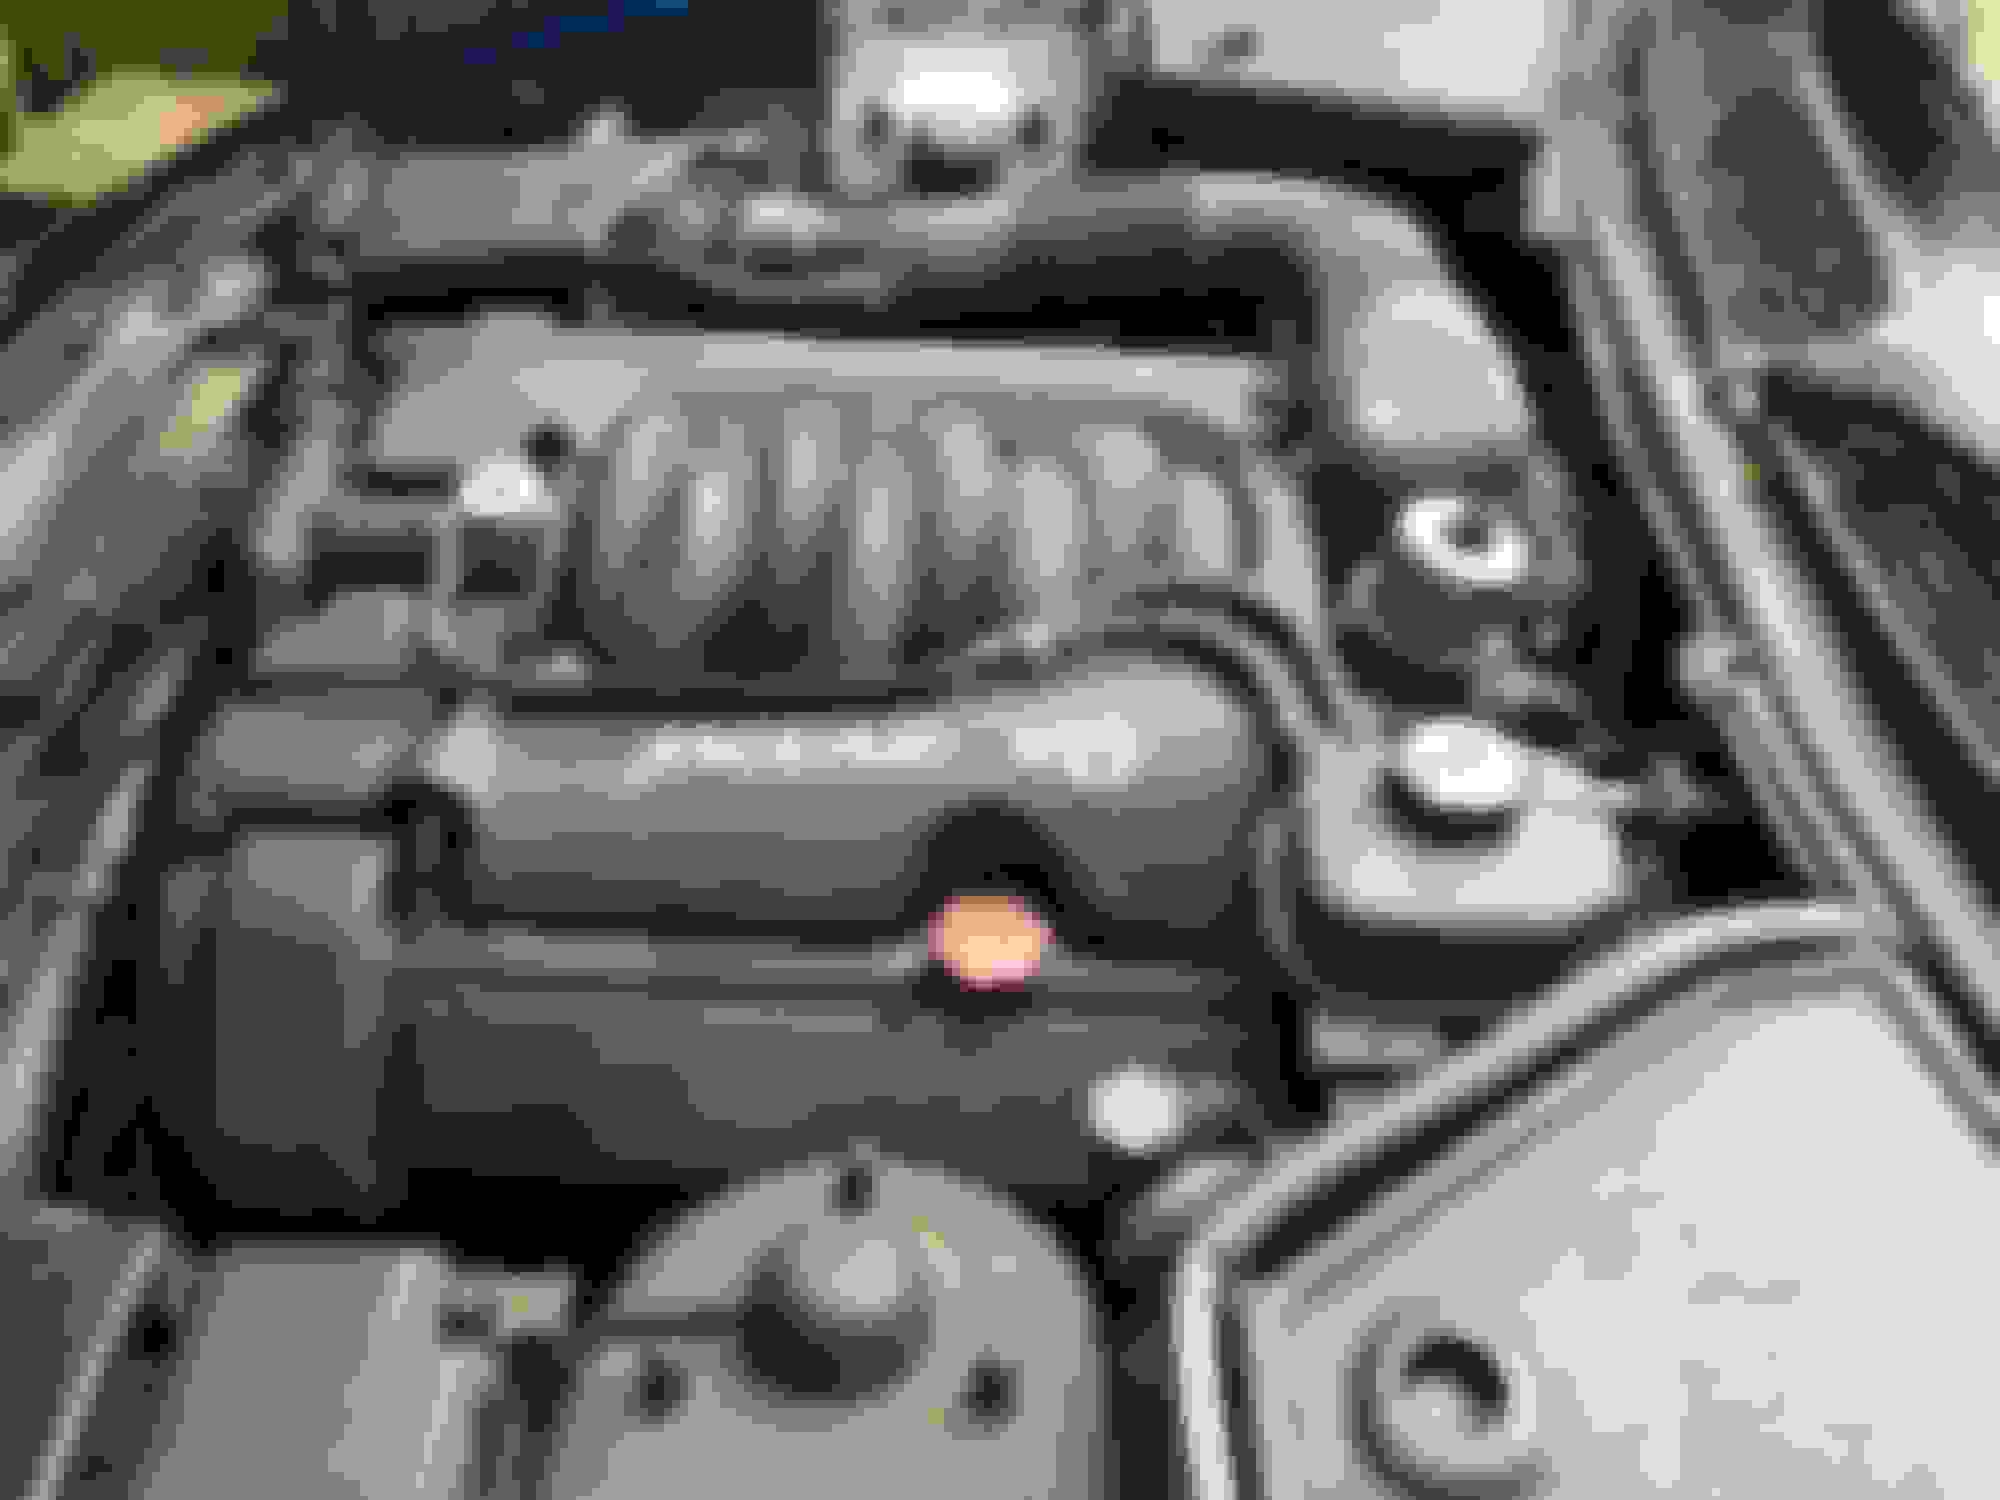
My hoses looked tired but were OK, I'm changing all hoses just because of age and peace of mind. New hoses are a lot thicker.
Hi sorry I have not finished this yet, been a bit busy.
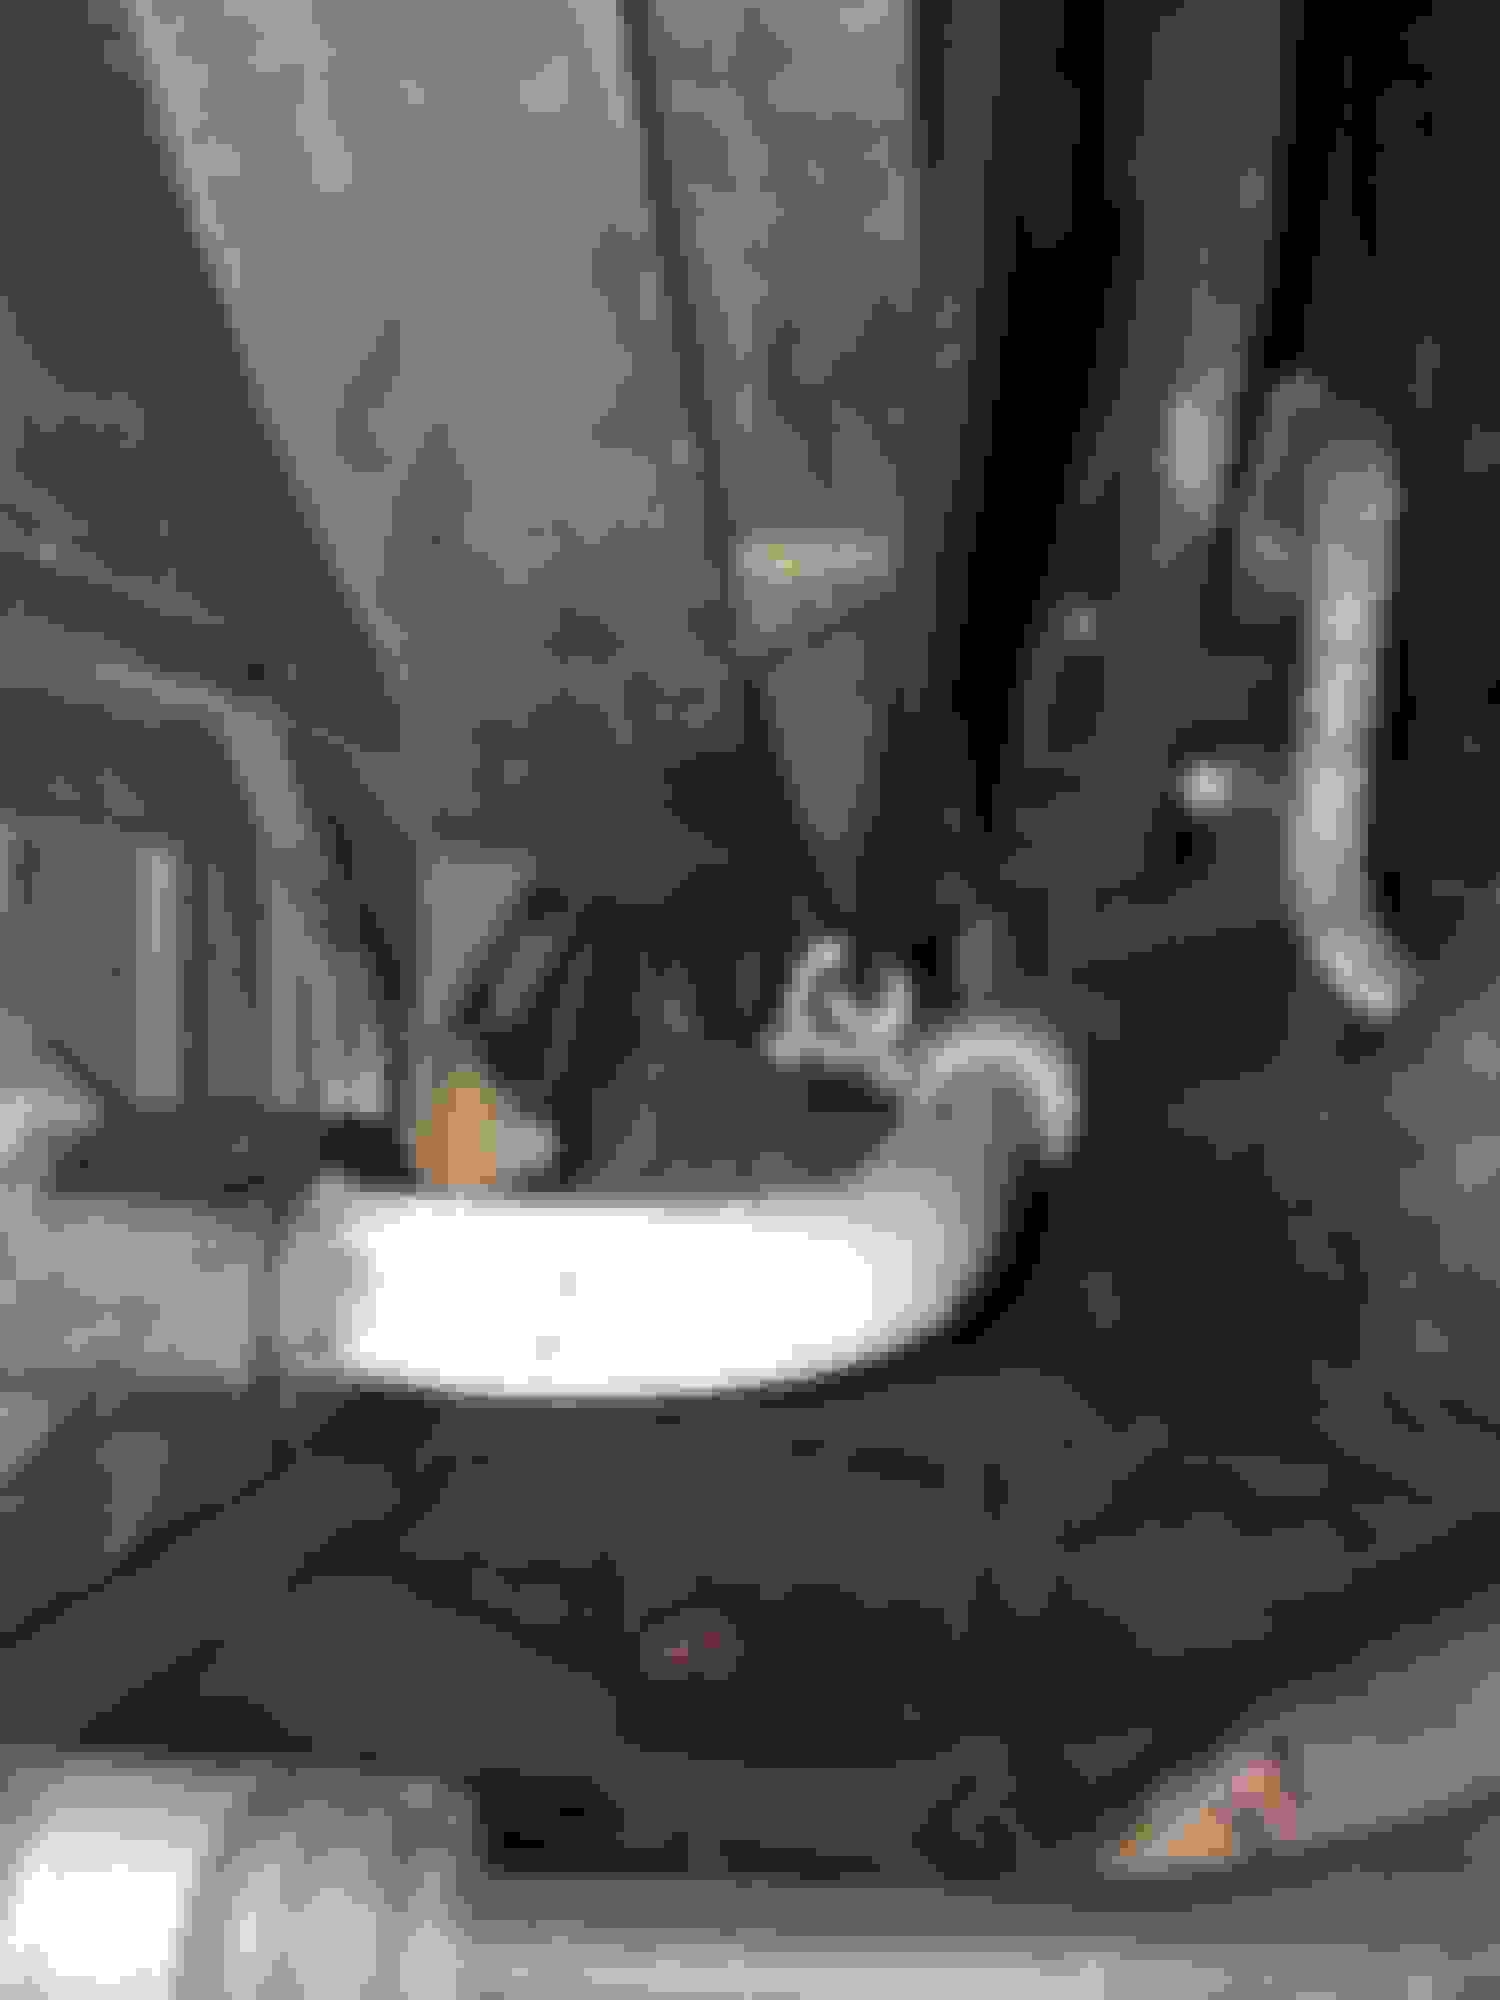
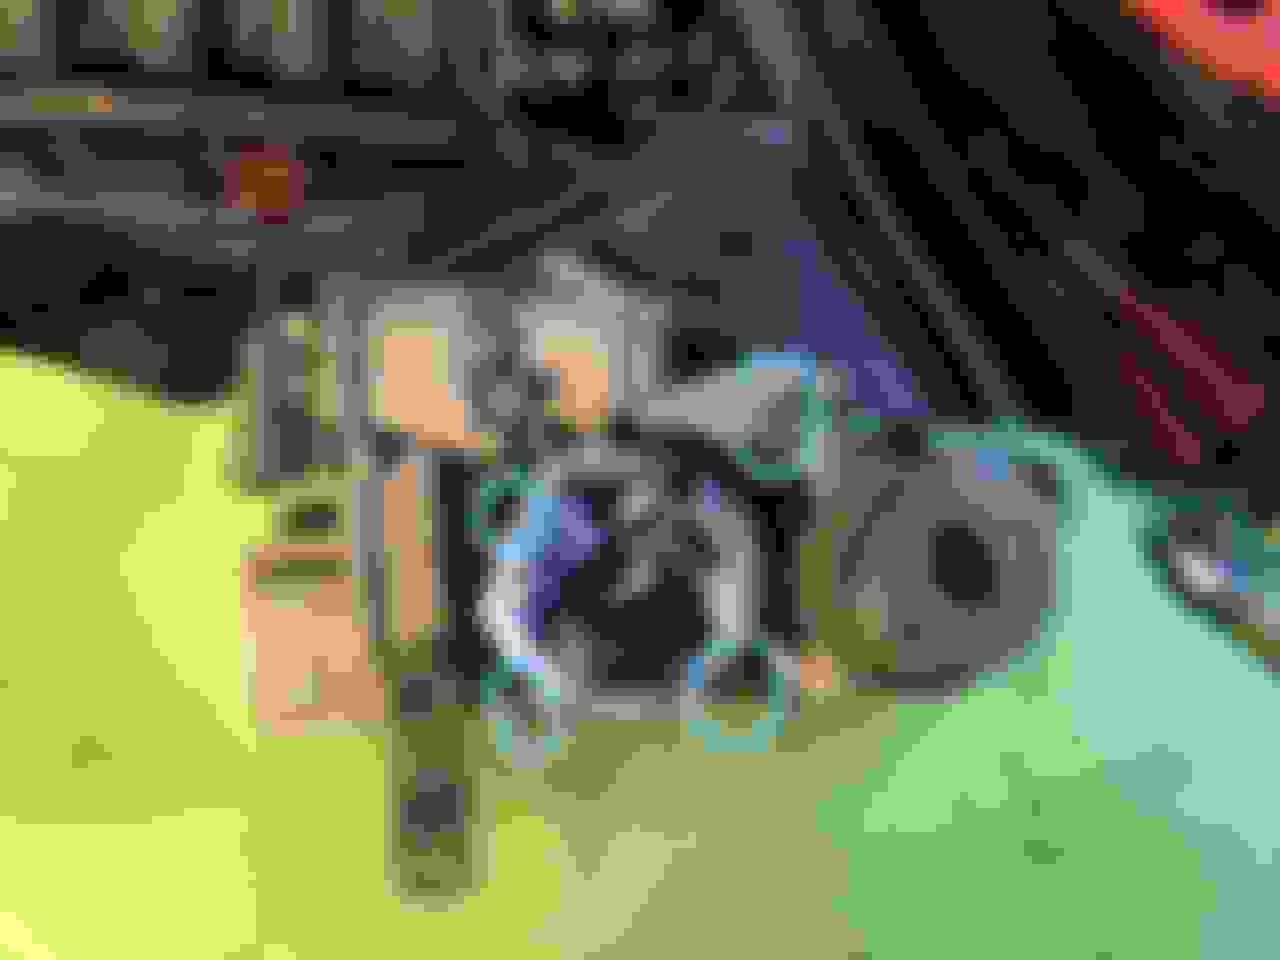
So the other night after having the car working for a few weeks, the low coolant light comes on. I was on my way to a friends house so made it there, was late and dark by then, so I had to stay the night. In the morning I opened the coolant cap to find it was enpty. Went and got some water and after pouring lots in I heard a noise from under the car, had a look and water was pouring out the drivers side underneath the car. I took the air intake off and to my horror was this.
So I called the company who supplied the parts and because I had installed it I have to return it for testing, I also had to purchase a new hose and if they find it was faulty they will refund me.
I started reading this because I've had issues with British Parts and rubber parts before. You unfortunately have found out yourself that they sell crap, not all parts mind you, but the rubber on my ball joints lasted 9 months.
Last edited by phanc60844; Oct 17, 2017 at 03:25 PM.
I started reading this because I've had issues with British Parts and rubber parts before. You unfortunately have found out yourself that they sell crap, not all parts mind you, but the rubber on my ball joints lasted 9 months.
I hope the replacement works not something I would like to change every fortnight. Shame this sort of thing happens to save a few pence.
I have determined over the years that if I stick with SNG Barratt, Welsh Enterprises, or FCP Euro as my primary Jaguar parts suppliers, I get good-quality components that do not cause me to have to repeat the job. I may pay slightly more, but I would much rather do that than have to do the work all over again due to substandard parts....
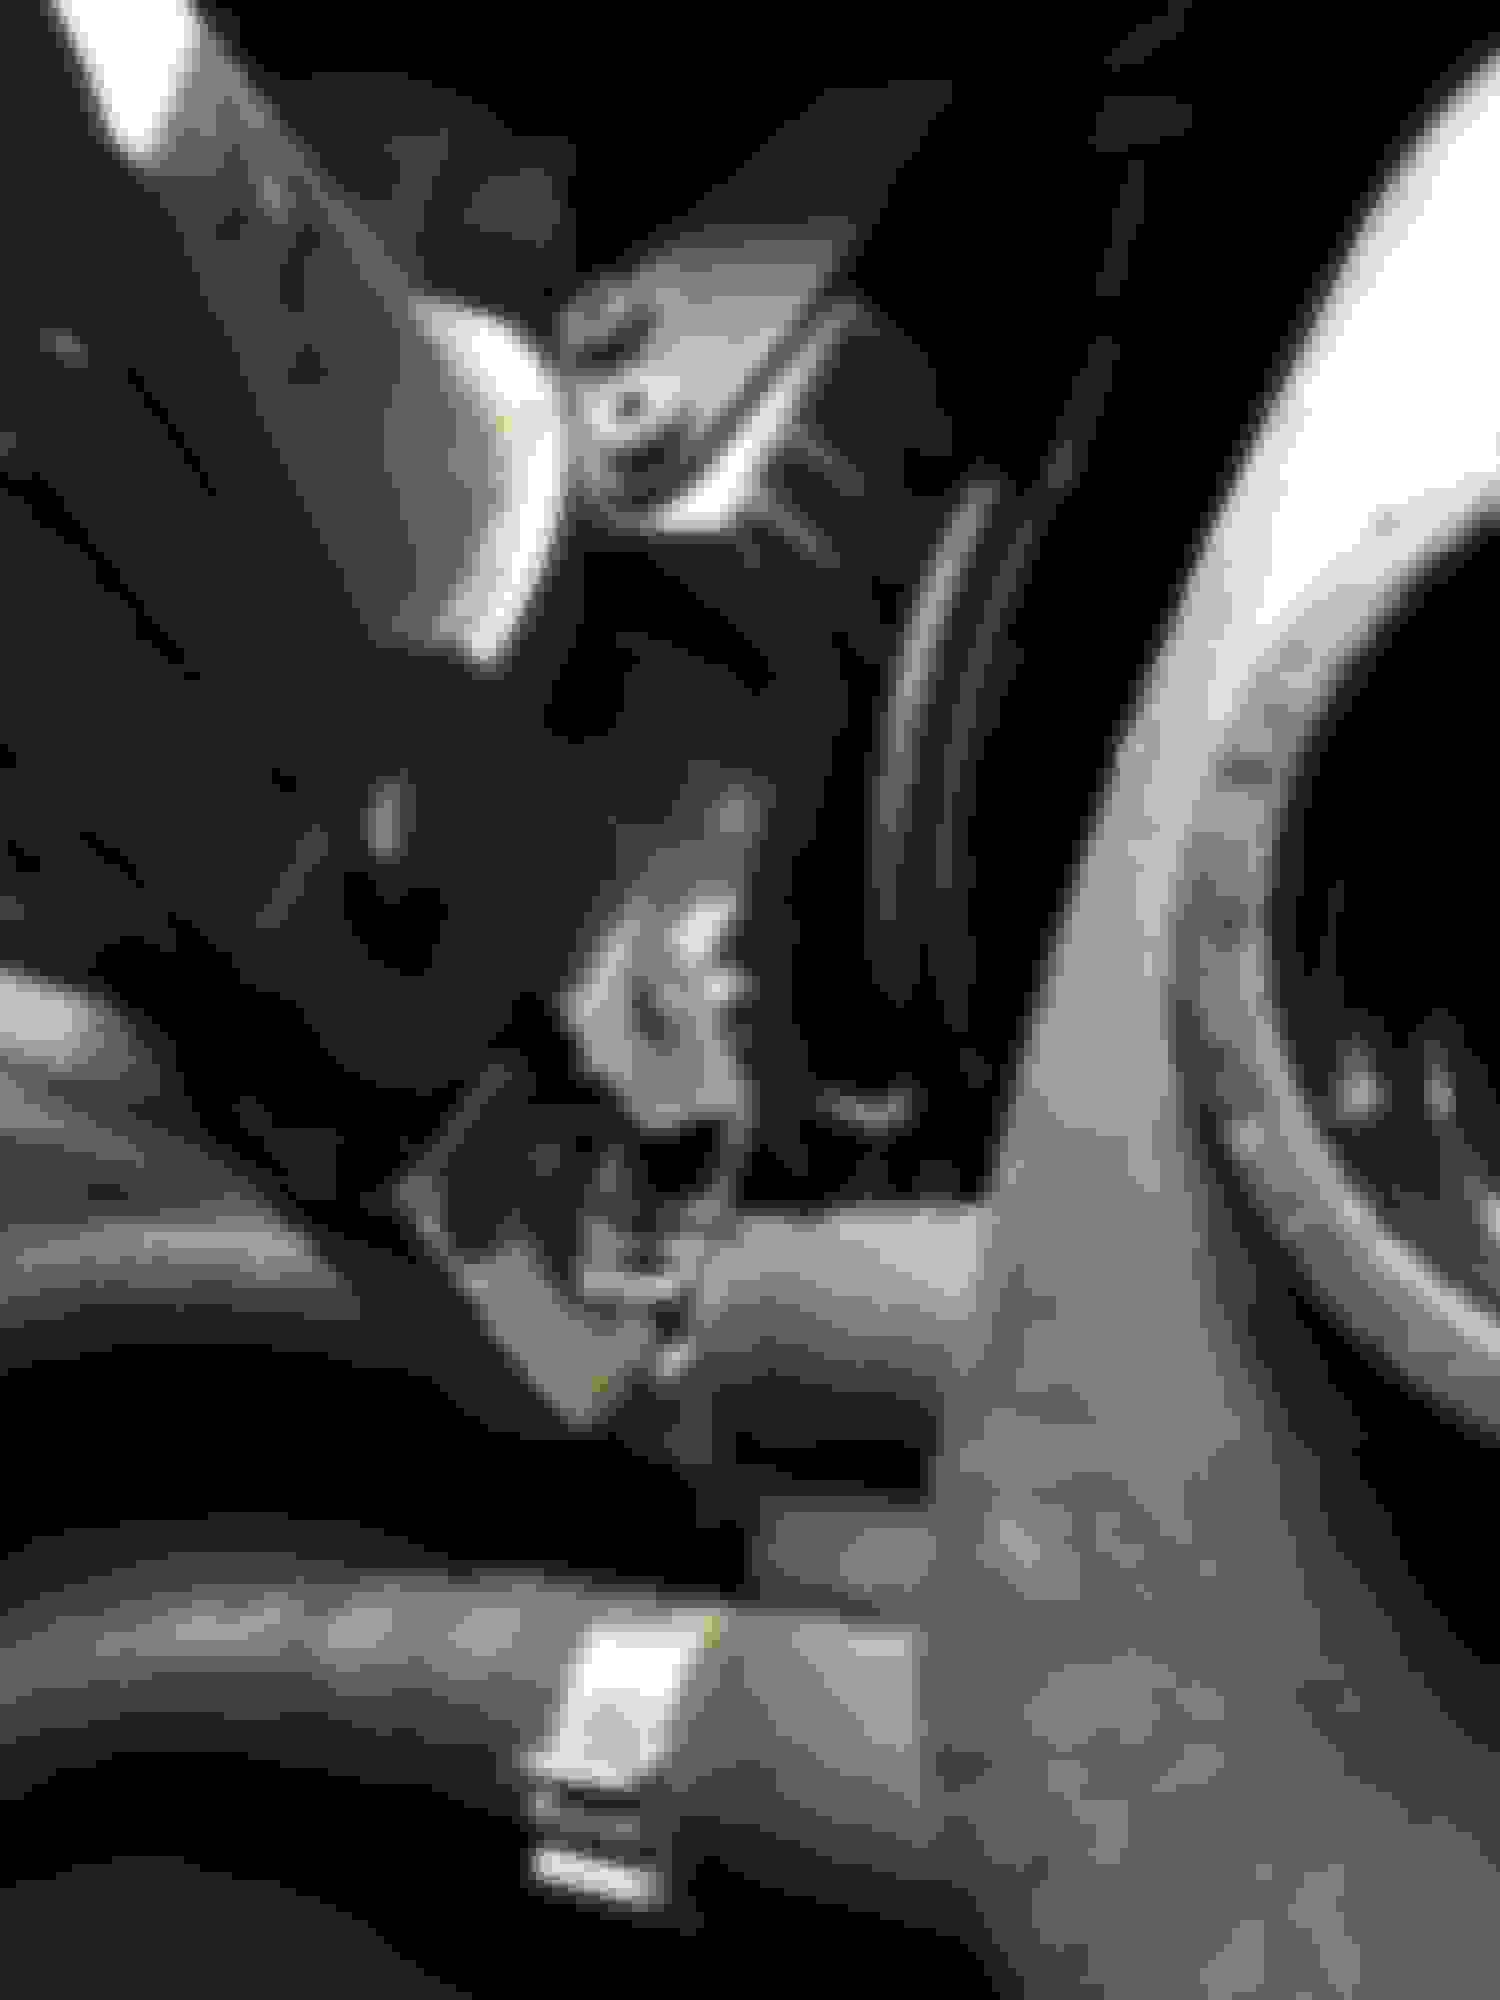
Next task was to start removing the rest of the hoses. The heater valve shield is very tight to remove, first the heater hoses need to be removed, they come out of the bulkhead top right of the heater valve.
Not easy to get at, i used the long reach clamp pliers.
Then the hose removal tool was used to run around the inside of the hose and pull it off.
The other pipe i had to cut could not get the tool around it, there is not enough room
Fabulous photo documentation - I wish I had all of this when I started today. I have also taken a BUNCH of pictures - mostly for myself, since I basically have NO memory and it serves as a good check when I put things back together.
About halfway through the job tonight, I stopped, got sandwich bags, wrote on them with permanent marker and put all the bolts/screws/clips for each item in it's own baggie. This has certainly helped me in the past, and will again I'm sure.
One thing I meant to ask - what tool kit is that? It's marvelous - I really need to get one!