When you click on links to various merchants on this site and make a purchase, this can result in this site earning a commission. Affiliate programs and affiliations include, but are not limited to, the eBay Partner Network.
A few days ago I was smoking a Monte Christo Churchill cigar and decided to do a smoke test for vacuum leaks. I found yet more holes in the accordion section of the air tunnel. Not enough to trip the CEL but MPG recently dropped to 15 and driving the car, acceleration felt a bit sluggish. So I did tape up the accordion ....again. Not bad for a plastic part almost 20 years old but obviously a bit past it now.
Recently received an Eid holiday delivery of new parts from British Parts and decided to Remove & Replace the air tunnel. 30 min job, direct fit, no feathering needed, and voila.
Easy job, and dropped in a new Denso MAF sensor just to be sure. (2 min job). But now makes the rest of the engine bay look really dirty.
I would appreciate your opinion. I took my 2002 XK8 to Firestone for an oil change. It was running perfectly. The manager called me and suggested I clean my fuel injectors. I love my baby so I said ok. I picked the car up and drove it home. When I went to start it again, it would not start. I had to have it towed back to Firestone. After a day of looking at it, they determined the fuel pump died. I said the stuff they put in my gas tank, or the procedure they followed must have damaged the pump. They are saying its just a coincidence. Please give me your thoughts. TY
I would appreciate your opinion. I took my 2002 XK8 to Firestone for an oil change. It was running perfectly. The manager called me and suggested I clean my fuel injectors. I love my baby so I said ok. I picked the car up and drove it home. When I went to start it again, it would not start. I had to have it towed back to Firestone. After a day of looking at it, they determined the fuel pump died. I said the stuff they put in my gas tank, or the procedure they followed must have damaged the pump. They are saying its just a coincidence. Please give me your thoughts. TY
It would be good to know exactly what their "cleaning" was. Otherwise their reasoning is just as sound as yours as to the cause.
I'd start with the fuel filter before I replaced anything expensive. Could be they added something to the tank and the filter got the brunt of the crap.
Not a job I would like to do without a hoist.
Those fuel lines behind the diff were impossible to get at until I made a tool (version 1) that eventually worked. I will make a more professional one for my other two cars so that it will be easier.
Appears the tank has been out before at Jaguar dealers and not reinstalled correctly.
1998 XKR
Replaced the plastic fir tree fixings in driver�s door card
There�s always been an annoying squeak from my door cards. They were loose, and when I previously replaced the door�s music speakers, I took off the door card ( a la Rev Sam�s youtube video) and found lots of the 9 plastic fir tree fixings broken. At that time, I glued what I could but I needed a permanent fix. (BTW I found out later that you can access the speaker just by only taking the speaker fabric panel off)
It�s extremely hot and sunny in the desert climate of Bahrain, so plastic embrittlement is a major problem. British Parts, UK, included these new plastic fir fixings in my Eid delivery. So I decided to get at it on the worst passenger side. Easy job, less than 1 hour.
While I was at it, I disassembled the parts of the door card and gave it a thorough clean removing 20 years of grime. There�s a cool factory sticker with �LEAR� mouldings on it. I wonder if I could replace the top trim panel , holding the latch, with Wood to continue the lovely Woden front dash panels onto the doors.
Followed post #5 Gordocat�s suggestion dated 2-4-2013. Good pics there
Always couldn�t put my left heel down, especially uncomfortable driving and taking hard turns. But fixed now using two bits of thick gauge cut old pipe and long M8 bolts (had in my box of stuff from dismantling furniture) I raised my dead pedal 1.5� at the top and 1� at the bottom. Just had to sand the cut pipe to profile to fit adjusted angle for my dead pedal
Can someone please send me Jaguar's official Fuel injector cleaning steps for a 2002 XK8? I was told by my Jaguar lady that the fuel pump needs to be disconnected/removed to clean the fuel injectors to prevent damage to the fuel pump and I'd like to verify that. TY
Replaced the side impact sensor connector on my 2001 MY XK8 after I broke it. Required two visits to the junkyard because the HJE9667CC (XK8) is not the same connector as the 1X4A-14B006-AD (X-Type) unlike the diagram appeared to indicate, conveniently located on the front of the car.
Instead the two sensors located in the floor of the b-pillars in a less convenient location (1X4A-14B345-AD) were the correct connector like my second diagram seemed to indicate.
Due to the inclement and unseasonable weather here (UK) recently it's been over a fortnight since I used my XKR 100 convertible. For such a long duration I usually connect the battery charger before using, but in this instance I tried starting it without and it fired up first time. It drove fine, it passed it's MOT test without any issues and as the weather was good I decided to take it for a 20 mile drive. All was well until I decided to lower the soft top. The quarter light windows dropped as normal but the driver and passenger windows did not budge, the top gave a small shudder and stopped working. My first thought was the battery charge was low after all but too late now as the restriction of the windows not going down had blown the 40amp fuse (location number 14 in the boot, trunk, fuse box on my 1999 XKR).
First problem was to re-secure the top for the rest of the drive home now there was no longer any power to move it. Thank's to this site and the many experiences of other owners I did have enough knowledge to accomplish this myself so thank you all who have posted about soft tops in the past.
Very briefly for those interested I opened the boot, trunk, lifted the battery cover which also houses the Fusebox where the 40amp fuse lives, removed the boot lining that surrounds the multiple CD storage, which reveals the hydraulic oil cylinder that powers the soft top. There is a "T" shaped tap which I loosened, to be able to manually move the Soft top. Also mounted nearby, in two clips for use on the soft top latch is an Allen Key which allows you to manually re-engage and lock it again. In all it took around 5mins to be able to continue my drive home.
Next issue was to get the power back to the Soft Top.
Have you recently tried to buy a standard (regular) spade 40amp fuse? I tried my local general garage, they only had 30amp ones, I tried a long established and respected Jaguar garage, again they only had 30amp fuses. I tried Halfords in Cambridge, also without any luck. In the end I reverted to Ebay and came across a seller offering 120 standard (standard refers to the size) mixed fuses (ranging from 1amp to 40amp, roughly 10 of each, for �3.99 including postage) with a delivery time of 3 days.
When I was confident the battery had sufficient charge and to ensure the computer did not hold any glitches from the fuse blowing I took the precaution of doing a hard reset (removing both terminal leads from the battery and then holding them together for around 60 seconds, I then had to tap in the radio security code and reset the windows. Once the windows were back to doing the one touch drop I replaced the 40amp fuse and lowered and raised the soft top. Everything worked correctly.
Many of you will already know about the boot, trunk, Fuse box lid having the ability of holding multiple spare fuses. Hands up though how many of you have a spare 40amp fuse as one of those spares?
I can now smugly say I have a full range of the required fuses for future issues.....
Last edited by Sapphire Blue; Jun 21, 2019 at 03:51 AM.
Reason: text correction
I was never happy with the way the Centre vents sat in my dash. The vents worked but the unit�s outer body was visibly cracked. So I decided I could do the �To the Garage� polish of the Centre gauges� faces at the same time as fixing the vents.
Even found the same Renovo plastic polish and got the same fantastic finish as John. Heartily recommend it for all the dial faces and I even did those behind the steering wheel.
Pulled out easily the plastic centre vents (not held by anything) ant they were filthy and cracked. Out with the ol� JB Weld and fixed. All back together and cleaned and polished. FWIW the vent unit should sit solidly in the wooden dash panel and not wobble about.
Even found the same Renovo plastic polish and got the same fantastic finish as John. Heartily recommend it for all the dial faces and I even did those behind the steering wheel.
I have been using this Meguiars polish for just about everything on the car that needed restoration. Works equally well on clear plastic lenses, wood clear coat, wheel clear coat and body paint clear coat. Cheap on Amazon too @ $6.00 US.
One significant place I used it was on the wood steering wheel. It had dulled from use and this stuff brought back the smooth shine original look.
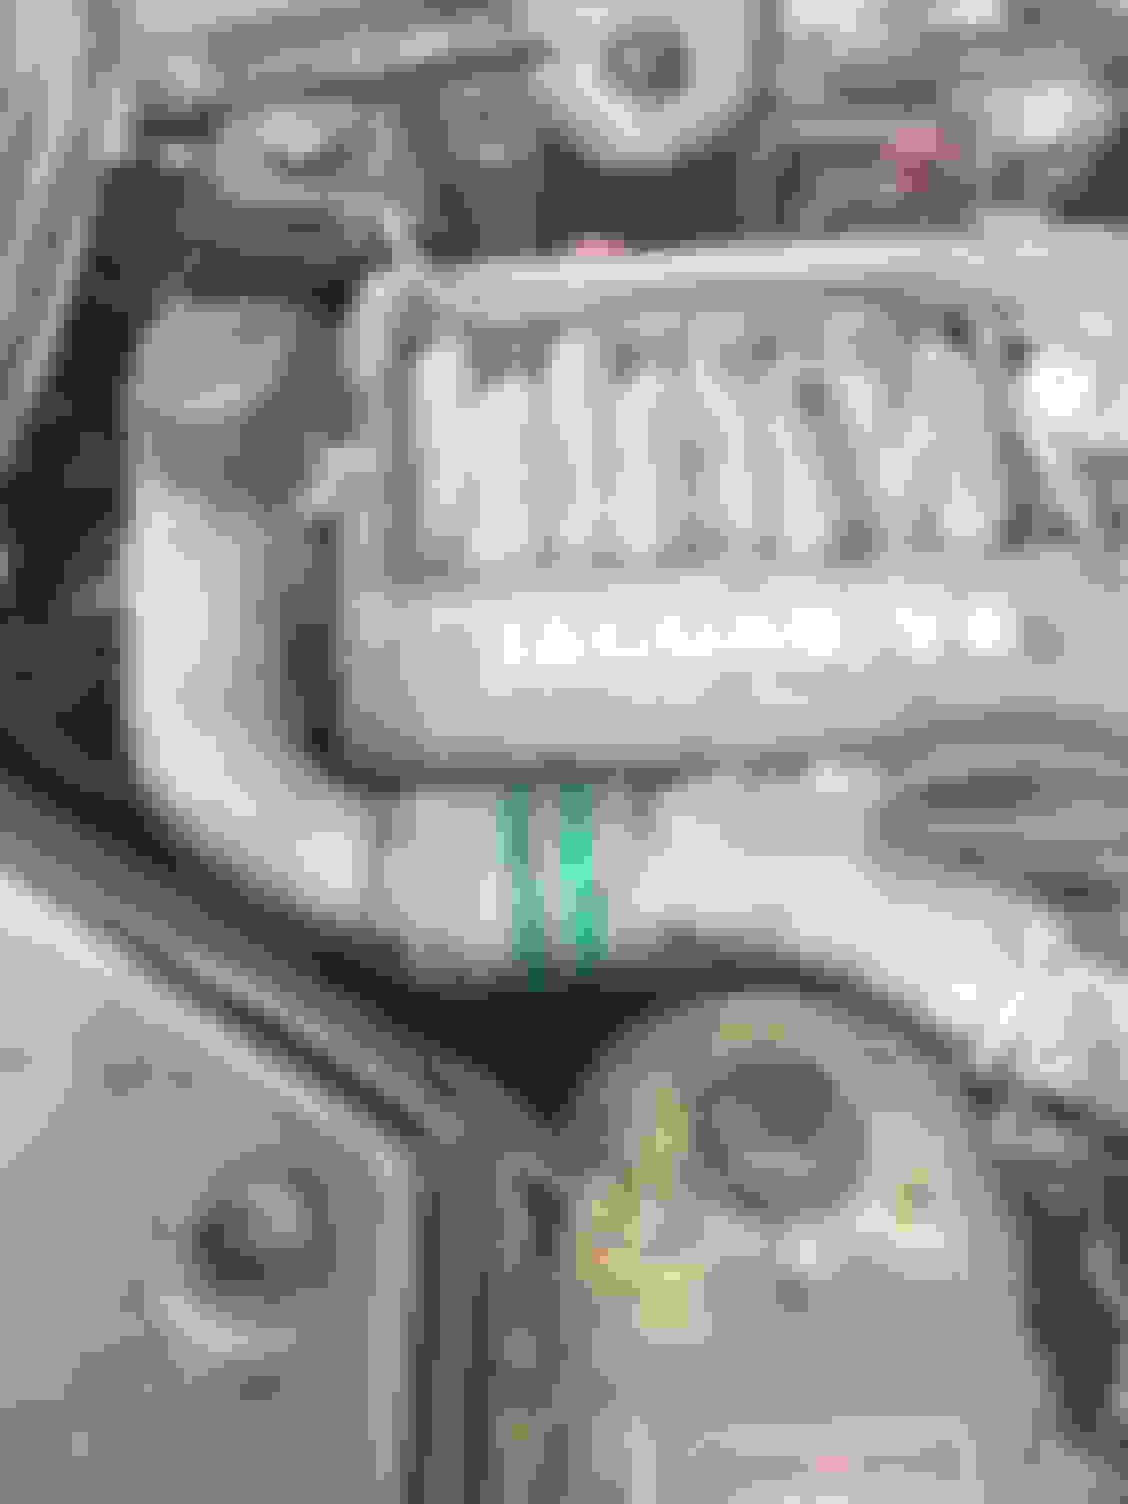
Decided to pull my spark plugs and check gap. Cleaned them up, and checked the resistance on the coils while I was at it. All looked well, so I put them back it. I found out that I have to do my cam cover seals at some point. That's another day though 😁
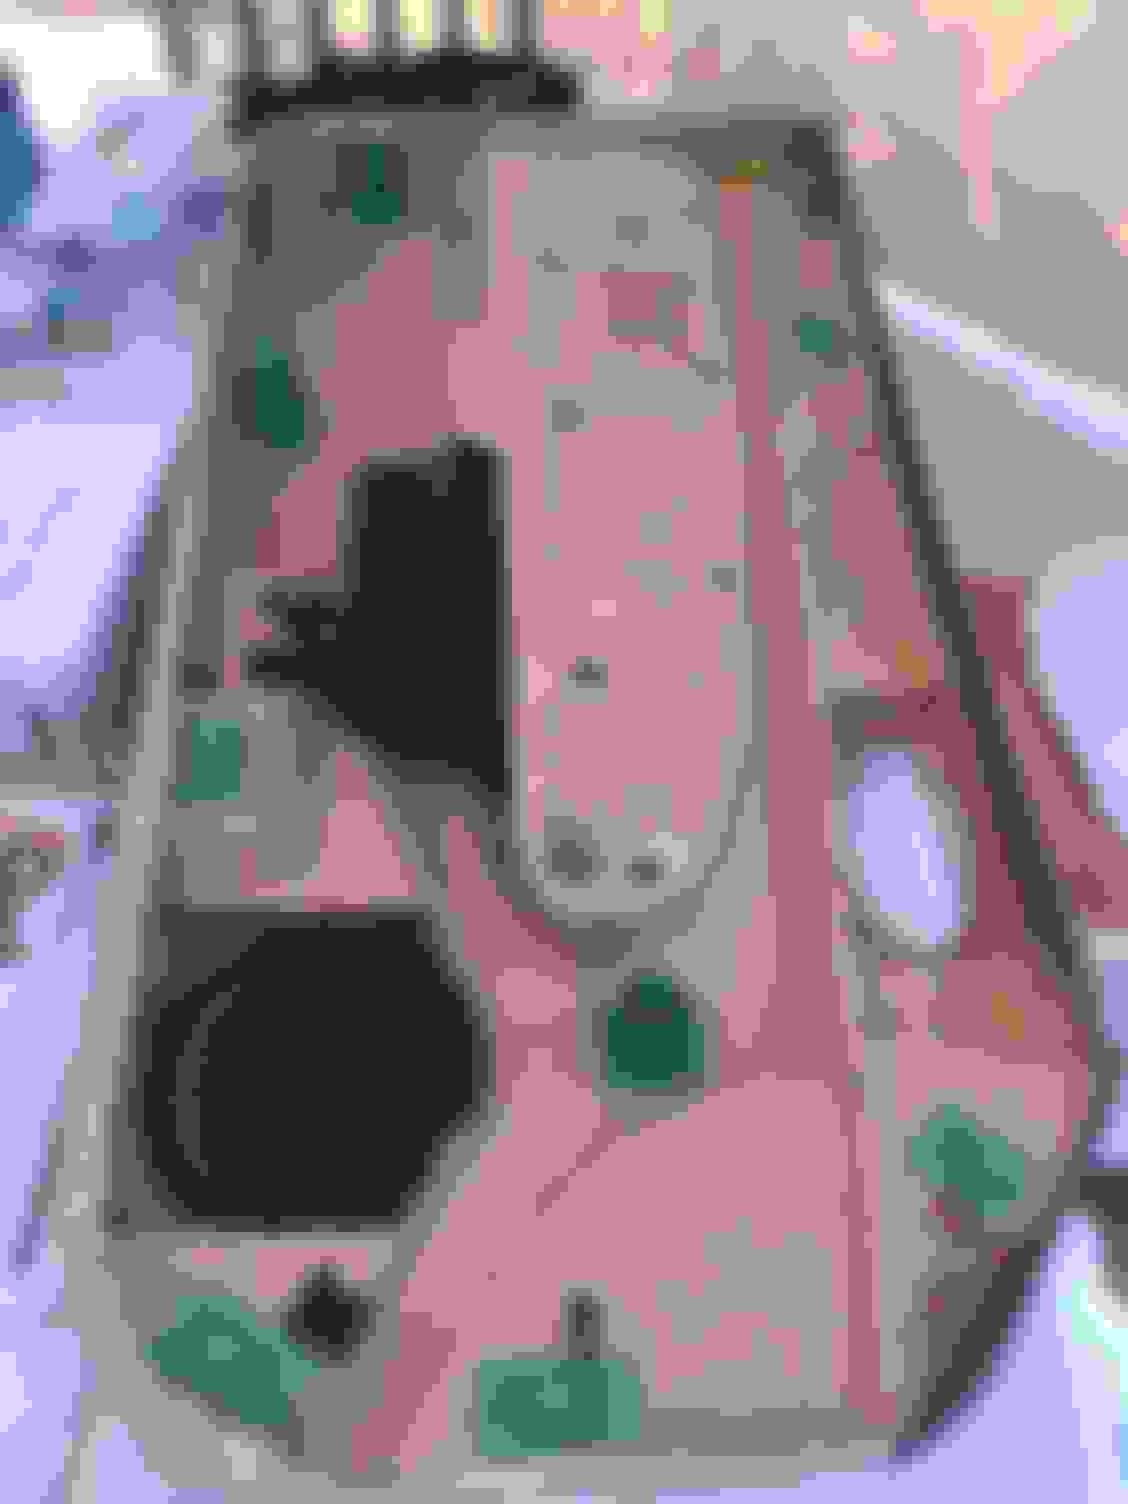
Finally dug in and did the ABS module bad joints on the pump motor connector. I elected to remove the brake lines as I didn't really like the idea of bending them as much as would be needed to get the module out. There have been many tutorials so I only took a couple of shots.
The four ferrules that the securing screws pass through have spring clips on them. I carefully removed them to make it easier to split the case, and so that they can be re-used to hold the two halves together while the RTV cures.
These ferrules make good guides for hacksawing along the longer two edges as they will prevent the saw from hitting the internals. More care is needed along the short edges, particularly along the top RHS corner, to avoid this (marked in red). I finished off the cutting with a mostly-retracted Stanley knife.
The pcb in my module is coated with a gel, rather like a very soft, clear RTV which lots of plastic filings stuck to, so the closeup pictures aren't the best:
The gel didn't help prevent the inevitable:
sorted:
IMO the problem is mechanical failure rather than badly-prepared surfaces prior to soldering. Lead-free solder is more brittle than old skool lead/tin alloy, and the automated soldering process doesn't leave much around the joints.
MOT and service day today. Huge relief to pick the cat up and a MOT pass with no advisories, for the second year on the bounce! Currently enjoying a lovely Rioja celebrating quietly whilst i watch Englands women losing to the USA in the world cup 😎
The AC didn�t seem to be working right, mainly the windscreen defog. I used info from the Jaguar training guide to reset codes. Then I ran the functionality tests. No more codes or problems.
Battery +ve cable upgrade and air box holding bolt
Finally got round to upgrading my positive battery cable. After a past hydraulic fluid leak, from the convertible pump, I noticed the cable heated up and the sheath was sticky no matter how I cleaned it. Still new 100 copper part with no crimps, which was not expensive.
Then, thanks to a heads up from kstevusa, I fixed the rubber mount on the air box.
Super cheap � Shock Damper Anti vibration Mounts� part from eBay delivered free from China but took ages for delivery.