When you click on links to various merchants on this site and make a purchase, this can result in this site earning a commission. Affiliate programs and affiliations include, but are not limited to, the eBay Partner Network.
Not technically "what I did today" but the culmination of lots of smaller jobs. I got to this point on friday and think it is a good before and after shot before I put the bumper back on. There is quite a bit of over spray on the ac condenser but it needs changing so am not too bothered.
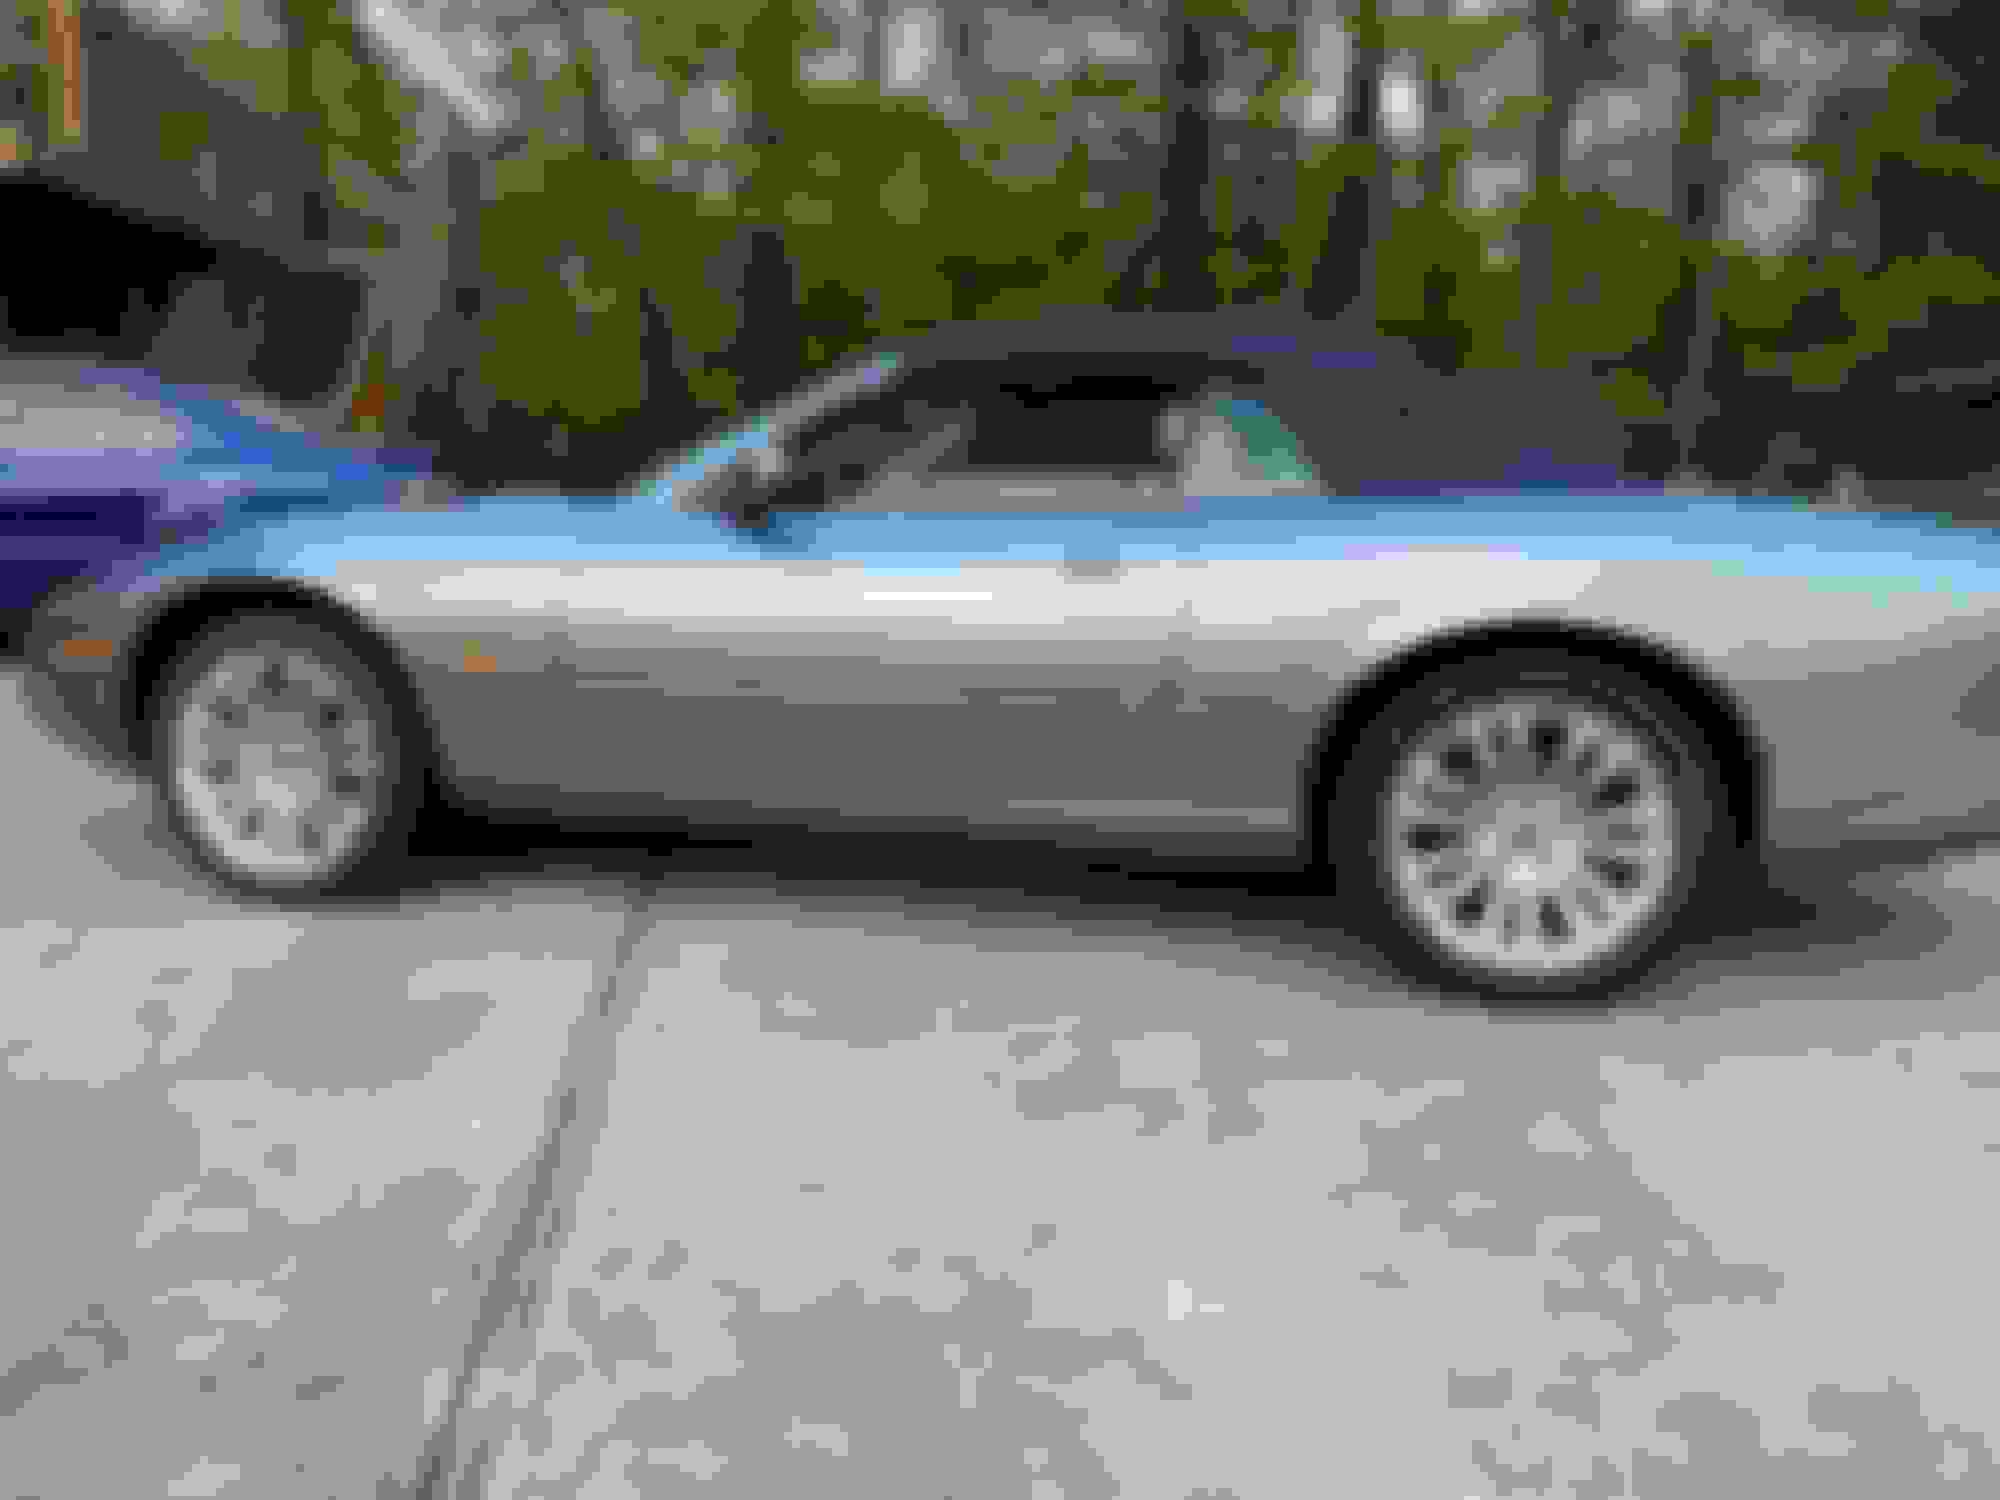
I rebuilt my struts with new springs and here is the result. Had previously done all the bushing and ball joints and such but it was still droopy and kinda floaty. In another thread were the poster lowered the rear to match the front and it looks gorgeous and just right. However, I could find a way to get the camber right so new springs it is. I don't like it as much as a lower look but I'll live with it. New Contis on the back too.
A few more tweaks and I'll be ready to go to Wayne's this fall. TM The front matches the rear now, Maybe it will settle in just a little. Looks a little gappy here but rides good. Also these are my rehabbed wheels away from the curb now.
I "worked on" the AC on one of mine today and fixed it.
My 'elegant' procedure was to actually work on something else to earn money, then pay the local Indy (British 4x4, full disclosure my daughter's boyfriend works there) who actually worked on it. I have a vacuum pump and all of the gauging, but I hate working on air conditioners.
Aftershock; Thank you for the pics of the new top and access to the fuel pump. Can you tell me some about the top replacement? Did you find a how to video? I haven't found one. I have a '99 and it needs a top. Did you replace it yourself? If so was it a pain? I'm very handy and have done lots of work on mine. From engine, suspension, etc. Any info you can share would be great.
Thanks Again
Mitch
Danbury, Ct
Last edited by rsdmitch7; 05-05-2021 at 06:03 AM.
Reason: Add a Heading
Aftershock; Thank you for the pics of the new top and access to the fuel pump. Can you tell me some about the top replacement? Did you find a how to video? I haven't found one. I have a '99 and it needs a top. Did you replace it yourself? If so was it a pain? I'm very handy and have done lots of work on mine. From engine, suspension, etc. Any info you can share would be great.
Thanks Again
Mitch
Danbury, Ct
yes I did it myself, mine had a huge one foot tear in it from previous owner. Still a mystery on how it happened. Anyway, i like you tried to find videos and how to guides on line and theres nothing. Again like yourself I am very handy but have never tried to do a convertible top before and new it was going to be a big ordeal. I took it to the local shop and they quoted me 1600 to do the job but on inspection I was getting bad vibes and the guy was dumbfounded on how to remove the rear window and told me he would have to figure it out. So I thought wait a minute I'm going to pay 1600 for them to try and figure it out? I don't think so I can figure it out myself and that's just what I did.
Yes it was a major pain in the *** but it really was worth it in the end. Got the top on ebay for 400 went with the thicker higher quality one. On my profile page I have a bunch of pictures on the installation.
You start from the front removing all the screws and trim, all the rubber on the sides just pulls off after that when you peel the top back it's best to just cut the rest off with a razor revealing all the screws and such. As seen in the pics on my page. Worst part of the install is removing the rear window from its frame without breaking the glass, I achieved this by going to the sporting good shop and buying big game fishing line and do 30 foot pieces at a time to go back and forth through the old gasketing, took about 1500 feet and you must wear gloves as it will burn you pulling it through once it's out then your starting to see the light at the end of the tunnel. Another thing to note is the aluminum channel that holds the rear of the top was also a major pain to get the new top into since it's not exactly the same profile. Just make sure you do the 2 rivets first then work the top into it to create tension as you go, also tape helped to hold it.
You can do it yourself for sure, good luck and if you have any questions I am more than happy to assist you.
Thanks so much for responding. I will check out your pics and do some more checking for DIY videos and info. I probably won't get to this till after the summer. Too many things going on. I will post my work when I do the replacement.
Thanks Again
Mitch
Thanks so much for responding. I will check out your pics and do some more checking for DIY videos and info. I probably won't get to this till after the summer. Too many things going on. I will post my work when I do the replacement.
Thanks Again
Mitch
ya I here you. Overall it took me a week to finish working every night after work on it, it's one of those things that once you start it theres no going back.
That's why I'm putting it off until later in the fall. I'm going to try and video the job for other members if the video turns out good.
the top on yours looks get. I hope I'm as lucky.
Again Thanks
Stay Well
Mitch
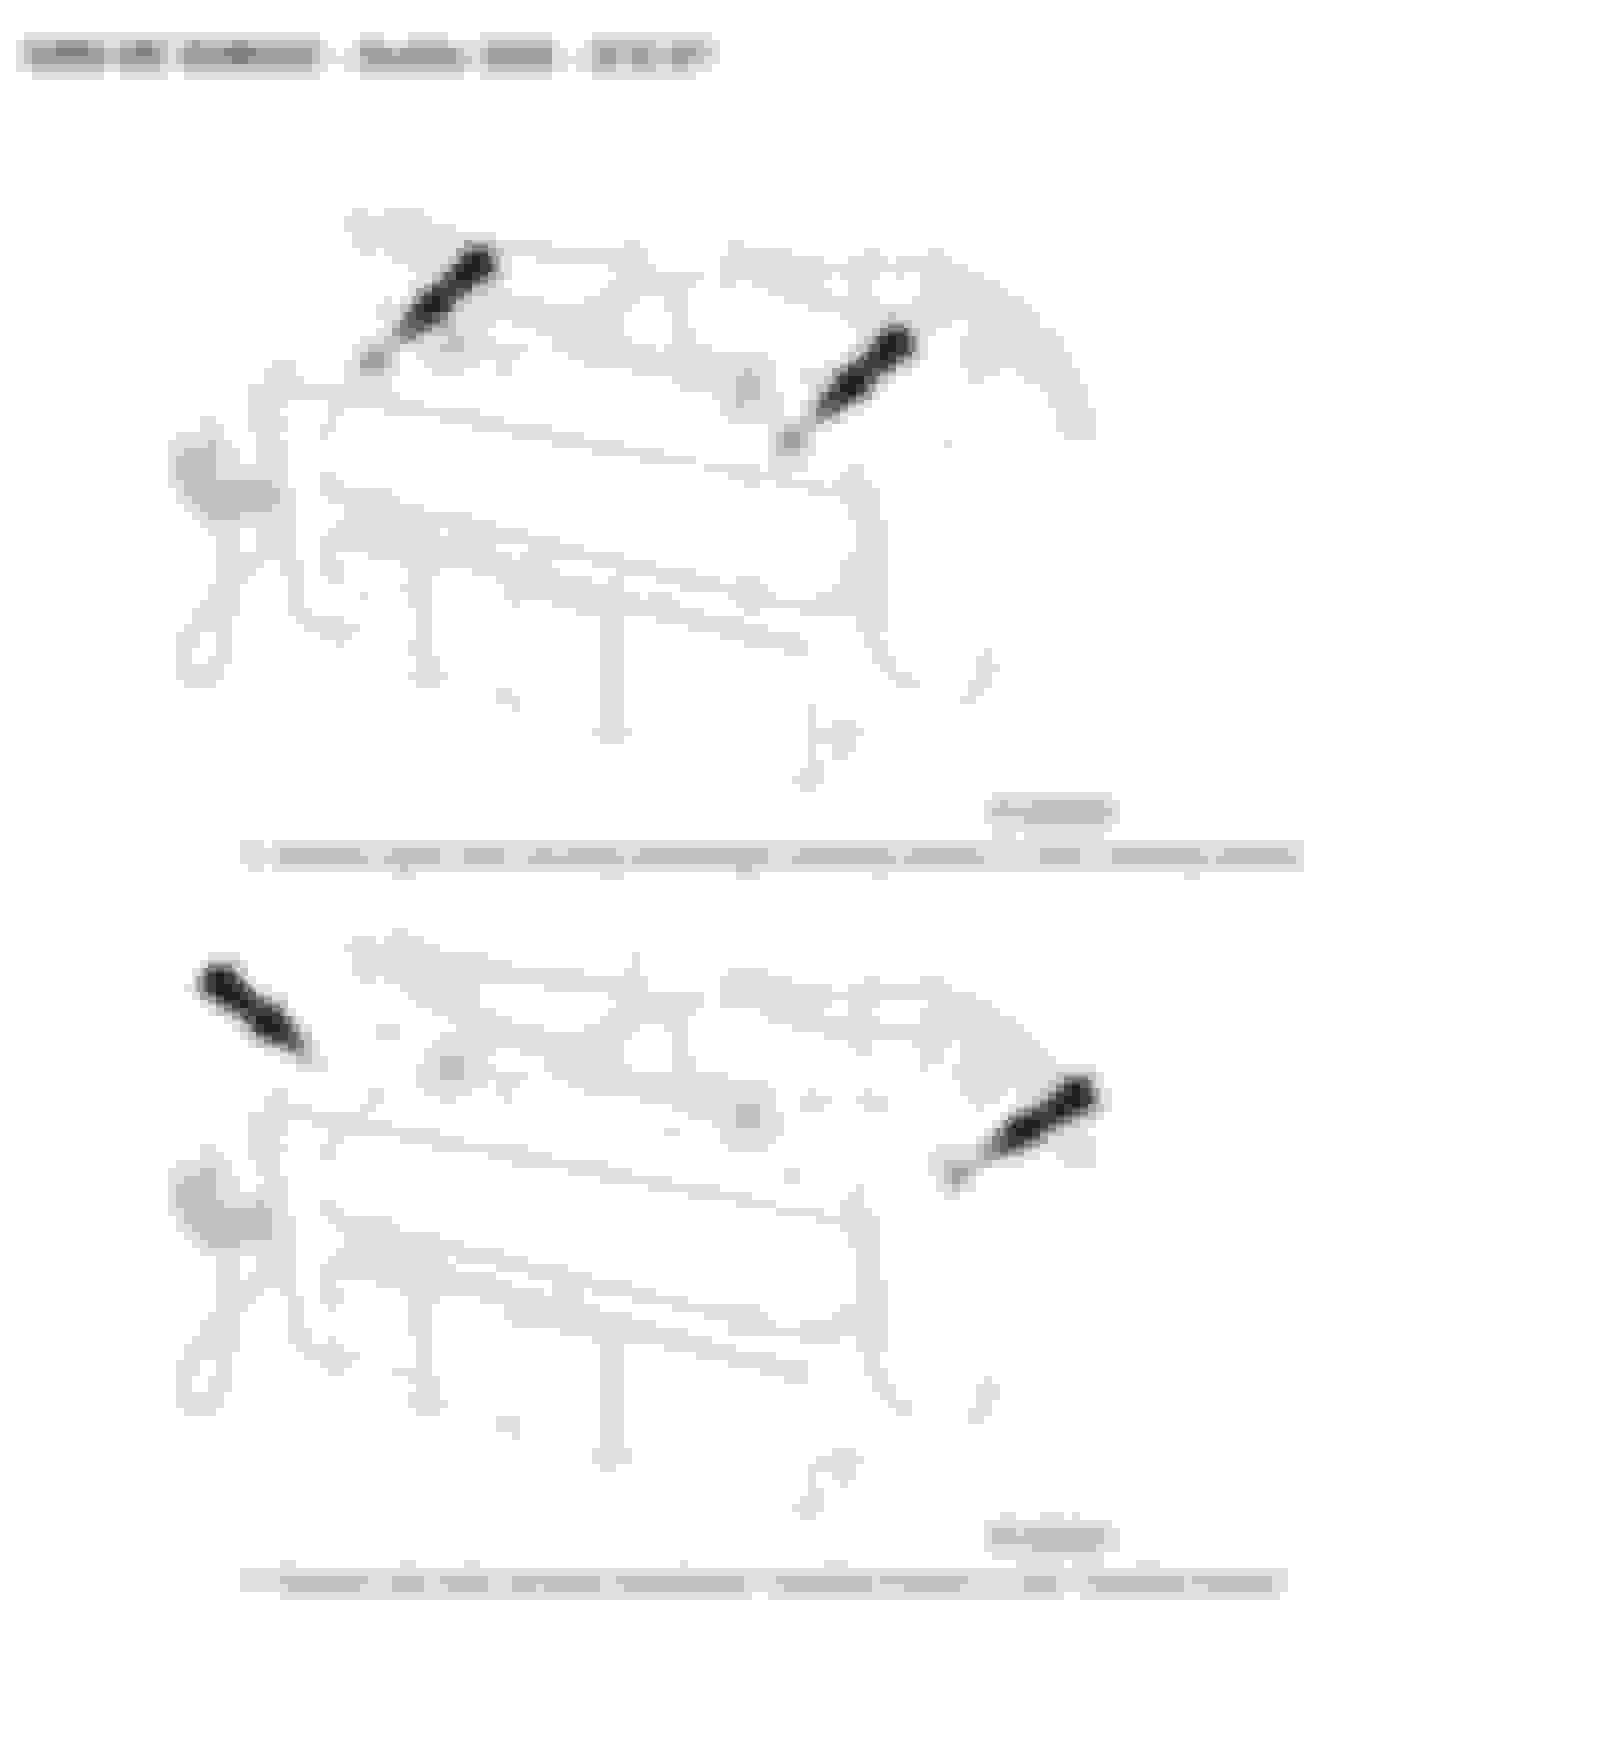
Fixed the CD changer today by replacing it with one I had previously relieved from a junkyard car.
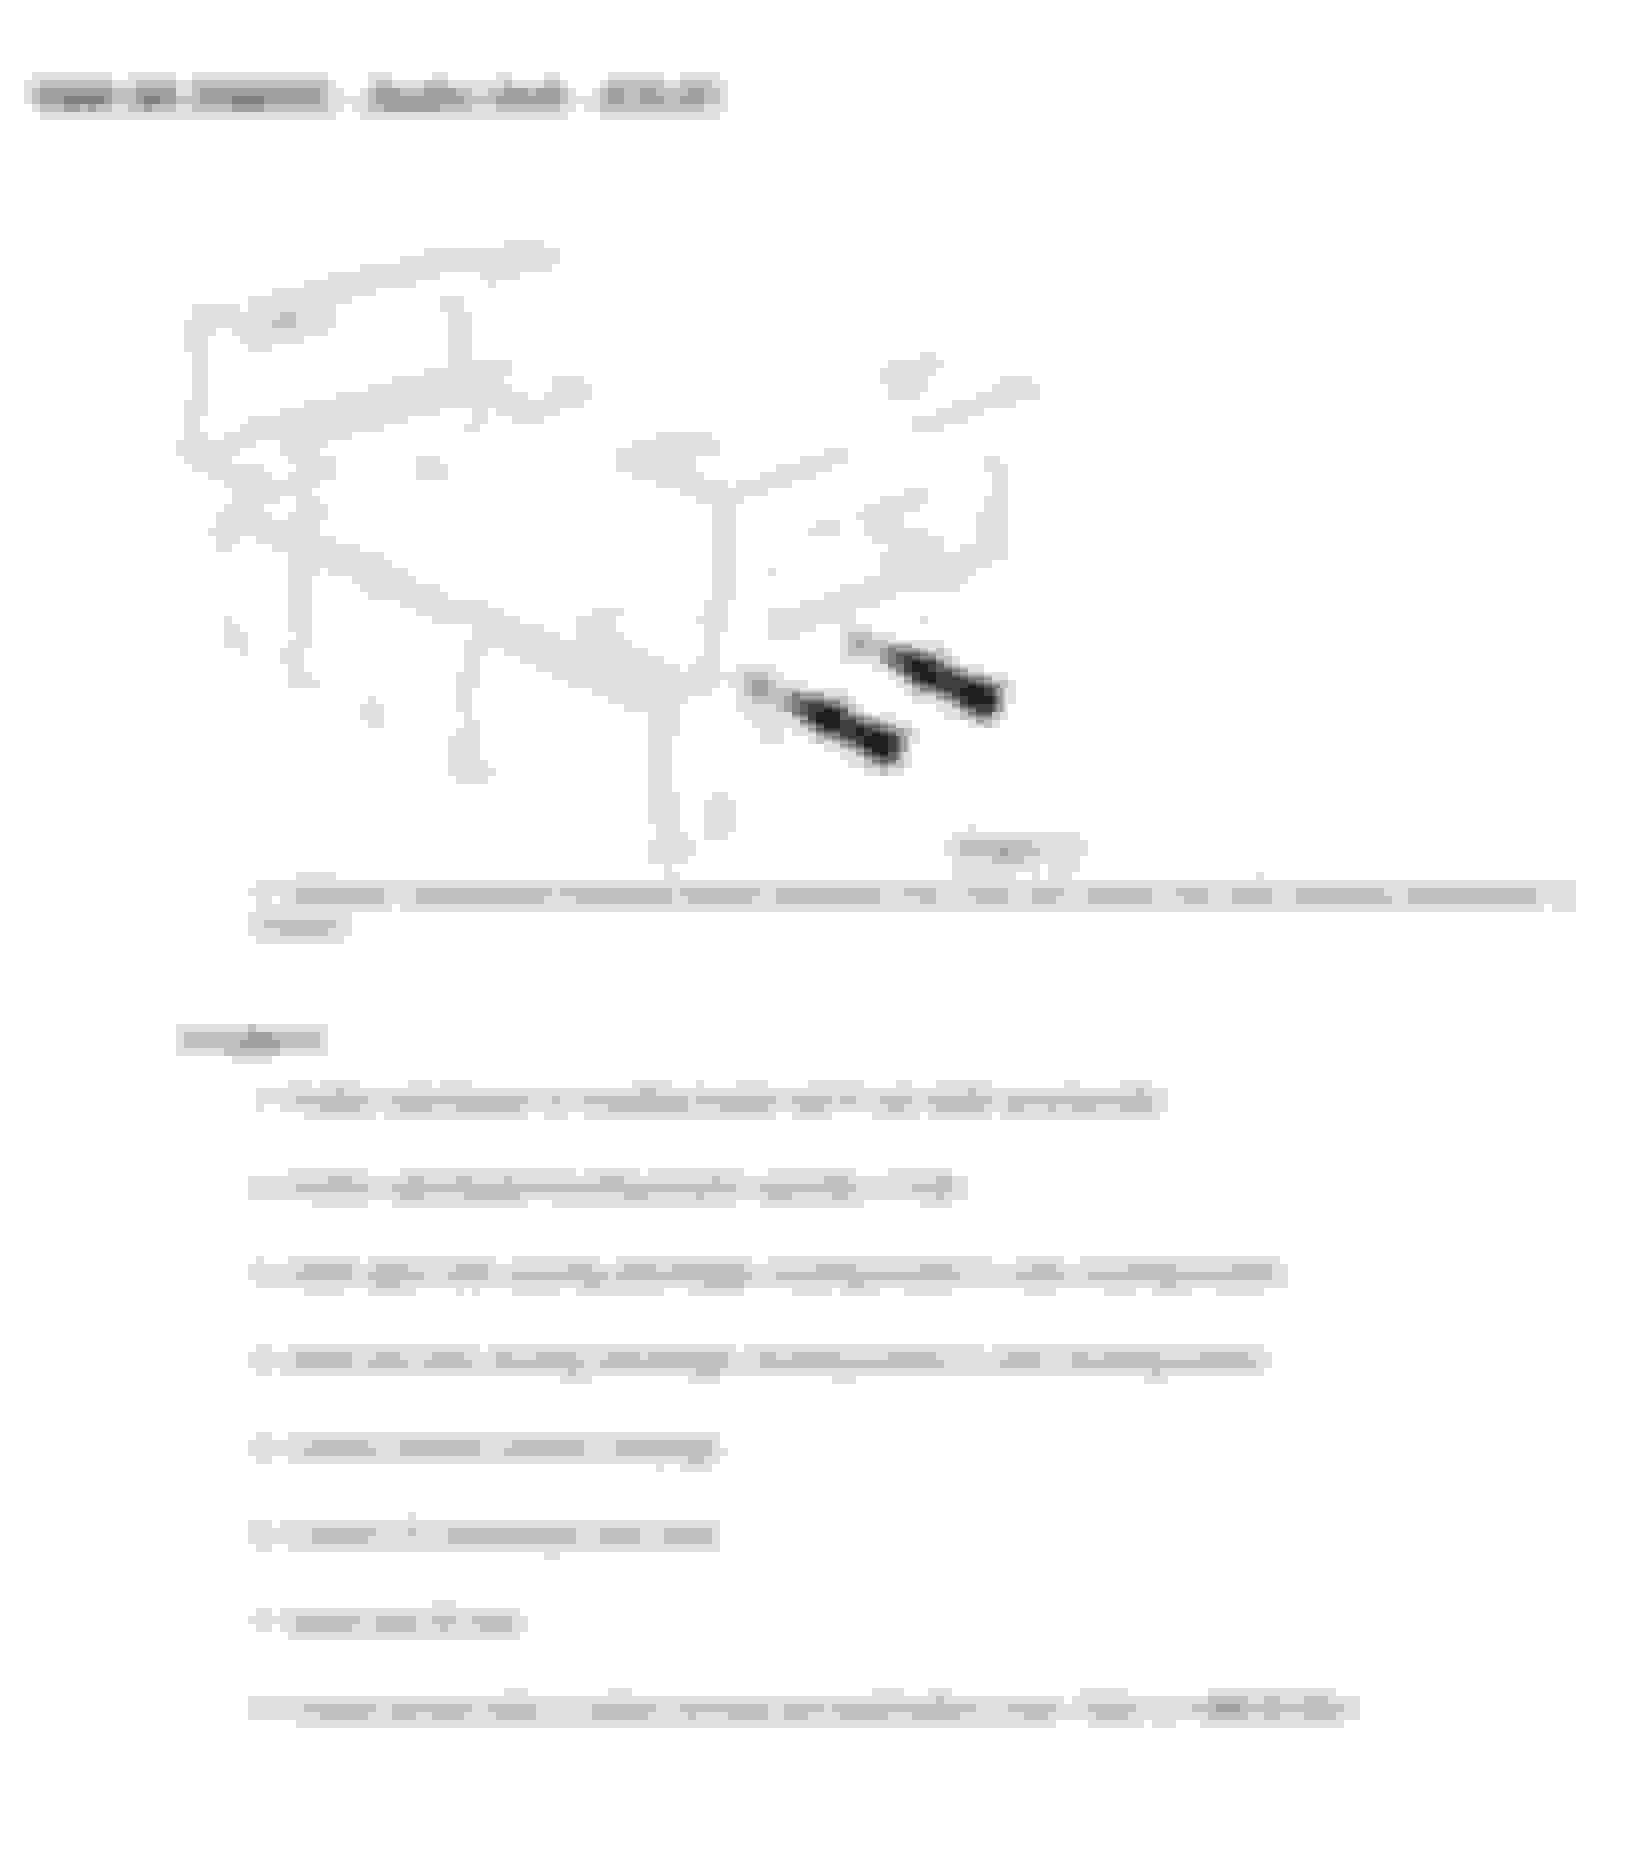
Interestingly, I had error code E-01, but did not have a CD stuck in the mechanism. The cartridge ejection mechanism also worked fine. The replacement was LNC-4140AA and the original was LNF-4140AA, but the older one appears to work properly in my non-exhaustive 5 minute test. I have done no diagnosis on the broken one since this is a 15 minute job, and I'll probably stumble on another one in a junkyard some time.
It looks so easy in the diagrams, but only if you have "British Hands"??
After pulling and replacing my CD unit about 5 times, I finally got pretty good at it. Leaving out a couple of the securing bolts, inadvertently, helps. I got my original unit repaired at a shop in Calif. Also bought one from eBay. Not a lot of Jag junk yards here in S.W. Fla.(mostly Cadillacs).
'You people' with the 'inadvertently lost bolts' are the reason I had to hunt down a couple of bolts when putting it back in...
Here in the U.K. each year we have to have a MOT to ensure the car is roadworthy. Mine was due today. Some weeks back I purchased a �2.20 funnel to use when I undertake the annual oil change. On purchasing the item from our local Halfords (motor accessory shop) they made me aware that I could get a free MOT as they had a promotion on. Here in the U.K. it cost between �18 & �55, depending where you go to get it done. I must admit I was a bit sceptical as to how they could do this for free and expected to get a whole lot of issues listed to be undertaken before they would pass my car as roadworthy. To my delight, it sailed through the test and a MOT was issued - No charge! Love it!!
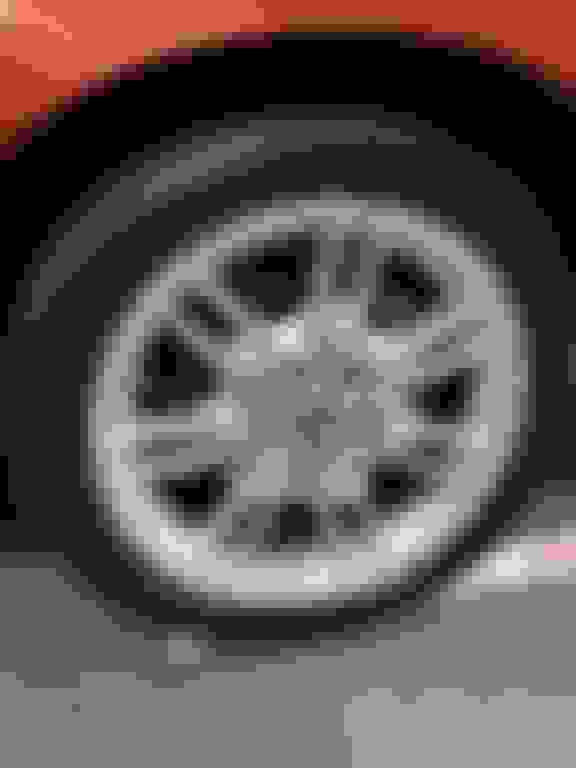
As did I. Then put Gtechniq C5 Wheel Armor on them (lasts 6-12 months, only wash with mild detergent, just wiping is fine sometimes). Only after picture below.
Incredibly satisfying for limited effort. You can get some satisfaction.
Finally finished and installed my arden front splitter
Good day.
I finally got my front splitter installed. Had to repaint it twice because I was not satisfied with my finish work on my patching of the screw holes.

 04-30-2021, 07:28 AM