When you click on links to various merchants on this site and make a purchase, this can result in this site earning a commission. Affiliate programs and affiliations include, but are not limited to, the eBay Partner Network.
I am at about 89K miles now and decided it was time to replace the rear shocks and related bushings. Was not getting any clunks or shakes yet but was pretty sure that the foam rubber bushings had to be near the end of their service life. So I bought a pair of shocks and bushings from Rock Auto. Less than $300 for everything.
I did this job with hand tools and floor jack. No need for a spring compressor. There have been a few threads debating how hard/easy it is. I would call it "not hard".
I got the car up on stands and with the first tire off had to decide where to start. I removed the lower shock bolt. Wanted to see what else would have to be removed after things started to loosen up.
It becomes quickly obvious that several things need to be disconnected so that the control arm can drop enough to extract the spring and shock.
First I removed the four bolts on the rear plate. 22mm
Next the support bars had to be removed. These might only be on convertibles. 17mm
Then disconnect the roll (or sway) bar link. 16mm
(I took this pic out of sequence so you can see the block of wood I stuck in the space later.)
The four retaining nuts holding the shock plate to the body are not hard to get to. 13mm
I decided to get the brake caliper and wheel speed sensor out of the way. Then it was time to push the control arm down to make space for the extraction. I was not comfortable with the "bend the living **** out of the plate" strategy. So I chose to use the good old scissor jack to push the arm down and let the arm make contact with the plate and slowly bend the plate just enough. ( Then I stuck the wood block in the space just in case.)
Once you make space and extract the shock assembly the jack can stay there till you are ready to reassemble.
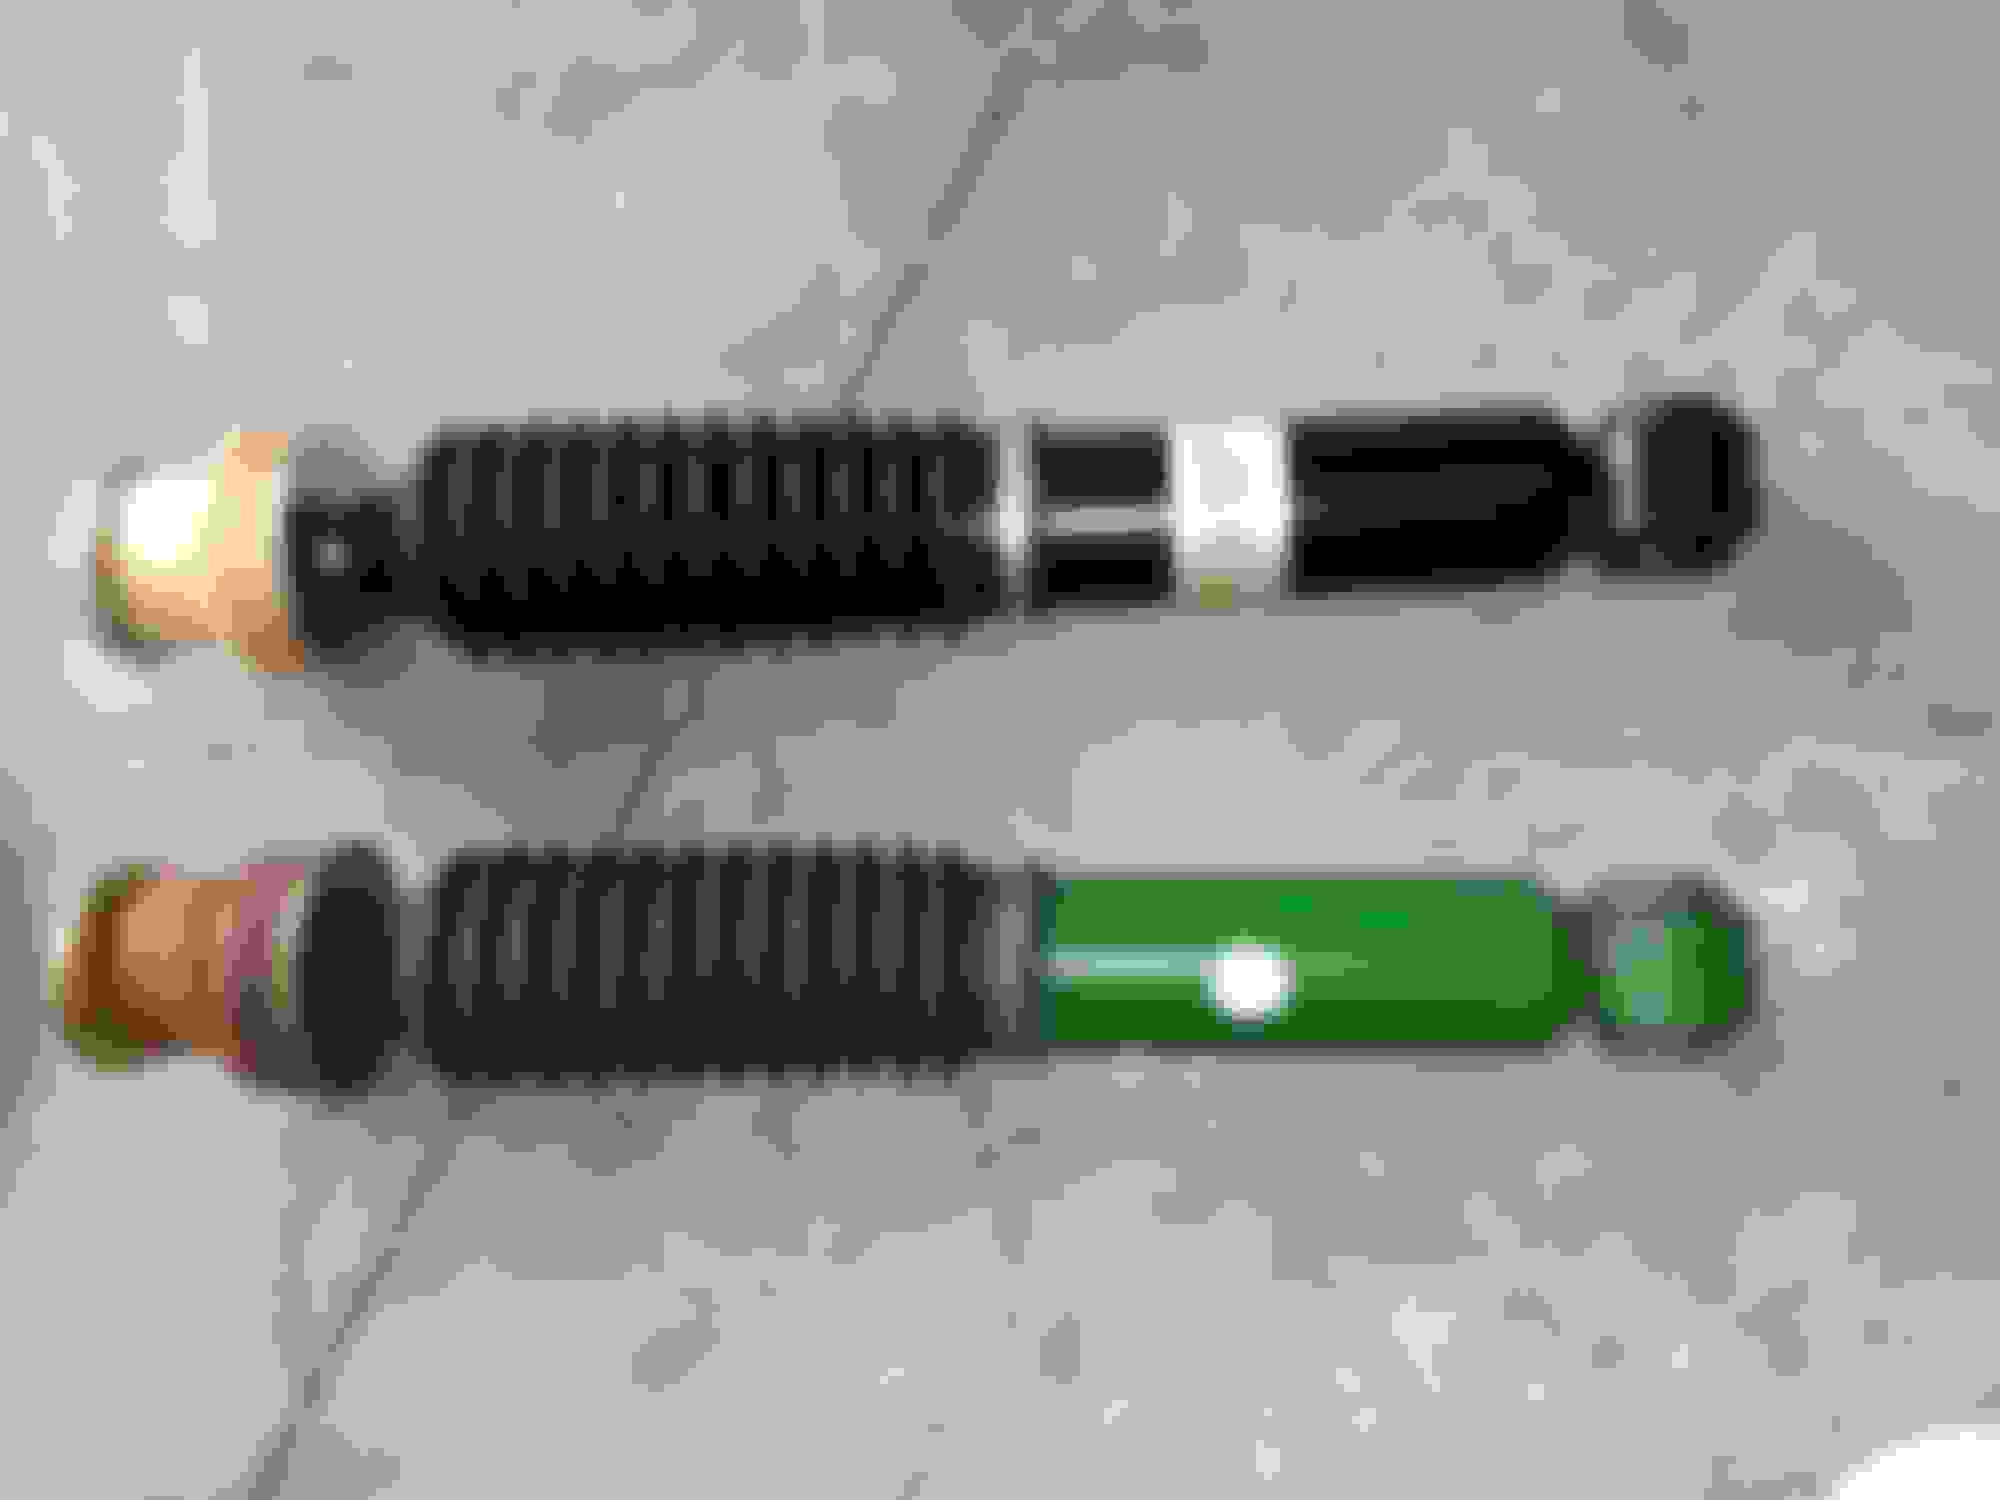
Inspection showed that the rubber was just starting to break down. The shock was still functional but definitely easier to compress than the new one.
Lower bushings were still solid but rubber was falling apart a bit.
The new shock comes assembled correctly. You just have to remove the nut and the top washer and bushing.
I cleaned all the reusable parts and mounted the shock to its housing. Washer is concave from top.
I mounted the new spring bushing and secured the spring using large zip ties. This makes it easy to guide the whole assembly back into place.
Before you insert the new assembly be sure to remove and clean the surfaces of the rubber spring seat on the control arm.
The new assembly goes in easily since the jack is keeping the space nicely.
Once you get the assembly align on the upper mounting bolts the scissor jack can be slowly released and the mounting plate will seat up against the body. The retaining nuts go back on easily.
While you are raising the control arm be sure to plug the bar link back into the hole as it ascends.
Back on with the brakes and the sensor and off to the other side.
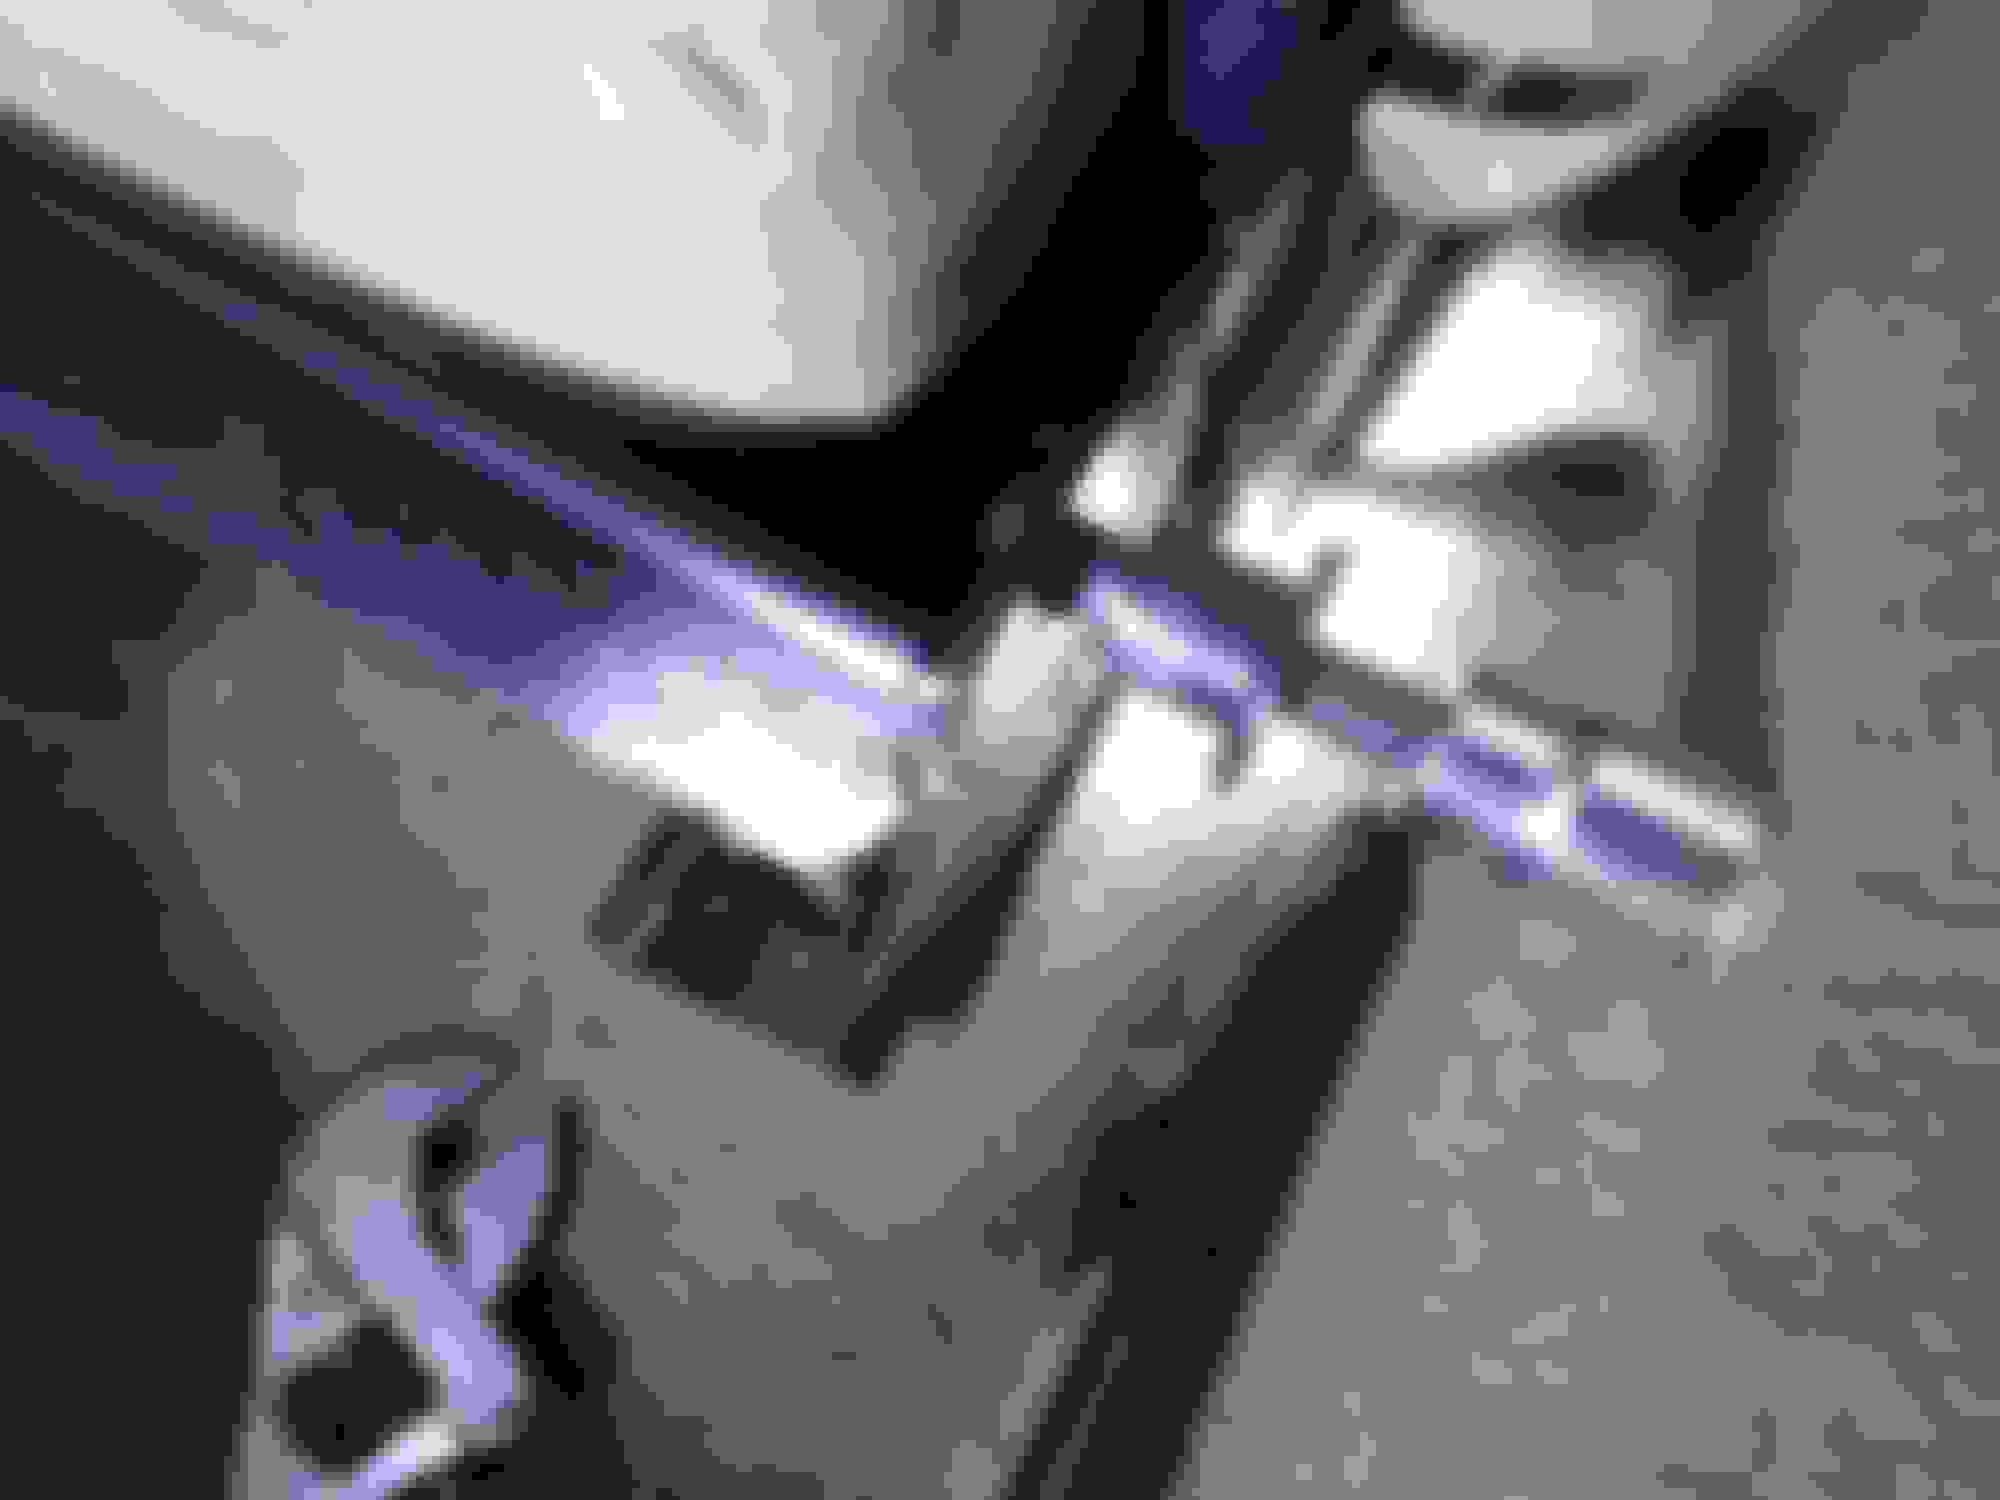
There were a couple things that had to be dealt with on this side. First was this arm connected to some sort of sensor. It just needs to be popped off at its joint.
And the fuel lines and some wiring make the placement of the scissor jack a bit tricky but doable.
Don't do what I did and forget to move these wires before you snug up the new assembly.
The wires need to be like this.
Finally you can remount the support bars and use a floor jack to bend the plate back up so the four bolts can be refitted.
While I had it all up and apart I also greased the u-joints on the drive shafts and cleaned the wheel speed sensors.
This all took me about 7 hours but I took my time and cleaned as I went.
On my test drive I was surprised at how much better the car handles now. I did not realize how soft the shocks were before.
Last edited by rothwell; Jul 12, 2018 at 06:53 PM.
great job - appreciate the write up and pics. I guess I should make the effort now since new rear shocks and bushings have been sitting collecting dust for about a year!!!
Enjoyed reading your thread. All sounds very familiar! I have just had the famous "green shower" and actually replaced the material on the A pillars and the overhead pillar. I did go down the wash and re-use route but ended up replacing anyway. If nothing else it feels much better.
currently trying to find these, either loaners or low cost. I will be getting the special socket in the mail shortly, but I do not have the rest of these tools, and I am unsure what I can get away with not having.
Originally Posted by rothwell
I troll ebay pretty regular to watch for good deals related to my XK8.
Today I got a great one I think. Paid only $7.50 for this wheel bearing tool kit. Seller is going to hold onto them until I can pick them up next time I am in Orlando.
currently trying to find these, either loaners or low cost. I will be getting the special socket in the mail shortly, but I do not have the rest of these tools, and I am unsure what I can get away with not having.
Others have done the job without these tools but I am 100% certain it would be easier with them.
I guess it depends on where you are in Florida. I am just north of Tampa. These tools can't be shipped due to weight. PM me to discuss further.
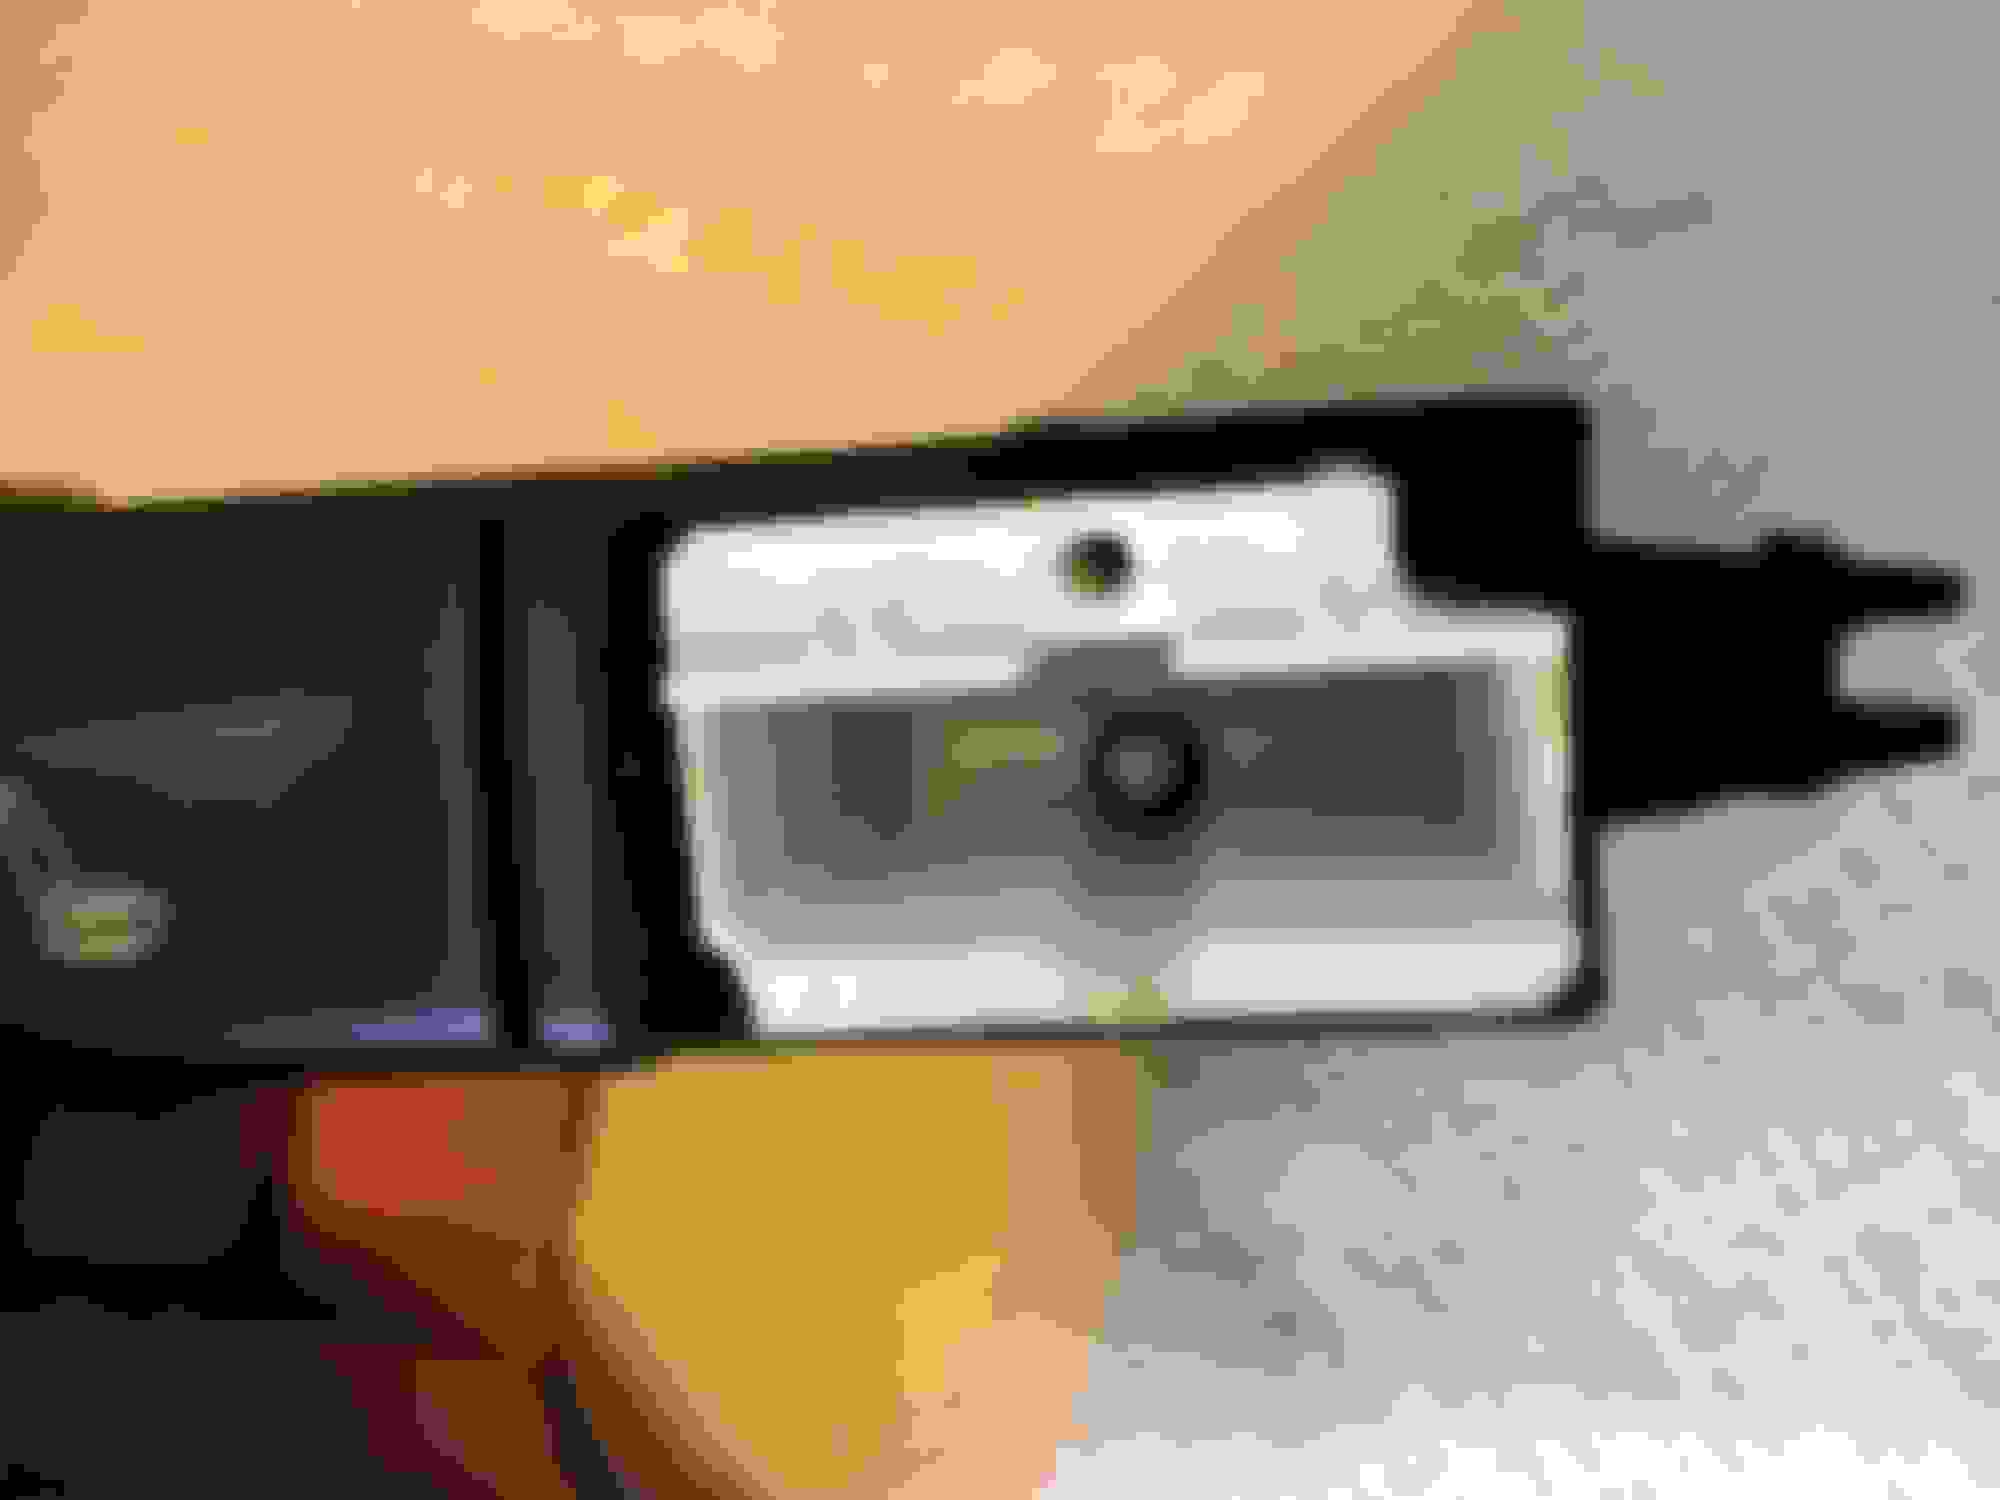
I bought a new intake tube to replace the original one that was suffering from age and heat causing the accordion portion to start cracking.
A few months ago I noticed that it was in need of repair so I used super glue to seal up the few cracks it had.
That repair was still holding up well when I installed the new part.
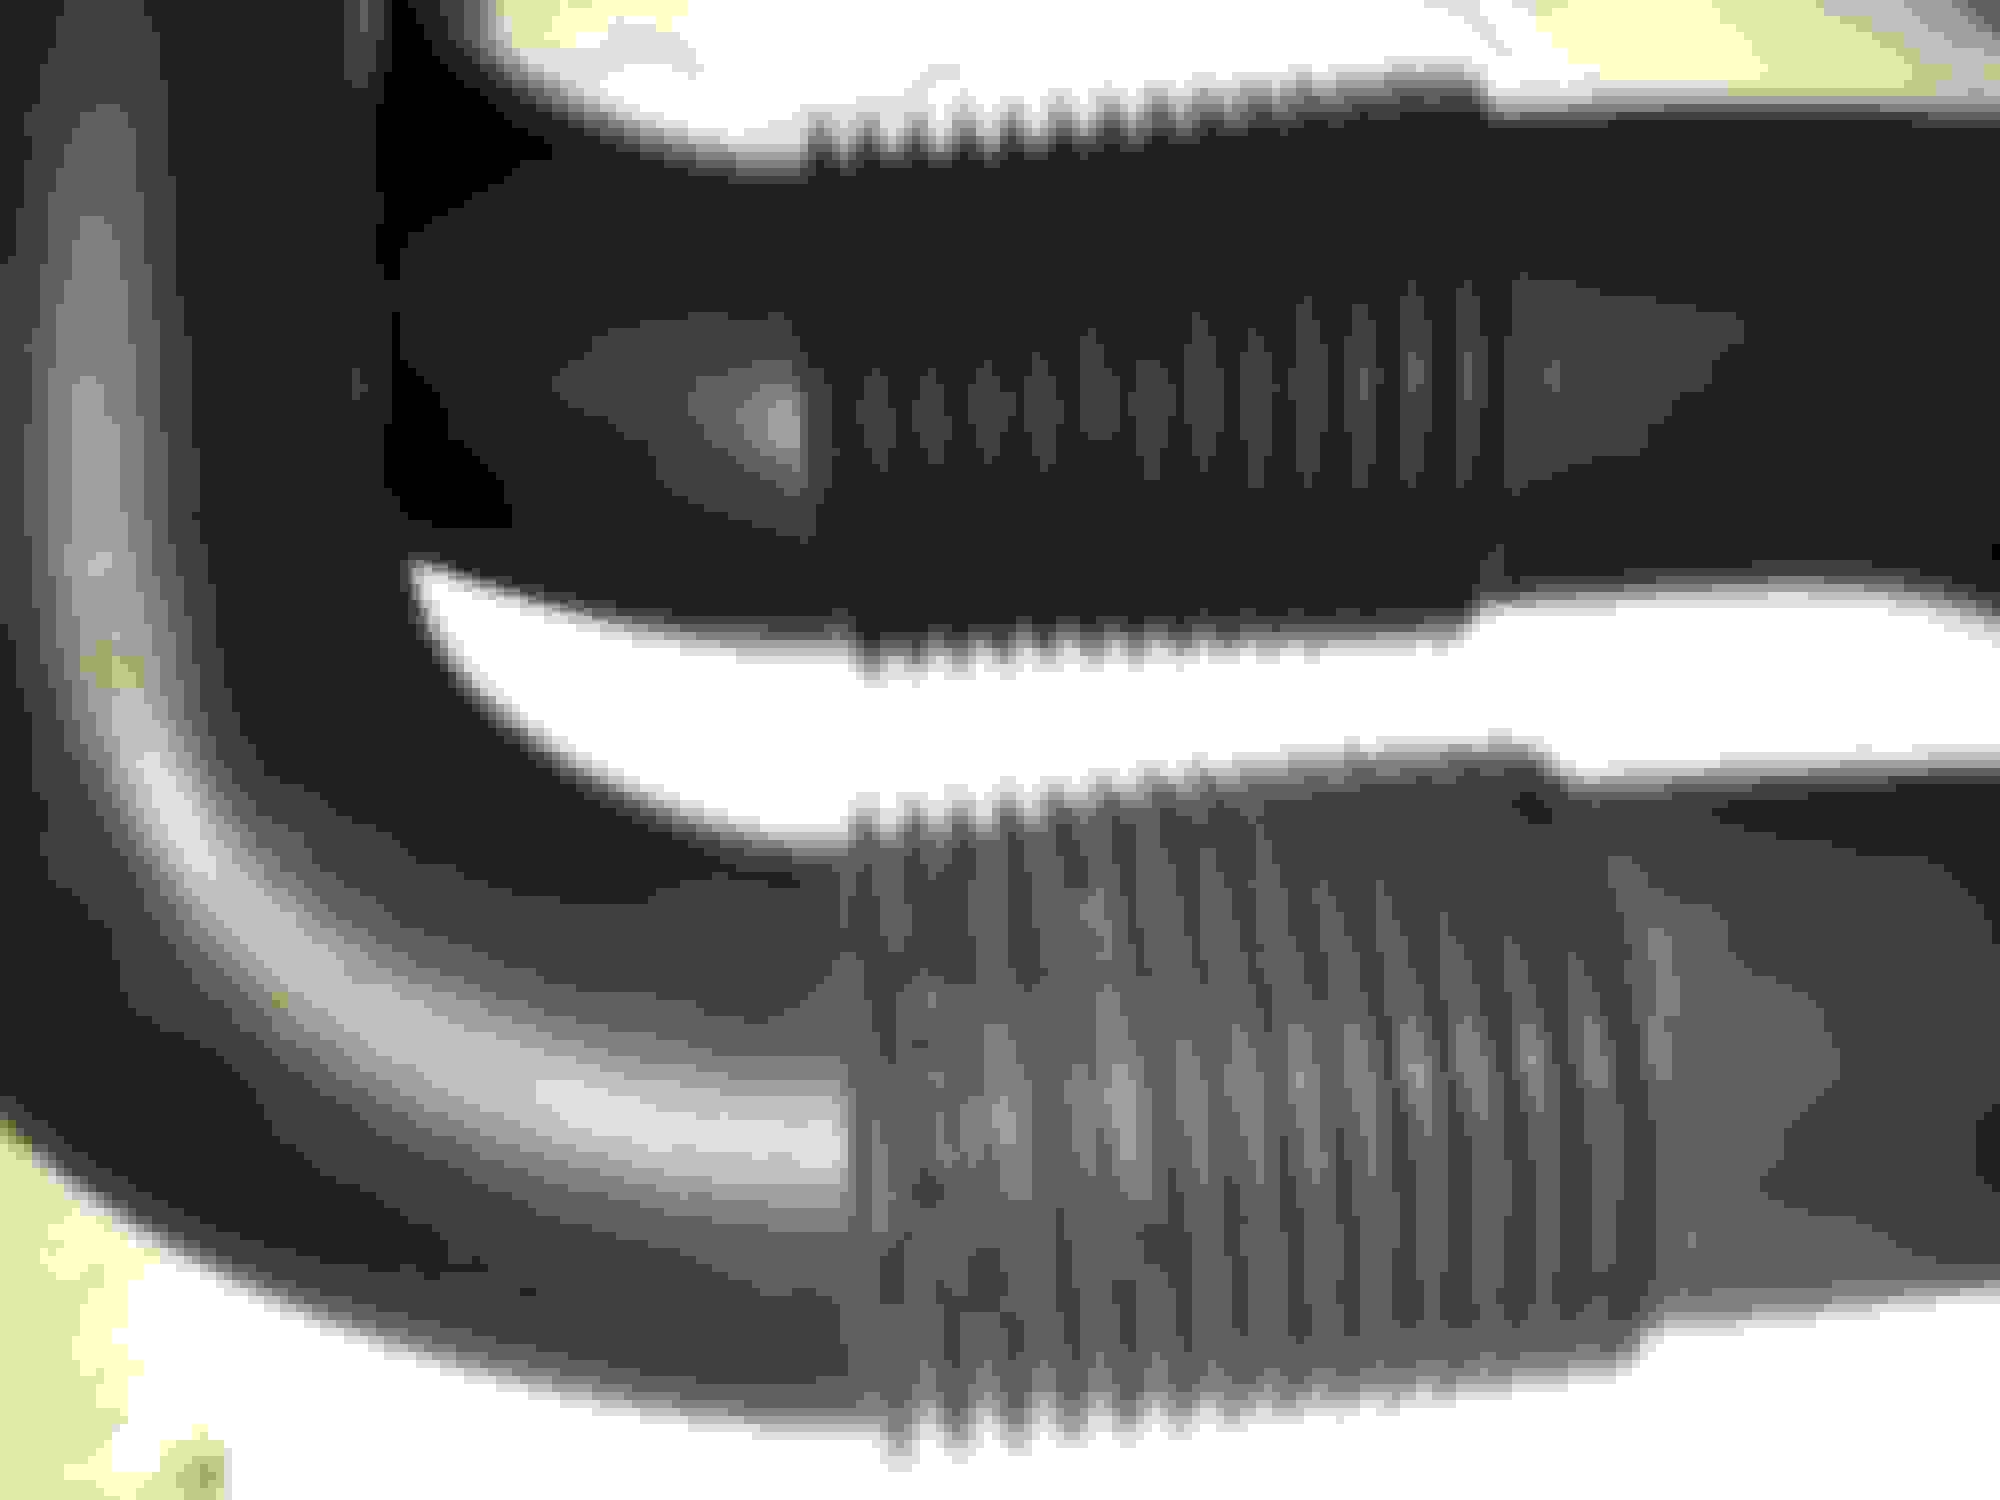
You can see the few cracks in the pic below with the new part for comparison.
Worth noting that the cracks were on the top of the tube while the under side was fine.
I would have expected the opposite due to the heat from exhaust rising.
I replaced this same duct in September 2012. Paid about $115 for it at that time. The factory one was indeed cracking and splitting on the underside of the accordion section, not on the top side. I did not discover those cracks until I removed the duct and inspected it carefully while flexing the accordion section back and forth....
About 5 years ago I had to remove and clean the A/C vents because the foam rubber seals had turned to crumbling bits of goo that flew out of the vents. You can read about that here.
Since then the A/C has remained clear and void of any musty smells. But then...there it was...a new bit of goo on the passenger seat. Where the #@$% did that come from? I think I was pretty thorough yet that bit of goo is staring back at me in defiance. This was war!
So I start pulling the vents back out. And I am looking down into the holes of darkness with my trusty led flashlight for signs...any sign...of the source. But nothing. Still looks like I left it 5 years ago. Then I started eyeballing the vent assemblies themselves. And there it was. How could I have missed it? It is the same in all three vents.
The rotating flap is actually two plastic pieces sandwiching a thin layer of (what used to be) foam rubber. So I figured out how to remove the flap from the center vent.
Once I got it out it was a real mess of goo and dirt. Very sludge like.
I used a small pick to dig it all out from the middle. I opted not to try and separate the pieces of the plastic flap. This car is getting brittle so best leave sleeping dogs lie in this case.
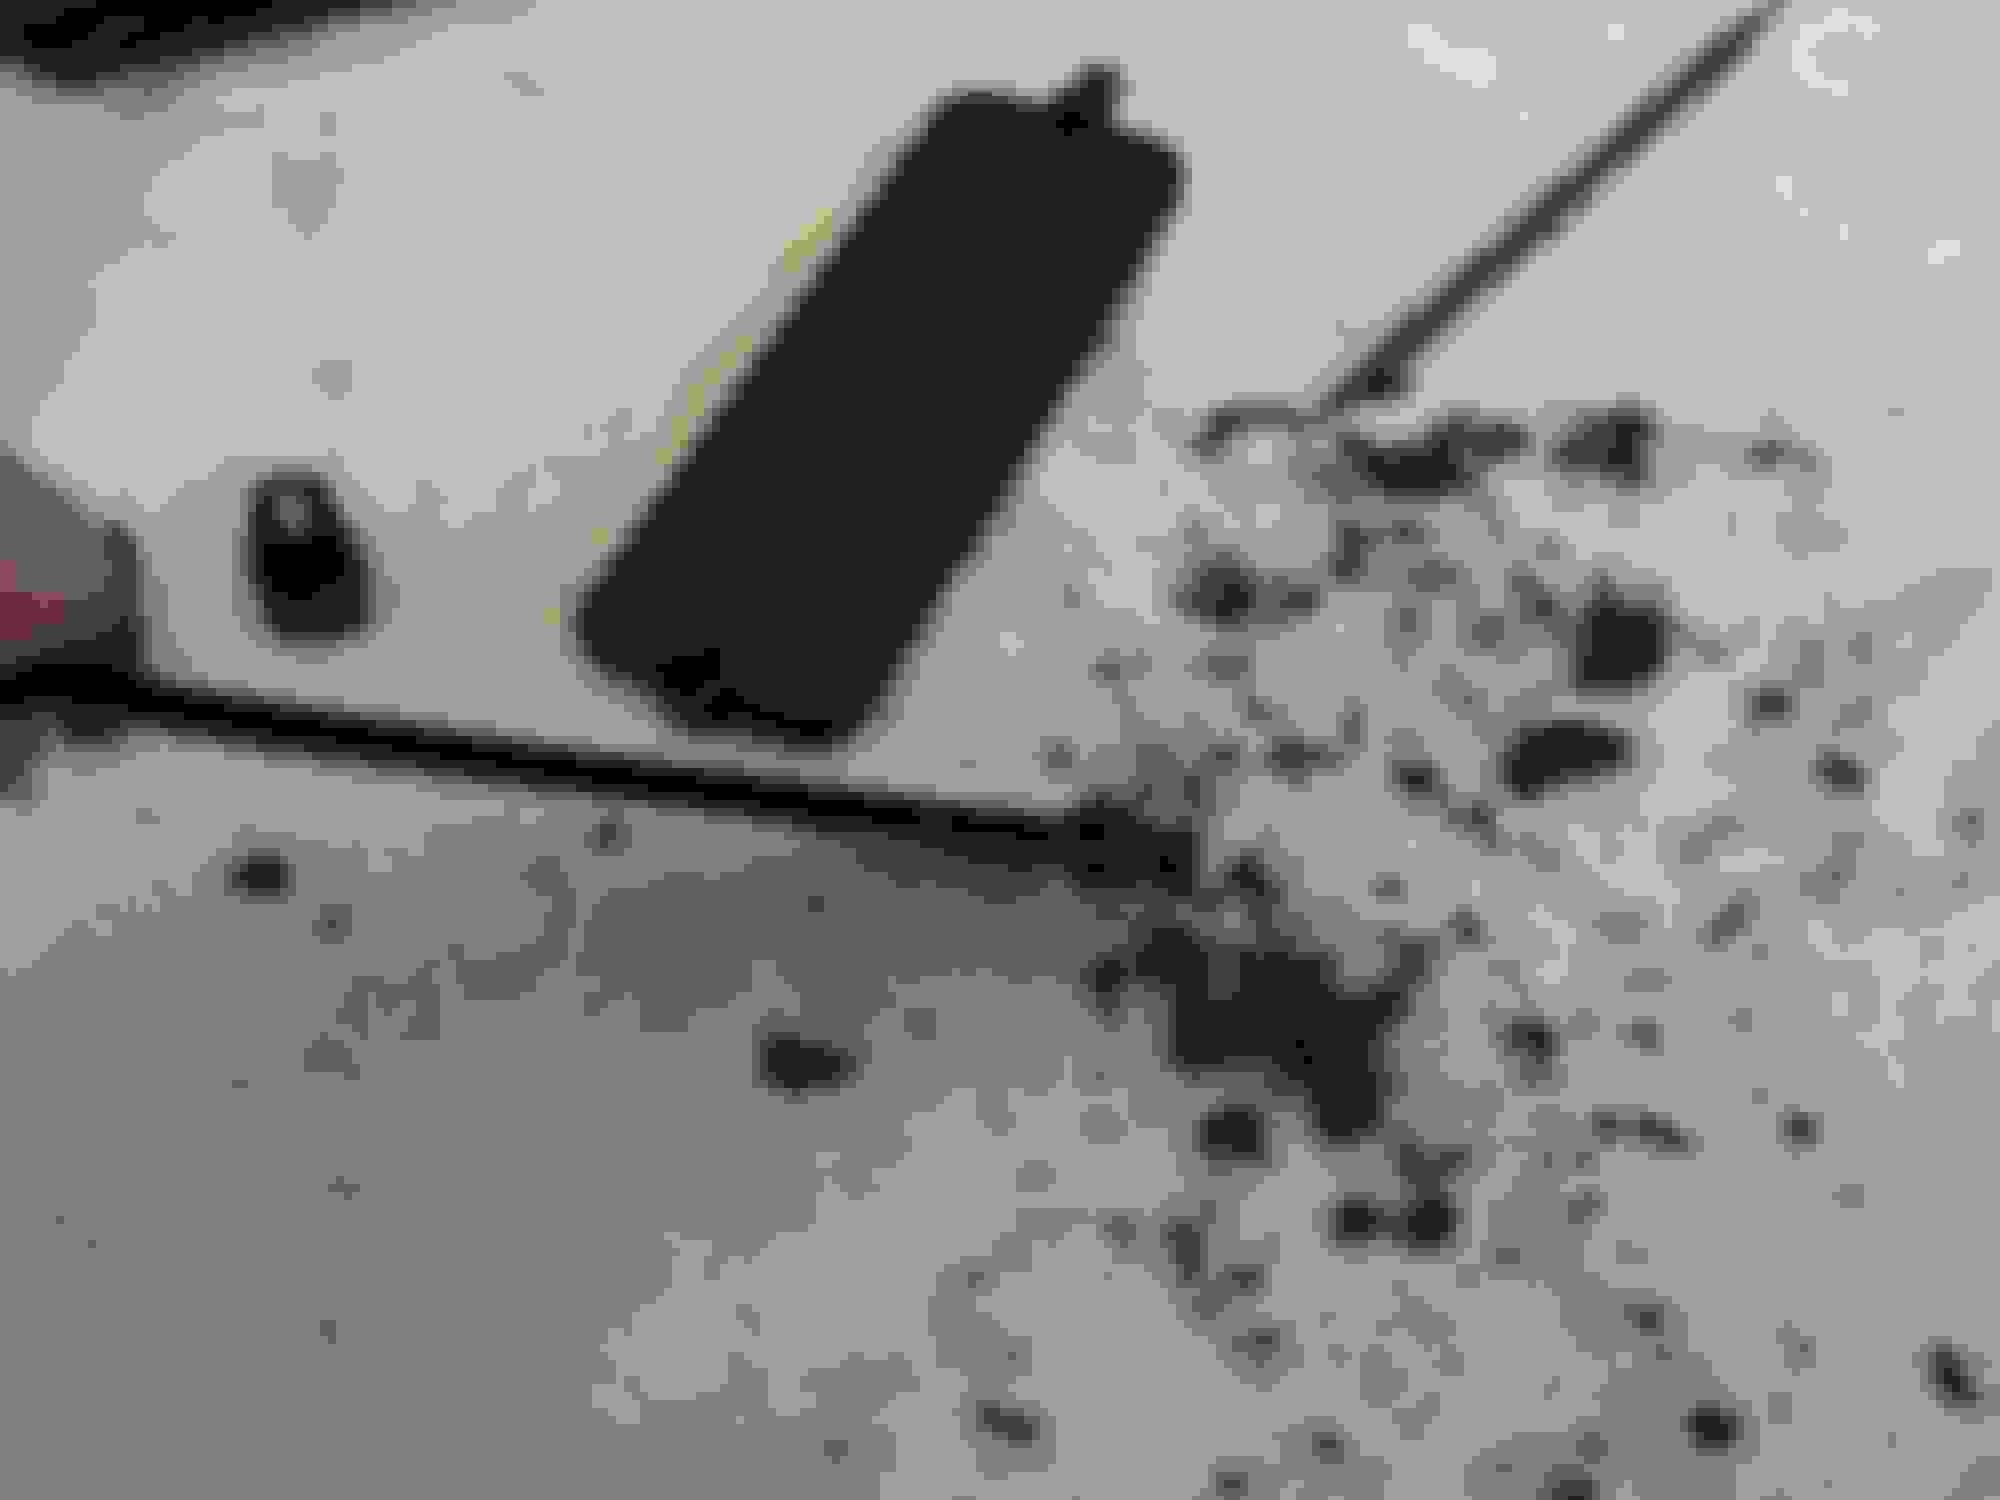
Here you can see the gap in the middle after I got it cleaned out. Note all the crap that came out of there.
Once I got it clean enough I filled it back up with with black silicone. I opted to fill the gap rather than leave it empty and risk getting a whistle noise.
Here's a pic of the reassembled center vent. Hardly noticeable even with the intense light. Undetectable under normal light.
Then back into the nice clean center hole. And off to the end vents.
The end vents were just as bad if not worse.
The crud was amazing. My grandson would have been in awe.
So basically clean, fill, repeat for the end vents. Goo free again.
David, thank you very much for your write ups and tips.. I know it’s a pain and slows things down to take pics while working ..then when you want to relax because the job is finished but you take time to post info here.. much appreciated.
A couple years ago I made the first wave of mods to the interior electronics so I could have a few more modern conveniences. I added USB charging port and wireless charging. Also added an audio connection that was hidden inside the cassette player so I could keep the CD as is. You can read the details of that here.
I left off at the point where I could add a bluetooth receiver I could hook to the audio connection once I found a suitable device. It took a while but I finally found the right one and it works very well.
I got it on Amazon for under $20. It does exactly what I wanted. Powers up/down with car via USB I already installed, pairs to 2 phones, bluetooth reconnects really fast, handles any ground loop interference and is small enough to fit under the wood surrounding the shifter.
So now I can play music from my phone like all those fancy newfangled cars. Yet it all still looks original. Sound quality is on par with the wired connection I had prior.
This is an odd one for sure. I just had to fix it after I realized I could solve a minor annoyance.
One day I was vacuuming the carpet (beach trips = lotsa sand) and I found this small plastic sleeve behind a front seat. It took a few minutes to figure out where it came from.
Turns out it was a sleeve that cushioned the contact between the upper seat support pin and the latch. I took a look at the other three pins and found that those had already lost their plastic sleeves. Here's a pin with the missing sleeve.
You might think the sleeves are really not necessary. Take a look at this pin and notice how much wear it had on the metal since the sleeve failed. (And yeah the seat is out of the car. I decided to go ahead and steam the carpet. I guess I spent too much time with my face near it.)
I had actually noticed that the passenger seat back seemed to move around a bit when going over rough roads. It was starting to make sense.
So I went to my local dealer and showed the parts person what I needed. "Sorry, you can't get that part separately. Part of the seat rack assembly." Crap. What do I do now? Where could I find a sleeve that would fit the pin and be a hard enough plastic to handle the brutal force of the metal seat latch?
You don't have to pull the seats to get at the pins. You can get them out without removing the seats. The ones near the console took some creativity with a socket and a wrench.
So I took a pin and went hunting. First to the auto parts store. No luck there. Then to Lowes where I found just the thing. Hard plastic boots that fit on chair legs. The plastic is hard enough to take the punishment and the diameter was just right.
All I had to do was cut off the width I needed to make each sleeve. Here is one all cut and fitted.
And a new sleeve mounted.
The results of this extremely cheap and simple repair are 1) the seat backs quietly click into place vs. the old metal clank 2) the passenger seat back stays steadier on rough roads.
Hi,
Can you please post a link to those chair tips you found at Lowes? I can't seem to find anything that looks like what you bought.
I needed to replace a bulb in the display of the climate control. It looked like this. It is NOT a failure of the LCD. Just a bulb outage.
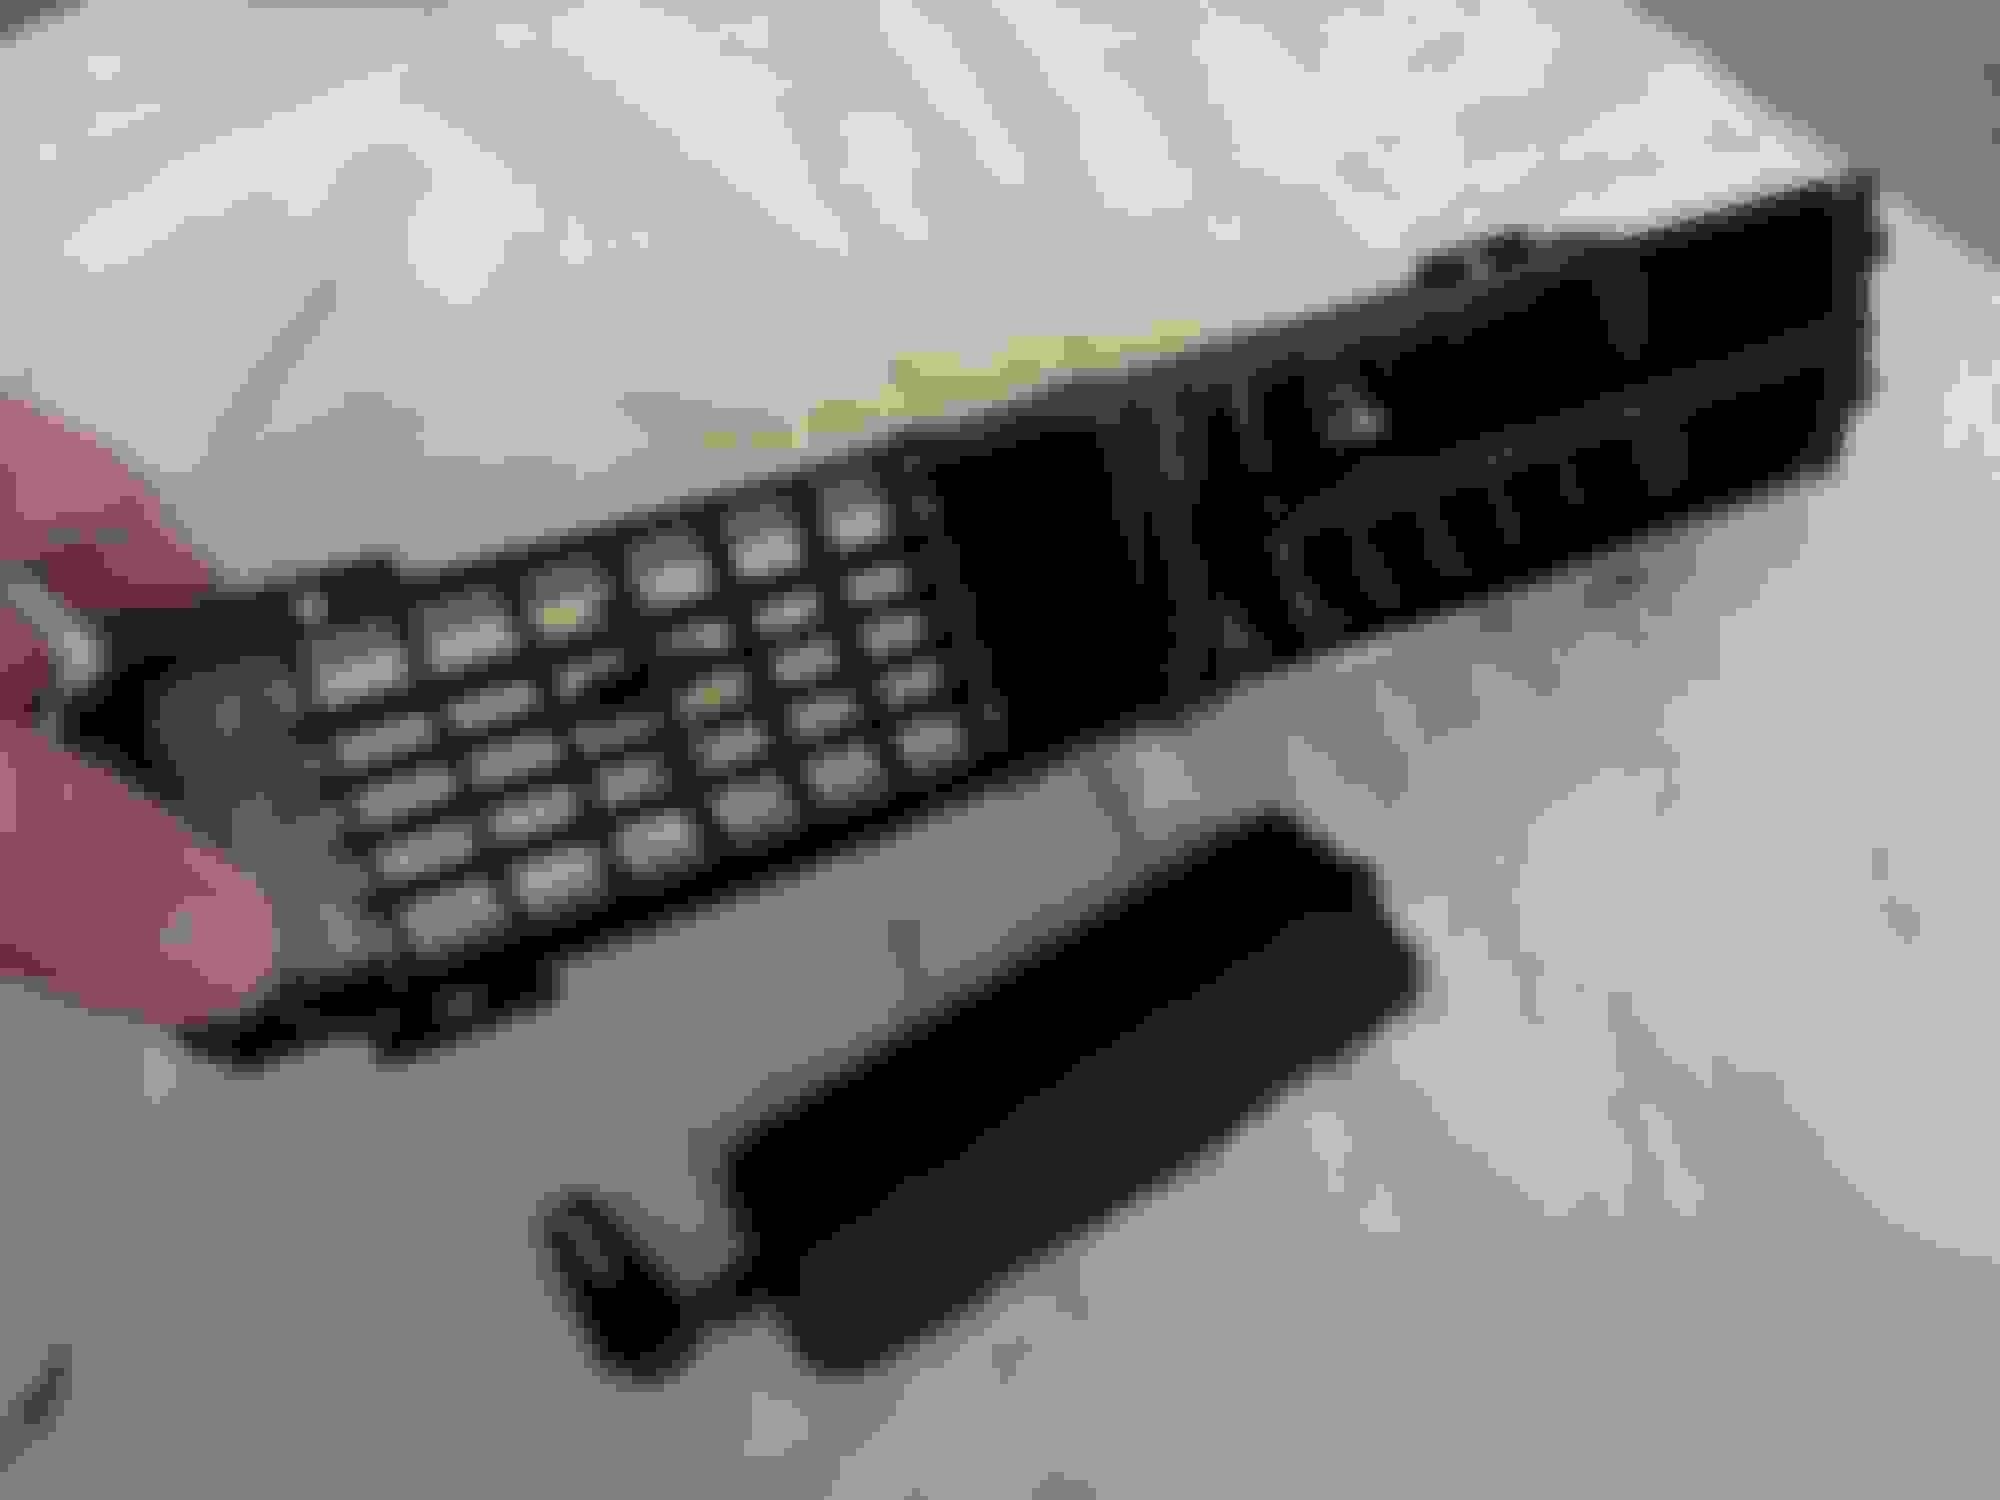
You can find other threads describing how to get the center console apart and remove the controls. Once you get the controls out the bulbs can be accesses from the back after you remove the cover on the climate control. For the lower row of switches the bulbs are not covered and can be directly accessed.
Here is the climate control with cover opened.
You can see the blue and brown bulb holders for the LCD and the switch bulbs are the black holders along the lower edge.
These neo wedge type of bulb holders require 1/4 twist using a good fitting flat blade screwdriver.
The climate control contains
(7) T3 neo wedge blue sleeve
(1) T3 neo wedge green sleeve
(2) T4 neo wedge blue sleeve
Lower switch panel might vary by model year but mine contained
(5) T4 neo wedge blue sleeve
(1) T4 neo wedge white = no sleeve
I opted to buy only white (clear) bulbs and reuse the colored rubber sleeves on the few I replaced, figuring that had a better chance of color matching.
I bought mine on Amazon but was not happy with the fit of the T3 plastic bulb holders, so much so that I removed the bulbs and reused the original holders.
There are a lot of choices on Amazon so there may be better fitting ones than I got. Ultimately they did work and were way cheaper than OEM or bulb specialty websites I checked. I paid less than $20 for 16 bulbs.
While I had the lower switch panel out I took a look at how they are put together and found that the button fronts snap on/off. So I removed them and "relocated" the lube that was not really helping where it was.
Overall this was a PITA for such a seemingly trivial thing. Lots of stuff to remove just to get to the damn bulbs. Nothing was difficult to remove, just tedious and fragile to handle.
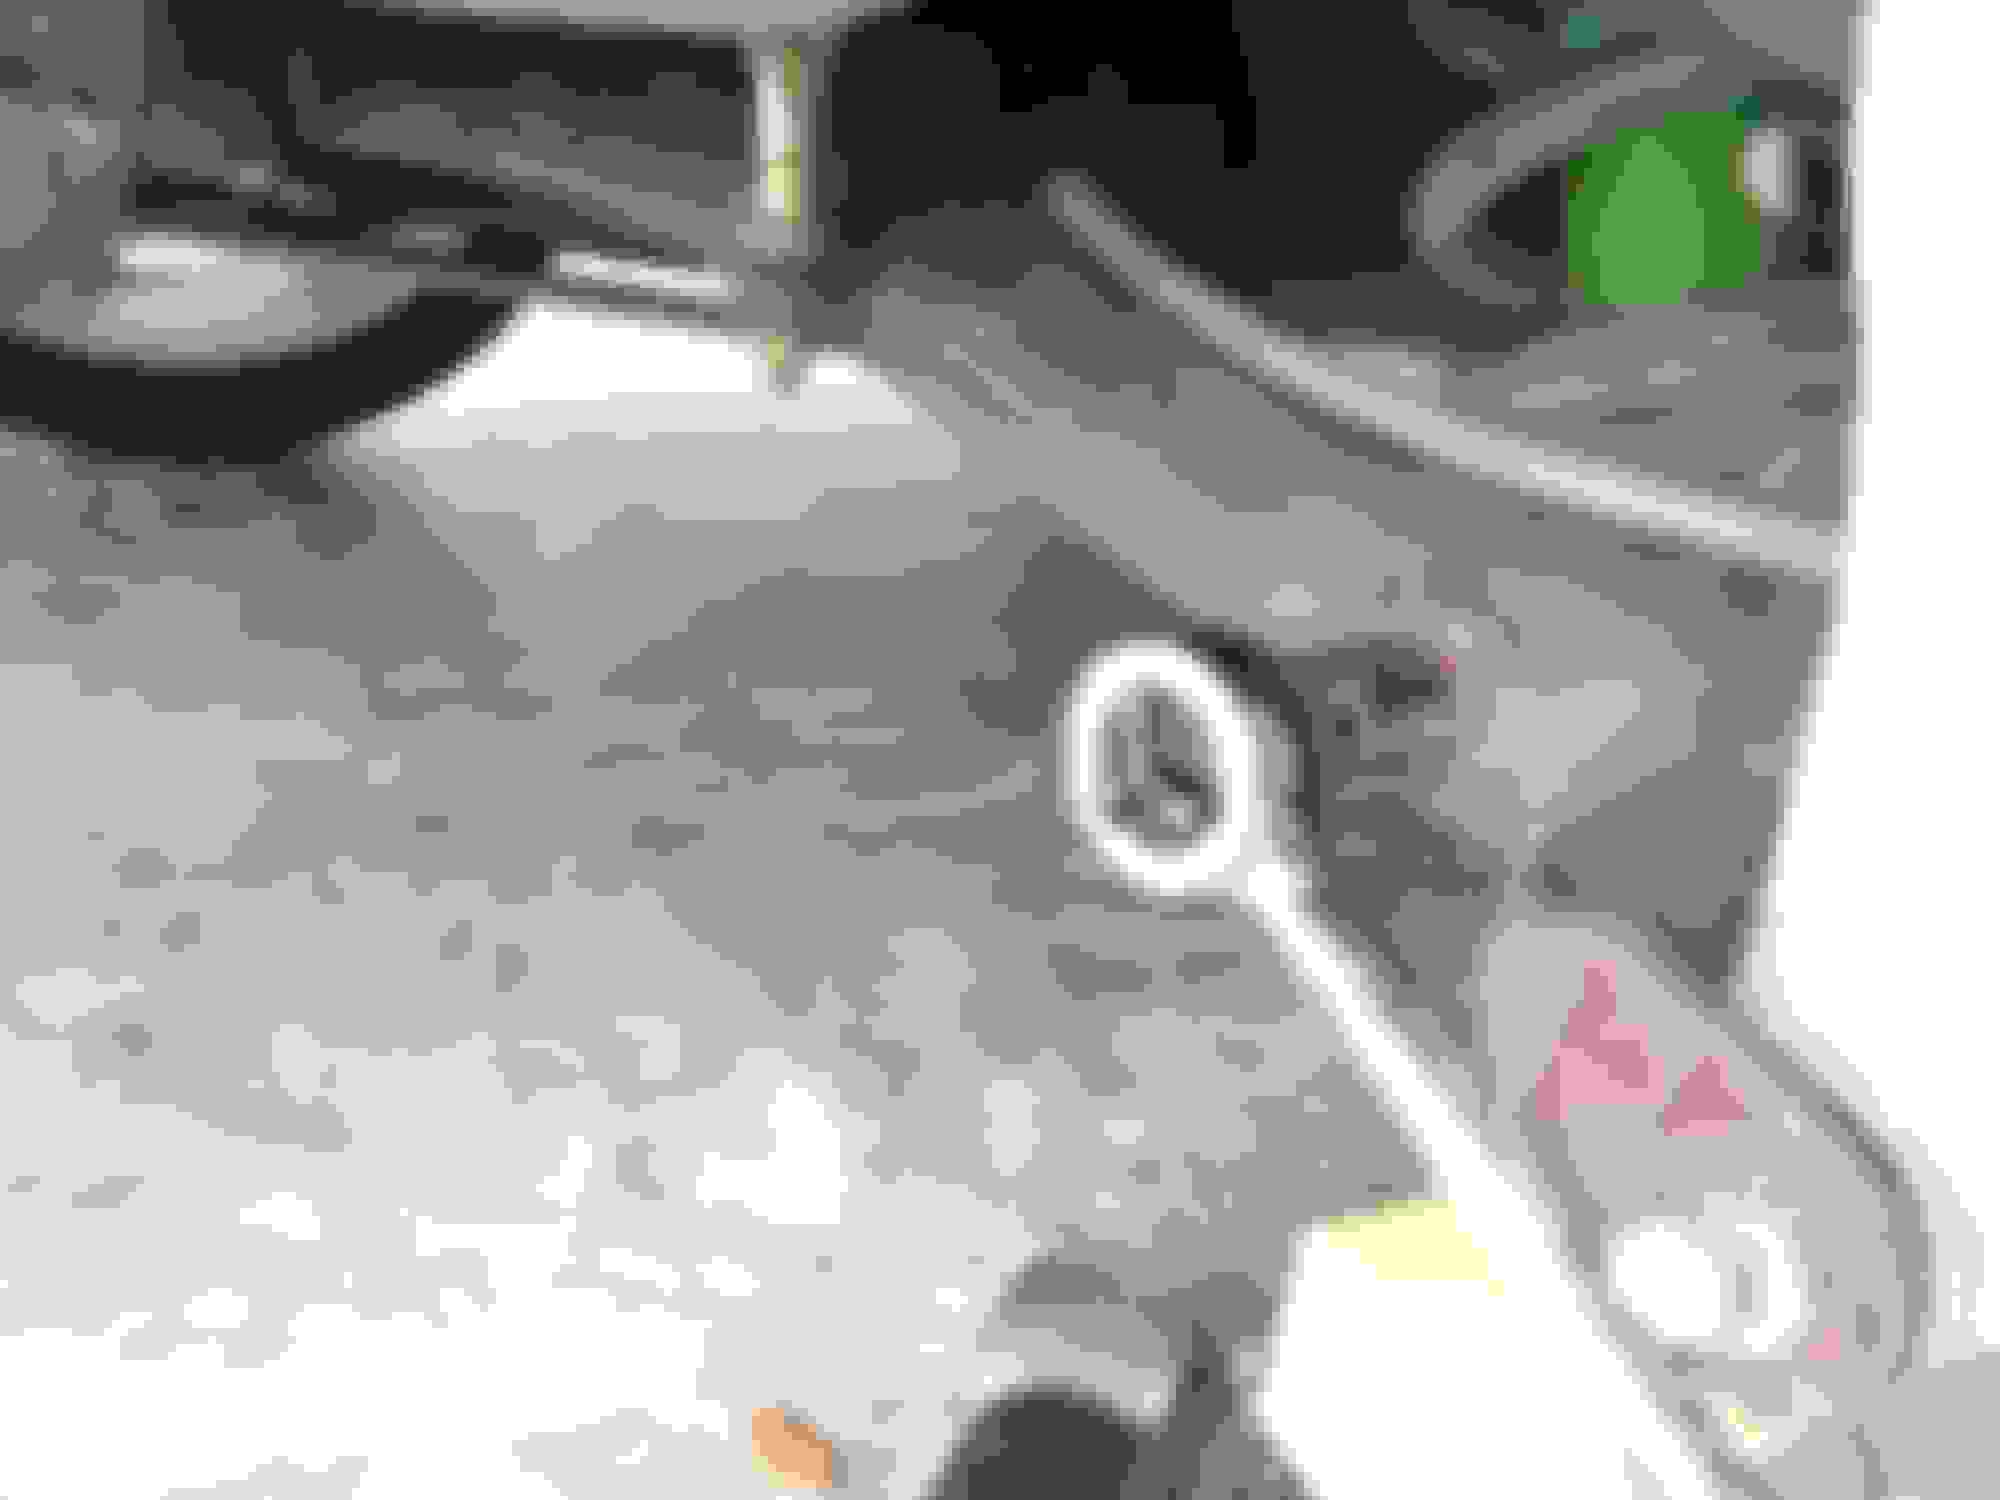
Your climate control display bulb replacement project is very timely (I did that job back in March and yes, it was a bit of a hassle to get to them). Earlier today I posted a thread containing some questions regarding the two bulbs behind the on-off buttons for the windshield defroster and the rear window (convertible) defroster. Those two buttons no longer illuminate on my wife's 2006 XK8 whenever the headlamps are on. Any idea which bulbs fit behind those two buttons, the best source for replacement bulbs, and the best way to get to them?
Your climate control display bulb replacement project is very timely (I did that job back in March and yes, it was a bit of a hassle to get to them). Earlier today I posted a thread containing some questions regarding the two bulbs behind the on-off buttons for the windshield defroster and the rear window (convertible) defroster. Those two buttons no longer illuminate on my wife's 2006 XK8 whenever the headlamps are on. Any idea which bulbs fit behind those two buttons, the best source for replacement bulbs, and the best way to get to them?
Jon those are in the bottom row of bulbs within the climate control assembly. T3 size with blue sleeves. I tried to brighten up the image and circled the ones involved.