When you click on links to various merchants on this site and make a purchase, this can result in this site earning a commission. Affiliate programs and affiliations include, but are not limited to, the eBay Partner Network.
One of my three carbs on my 3.8L engine is leaking from the bottom. The engine is a bit rough but when it warms up is as smooth as glass. Would a rebuild fix this issue? I can find my way on the SII, SIII and X350 engines but the carb engines are new to me.
Is there a carburetor rebuild kit that is better than any others? Sources? Anything in particular I need to watch out for?
Sounds like the diaphragm split and is leaking. The cold start enrichment on the HD8 (Horizontal draught_Diaphragm 8X1/4 inch) is activated by lowering the jet and the flexible diaphragm can split/leak.
New jets can be installed and centered. I would replace all the jets. If one failed, the other 2 can not be far behind. Check the needles for wear.
I'm a little confused...I am pretty familiar with S.U. carbs, and don't remember a diaphragm in the carbs....
ZS carbs do have a diaphragm...
In any event the Rogers (reproduction) tuning kit is the one you will want, along with a Unisyn synchonizer...Both inexpensive, and very useful.
Very simple tools, that will make jet centering and synching very easy.
Edward
Rubber diaphragm supports metering part that needle goes into. WHen split does leak. A centering tool is available and not that expensive. Rebuild is not bad unless throttle shafts need reamed and then a little more technical.
Rubber diaphragm supports metering part that needle goes into. WHen split does leak. A centering tool is available and not that expensive. Rebuild is not bad unless throttle shafts need reamed and then a little more technical.
Do you have a SNG part #? Are you talking about the jet assembly???
Sorry, never heard that referred to as a diaphragm.
Do you have a SNG part #? Are you talking about the jet assembly???
Sorry, never heard that referred to as a diaphragm.
Edward
From wikipedia............
The carburettor identification is made by letter prefix which indicates the float type:
"H": in which the float bowl has an arm cast into its base, which mounts to the bottom of the carburetor with a hollow bolt or banjo fitting. Fuel passes through the arm into the carburetor body. The bolt attaches to the carburetor body just behind the main jet assembly.
"HD": the float bowl mounts with its arm fastening directly below, and concentric with, the main jet. The arm has a flange that fastens with 4 screws to the bottom of the carburetor, and sealed with a rubber diaphragm integral with the main jet.
"HS": the float bowl is rigidly mounted to the carburetor body, but fuel is transferred by a separate external flexible line.
"HIF": the float bowl is horizontal and integral (hence the name).
"HV", "OM" and "KIF" types also exist but were less commonly employed.[5] The Imperial sizes include 1-1/8", 1-1/4", 1-1/2", 1-3/4", 1-7/8", and 2", although not every type (H, HD, HS, HIF) was offered in every size.
Last edited by motorcarman; May 18, 2016 at 08:38 PM.
The shop manual strongly suggests that the carbs should not be removed from their respective intake manifolds but rather be removed along with them. There seems to be a concern about the proper fit of the o-rings around the spacer if the carburetters are removed and re-installed in the engine if the intake manifolds remain in the engine.
I hazard to high jack another Jag brother's response, however, had these readily available......
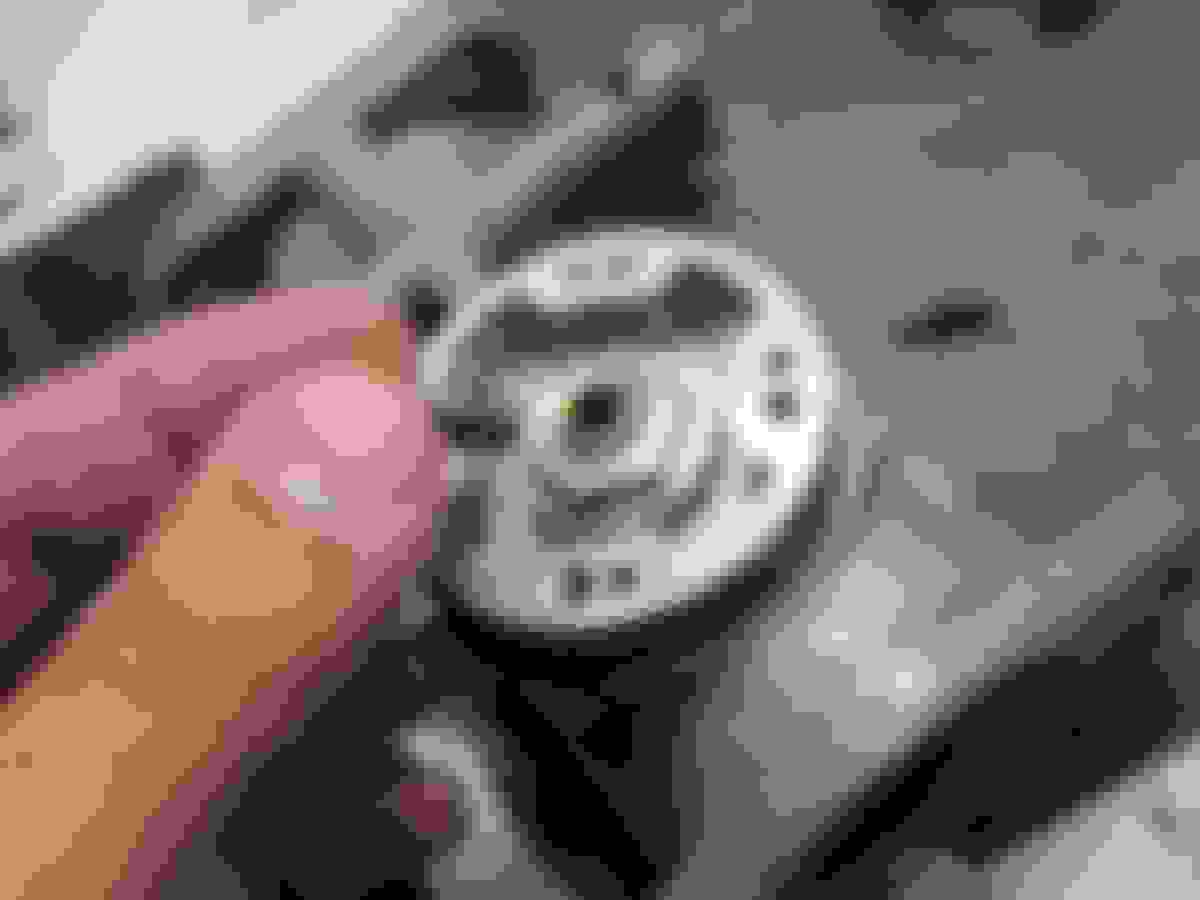
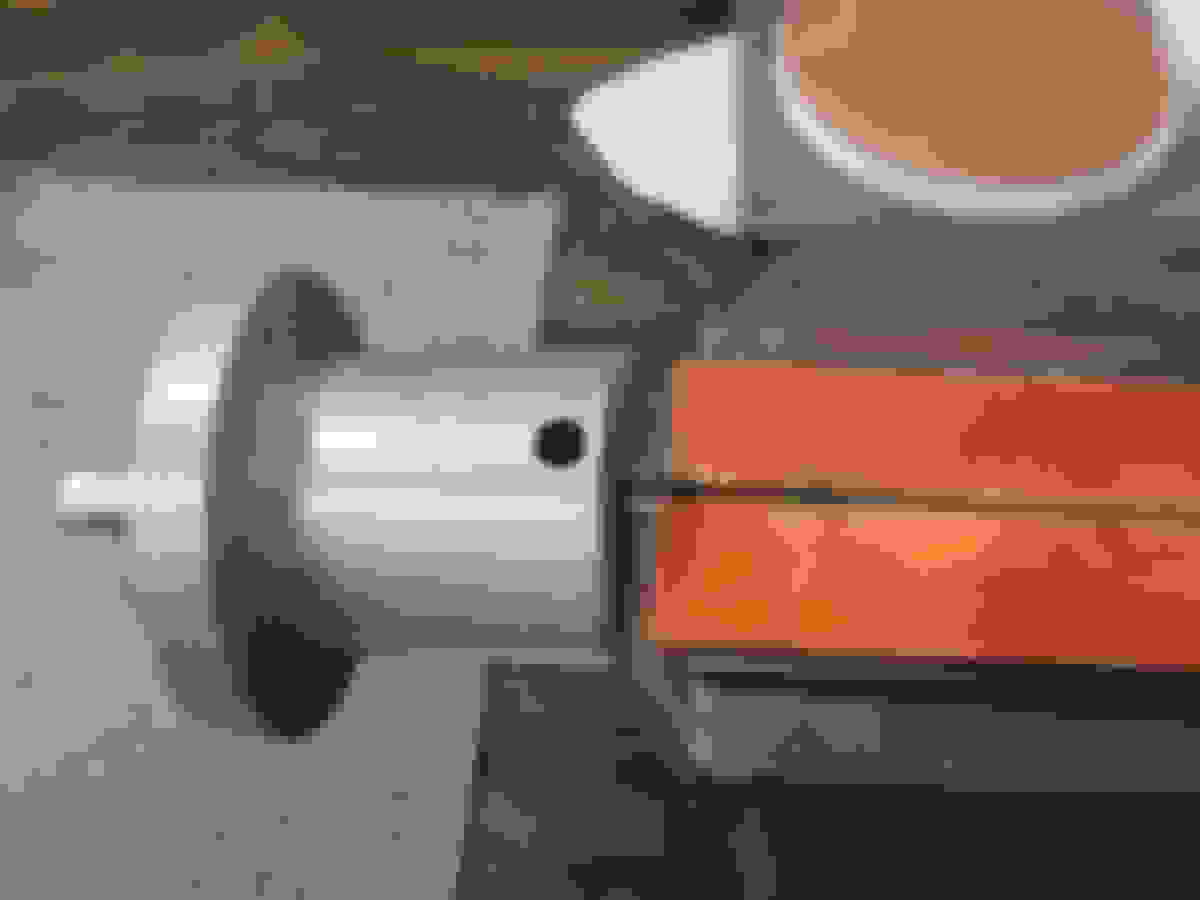
The little "doodad" next to the vinyl pouch is part of the tool kit and is the centering tool. Once the jet is in place, leave it slightly loose. Then, you insert the small diameter end into the needle seat. When you lower the "bell" it will/should self-center the jet, insuring there is no binding on the needle when it is re-installed. Tighten the jet with the centering tool in the jet, this insures the jet doesn't move. The needle needs to move within the jet without binding. As shown, I own a number of different sync tools including the early version with the lifting rods and the fuel level adjusting rod as seen in the previous link. By far the best is the one on the right of this photo. Although, the Unison is a dar good example too.
Good Luck...
Time to start playing around! Nothing than rebuilding something totally foreign and unknown for the first time!!
Hello Lagonia,
With the cleaning process, don't get carried and use any abrasive, or any agent that will change the fit of the Air Piston in its Bore (clearance). Like a Stromberg 175 CD carburetor, the SU is a Constant Depression type carburetor, but unlike the Stromberg, it relies on the fit of the Piston to maintain the Vacuum in the chamber. The Stromberg uses a diaphragm, so is more forgiving in this regard.
RedRider48, I did get the tool you mentioned above. I CANNOT get the centering pin to slide into the jet bearing. It gets stuck. Would I have an off size centering pin or am I missing something?
Also, I cannot get the jet needle off the piston, period! Is there a trick to removing it? The lock screw is out of course...
So I was able to pull the needle out by soaking it with PB Blaster and then twisting the piston with the needle securely (but gently) held by the vice with vinyl protectors.
Now on the centering pin - I am measuring 0.251", 0.003" thicker than yours. That does explain it.