When you click on links to various merchants on this site and make a purchase, this can result in this site earning a commission. Affiliate programs and affiliations include, but are not limited to, the eBay Partner Network.
Replace serpentine tensioner
J-Gate & Sport mode switch bulbs courtesy of our very own A.J.P !
Replace the black bezel J-Gate trim that was broken trying to install the ill fitting previously acquired J-Gate bulbs. Climate Control display bulbs.
KC, if you are not already aware of this vid, it is a useful guide into the climate control bulb job...............
Fair warning, it really doesn't take the 22 minutes to do that the video length shows, I rambled a bit about other things and whatnot. If you watching the important bits and get an idea of what you're looking at, steps-wise, you can do it in half that.
Installed my adjustable fuel pressure regulator today. Was running rich after some mods, finally back to normal. Part is an eBay universal. Not bad quality, maybe a bit bulky. Fuel rail flange needed to be modified and an efi quick connect needed to be purchased. also will be finding myself a longer vacuum line.
Fair warning, it really doesn't take the 22 minutes to do that the video length shows, I rambled a bit about other things and whatnot. If you watching the important bits and get an idea of what you're looking at, steps-wise, you can do it in half that.
Well, I made a to do list for my XJ today... And I will probably be busy for a while. When done though, my car should finally be up to my standards and reliable.
- replace all front rubber bushes
- new springs (-30 mm)
- new shocks (not sure whether Bilstein or KYB)
- new power steering pump (squeals)
- new water pump (to be checked soon)
- set valve clearances
- bigger service with spark plugs, filters, ...
- new brakes (maybe 325 mm upgrade)
- replace rear bushes and bearings
- new shocks (again Bilstein oder KYB)
- new springs (-30 mm)
- replace diff fluid
- manufacture own dip stick for 5hp24 (design process, easier than the one at the moment)
- replace front windscreen
- replace rear right sixlight
- remove exhaust openings from rear bumper
- respray car
Quite a lot to do. And then I still have my XJ-S to finish yet!
Replaced A/C clutch bearing after noticing it catching in cold weather causing my tensioner to load and pop. Not alot of info on this but it was simple enough. Bearing is a cb-1101 or 25211 $15 with one day prime, cant beat it. 10mm bolt up front, held the clutch with a pair of oil filter pliers. Don"t lose the spacer on the spline. Snap ring holding clutch on, then wiggle off. bearing popped out with a large socket and a hammer.
Also dug into my center console to adjust the shift linkage. Have been getting trans fault and RP. All in all a productive day.
Awesome work! That is something I probably need to do too...
Did you need a pulley to get the hub off? I assume yes...
Replaced A/C clutch bearing after noticing it catching in cold weather causing my tensioner to load and pop. Not alot of info on this but it was simple enough. Bearing is a cb-1101 or 25211 $15 with one day prime, cant beat it. 10mm bolt up front, held the clutch with a pair of oil filter pliers. Don"t lose the spacer on the spline. Snap ring holding clutch on, then wiggle off. bearing popped out with a large socket and a hammer.
Also dug into my center console to adjust the shift linkage. Have been getting trans fault and RP. All in all a productive day.
great information. You list two different numbers ......are they the same? Or is it a possibility of two different ones being used ... and you have to check?
I know from previous cars -- if you catch this bearing early you can solve a much larger problem as many times the whole clutch is not available w/o the compressor.
so its pretty self-explanatory post what you did to your X308 today
I cleaned my MAF with selected cleaner, patched a hole in air intake, replaced air filter and oil change+filter... was running too rich, needed some tlc. check engine light went away.. yay
Awesome work! That is something I probably need to do too...
Did you need a pulley to get the hub off? I assume yes...
No puller needed. Wiggled it off by hand, not sure if thats the norm. The two bearing numbers i listed are the same bearing. Might be different manufacturer numbers
Today I spent 6+ hours timing and reassembling my 2001 XJ8 VDP after an upgrade to the metal-type tensioners.
There were a few stumbling blocks along the way, and I thank all here for their help, it was all very appreciated. Stripping down to the crank pulley really didn't take that long, about 4 hours, but that crank pulley bolt was a bear.............and that was mainly due to the fact that I didn't know that Jag fitted this bolt with Loctite Red from the factory, and Loctite Red has to be heated to remove, and even then it was a bear! (BTW, upon reassembly I tightened the new blue-loctited crank bolt to 250ft lbs, the max my torque wrench went to, and at my age, all I could muster!).
Inserting the flywheel timing tool is a PITA, especially when you are working in your garage, lying on your back under the jacked-up car, with the transmission rubbing against your nose! But with some perseverance it can be done.
Swapping the old worn timing tensionsers for the new ones following the excellent, and much, much appreciated, blow-by-blow procedure supplied by "Blackonnyx" is straightforward.
My next stumbling block was the instruction to "ensure the VVT unit is in the retarded position", some workshop instructions mention this, others don't. I had the special tool to perform this, but damned if it would work, all it did was bend the two fragile pins. Eventually, with helpful reinforcement from some forum members, I assumed the VVT units must be in their retarded position due to "engine shut down condition" and reassembled as-is. It seems this is fine because the car started instantly and runs fine!
A lot of work? Yes, Concerning at times? Definitely. But now that the learning curve is complete, and I know how to do it, its a less PITA type job!
I spent about 21 hours total. (not counting the countless hours researching beforehand!). I spent 4 easy hours stripping to the crank pulley, then wasted 3 or 4 hours on that damned crank bolt. About an hour jacking the car up, and making it safe to crawl underneath, and struggling to install the crank locking tool. The supposed indicator arrow, does not exist, and turning the crank, and also crawling under the car trying to find the one location in the flywheel gets frustrating, it would have be a lot easier with one person turning the crank while the other was under the car, but I didn't have that option. Eventually I got the flywheel locking tool in.
I spent about 2 hours removing the old tensioners and chains, and installing the new ones. Then I spent about 2-3 hours general cleaning of parts for reassembly and fitting of new gaskets etc. I spent a lot of time trying to research the VVT thing, but eventually went ahead and installed as removed, and spent just over 6 hours today reassembling.
Much to my relief, the car started first turn of the key, and purrs like a kitten, and I was quite surprised that I still retain my seat memory and radio stations despite the battery being disconnected for over a week.
I spent $534.00 in parts, (chains, guides, tensioners, full gasket set, metal water-pump, spark plugs, oil, anti-freeze, oil filter, crank bolt), and $284.00 in special tools (crank holding tool, timing set, 250ft lb torque wrench). I also bought a metal thermostat unit, but didn't install it as I suspect you have to remove the intake manifold to remove the rear bolts?.....I'll address that later!
I was quoted $3,000 minimum by my local "import car specialist" to do this job, so I guess I saved around $2,200, and gained an experience. As is usual with these things, if I had to do another one tomorrow, it would not hold the dread, and I know all/most of the answers ahead of time, and so could be done in much less time.
If anyone is local enough to borrow the special tools I bought they are very welcome to do so (96001 ZIP code).
My sincere thanks go out to all on this forum, especially those who responded to my questions and pleas during this procedure.
.
Last edited by Carnival Kid; Mar 11, 2018 at 09:17 PM.
Nice to see the project finished successfully, 21hrs is pretty good for a first timer!
On the thermostat tower, the easiest way in my opinion is to empty the system till below the foot of the tower.
I just sucked out the coolant from the tank.
Then put some rags in the coolant channels, and carefully break down the plastic tower.
It will take little force, and breaks in big junks, not a million pieces.
Breaking it down will give you plenty of access to the rear bolts, which then will come out easily (80% chance), or are obstructed by the manifold.
I had that problem for one, but just loosened all bolts of the manifold a couple of turns.
That allows you to lift the manifold just that much to take the bolt out, and without the risk that the seals fall out.
Reinstalled with some 5mm shorter new Allen bolts to allow easy fitting, no vacuum or coolant leaks ever since.
New alternator solved no trac etc
Been achieving a few milestones recently.
Managed to fix a multitude of errors etc by swapping out the old alternator for a "new" used one. The usual errors re no trac messages etc vanished over night. I chose to recondition the battery at the same time.
Have to say that the alternator must have been going for a long time but it was only very recently that the interior lights and headlamps started fluctuating, telling me that something was up!
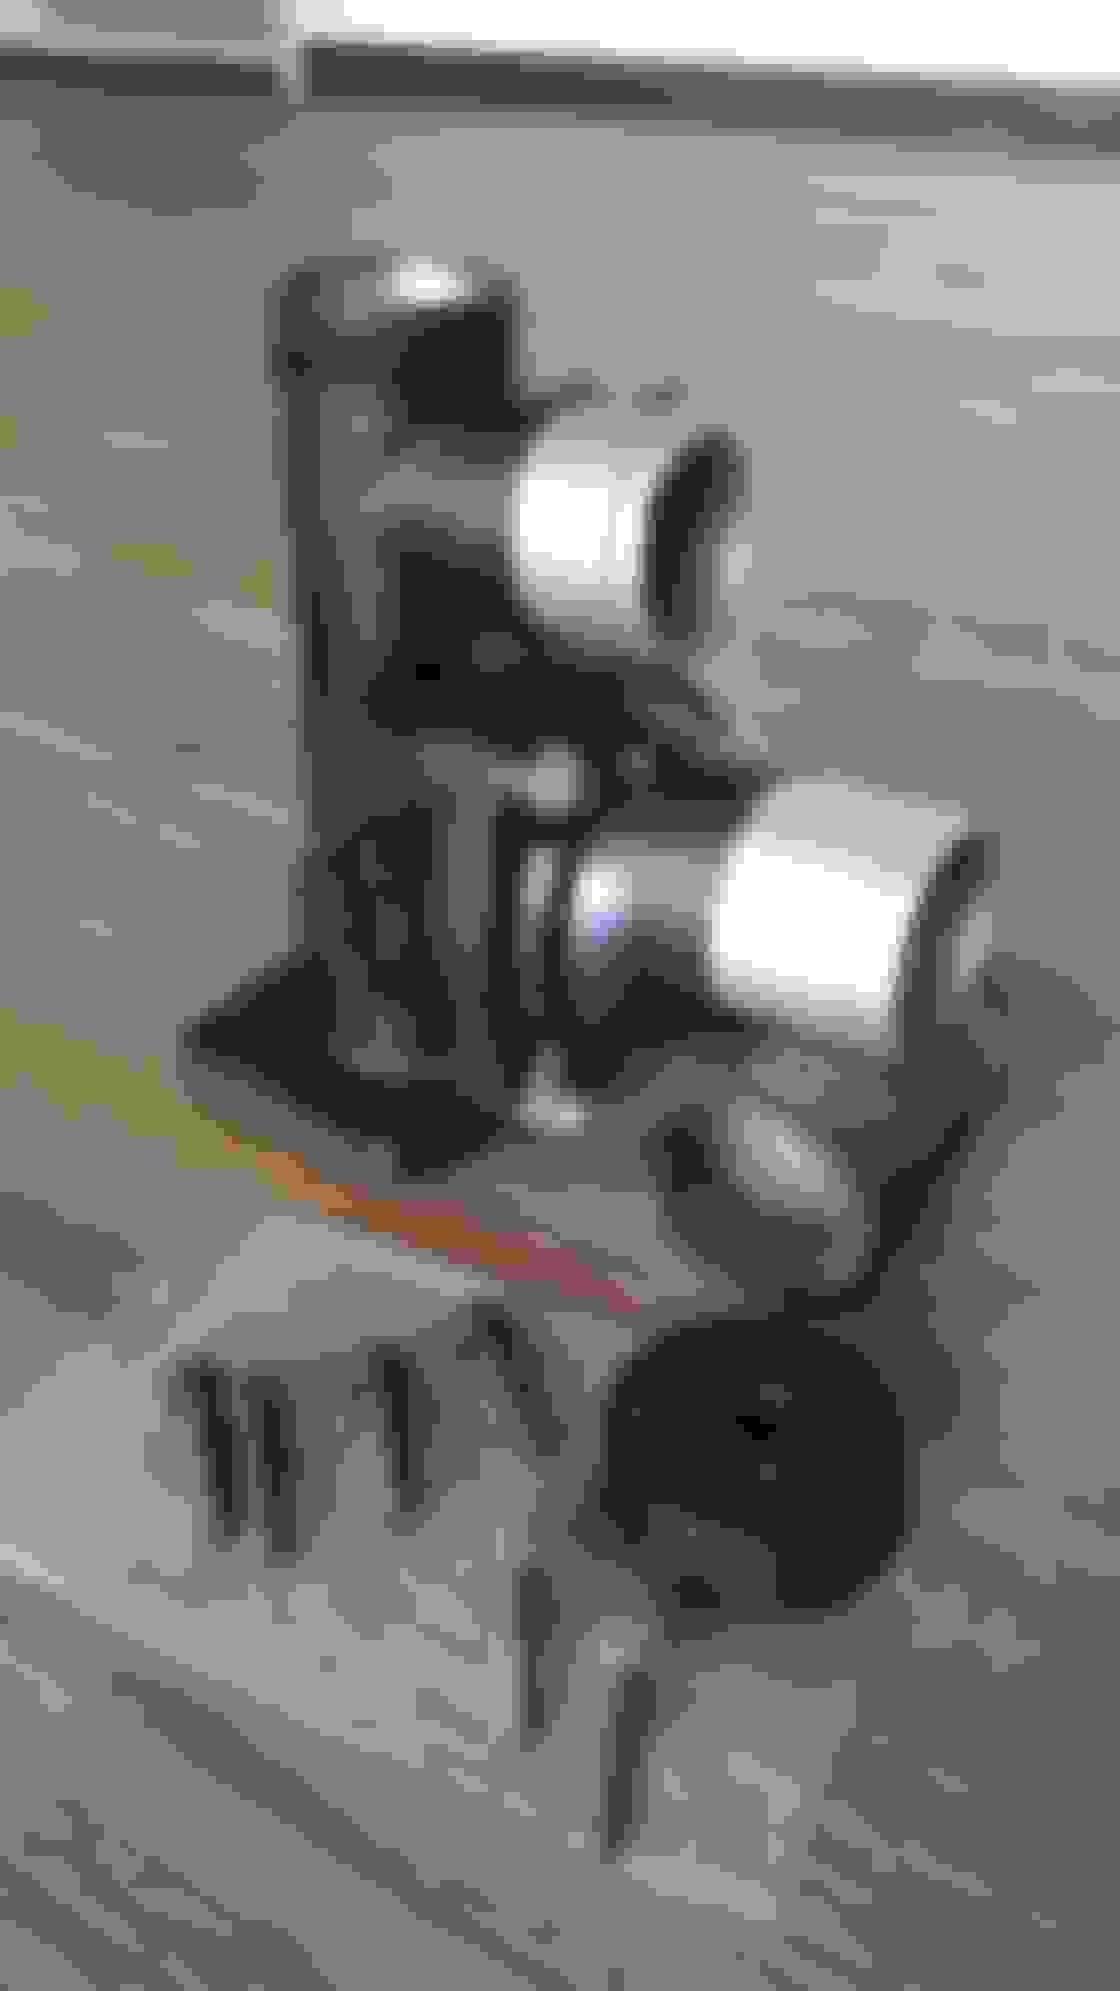
Brake line pattern & length under front wheel arch
Pattern for wheel arch brake line Front brake line under wheel arch
Managed to recreate the brake line under the front wheel arch. Thought the total length and the general design of what I created might be useful for anyone not wanting to go out and remove the wheels beforehand. Total length is about 11 inches. Shape is as per the image with the tools and brake line in. It's a starting point at any rate. Hope it helps.
@ Chris aren't those brake flaring tools good? I did a new set of lines in kunifer when I rebuilt mine and that tool is the only thing I found you can use 'on car' for brake flares.
Thanks Sean, that's the next thing on the list, I will leave that one to the transmission guys, and there is a transmission shop in town that is excellent. I will visit them this week and get the low down.
@ Chris aren't those brake flaring tools good? I did a new set of lines in kunifer when I rebuilt mine and that tool is the only thing I found you can use 'on car' for brake flares.
That tool does definitely make the job much easier. Can also work in front of the TV with it without causing too many arguments :-) .
Couldn't get the old one off at the large elbow as it was far too close to the inside wing until I realised it was held on from inside the bonnet. Brake line elbow connection to front wing Brake line elbow inside front wing
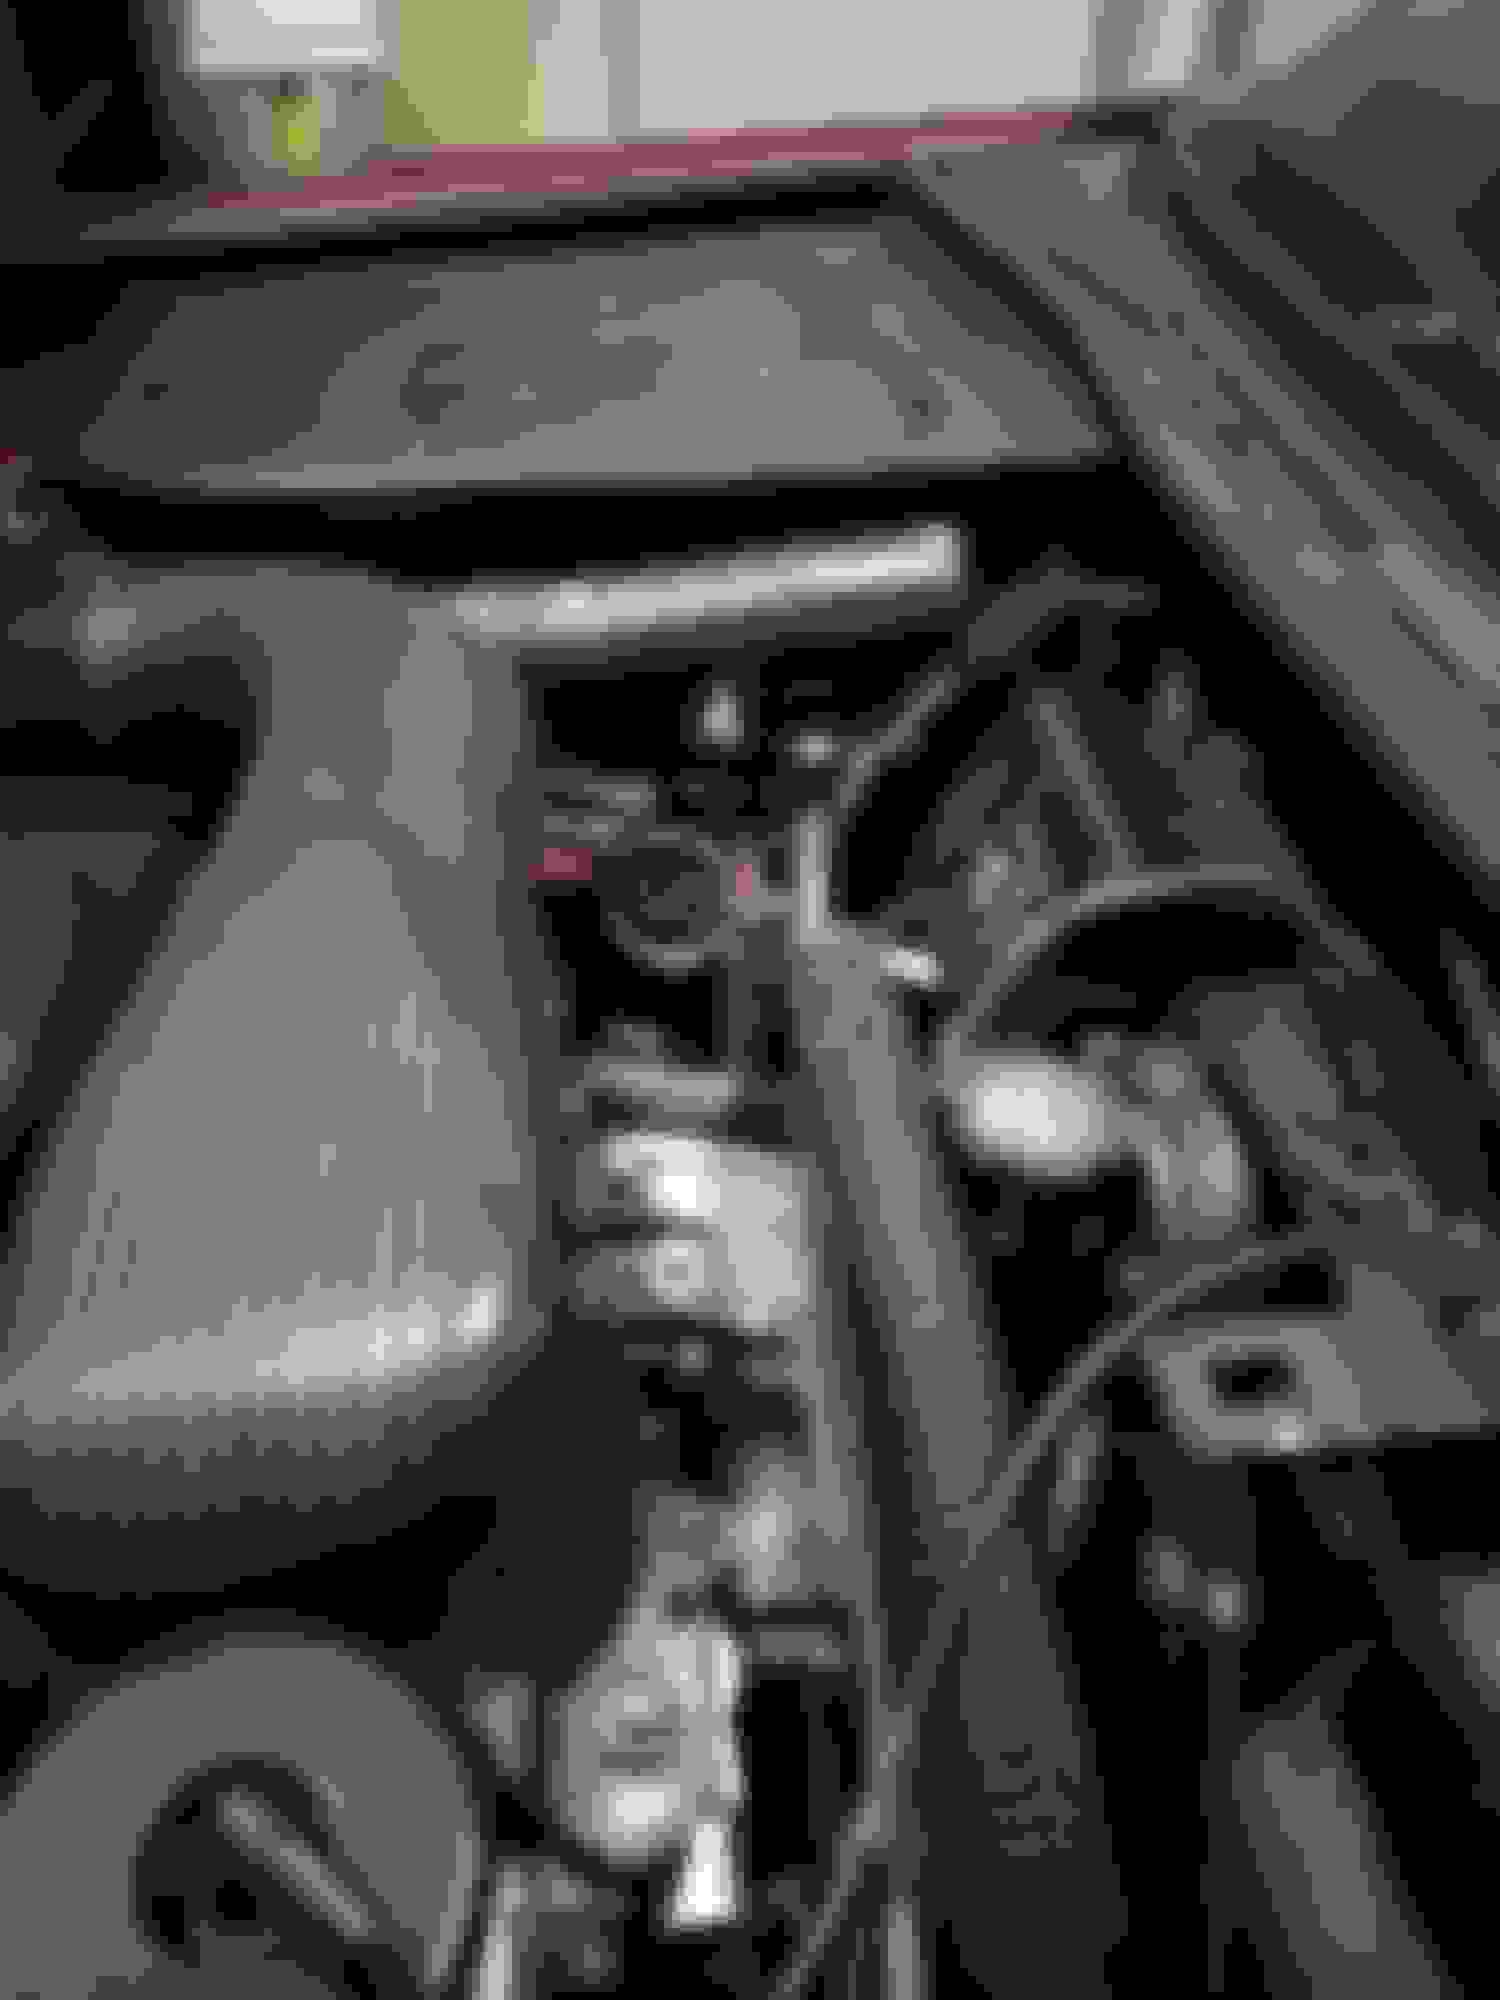
Got to the serpentine tensioner, she's whisper quiet now ! In doing so my previously patched/rigged coolant recovery line snapped again. MNC 4582AC ordered & working on a make due solution until it arrives or else I'm demoted to the Nissan Sentra lol.
Anyone know where I can get the once pliable rubber base under the J-Gate shifter, mine's crumbly & soon to be dust lol. A part # would be super helpful, although I suspect all the used ones @ this point are in a similar state.
Not the best pic I tried to snap in the middle of J-Gate light surgery lol.
Last edited by King Charles; Mar 14, 2018 at 03:09 AM.