When you click on links to various merchants on this site and make a purchase, this can result in this site earning a commission. Affiliate programs and affiliations include, but are not limited to, the eBay Partner Network.
May the forum force be with me
first time I e ever done one of these style carbs but it failed emissions and shop says I have to rebuild carbs to pass.
I noticed a lot of yuck in carb during disassembly
taking lots a pics for info and reference
posting some here to show what I need as well as what I found.
also need a cpl cpl parts that was broken if anyone has pm me please
1--diaphragm ring brown plastic pc.
2---Black plastic cover goes between choke rods and the thermal water choke
3-- 1 screw that holds water choke Assy on
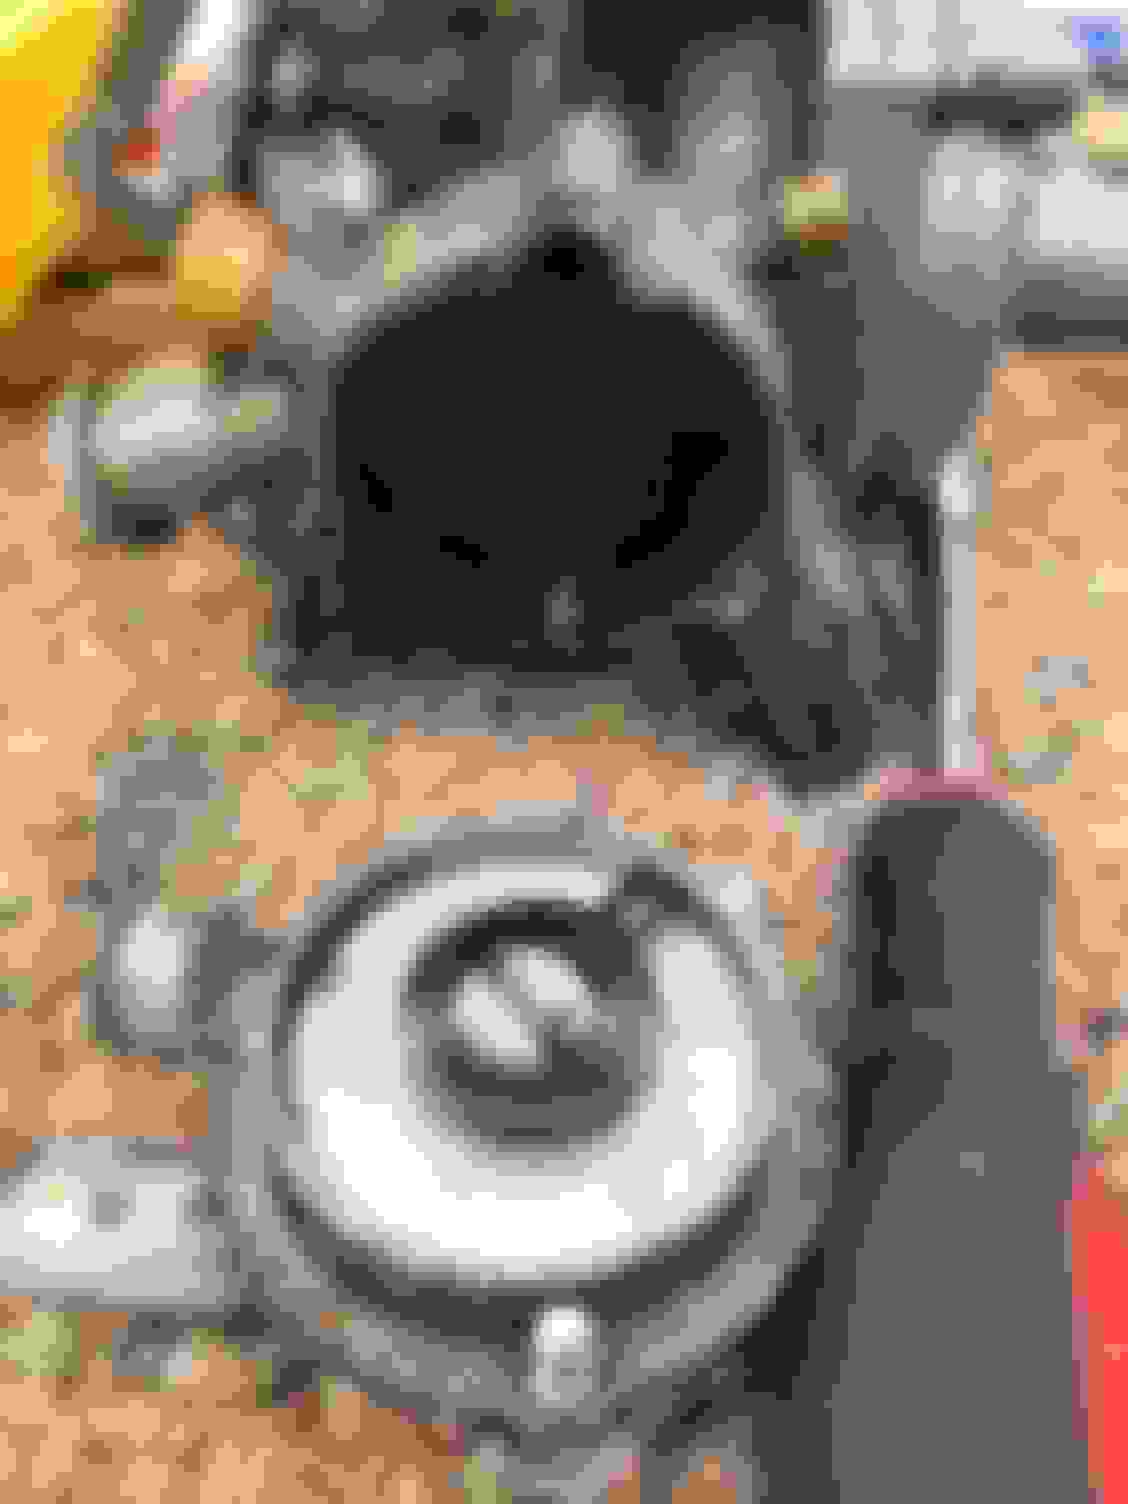
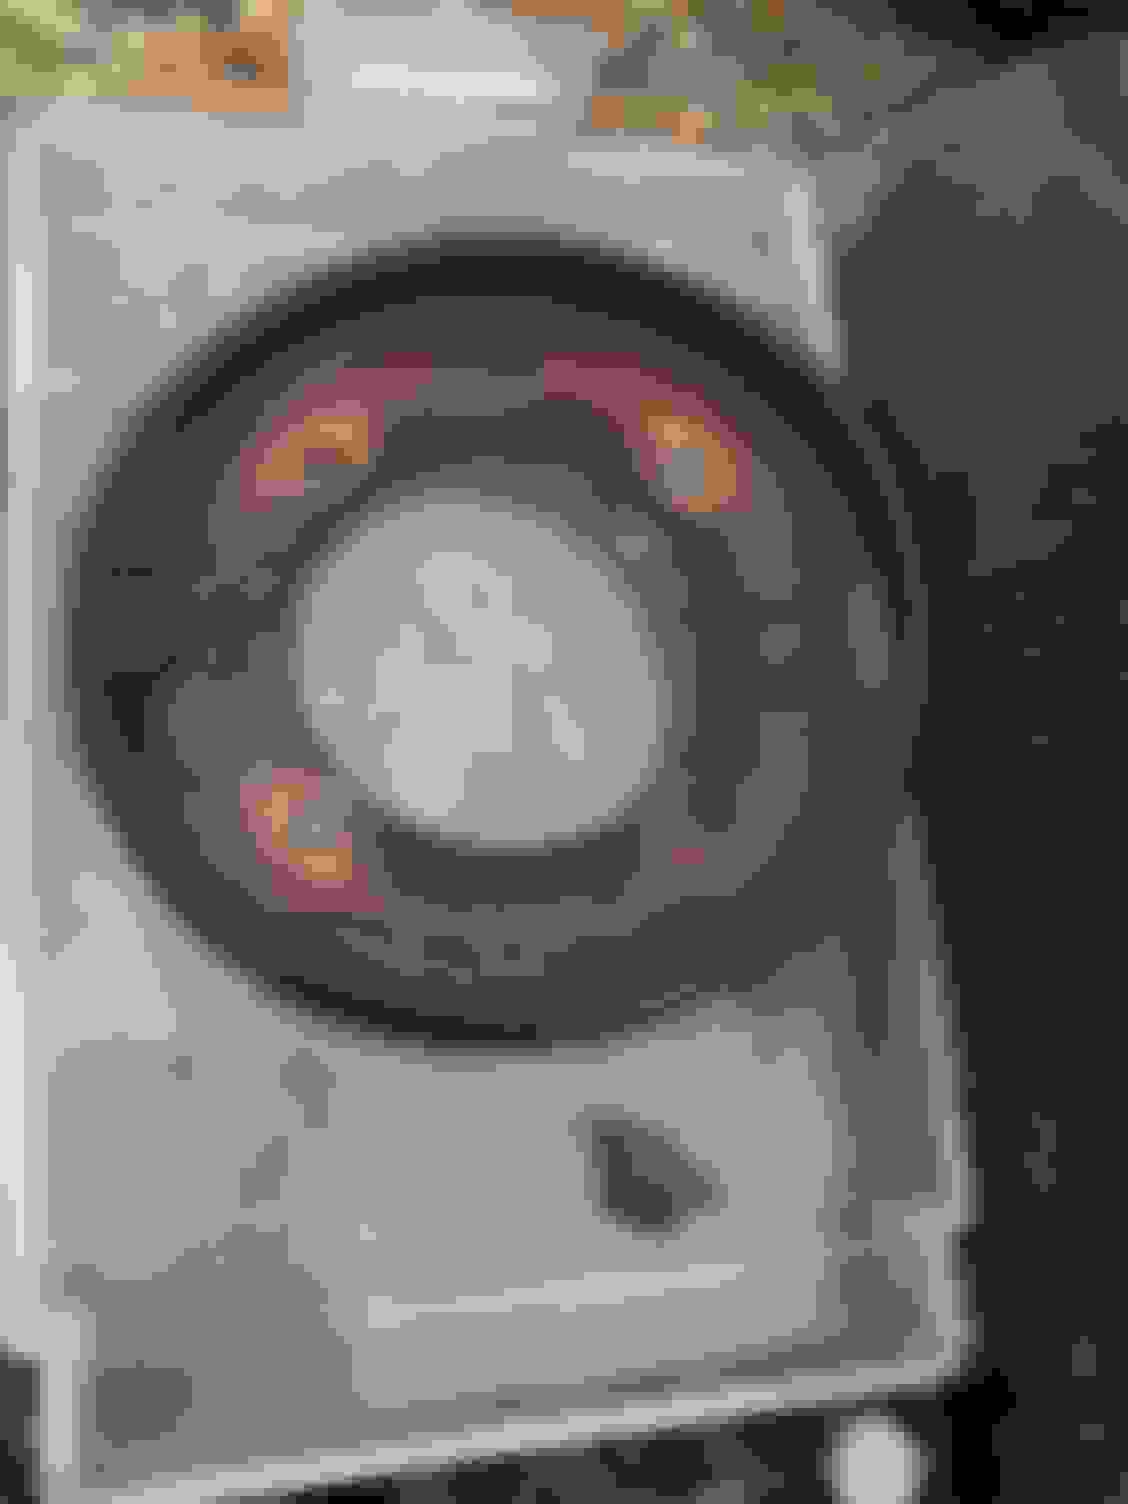
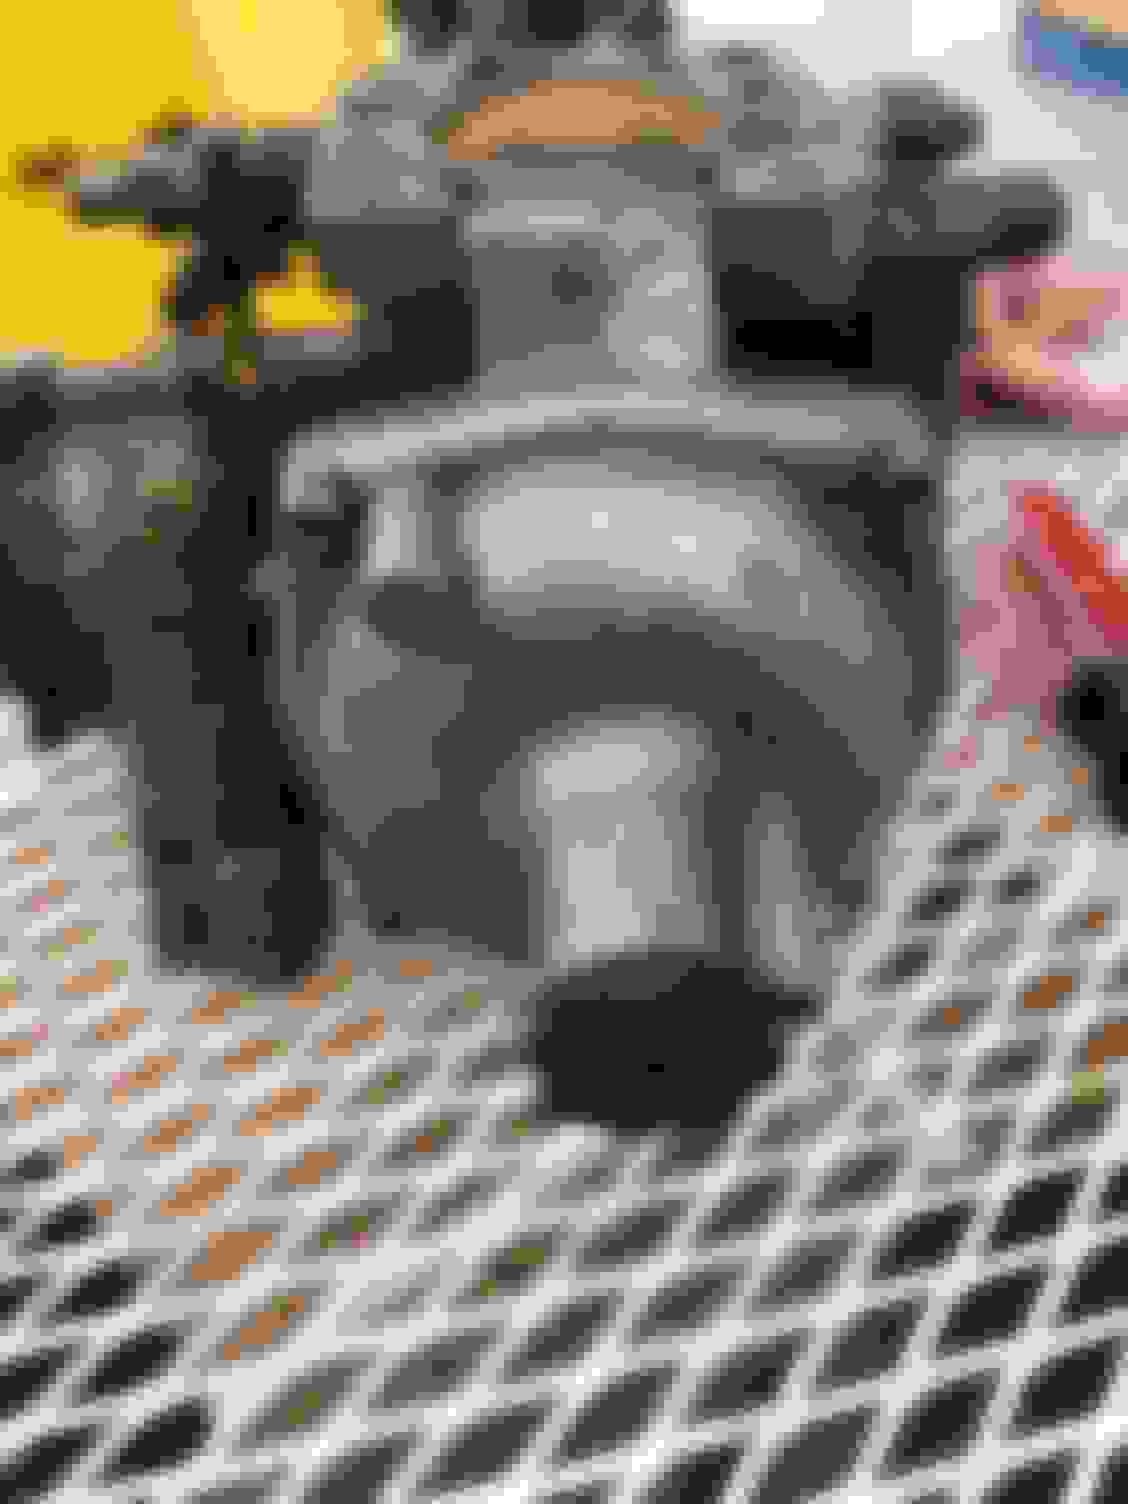
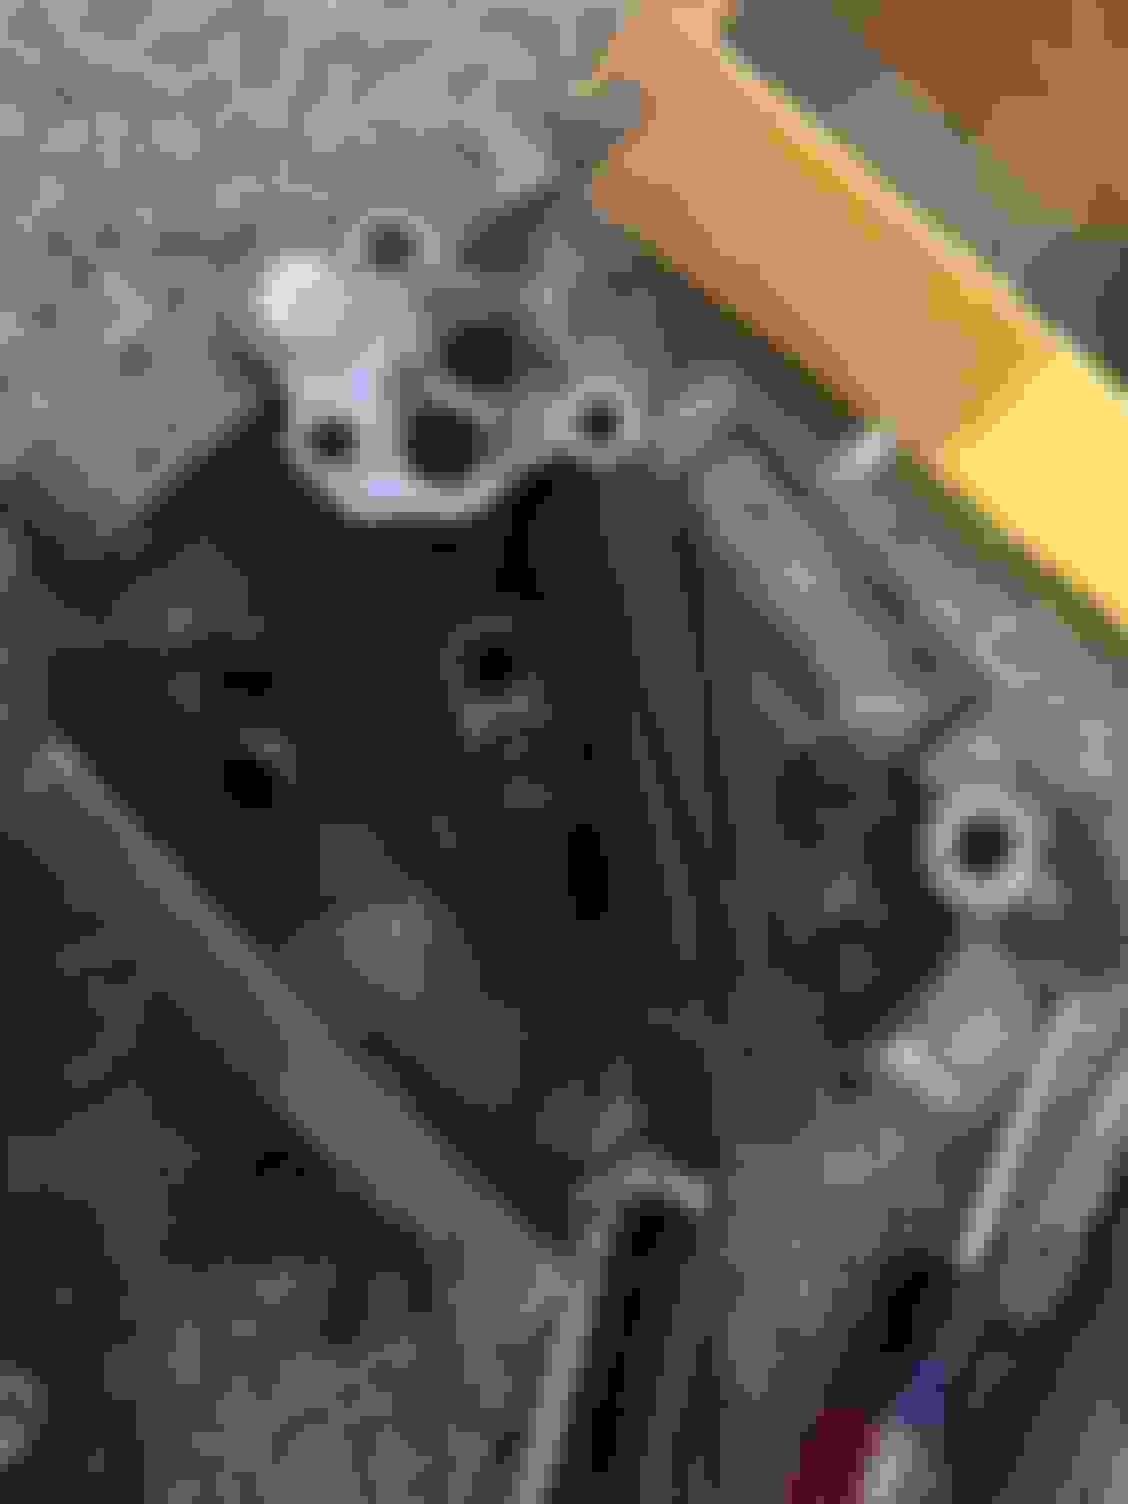
disassembly pics Hole in this plug and major dry-rot Reddish dust or mud like stuff in bowl Goo under needle looked like 3 mouse 💩 s
Was no screen in hole Major ick on spring and plunger no clue what this part does The ball in this part (again no clue it's purpose) was actually stuck shut it freed up when I pushed on it
Hi all,
No criticism meant to your car but 'oh boy' those 175CD carbs look anaemic strapped to the side of 4.2 lump.
obviously it must be for US emissions control.
Are they under-carburettored? I guess they would provide excellent low down torque. Does the two inch SU carbs give a substantial increase in power? To think that an EType had triples.
Regards
Al
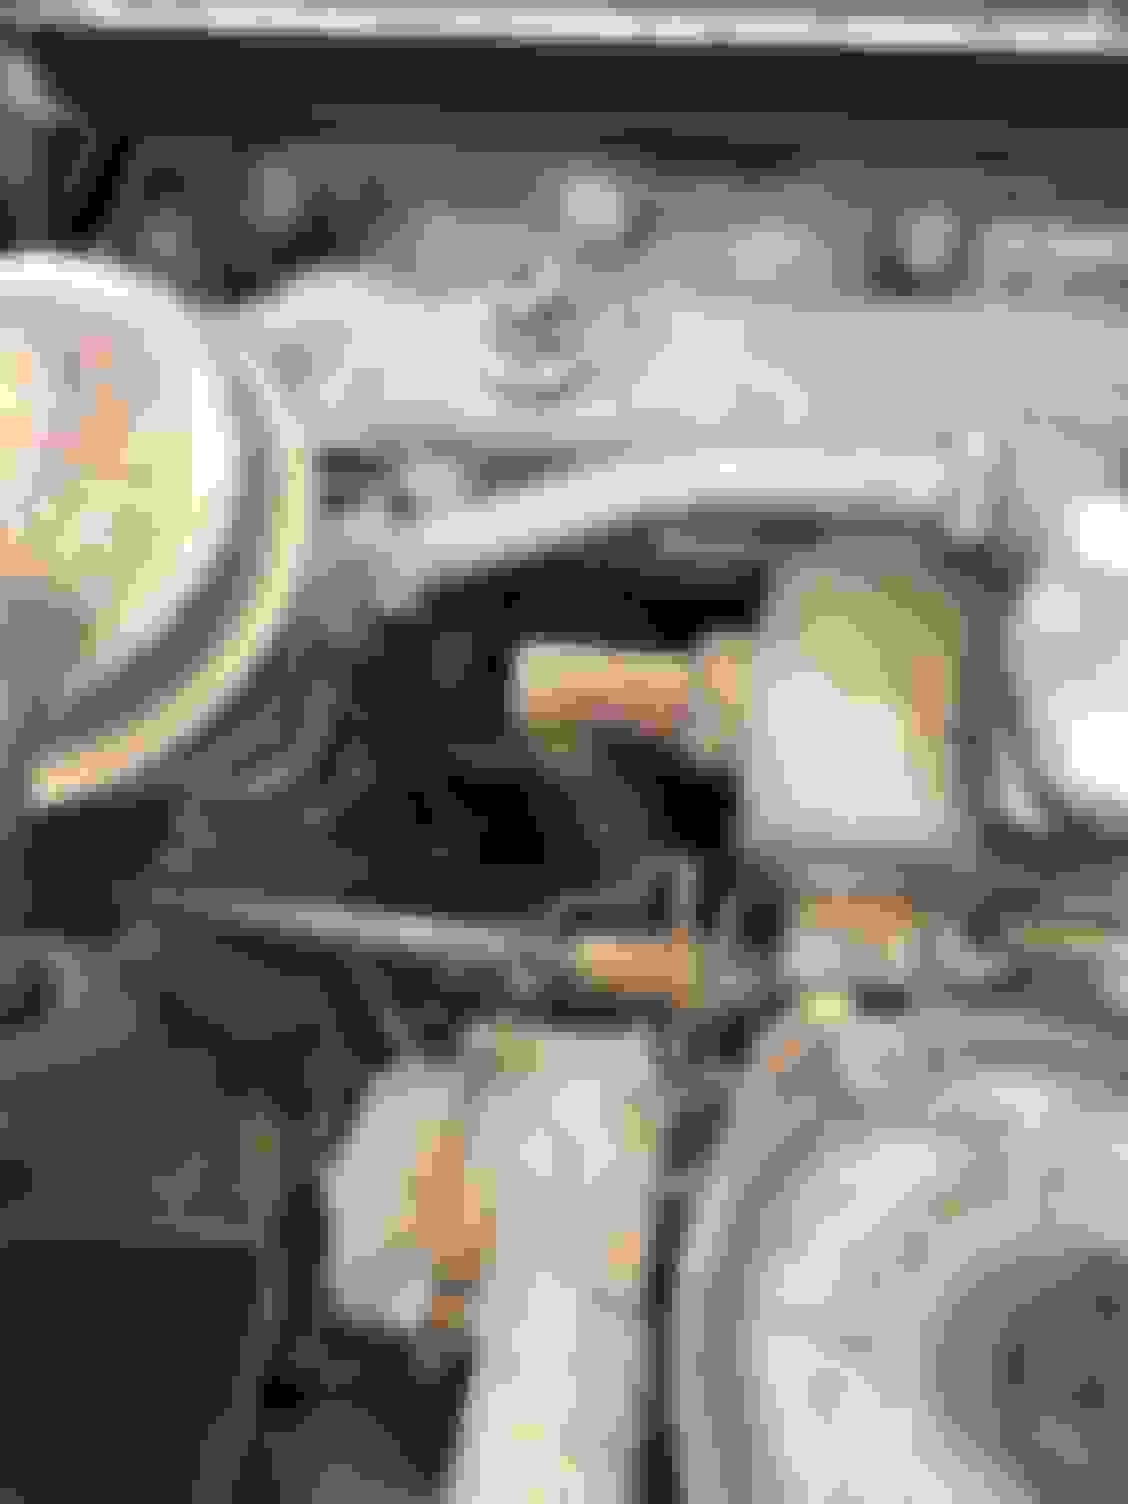
My kit didn't have this diaphragm looking thing with brass center in the throttle bypass valve.
Any idea where to get this?
wow. One dis on my ride and nothing helpful that's surprising
My XJ6 had the same strombergs. They were rebuilt by the PO (with a Joe Curto kit) just before I bought the car and they never gave me any problems in my ownership. So to be honest I never became very versed with their inner workings. Here is a link to a series of articles I did read to learn about them.
My XJ6 had the same strombergs. They were rebuilt by the PO (with a Joe Curto kit) just before I bought the car and they never gave me any problems in my ownership. So to be honest I never became very versed with their inner workings. Here is a link to a series of articles I did read to learn about them.
awesome info thanks man
the kits I got were spose to be master kits but I notice most have the shafts and bushings etc so I musta got a knock off or something.
Wasnt aware of curto til just now lol. Wish there was prices on the site I'll have to call him see if he has one of those choke insulator spacers.
I just went through a major tuning/partly rebuild of my 175-CD2's with Joe Curto's help. I just could not get it to idle smooth - always lumpy. Ran great on the road but always came back with black rich plugs. Just could not get things right. So... I read and reread the article about rebuilding and the theory in the TR250 above link and got a thorough understanding of how these ZS's work. And they are a marvel of engineering - IF YOU UNDERSTAND THEM. So what did I do to cure them?
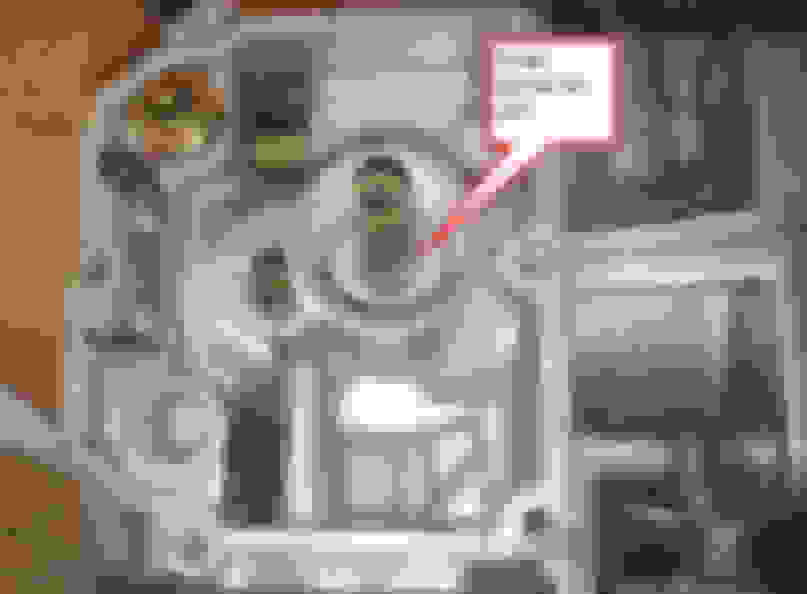
First of all, I sent the manual chokes back to Joe Curto whom I bought them from many years ago and he went through them and tweeked them (at no cost - thank you Joe!). While they were away I tape over the choke side (facing rear) and it ran much better but still couldn't get much range of adjustment out of the needle and the jet. Joe suggested I lower the JET assembly in the carb body to 1/8" total depth and set the needle flush with the bottom of the piston. I had to be careful not to degrade the Jet assembly so I've attached pics:
Top two pics are if you are driving the Jet and its carrier further down from the body. DO NOT DRIVE THE JET!!!!!!!! Only the Jet carrier; the Jet will follow the carrier. You don't want to damage the Jet. It's what the metering needles goes in and out of. So you need to use a drift that is the basic size of the Jet carrier (not the Jet). You can either use a press (which I don't have) or take the float chamber and float assembly off, place the Jet and overflow brass tubes between 2 two by fours, and give the drift a good hard rap or two. You must have a way of measuring your depth of the JET (not the carrier) so that you know it's 1/8" below the carb body looking from the top.
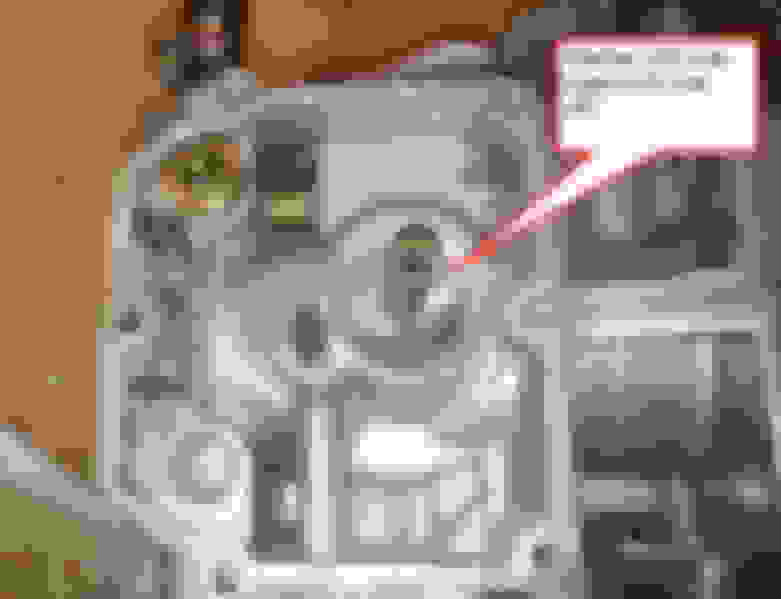
IF... you go too deep then the lower three pics will raise it back up again. Again being careful to only apply pressure on the Jet carrier and not the Jet.
So once I had the Jet 1/8" below and the needle flush with the bottom of the piston, I was still running too rich at idle. In rereading that article and understanding the function of the Bypass Valve, and seeing that new Bypass Valves are $50 each, I decided to eliminate the Bypass Valves. So I made a sold gasket to cover up the Bypass Valves holes and put the Bypass Valve back on with its screws. So no more functioning of Bypass Valve. And no backfiring upon deceleration which is what the Bypass Valve is supposed to prevent. So that now gave me a much leaner mixture and it idled much better. But still not perfect.
Next, I took the Temperature Compensator apart once I learned its function and couldn't really get it to work correctly and living in Florida and not having cold start situations, decided it wasn't necessary to ever have it closed. So I bent (reformed) the metal strip to permanently hold the valve open. And I reread and understood what the Idle Trim Screw's function was and turned it out 1 1/2 turns. Between all of that and balancing the carbs - SHE RUNS GREAT! Now mind you, I live in warm Florida, there are no emissions stations here, and I've taken off all the other emissions controls. So what I've done is not for everyone.
Emissions is what started this whole fiasco. Shop couldn't get the car set to pass due to faulty carbs. Not surprised having seen them taken apart.
I have them back back together and on the car haven't tried to start it to dial them in yet.
I decided to pull the fuel tanks to have a looksee. Great idea. Not.
Right tank is only one hooked up from PO and has surface rust inside no leaks etc so right now it is soaking with vinegar in it.
Left tank was plugged off in trunk and was full of water the fill cap drain was plugged apparently. Didn't have any more or less rust in it either and is also soaking in vinegar.
There was a couple spots that were wet but the drain bolt seal was shot so I want To brush them off at those two spots to verify it's not a leak before going forward but I am pressing on with the right side tank.
Radiator shop wants 160$ a tank to cook em out like a radiator so hoping this works.
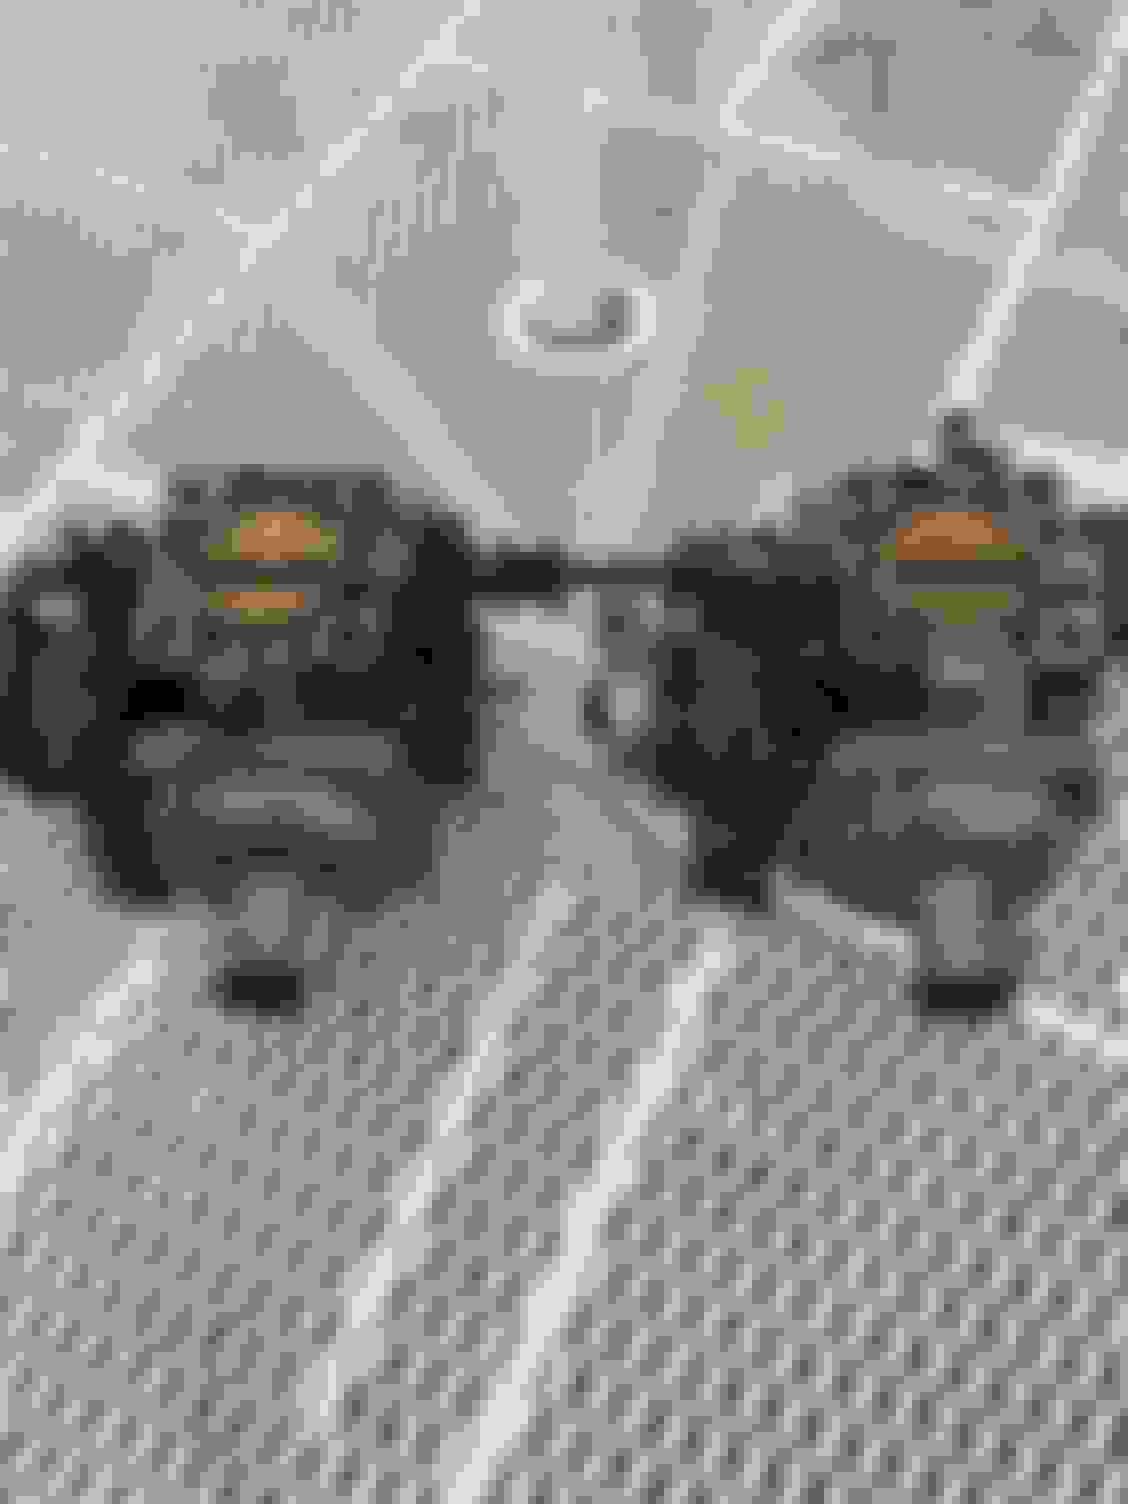
This came out of the small Inline filter before fuel pump
See line from without and with soaking.
Can see clean line where tank sat with vinegar looks super better.
I am putting a new larger Inline filter at pump as well as a smaller see thru filter at carbs to monitor rust. Will have to do til I get new tanks down the road.
well I repaired everything on water chokes but the tips of my fast idle plungers are broke off no doubt by PO coz they wouldn't work right. I live in AZ thought of taking them off and putting a flat plate with gasket over them since they aren't working anyhow. But I'll see what happens at the emiss retest once I get the tanks back on.
Im replacing the steel supply line as well.
Updates to come. Thanks again for any and all the help guys

 06-17-2018, 12:06 AM