
Series I with AJ6 engine

Veteran Member


Joined: Dec 2009
Posts: 9,556
Likes: 2,555
From: Crewe, England
Are you referring to the two coolant slots ? These were machined in by Jaguar to provide coolant paths between the siamesed bores. They were then covered with a liner for the piston to run in, (obviously). The pic is of a bore with no liner.

Thread Starter
|
Senior Member


Joined: Aug 2013
Posts: 309
Likes: 197
From: Groningen
Yes, the liner was removed because it was badly scratched, giving poor compression. First plan was to fit a new liner, untill I stumbled into the AJ6 engine. Which was cheaper than new liner and piston rings. And even got a complete car with it :-)
Thread Starter
|
Senior Member
Joined: Aug 2013
Posts: 309
Likes: 197
From: Groningen
It runs!
me so happy. After some wiring issues, I turned the key and voila!
Sounds a little loud, and it probably is but somehow it sounds worse on the video than in reality. One part of the exhaust doens't connect too well, causing the increased sound.
First I will place the bonnet and the rest. if I still think it's too loud, I will get to the exhaust but for now I really like the sound. Little rougher then original xj40 sound, but fits the car in my opinion.


Thread Starter
|
Senior Member
Joined: Aug 2013
Posts: 309
Likes: 197
From: Groningen
Haha, thanks!
yep hopefully this week (weekend most likely) I will get it out of the workshop for a test run. I still have some issues to overcome though.
I kept all the original xj40 dials and meters, so I could see how the engine is doing. I want to use these for the first run, to keep an eye on engine temperature, oil pressure and stuff. later on I will integrate this into the s1 dash. But nothing works on the xj40 dials. Nothing lights up, or whatever. So I assumer there is a fault in the feed or earth wire, but didn't have time to check this out yet. probably I will get to that this week.
Thread Starter
|
Senior Member
Joined: Aug 2013
Posts: 309
Likes: 197
From: Groningen
One thing to do is installing an air filter. I cant use the original box, because there simply is no room for it. So I was thinking about using an open air filter. I know it has to take fresh air, and not 'under-bonnet-air'. But I also read that it's no good for the air mass meter. Is that correct? What would be the best way to install it?

Senior Member
Joined: Jan 2013
Posts: 160
Likes: 47
From: new zealand
Hi Wilfred88
When I fitted the 3.6 aj engine to a series 2 I used the air filter system from the 3.6 XJS which is the round style filter with a tube going thru the gap between the radiator and support post; which picks up fresh air from in front of the radiator. the series 3 Xj has the same system. This way did not affect the air mass meter.
On my race car with the same engine fitted I cut the part off that clips to the air mass meter from the original XJ40 air filter and glued a length of PVC tube to that fitting with the clips and ran it past the radiator with a K&N filter attached at the end just in front of radiator. To do this I had to move the radiator as far to the right as possible giving more room on the left to run PVC tube past the radiator this also did not seem to affect the air mass meter
Cheers Ray

Veteran Member
Joined: Jul 2010
Posts: 7,362
Likes: 1,241
From: Austin tx and Daytona FL.
i had some problems from using MAF on a couple race cars, so converted to Speed density system. worked just fine and had adjustable fuel/ignition for fine tuning!
just a thought.
just a thought.
Thread Starter
|
Senior Member
Joined: Aug 2013
Posts: 309
Likes: 197
From: Groningen
On my race car with the same engine fitted I cut the part off that clips to the air mass meter from the original XJ40 air filter and glued a length of PVC tube to that fitting with the clips and ran it past the radiator with a K&N filter attached at the end just in front of radiator. To do this I had to move the radiator as far to the right as possible giving more room on the left to run PVC tube past the radiator this also did not seem to affect the air mass meter
Cheers Ray
Cheers Ray
I only read that an open air filter usually is drenched in oil, which the air mass meter doesn't like. I guess I'll give it a try. Hopefully I will hit the road tomorrow with the aj6 engine for the first time
Thread Starter
|
Senior Member
Joined: Aug 2013
Posts: 309
Likes: 197
From: Groningen
Just a quick update. I drove the car first time yesterday. Brilliant!!!!
still some electrical issues with the tcu, but will get that fixed for sure. Then I will have to integrate the wiring into the interior, but that's a nice job. Making everything look nice again.
Very happy with the progress so far!
still some electrical issues with the tcu, but will get that fixed for sure. Then I will have to integrate the wiring into the interior, but that's a nice job. Making everything look nice again.
Very happy with the progress so far!
Thread Starter
|
Senior Member
Joined: Aug 2013
Posts: 309
Likes: 197
From: Groningen
Finally took the Jag for its first highway run with the aj6 engine. All went perfectly fine, and what a ride!!! 
Now, for the first time in almost the one year I have the car, it's home. Cleaning up the interior is the next bit. So far, I have hit 1 speed bump just slightly, with the lowered rad. I simply took that one way too fast. But hey, with over 200 horsepower, fast is all you go!
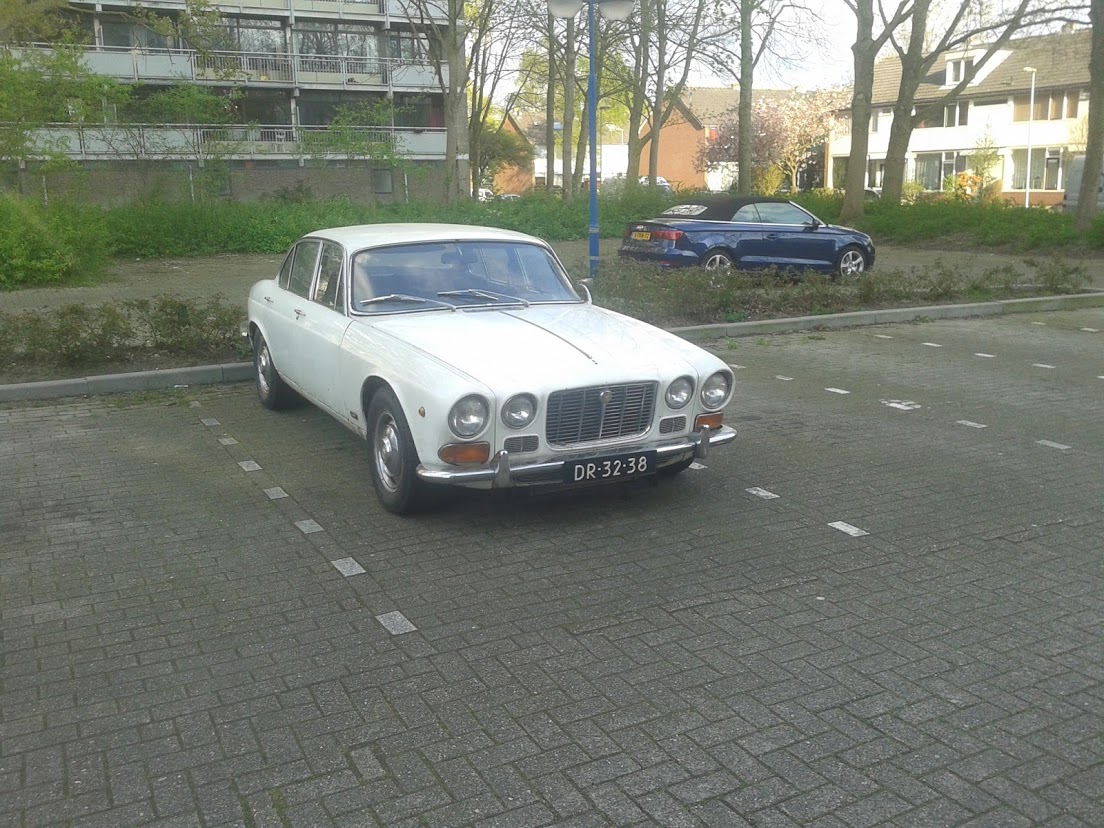
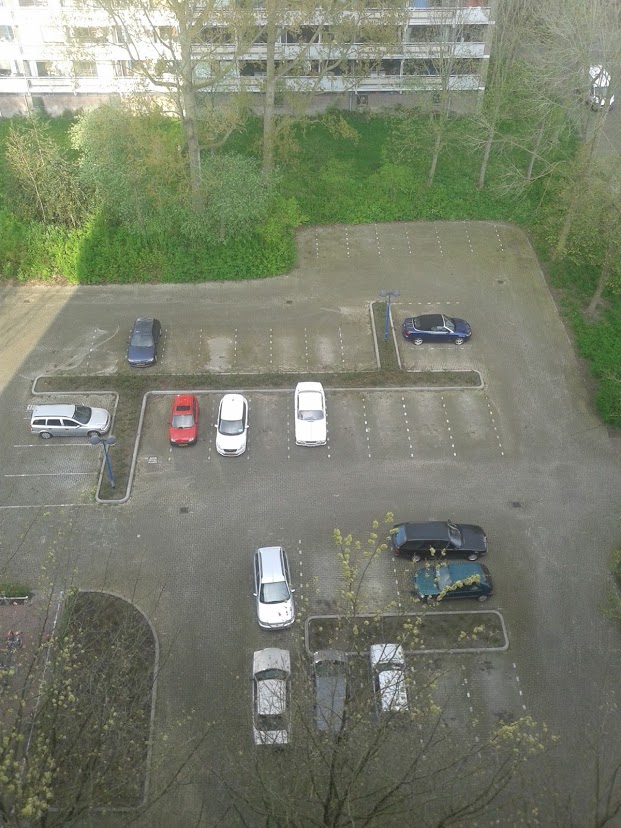
For those with OCD, sorry for my parking skills
Now, for the first time in almost the one year I have the car, it's home. Cleaning up the interior is the next bit. So far, I have hit 1 speed bump just slightly, with the lowered rad. I simply took that one way too fast. But hey, with over 200 horsepower, fast is all you go!
For those with OCD, sorry for my parking skills
Thread Starter
|
Senior Member
Joined: Aug 2013
Posts: 309
Likes: 197
From: Groningen
Oh, and I was reading back the first page of this topic. Now that I am (almost) finished, I want to clear up some things I learned while doing this conversion. Just in case anybody wants to use info from this thread.
the 4.0 AJ6 uses the 4hp24 automatic box. this is controlled by a transmission control unit. the speed info comes from within the gearbox. So, if you have the box and TCU, that is sufficient to get it to work.
XJS enginge mounts didn't do the trick in my case. When I used thes, the engine rested fully on the antiroll bar. So I had to drill new holes, and place them 5cm back. then it all fitted fine.
the loom has to be adjusted only a very little bit.
Thread Starter
|
Senior Member
Joined: Aug 2013
Posts: 309
Likes: 197
From: Groningen
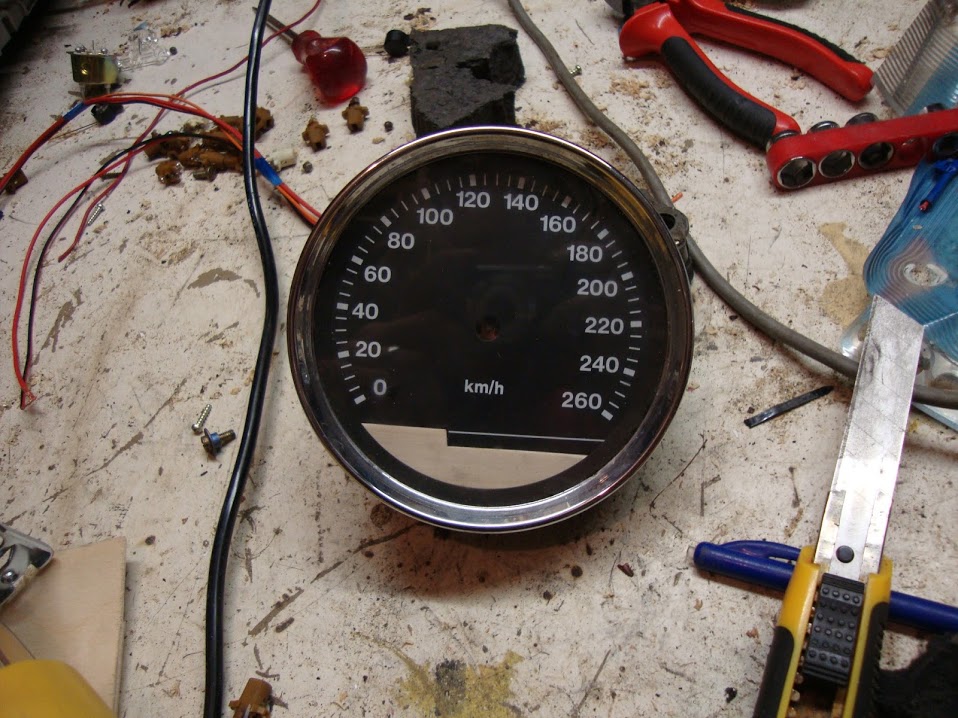
Well, the dash is the next project. One major issue is that the series 1 speedo drive is mechanical, whereas the xj40 gauges are all electrical.
I took the dash apart, and it turns out that all the gauges use the exact same piece for every meter. These have three connections. 12 v + and - and a signal connection. I tested the connections on the charging gauge, using a battery. If you connect the 12v + and earth, the meter goes to 0 (it is stopped there by a little pin.) when connecting the third wire with earth as well, the meter jumps to the correct voltage, somewhere around 12.
So the next step is to build the mechanism of the xj40 gauges into the series 1 units. Here's how I did it
take apart the original clock:

the diameter of the original clock is exactly the same as the xj40 clock:

But I needed a round piece, so I cut out the speedo part from the xj40 panel with the gauges on it:
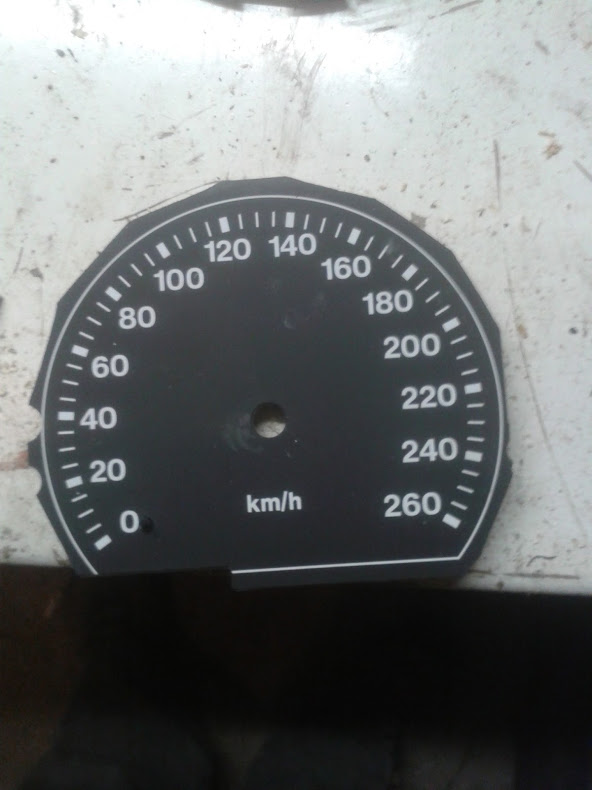
rough cut, but the edges wont be visable
connect the pins with wires:
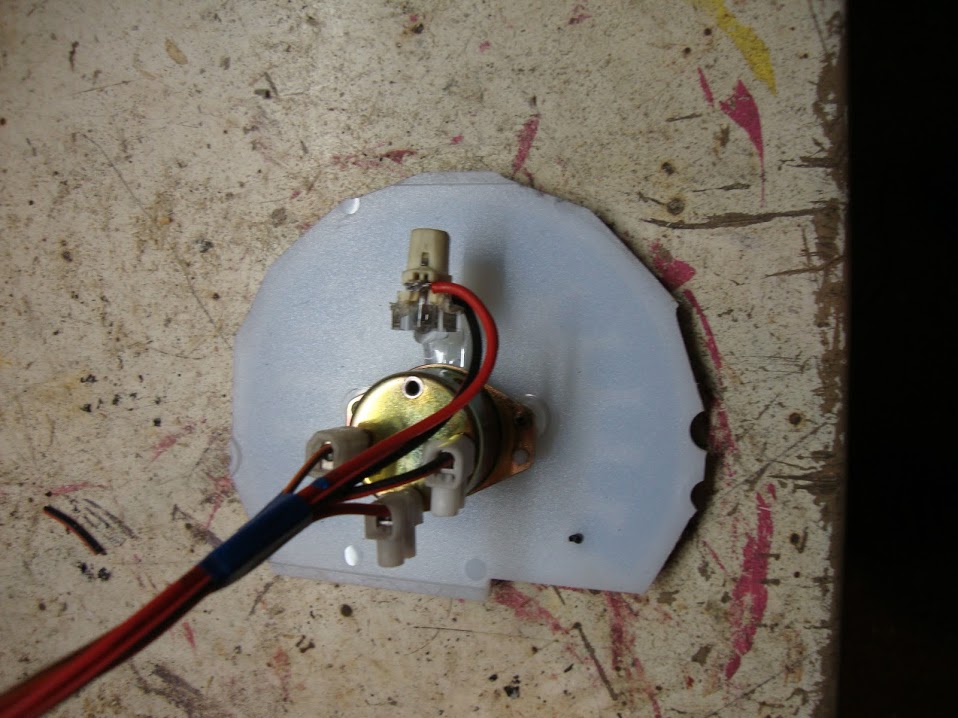
the light for the dial lighting is molten onto the clear plastic part.
unfortunately, the xj40 clock isn't fully round, the bottom part is flat. So I cut a piece of wood to fill up the gap. This will be the same color as the rest of the wood of the dash to let it blend in. But the result is pretty nice in my opinion:
To keep things alike, I also did the rev counter the same way.

(Yes, i didn't put on the pointers yet cause I still need to paint the wood.)
all in all easier then I expected, only thing with these kinds of jobs is always figuring out how you want to do it.
One thing is still unclear for me. Are the dials all 12v?
or do they work on, for example, 5 v? I dont want to put in all this effort and the burn them on first run
I took the dash apart, and it turns out that all the gauges use the exact same piece for every meter. These have three connections. 12 v + and - and a signal connection. I tested the connections on the charging gauge, using a battery. If you connect the 12v + and earth, the meter goes to 0 (it is stopped there by a little pin.) when connecting the third wire with earth as well, the meter jumps to the correct voltage, somewhere around 12.
So the next step is to build the mechanism of the xj40 gauges into the series 1 units. Here's how I did it
take apart the original clock:
the diameter of the original clock is exactly the same as the xj40 clock:
But I needed a round piece, so I cut out the speedo part from the xj40 panel with the gauges on it:
rough cut, but the edges wont be visable
connect the pins with wires:
the light for the dial lighting is molten onto the clear plastic part.
unfortunately, the xj40 clock isn't fully round, the bottom part is flat. So I cut a piece of wood to fill up the gap. This will be the same color as the rest of the wood of the dash to let it blend in. But the result is pretty nice in my opinion:
To keep things alike, I also did the rev counter the same way.
(Yes, i didn't put on the pointers yet cause I still need to paint the wood.)
all in all easier then I expected, only thing with these kinds of jobs is always figuring out how you want to do it.
One thing is still unclear for me. Are the dials all 12v?
or do they work on, for example, 5 v? I dont want to put in all this effort and the burn them on first run


Joined: Feb 2012
Posts: 134
Likes: 18
From: Melbourne Australia
Hi Wilfred,
What did you do with the tailshaft? were you able to use the original series 1 tailshaft or did you need to cut / shut / lengthen or shorten the original tailshaft and did the flanges bolt up?
Thanks,
Jay
What did you do with the tailshaft? were you able to use the original series 1 tailshaft or did you need to cut / shut / lengthen or shorten the original tailshaft and did the flanges bolt up?
Thanks,
Jay
Thread Starter
|
Senior Member
Joined: Aug 2013
Posts: 309
Likes: 197
From: Groningen
The original tailshaft was shortened, and balanced. That's about the only thing I didn't do myself, cause I could have it done for 75 euro. I would never have been able to do it properly for this kind of money.
they say....they say an xjs shaft will fit. But then they also said that xjs engine mounts would do the job. Which the didn't. And because de engine had to be mounted further back in my case, the xjs shaft would have been too long as well.
I would just put the engine in, in such a way that it sits nicely. Then see what length shaft will fit. Rather than buying a shaft, and finding out it is still too long or short.
Flanges all bolt up though. the flanges for the 4hp24 and 4hp22 gearbox are the same as the Borg warner boxes used in the series 1/2/3
Joined: Feb 2012
Posts: 134
Likes: 18
From: Melbourne Australia
Thanks,
Next question; how does the exhaust and cat work out? i was laying under an xj40 the other day and it looks like you could just cut the pipes in both cars under the drivers seat and join the two pretty easily, does it work out this way? do you think it would clear the chassis rail and steering rack / shaft on my right hand drive car?
Thanks,
Jay