When you click on links to various merchants on this site and make a purchase, this can result in this site earning a commission. Affiliate programs and affiliations include, but are not limited to, the eBay Partner Network.
My last WOF check the dude said the rear brake left hand side, just passed.
After my drive today I thought I would grease the rear end and have a look at why there was a brake problem.
I saw there was oil on the diff side brake pad and it was not brake fluid... Bugger.
Is there an easy way to do this?
Is the easy way cage out?
I like cage out for everything rear end related. Also like to replace everything since I have it out. So you’re going to do both sides, you’re going to replace the rotors even if you don’t need to, you’re going to replace the brake hose, you’re going to do the parking brake pads, and the mounts of course.
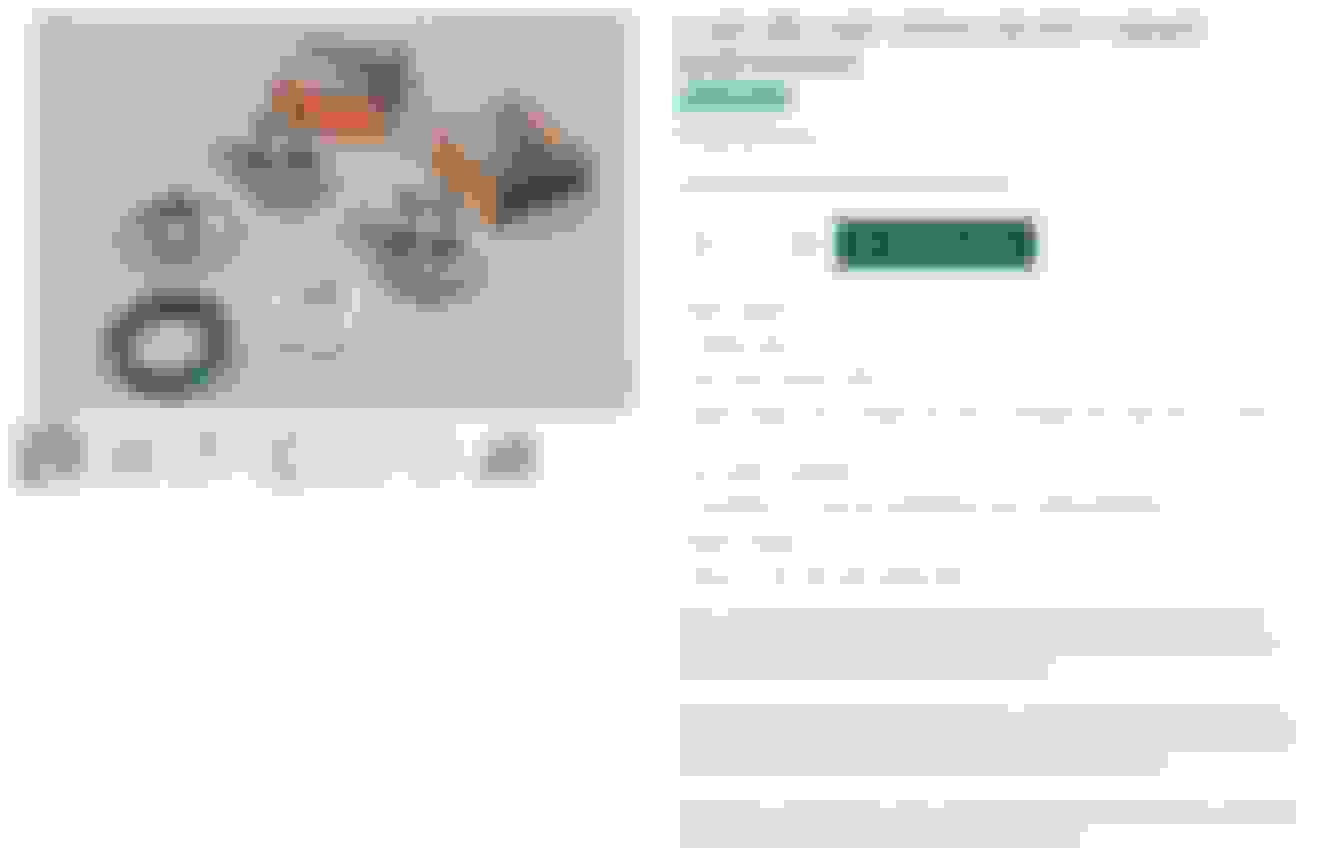
The output shafts themselves… Get the kit including bearings, seals, crush sleeve, and o rings. After removing the calipers and rotors, you can remove the four bolts on each side holding in the output shaft assemblies. These are then broken down further on the bench. The only “tricky” part is crushing the crush sleeve to the correct preload, without crushing it too much. There needs to be a certain amount of preload, measured in the amount of inch pounds required to turn the output shafts. You add preload by crushing the sleeve… and it’s very stiff! For me, once, it started crushing and then crushed too much. On the next car I just reused the precrushed sleeves from the old bearings and it was perfect right away. This makes sense, because the crush sleeve to to account for machining variances of the bearing holder… and its’ not like that changes with time… especially if your new bearings have the same dimensions as the old bearings.
Thanks - I had the cage out in 2021 - I did everything EXCEPT the input & output seals and bearings.. I now regret not doing them while the cage was out.
So I need to start preparing myself for cage out..
Once the cage is out and the diff is separated how easy are the seals and bearing to change?
I like the idea of using the same crush sleeves.
The output shafts themselves… Get the kit including bearings, seals, crush sleeve, and o rings. After removing the calipers and rotors, you can remove the four bolts on each side holding in the output shaft assemblies. These are then broken down further on the bench
Ok... sorry I have just reread your reply.
This all makes sense... I need to order the kit - and get the cage out.
Should be easier second time, although I don't remember much of the last effort, I am sure it will come back as I do the job.
If you replace the pinion seal, input shaft seal, whatever you call it… the big nut determines the preload… and that sets how deep into the ring gear the pinion gear meshes. Do it wrong and it will whine. I didn’t do it. Seemed like too much voodoo for me. But maybe it’s as simple as putting the nut right back where it was? Let me know how it goes .
While i have the diff out on the bench - is thee anything else I should do?
- Output shaft seal and bearing kit
What about the input side?
Does the diff need a bearing kit? If you replace the pinion seal, input shaft seal, whatever you call it… the big nut determines the preload… and that sets how deep into the ring gear the pinion gear meshes. Do it wrong and it will whine. I didn’t do it. Seemed like too much voodoo for me. But maybe it’s as simple as putting the nut right back where it was? Let me know how it goes .
Thanks for the comments - I will look in to this, seems like a good idea while its in bits?
Parts are on order - I start the process of removing the cage soon.
I am interested in how long this will take second time round.....
Not that I remember FA about the first time, but I have pictures.
My 21yr old son is keen to help, as he wants to drive the car, I might have a new enthusiast...
More posts once I start!
All help / comments appreciated to minimize the stuff ups!
Cage is out, much easier second time round.
Still it was not easy and the body was a bit sore from groveling around on floor.
It took me about 4 hrs from start to cage out.
It took a considerable amount of time just jacking the car up, I jacked each side and placed a piece of wood under the tire.
When there was 4 pieces of wood under each rear tire and the rear axle was about 550mm off the ground, I placed a flat piece of wood under the diff.
I jacked up the diff enough to put Jacks under each side and remove the wood from under the tires one at a time.
Then:
- Speedo sensor
- Undo drive shaft
- Separate exhaust
- Grease nipple from under rear wheel hubs
- ABS sensors
- Hand brake cable
- Rear brake line, used a blank to seal the line and stop the leak
- Remove the rear brake line mounting bracket from cage mount on car.... forgot to do this until cage was down but worked out ok.
- Remove bolts from cage mount on car
I use a standard 3 ton jack with a plate under the cage, make sure to move the plate forward to balance the weight and lower the cage on to trollies for easy removal sideways.
Duke
If you only need to change the output shaft seals, then all you need to do is turn the cage upside down, then each side: unbolt the driveshaft, remove the disc and caliper, pull the bottom wishbone upwards and tie it to the other one. Then you have good access to the output shaft bolts and can get stuck in.
No bother, blast some carb cleaner or white spirit at them and dry them off with a clean rag or paper. The pads if they are oil contaminated should be changed.
If you've got the means of lifting the Cage you could just pick it up at one end and the turn it over that way, or else use a Crane to lift it, so it is upside down, then lower it down
Though you could really do with the Pipes out, so that you are able to remove the Shroud and while I know that sounds a pain, you got the time to do that, while waiting for the Parts
Absolutely take those exhaust pipes out. If the entire assembly is too heavy to flip on it’s side by hand, get a big long handle crowbar or a pipe and lever it over twice.
Oil contaminated brake pads must be replaced.
That assembly looks to be in very good condition. Did someone already recondition it?
I used an engine hoist / cherry picker to pick it up and suspend it. Removed the p- brakes, calipers and half shaft nuts on the ground. Once chained to the hoist I removed one of the shocks on each side. The half shaft will then fold out and allow it to hang down with the wishbones. I also loosened the tie plate to get the rotors off and access the output shaft bolts. Rebuilding the output shaft is a chore and has to be right.


 .
.


