When you click on links to various merchants on this site and make a purchase, this can result in this site earning a commission. Affiliate programs and affiliations include, but are not limited to, the eBay Partner Network.
There are several threads on the leather pulling dash issue, but I didn't see any instructions on how to actually pull the dash.
The job wasn't terribly bad, and only took me about 100 minutes. I could probably do it in closer to 60 if I had to do it a second time (or had a write-up).
Things you will need
T30 (I used one for a ratchet, a screwdriver type would work)
T15 (Need a ratchet type, the screwdriver type will be too long to get a few)
Phillips Head
Needle Nose Pliers
Make an attempt to magnetize your tools before you start. Some of these screws are easy to drop, and I had to pull a few panels that didn't need to be pulled just to find the ones that got away. Probably cost me fifteen minutes and some nice scratches on my arms.
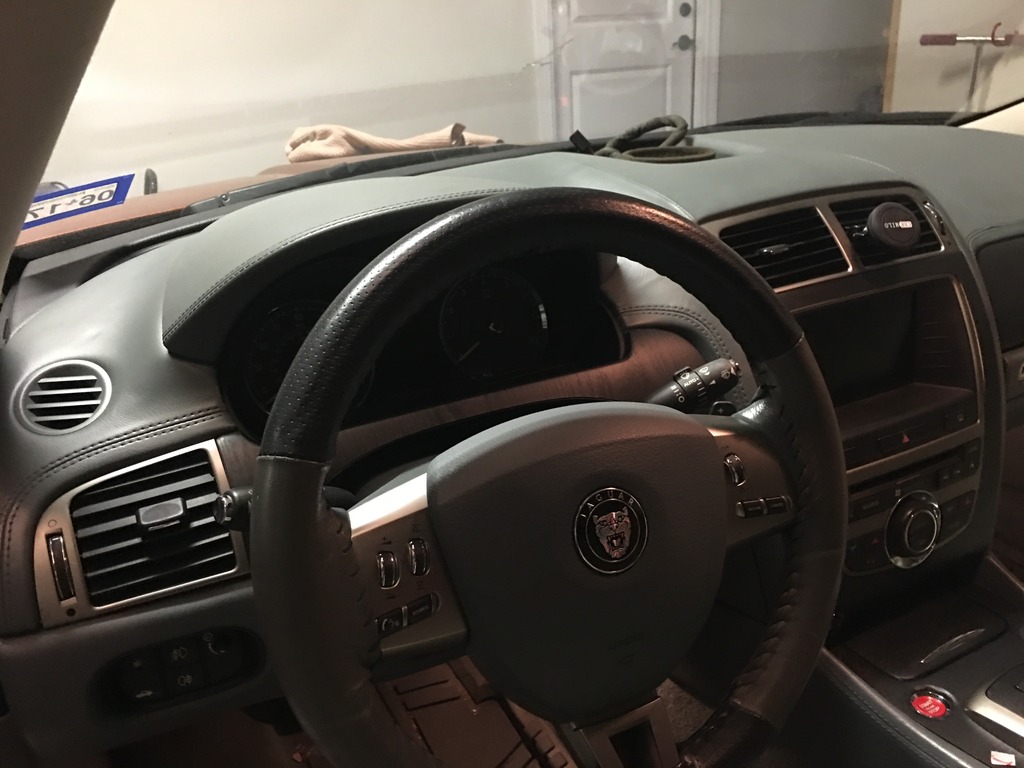
*The first thing I did was prep for turning the power off. I lowered the steering wheel as low and as far out as I could, put the seats all the way back to give myself maximum room.
*Disconnect the battery ground. You don't want to get an airbag in the face while pulling the dash.
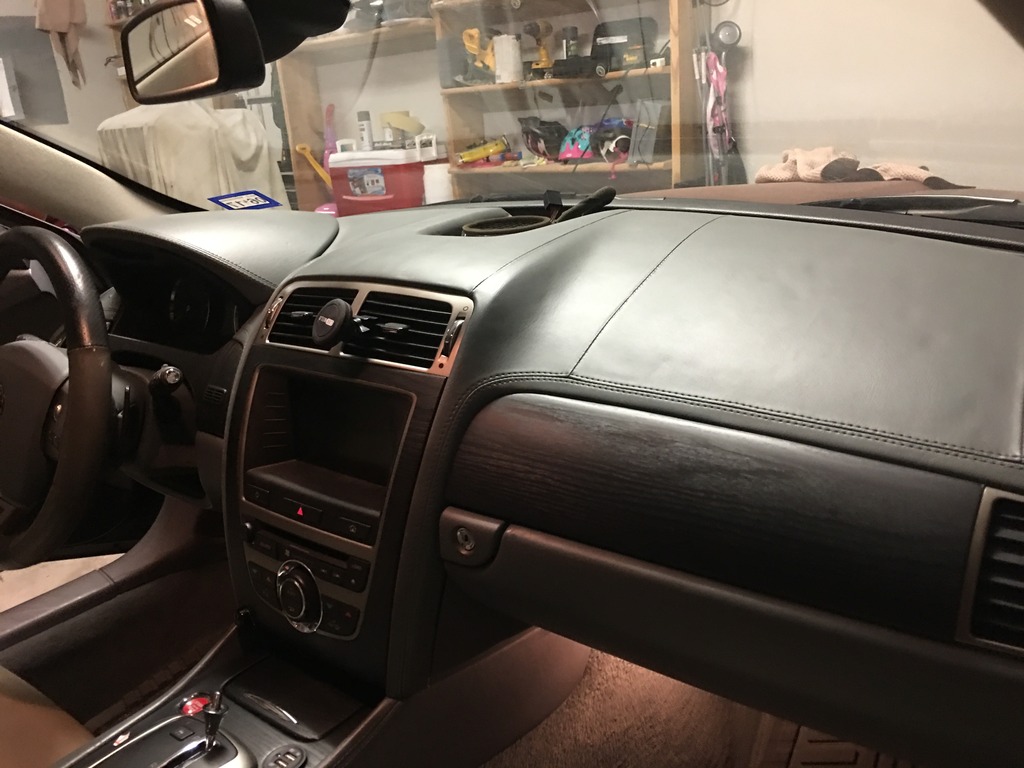
*Remove all of the wood trim. All of it pulls loose from clips, but be careful not to break any tabs:
And around the Radio.
*Pull the radio, disconnect all the connectors, and set it aside
*Pull the AC vents (not necessary, but keeps them from getting broken and give you a place to grab)
* Remove the screws that were hidden behind the radio
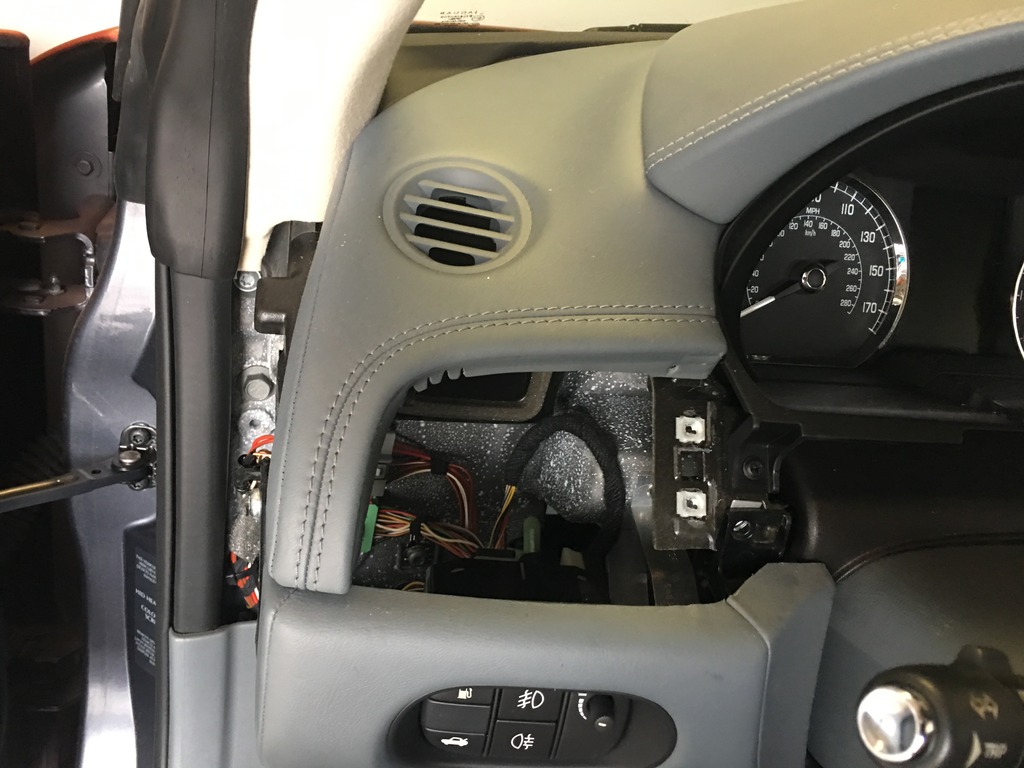
*Pull the AC vents on the drivers and passengers side
*Remove the end caps (Doors open). There are two screws, one going into the side and one going into the back.
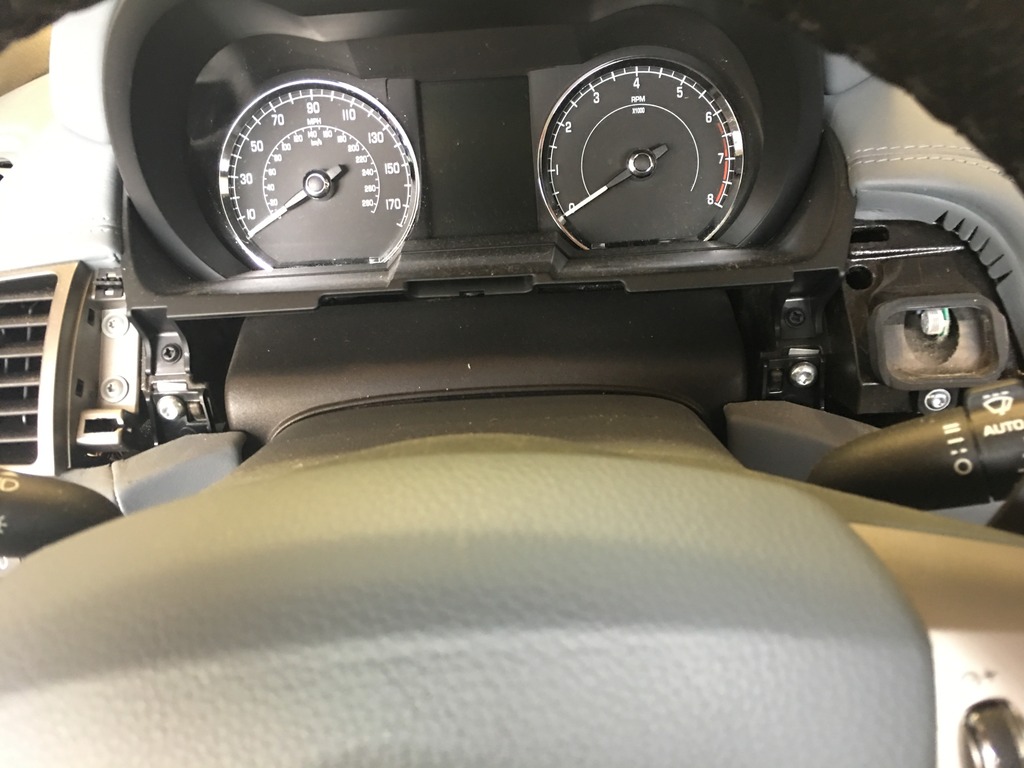
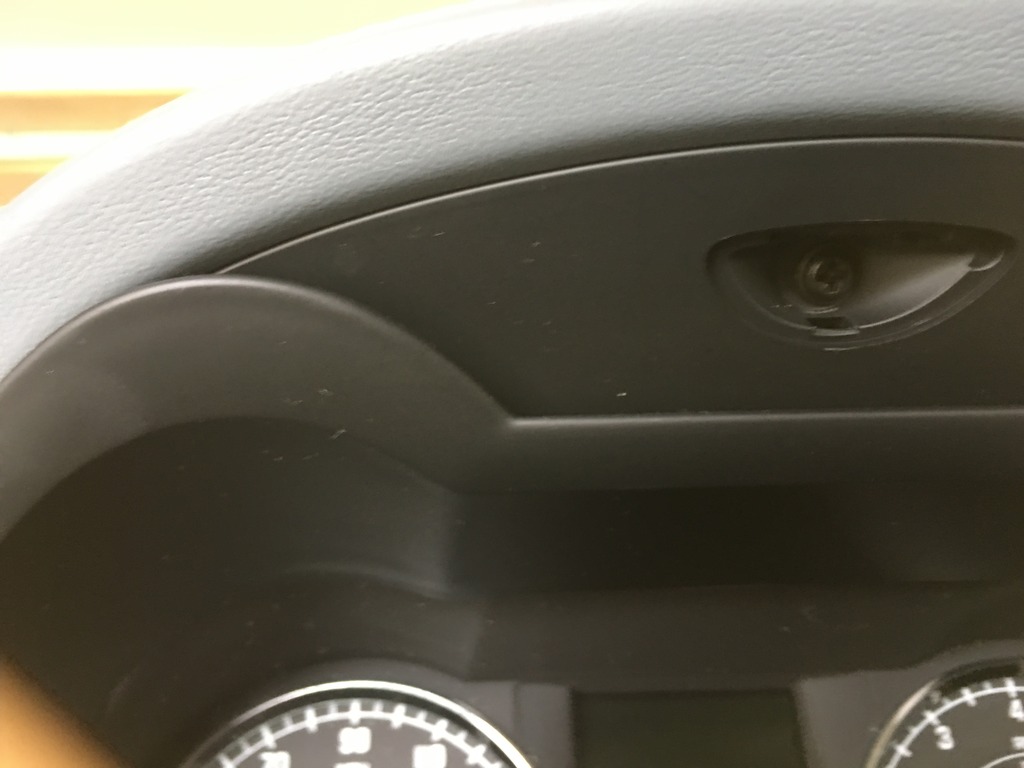
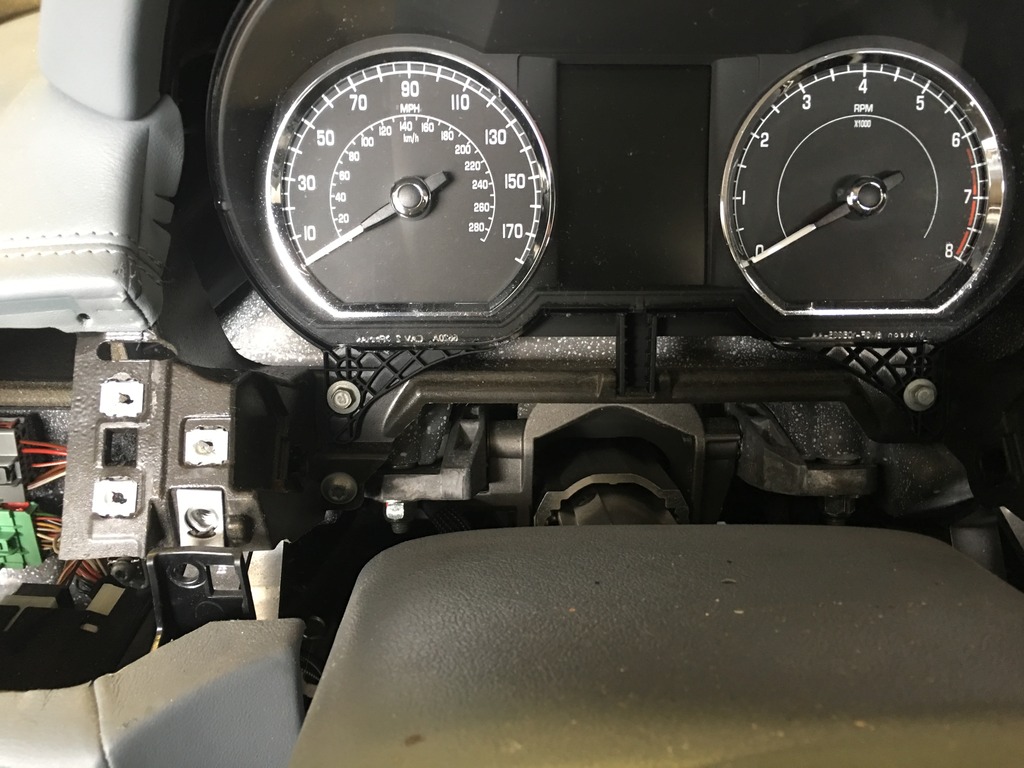
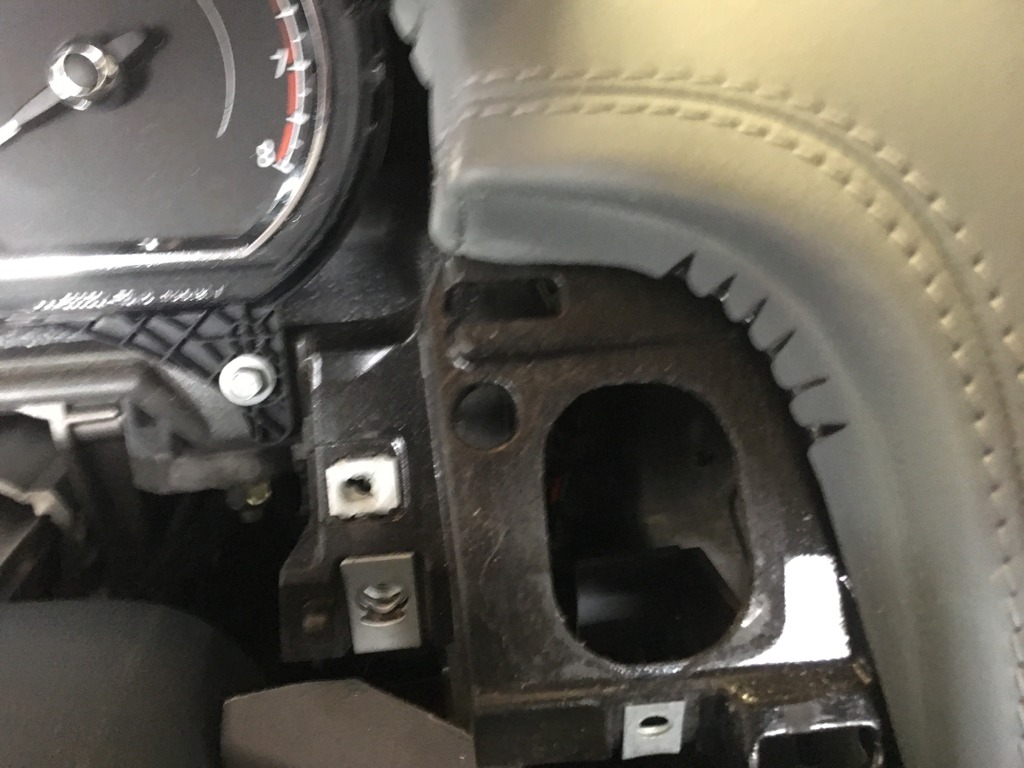
*Remove all the trim around the gauges (There is a hidden screw on the top behind a little removable panel)
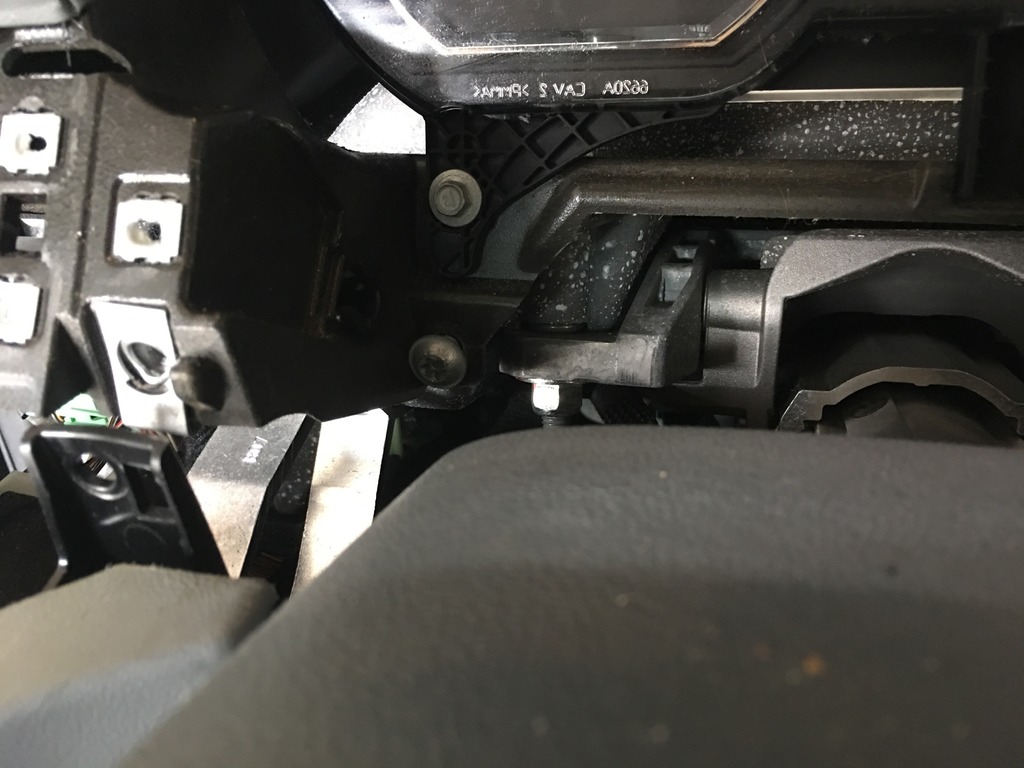
*Remove the screw below the gauges close to the AC vent. This one is a pain to get to
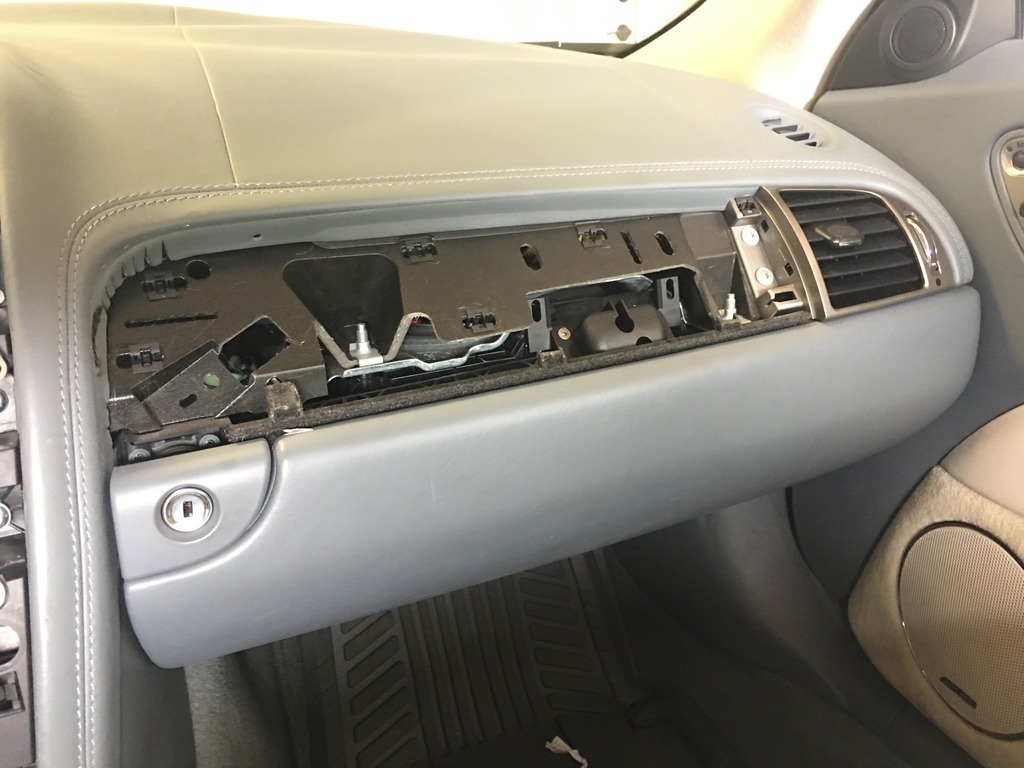
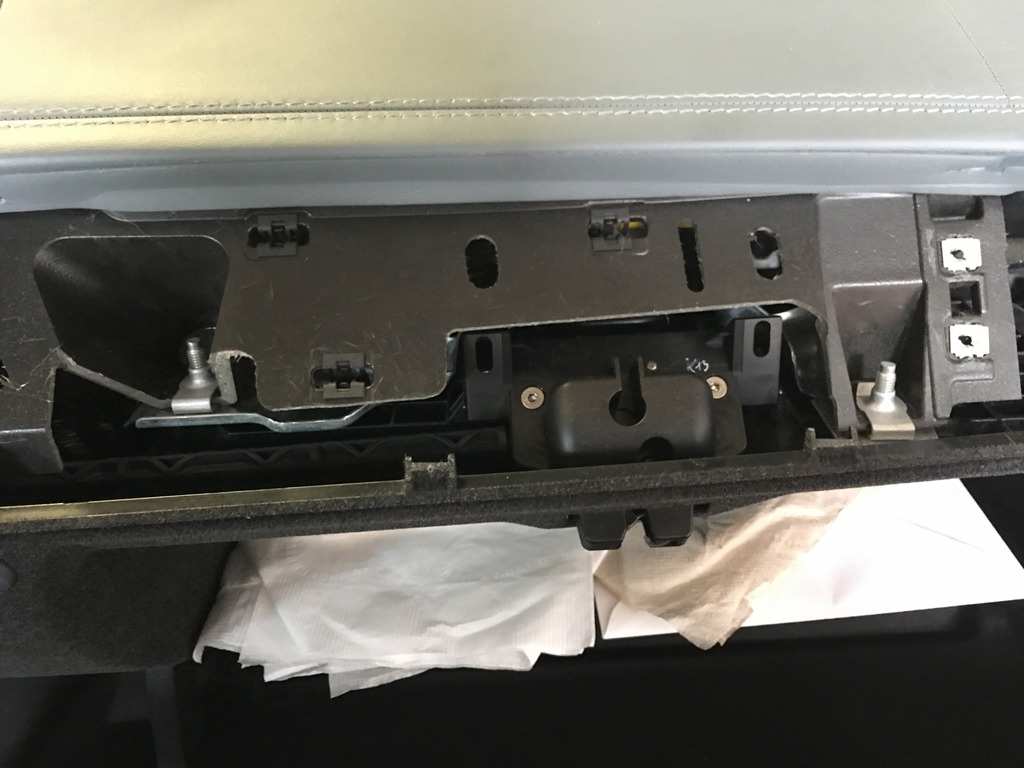
*Remove the two screws that come in from the top of the glove box
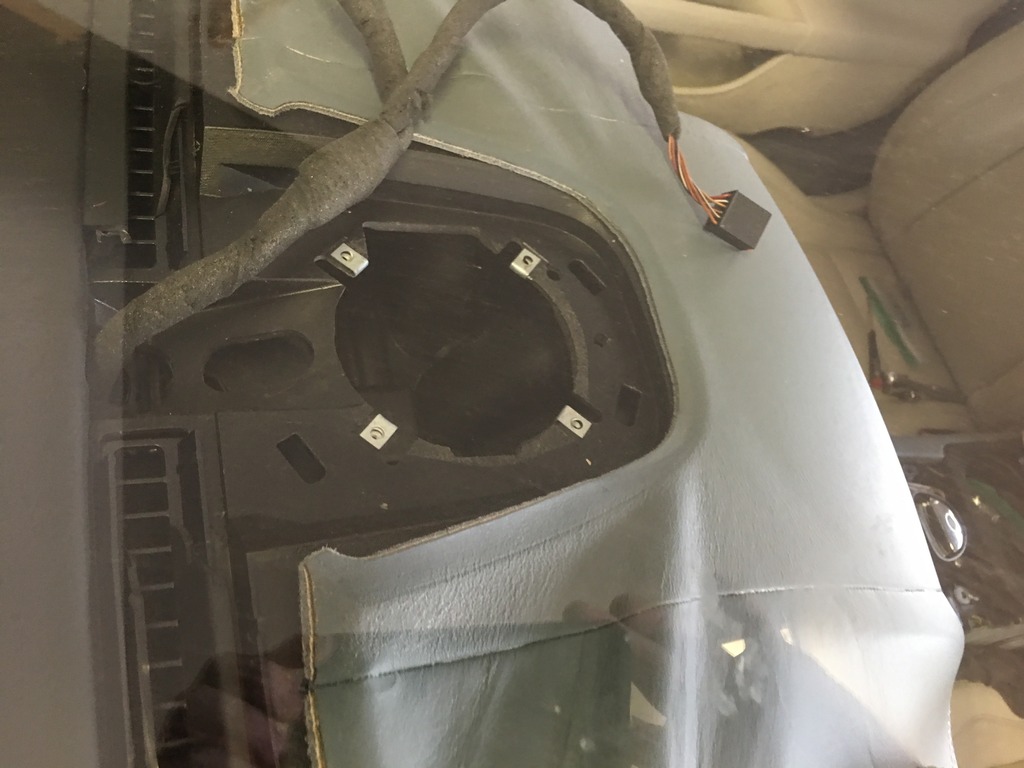
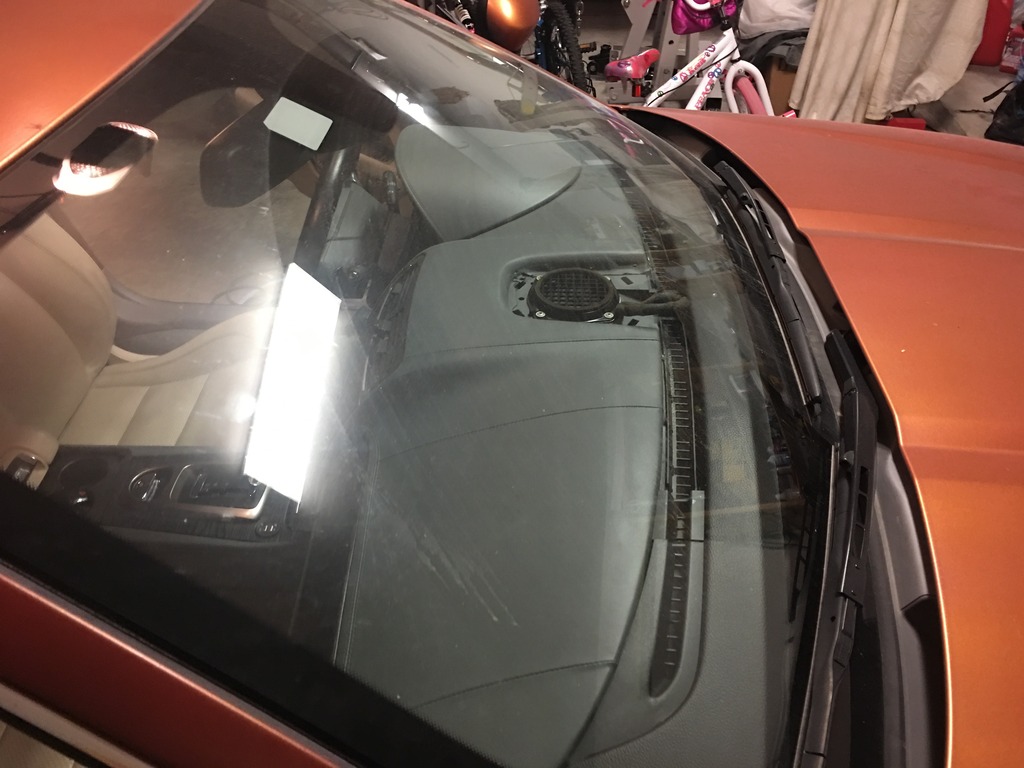
*Remove the center speaker
*Pull the wiring back through the hole and you will be able to see the hidden screw
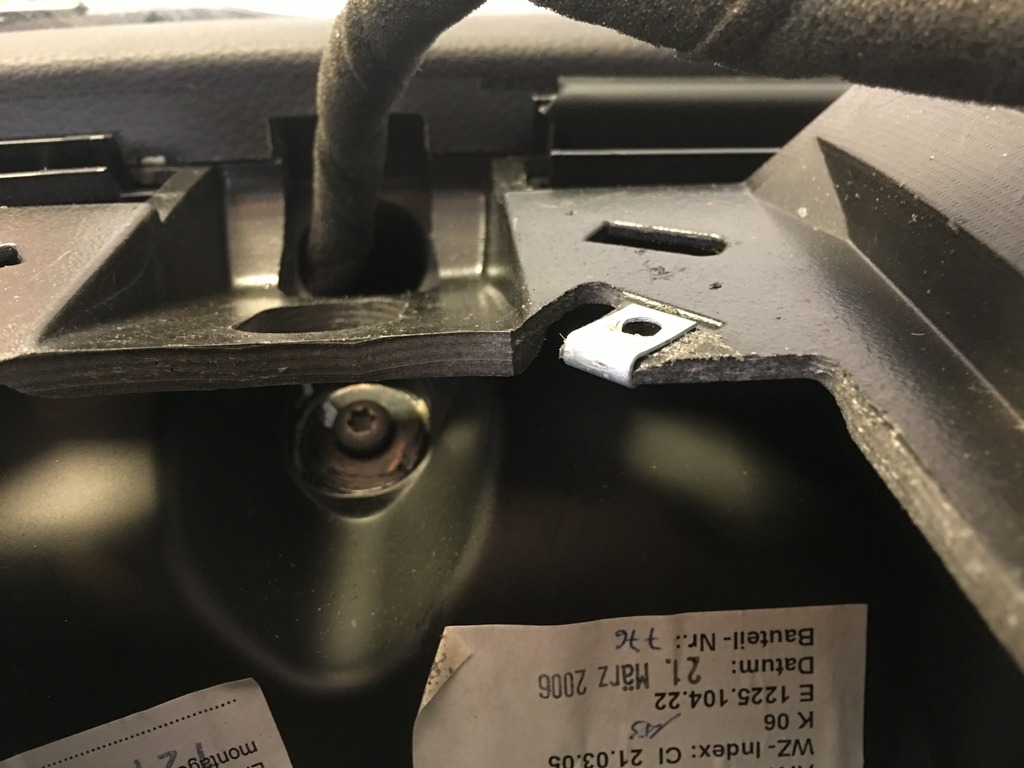
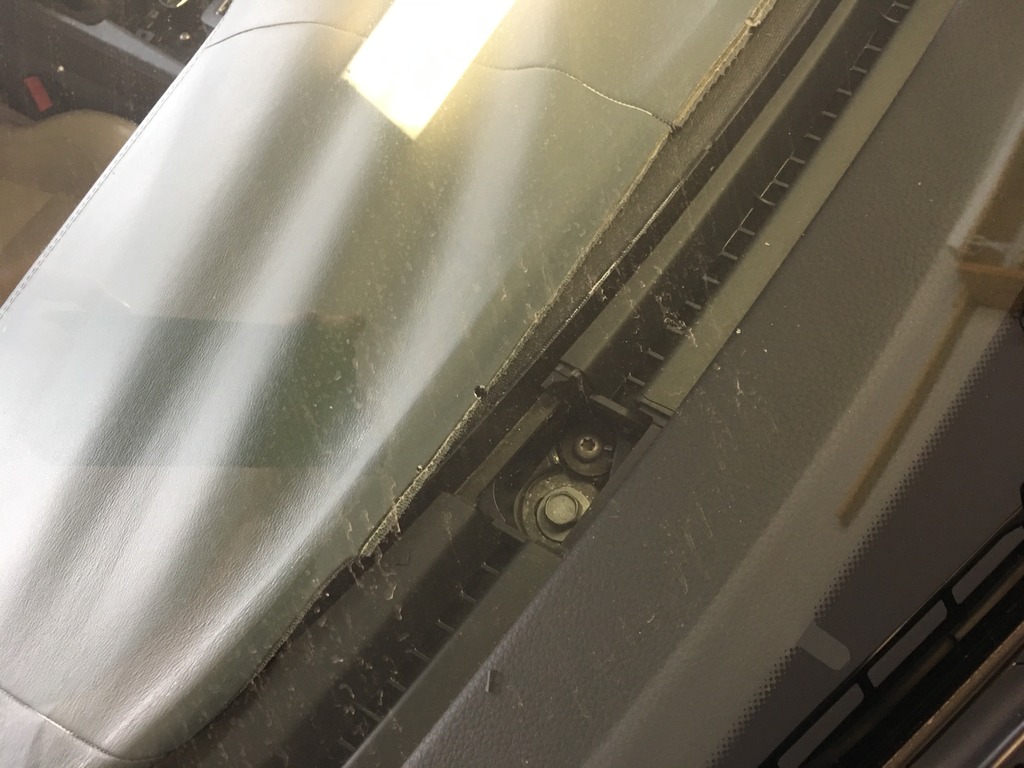
*There are two small panels that can be lifted off on the defroster panel to reveal some hidden screws. These will be very fragile, so be careful removing the covers (One on each side) Remove the screws, not the bolts
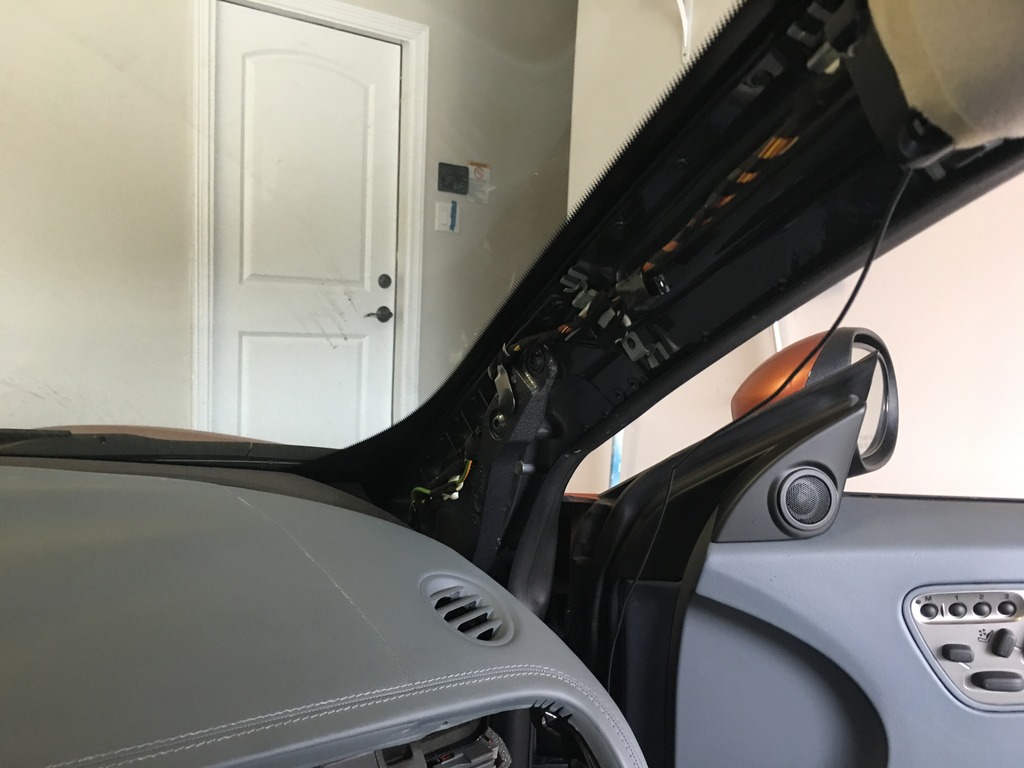
*I removed the pillar trim to make sure the dash slid out easy
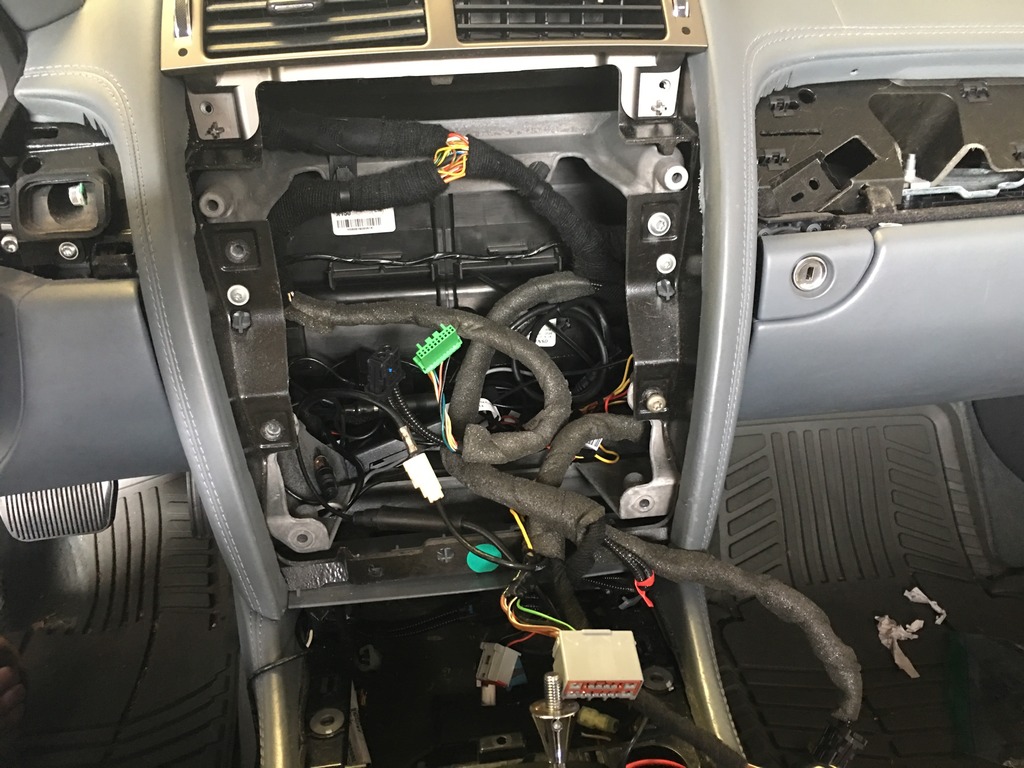
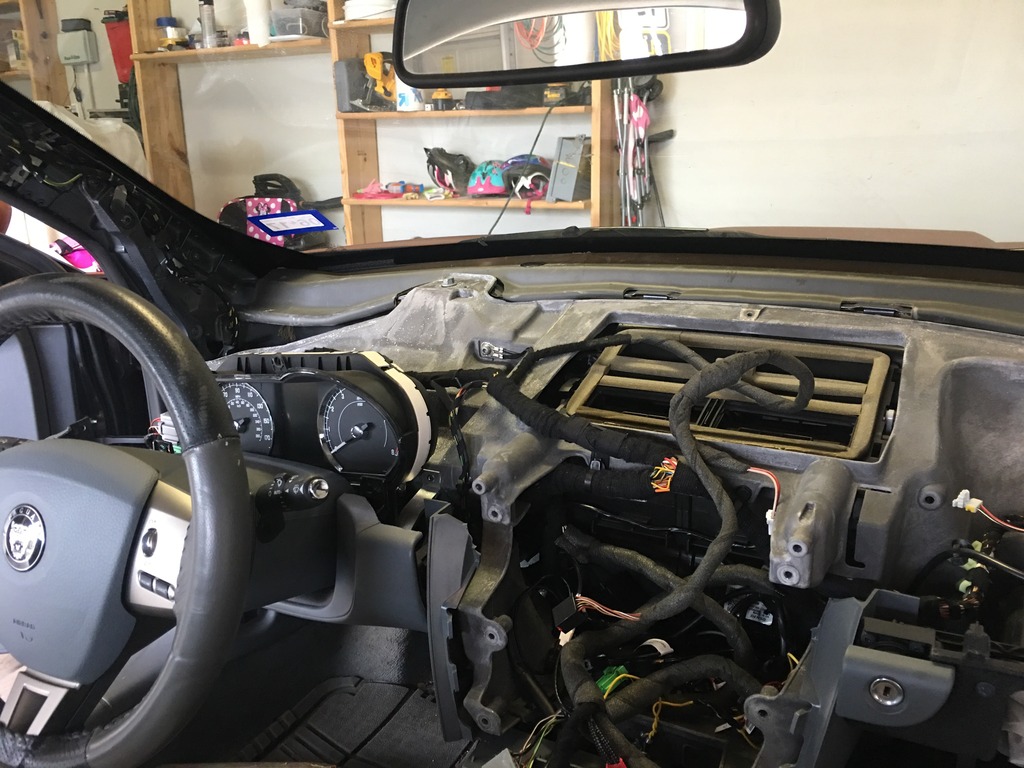
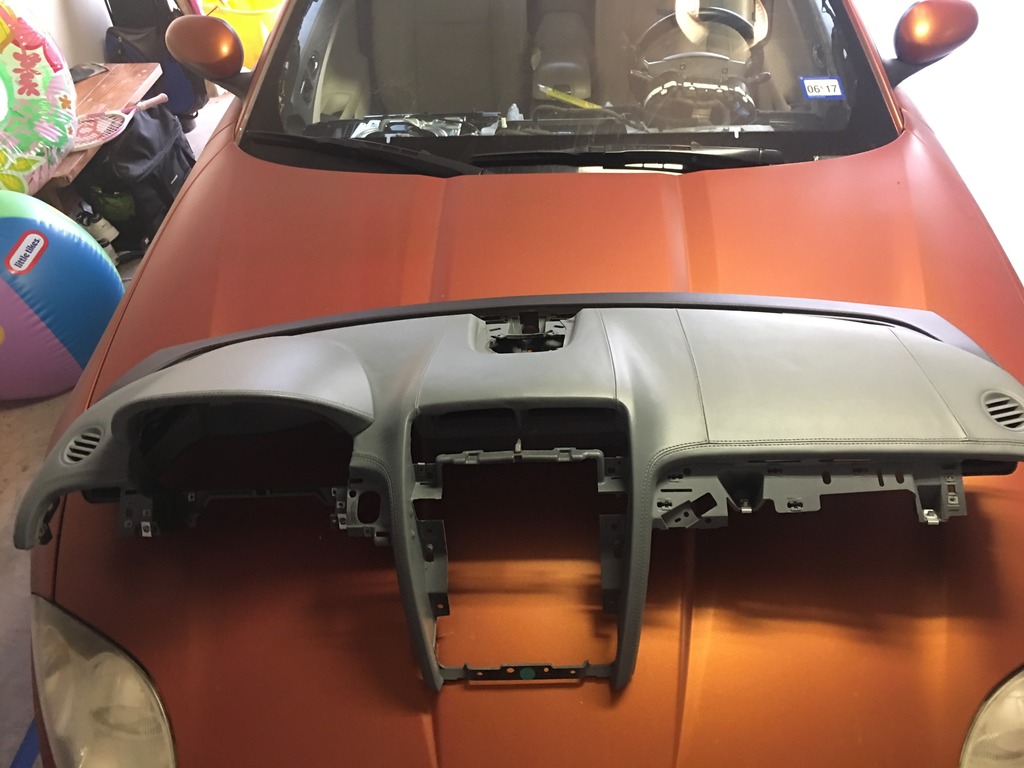
*The dash should now be free from all the screws, but the wires will still be holding it in.
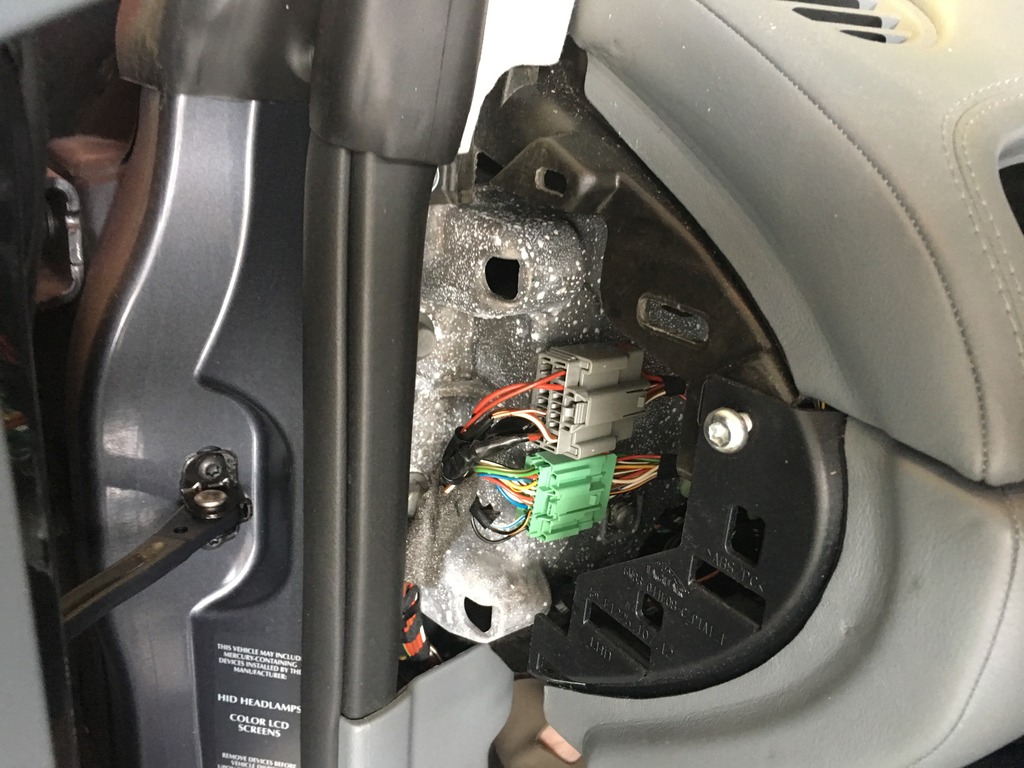
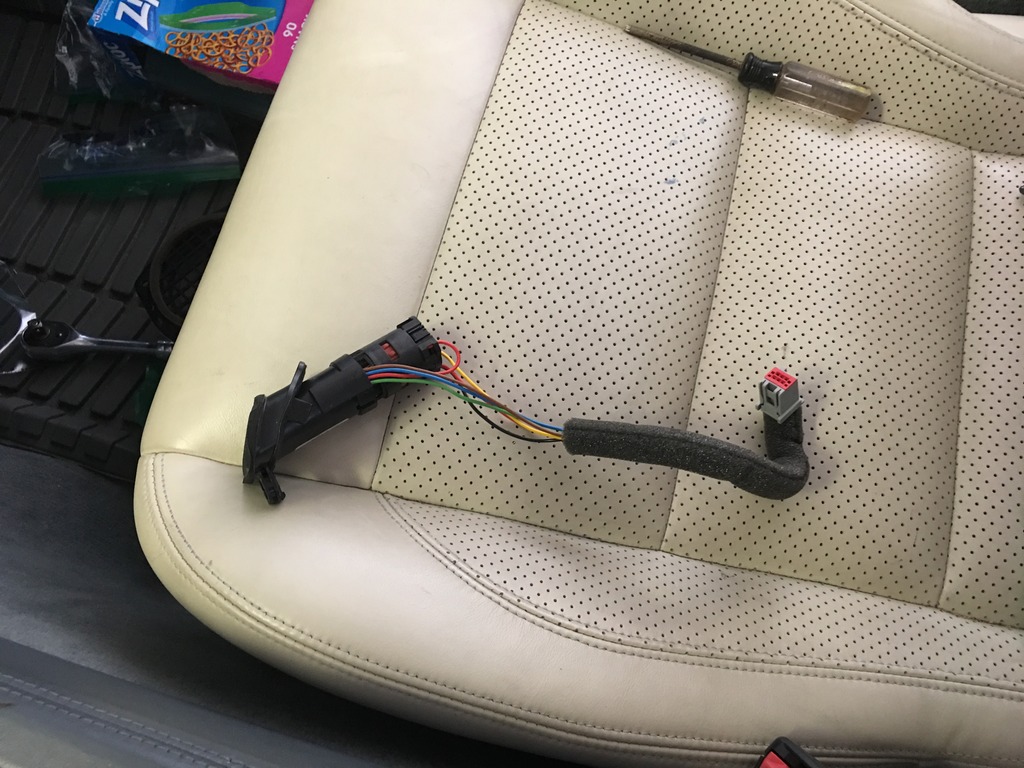
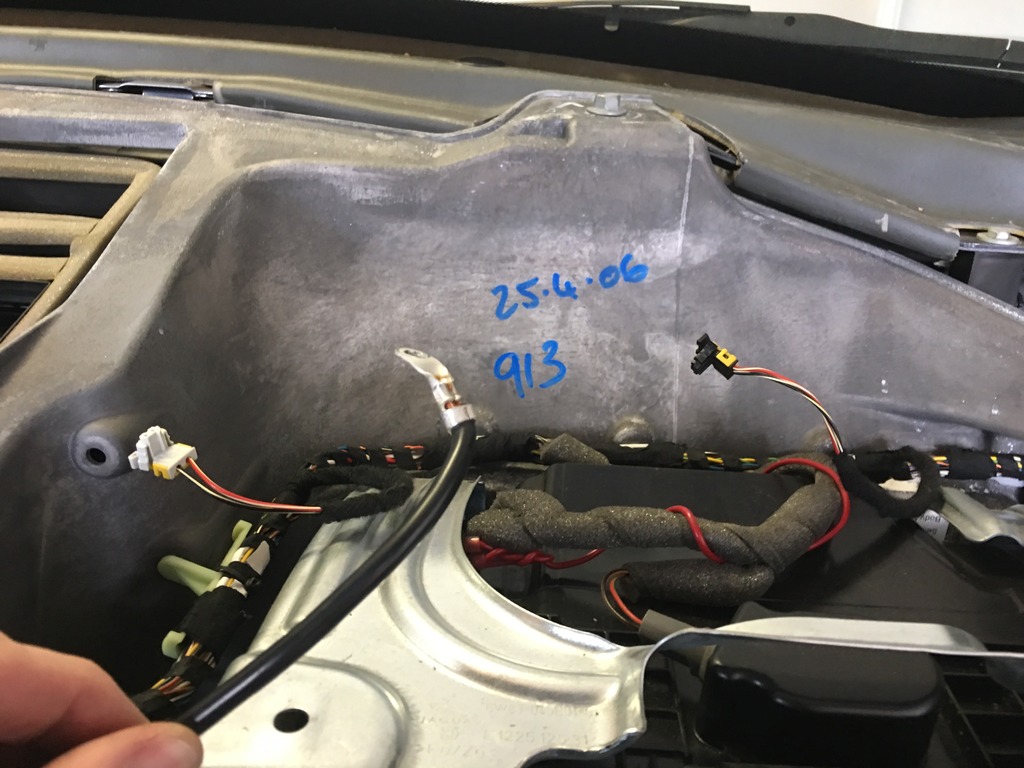
*The first wire to pull is just to the right of the steering wheel, I think this is a microphone, but I'm not sure. Trace the wire back into the dash, it has about 10" of cable before it hits a plug that can be pulled. Once unplugged you can pull from the front.
*The passenger airbag is the worst to get unplugged The plugs required you to squeeze in two tiny tabs on the side and then pull away from the connection (not slide down). This is what the needle nose pliers are for. The one of the drivers side wasn't too bad, but the one closest to the door is a real pain. I had to lift up on the dash enough that I could get a T15 up in there and remove the AC Ducting to get it out of the way so that I could reach the airbag plug. The ground wire on the airbag is a pain too because it screws in from the back. Once all the other wires are loose you should be able to pull the dash far enough forwards to get to it with a T15.
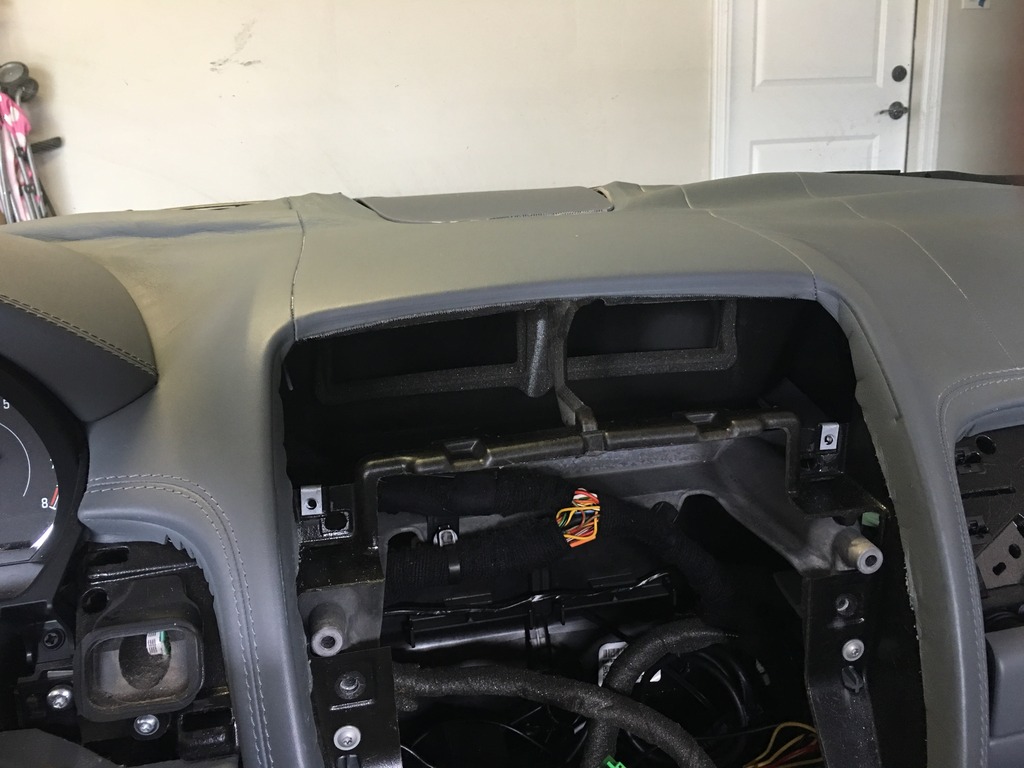
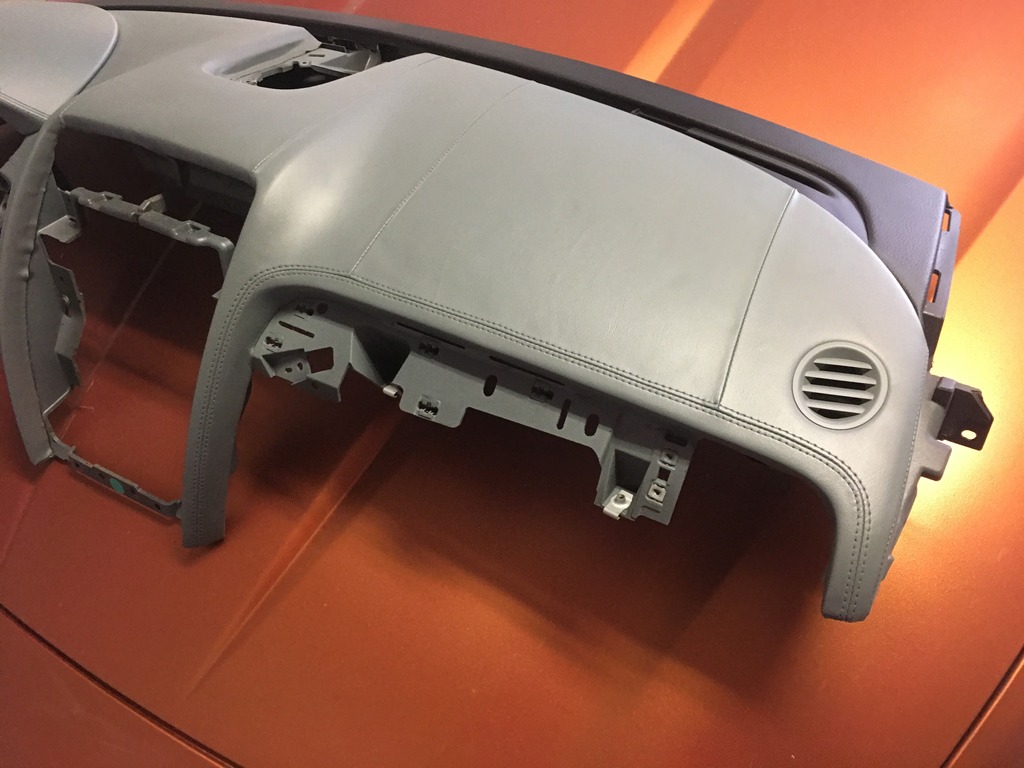
*After that it should be able to slide right out:
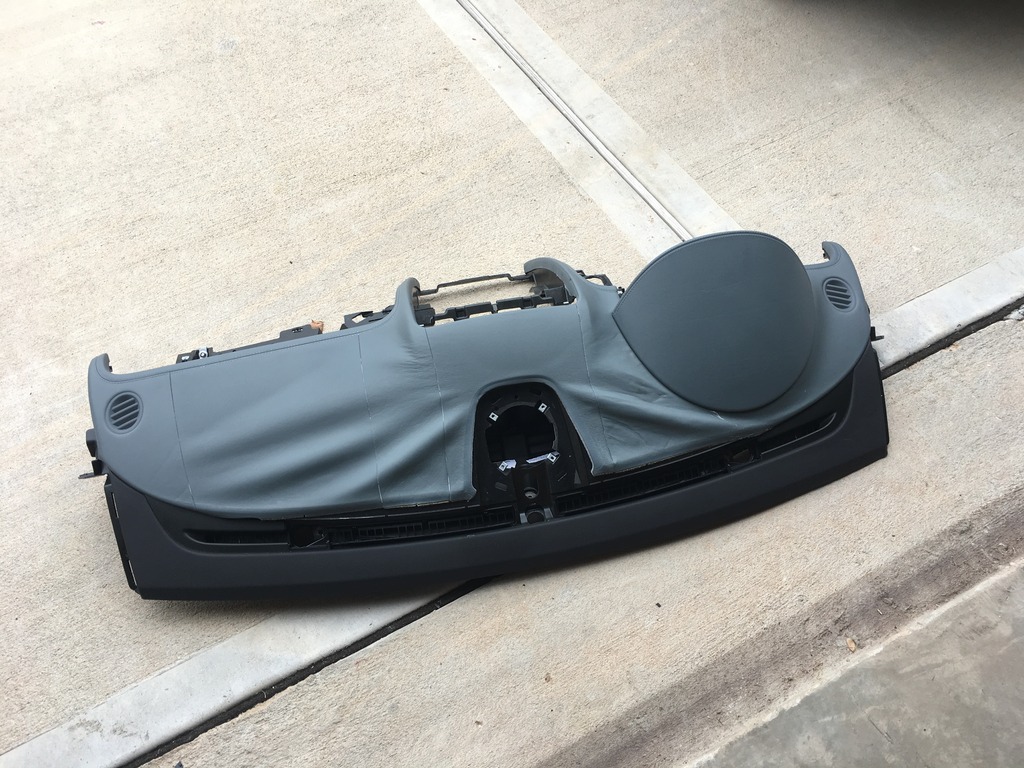
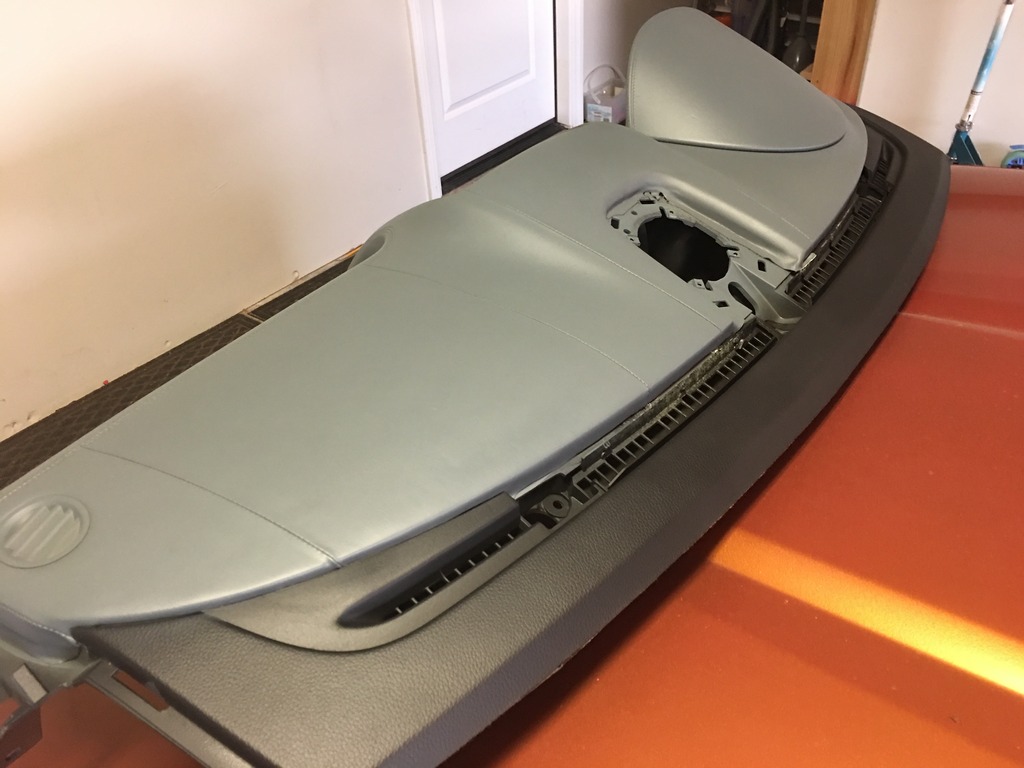
I'll be visiting a few interior trim shops this week to try and find someone who can re-stretch and staple the leather. Worst case scenario is I'll have it recovered in a matching leather or vinyl.
Thanks for posting. I wish I had known it was that easy. I have completed significantly more complex tasks on my own but this is one I left to the dealer a few months ago when I had a brand new dash installed. I thought it would be a bit more complex. Guess I should have known, these cars are actually very easy to work on and disassemble/reassemble. I don't think you mentioned if you have a coupe or convertible. If the later, then I can see where it would be a lot easier than my coupe.
Ajzride,
Great write up! Having gone through this myself when I first bought my car about 3 years ago, the repair will be quick and relatively easy for any upholsterer.
Make sure that the upholsterer uses a high temperature resistant adhesive, but more importantly, staple all along the front edge (you won't have enough leather overlap to stretch to the underside) at the windshield, and life the center speaker and staple all around the lip as the speaker will cover the staples. You will need to cover the staples at the lip near the windshield, and I have just received some more of the matching (warm charcoal) leather binding which I am sending out to some other forum members today. If you need some (just glue to the front edge covering the staples) just PM me and I will get it out to you.
That is a well done DIY with illustrations, thanks for sharing. Thankfully all the fasteners to remove the dash are available from the front and (fairly) easy to get to! That picture with the dash on the ground and the loose leather looks terrible, that thing is VERY loose.
When my Wife and I first met she had a 1992 Mazda MX-6. It was a good car and she had it for a lot of years, paid off, but the dash was sun cracked. I bought a new one for cheap from a dismantler in Michigan, a local body shop quote $1000 to install. Forget that, I did it myself. Only problem, you had to take EVERYTHING out, disconnect the main support bar from the firewall, pull the entire structure forward so that I could then remove all the fasteners from the back side of the dash. Brutal!
This is just for fun to show how a dash is that is NOT designed to be removed easily....
I think I found the right upholstery shop. I called and said I had a leather dash that was lifting and his first question was "what year jaguar is it?".
He said he gets one Jag a week through his shop, and he had some pictures of an XF he had repaired by blind-stitching a couple of extra inches on the back, stretching it tight and stapling to ensure it never moved again.
Unfortunately mine was probably too far gone to stretch, and even if it wasn't the PO had tried to use gorilla to glue to fix, which made mine irreparable. He is going to recover in a matching material for $500.
Thank you so much for posting the DIY instructions for this. I have been putting off fixing the duckbill drain tube issue because I thought it was a nightmare removing the dashboard but after reading this... I might have enough courage to do this now... might.
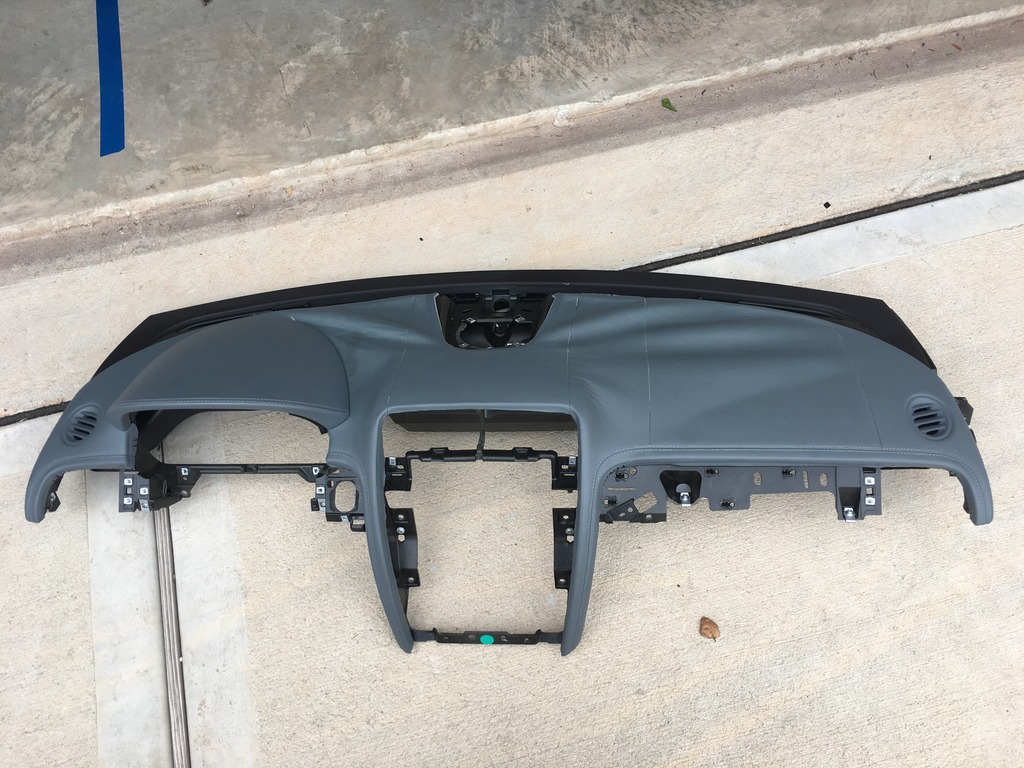
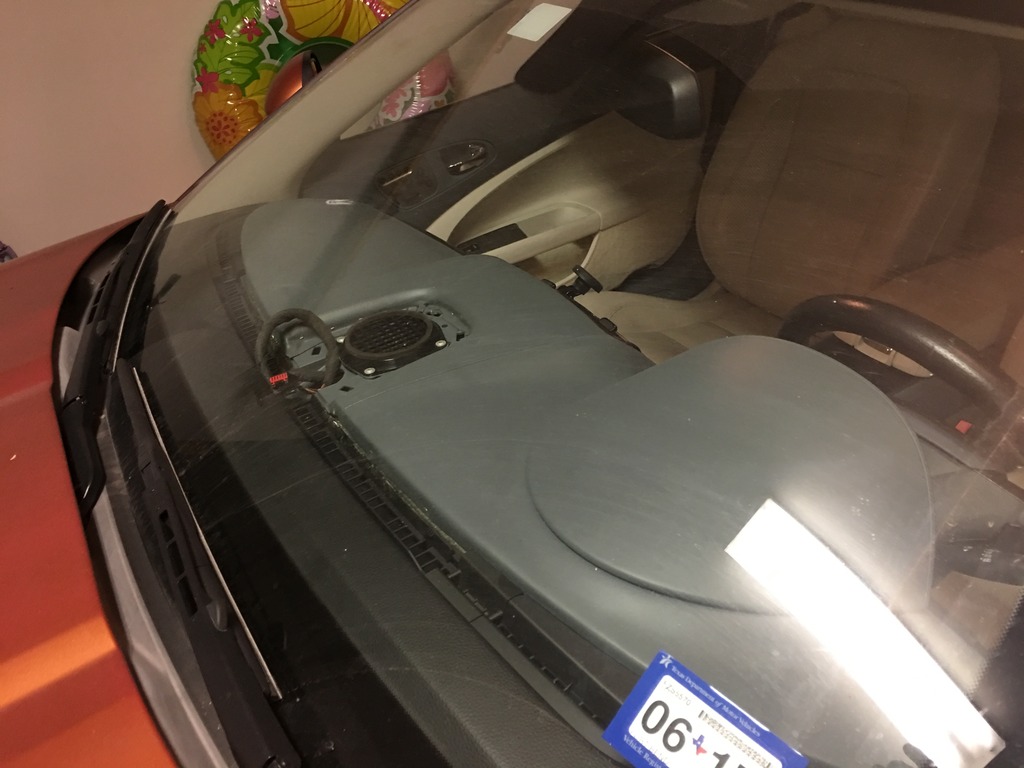
I picked up the newly covers dash yesterday. There really isn't much to show for assembly, it was much easier than taking it apart. The speaker grill shattered coming out (no surprise) and I"m going to try and repair it because the cheapest I can find a replacement is $50, and thats just crazy for a speaker grill.