XK / XKR ( X150 ) 2006 - 2014

What did you do to your X150 today?

Thread Tools
 
Search this Thread
 
Old Jun 25, 2020 | 09:28 AM
  #1281  
Malawi's Avatar
Member
Joined: May 2014
Posts: 66
Likes: 42
From: NY
Default

Originally Posted by De5in
It's a 5.0l XK. I will be getting the tune from AlexJag. I will write it up exhaustingly and ad naseum I assure you.
interested to hear your thoughts
 
Reply
Old Jun 25, 2020 | 09:56 AM
  #1282  
Malawi's Avatar
Member
Joined: May 2014
Posts: 66
Likes: 42
From: NY
Default changing lights to LED

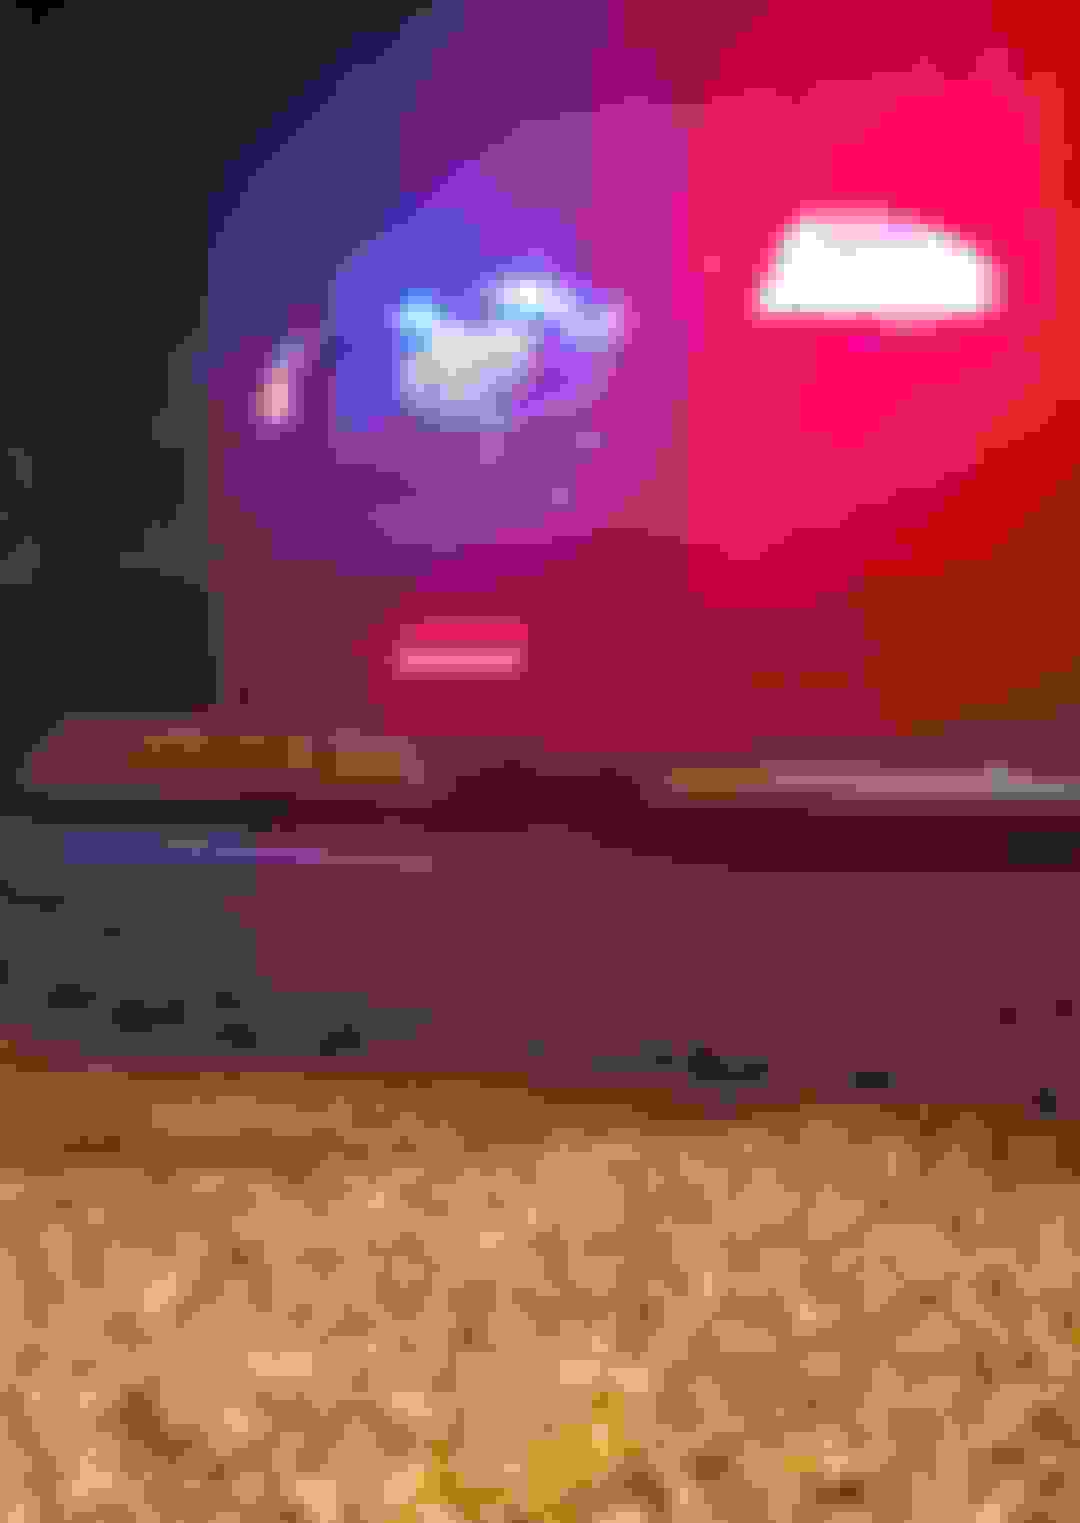
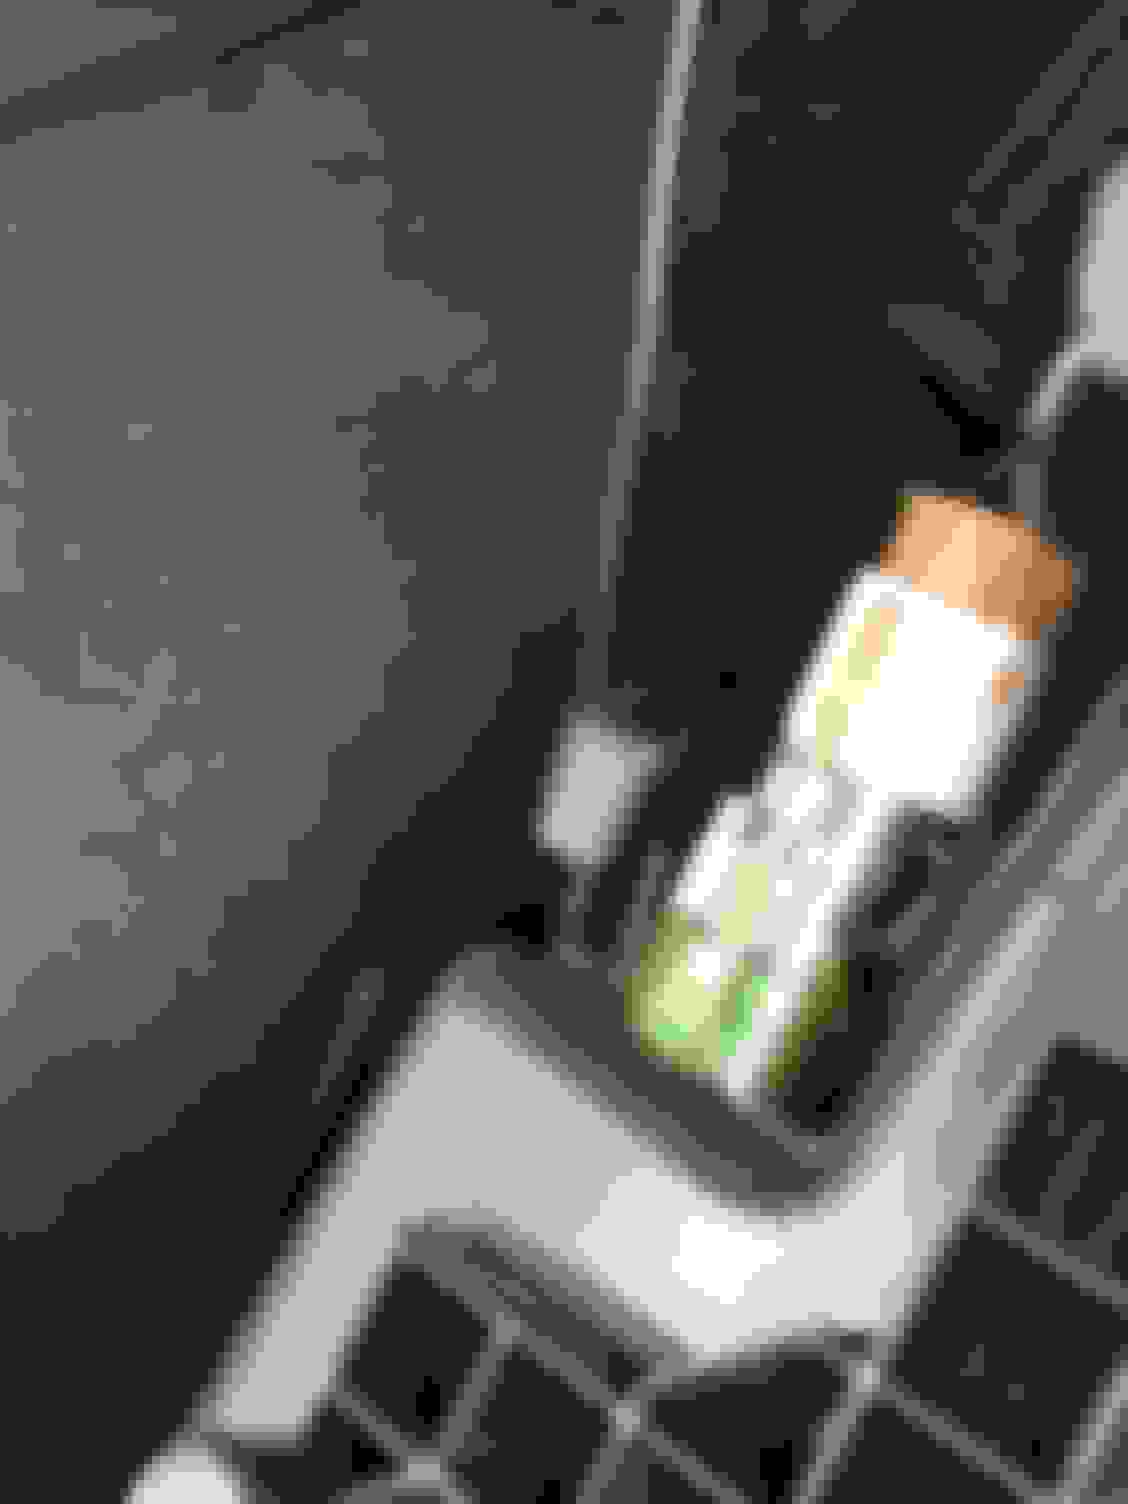
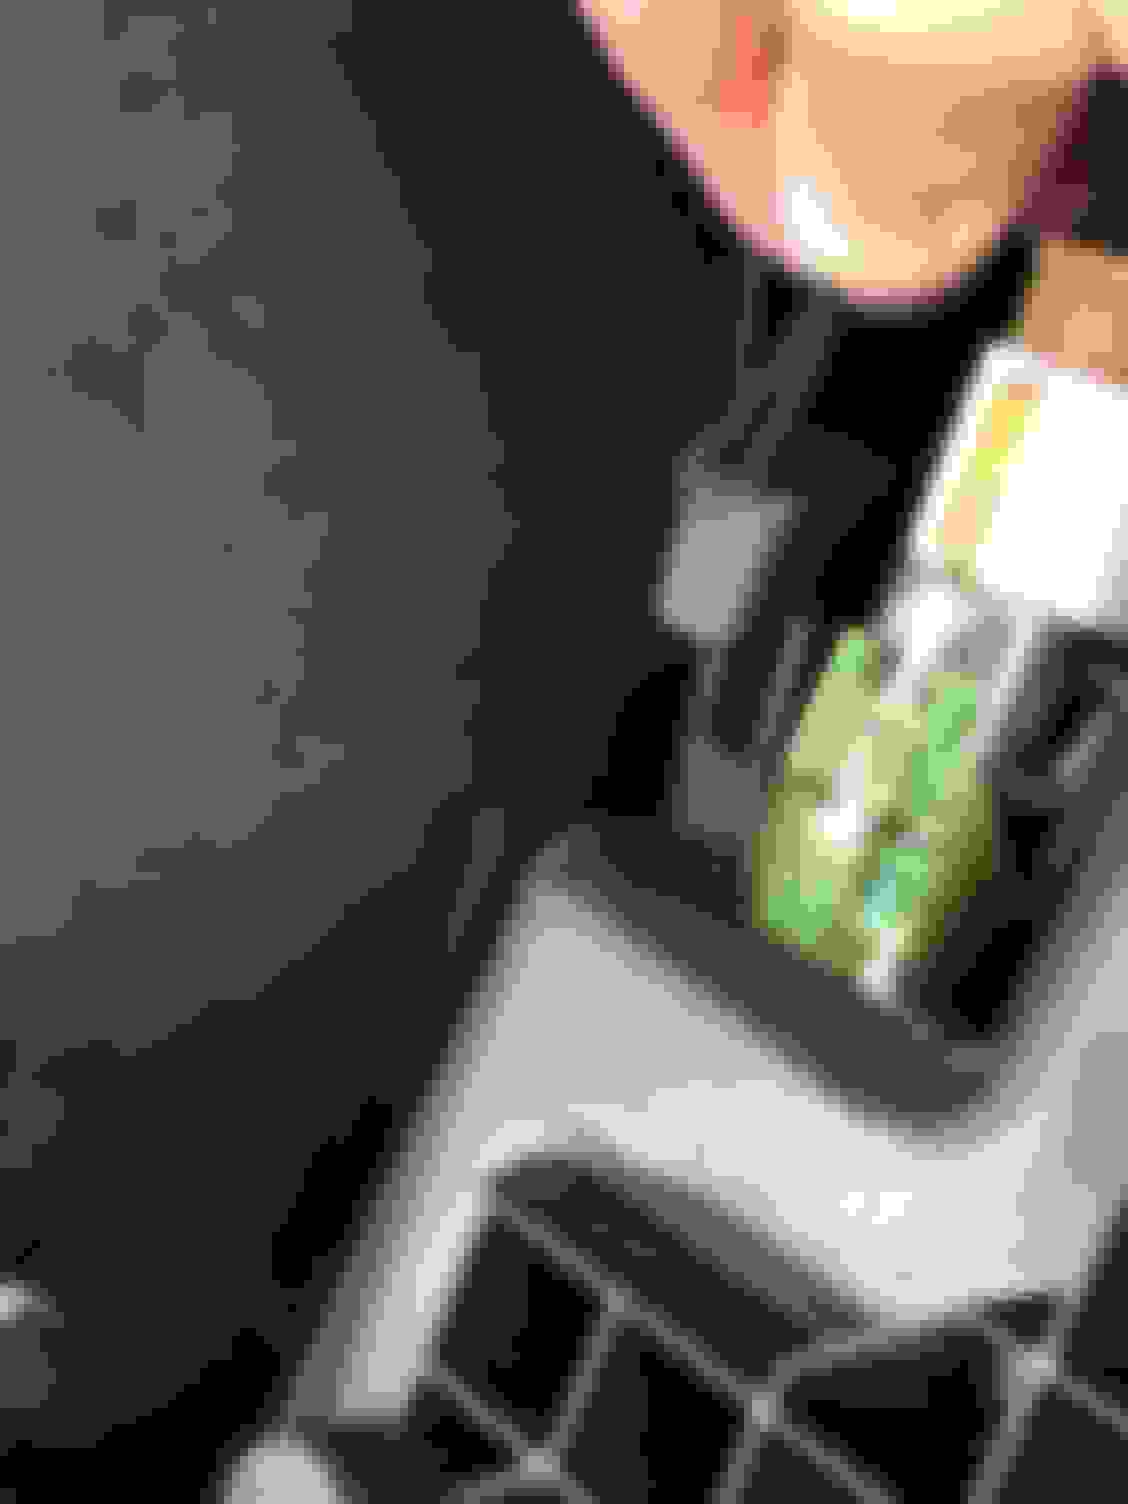
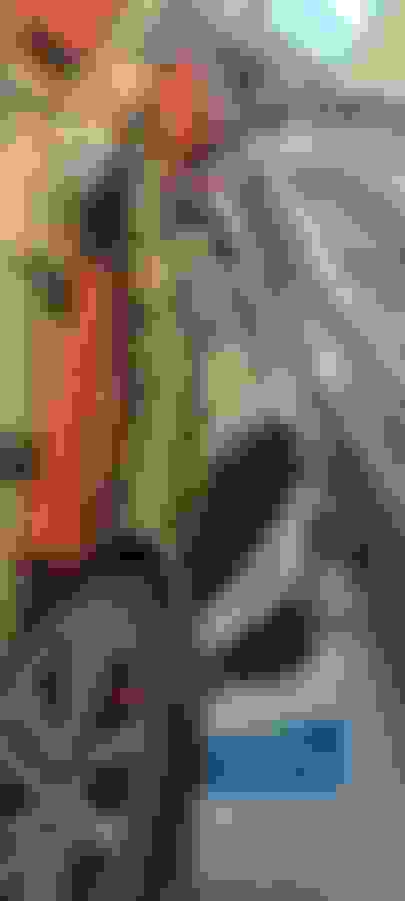
headlights: changed the side marker, side lamp and cornering lamp to LED. waiting for 6000K new halogen bulbs for main light. I thought of going LED but too much work dealing with the balast etc. New HID bulbs are much better than 10 years ago.

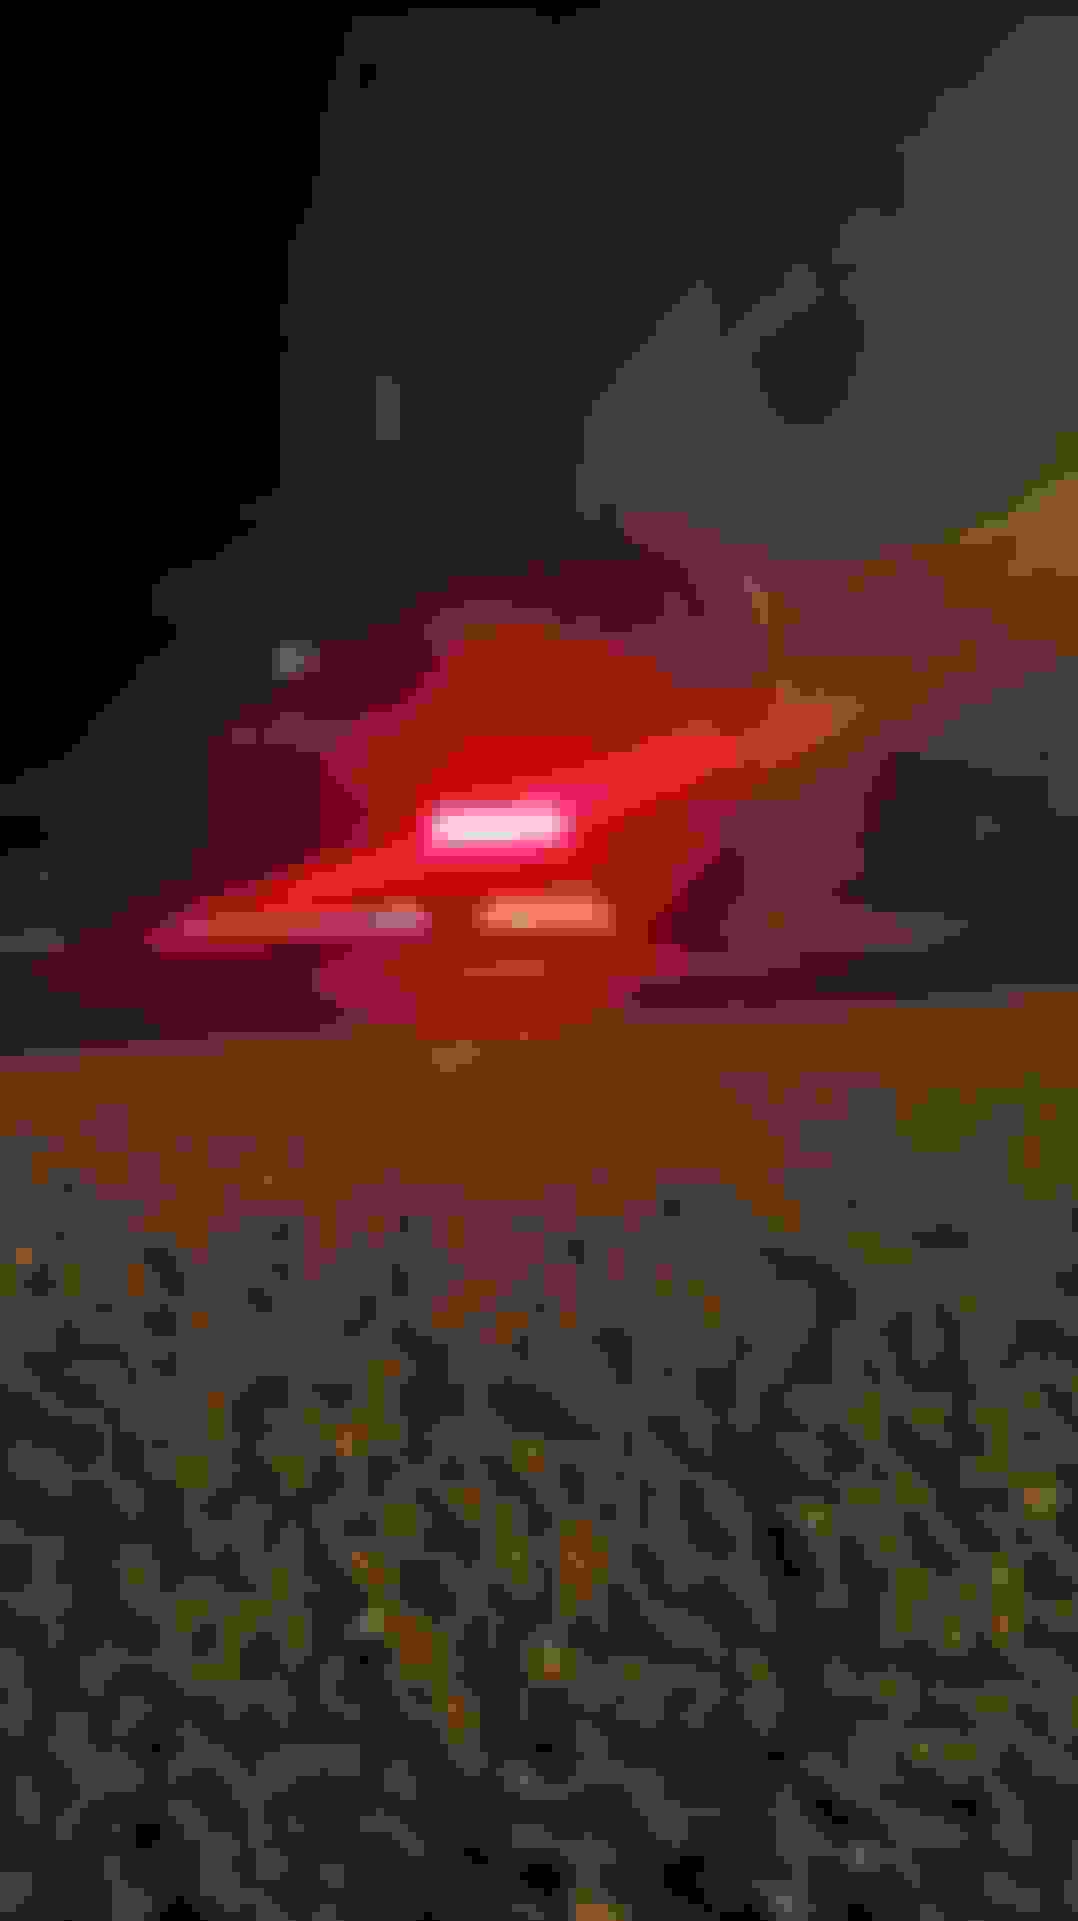
Added a brake and turn signal LED to rear diffuser. looks superfly.

changed rear turn signal lights to LED. no resistor needed but it took a while to find good LEDs that would fit without hyperflash and bulb error.

left signal is LED so u can compare

replaced 3 bulbs to LED. got rid of the orange side marker bulb

diffuser LED

strobe brake LED light on right


now working on rear brake/running to install strobe LEDs. when u hit the brakes, the lights flashes 3 times then go solid. having bulb error issues with this light (P21/5W). installed resistors but problem not going away.
 
Reply
Old Jun 25, 2020 | 10:02 AM
  #1283  
Malawi's Avatar
Member
Joined: May 2014
Posts: 66
Likes: 42
From: NY
Default Trying to fix rear spoiler LED brake light for cheap

work in progress. took the light apart. waiting for LED replacement light delivery


Reply
Old Jun 25, 2020 | 10:23 AM
  #1284  
Malawi's Avatar
Member
Joined: May 2014
Posts: 66
Likes: 42
From: NY
Default installed new front LED fog lights

My prior LED burnt out after 3 years

full beam

daylight running
 
Reply
Old Jun 25, 2020 | 02:13 PM
  #1285  
kj07xk's Avatar
Veteran Member
10 Year Member
Liked
Loved
Community Favorite
Joined: Jan 2015
Posts: 5,315
Likes: 2,589
From: Naperville, Illinois USA
Default

Originally Posted by Malawi

daylight running
What did you wire the DRL to?
 
Reply
Old Jun 26, 2020 | 12:46 AM
  #1286  
Malawi's Avatar
Member
Joined: May 2014
Posts: 66
Likes: 42
From: NY
Default

Originally Posted by kj07xk
What did you wire the DRL to?
used a fuse tap.
 
Reply
Old Jun 28, 2020 | 11:24 PM
  #1287  
DannyJ's Avatar
Senior Member
5 Year Member
Liked
Loved
Community Favorite
Joined: Sep 2018
Posts: 183
Likes: 68
From: Israel
Default

Originally Posted by Malawi
My prior LED burnt out after 3 years

full beam

daylight running
Do you have a link to the DRL enabled fog lights?
 
Reply
Old Jun 29, 2020 | 08:41 AM
  #1288  
steve_k_xk's Avatar
Veteran Member
10 Year Member
Liked
Loved
Community Favorite
Joined: Jun 2015
Posts: 3,005
Likes: 1,675
From: Sydney, Australia
Default


De-clouded my lens , repaired the two broken wires for the headlight solenoid and re insulated well over a dozen wires.


​​​
 

Last edited by steve_k_xk; Jun 29, 2020 at 08:45 AM.
Reply
Old Jun 29, 2020 | 09:24 AM
  #1289  
Sean W's Avatar
Thread Starter
|
Veteran Member
10 Year Member
Liked
Loved
Community Favorite
Joined: Jun 2013
Posts: 8,936
Likes: 4,744
From: USA
Default

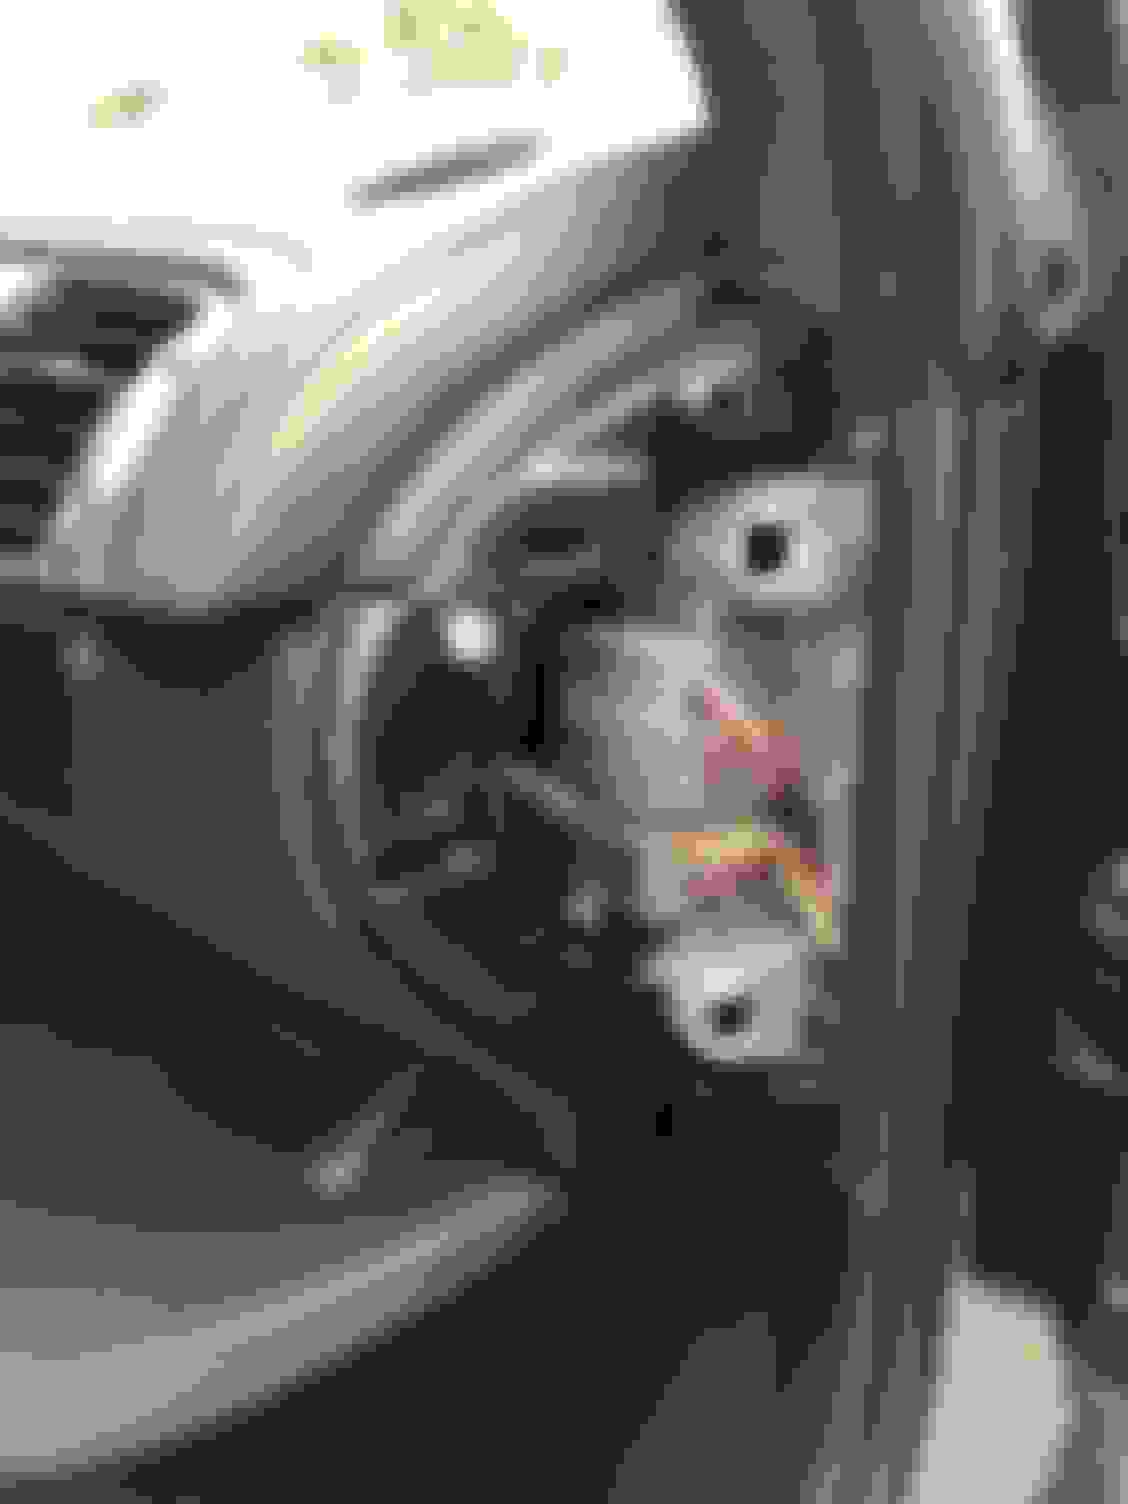
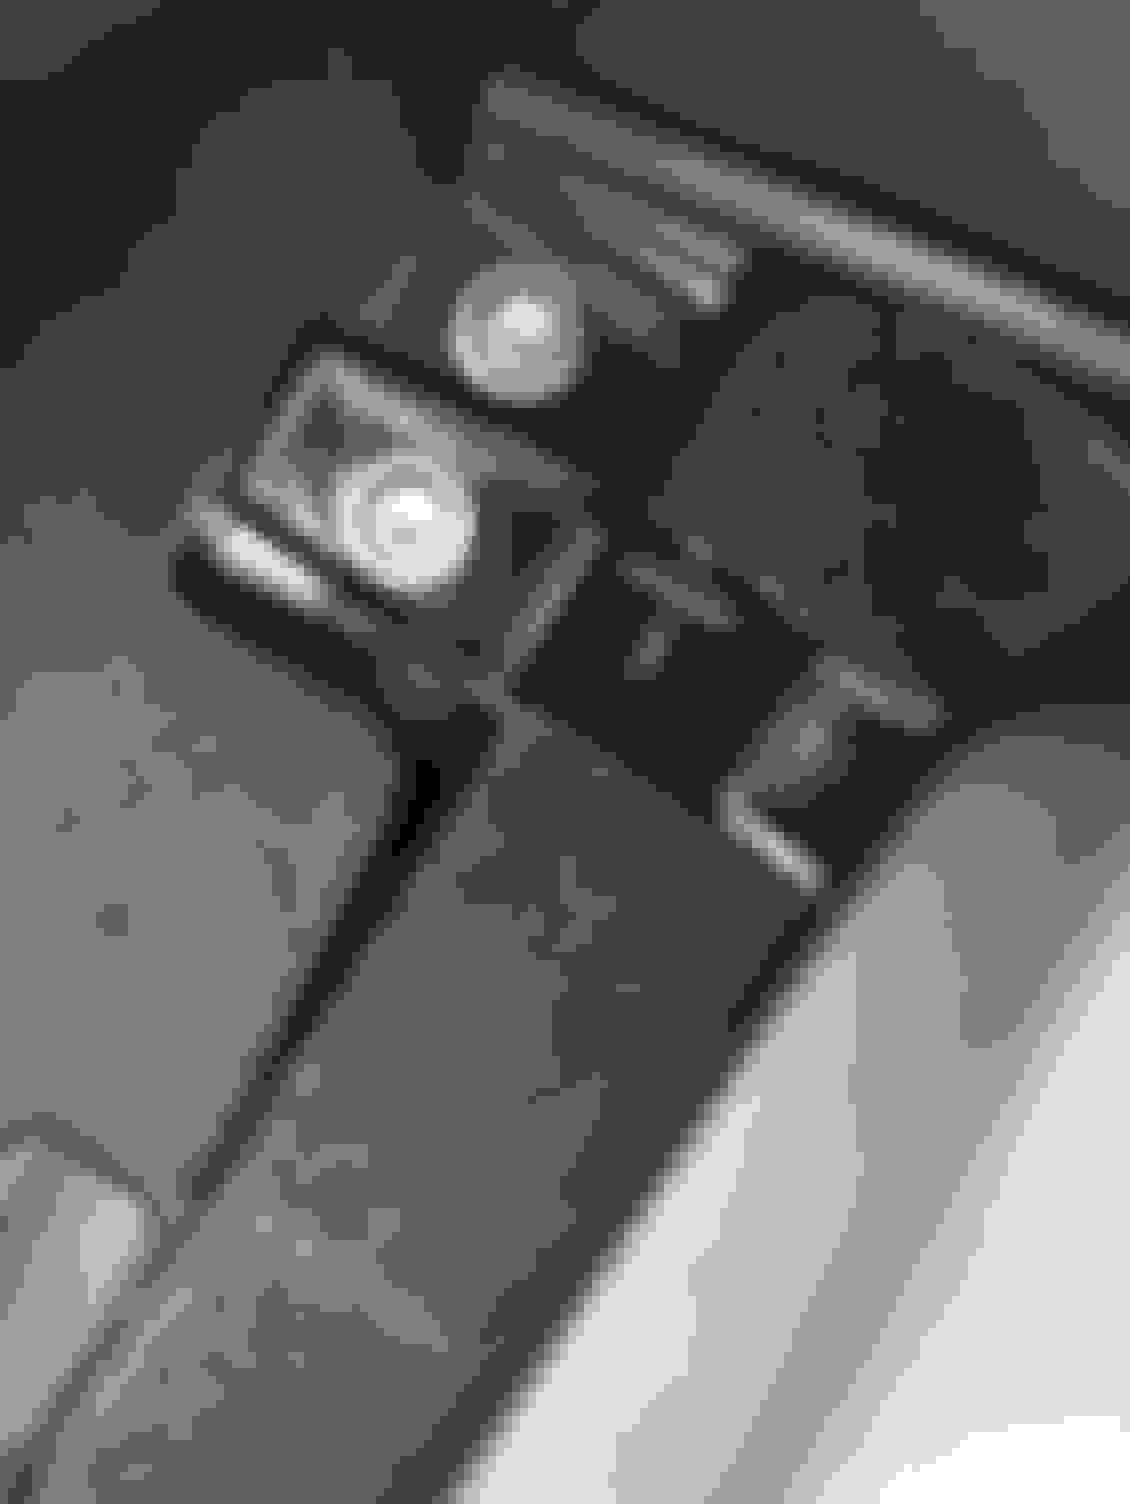
Steve, what was the re-insulation process? Are we talking shrink wrap over the repaired wires, plastidip, electrical tape or did you do something else?
 
Reply
Old Jun 29, 2020 | 05:34 PM
  #1290  
steve_k_xk's Avatar
Veteran Member
10 Year Member
Liked
Loved
Community Favorite
Joined: Jun 2015
Posts: 3,005
Likes: 1,675
From: Sydney, Australia
Default

I had no shrink wrap available as it was too late to get some , so electrical tape it was .

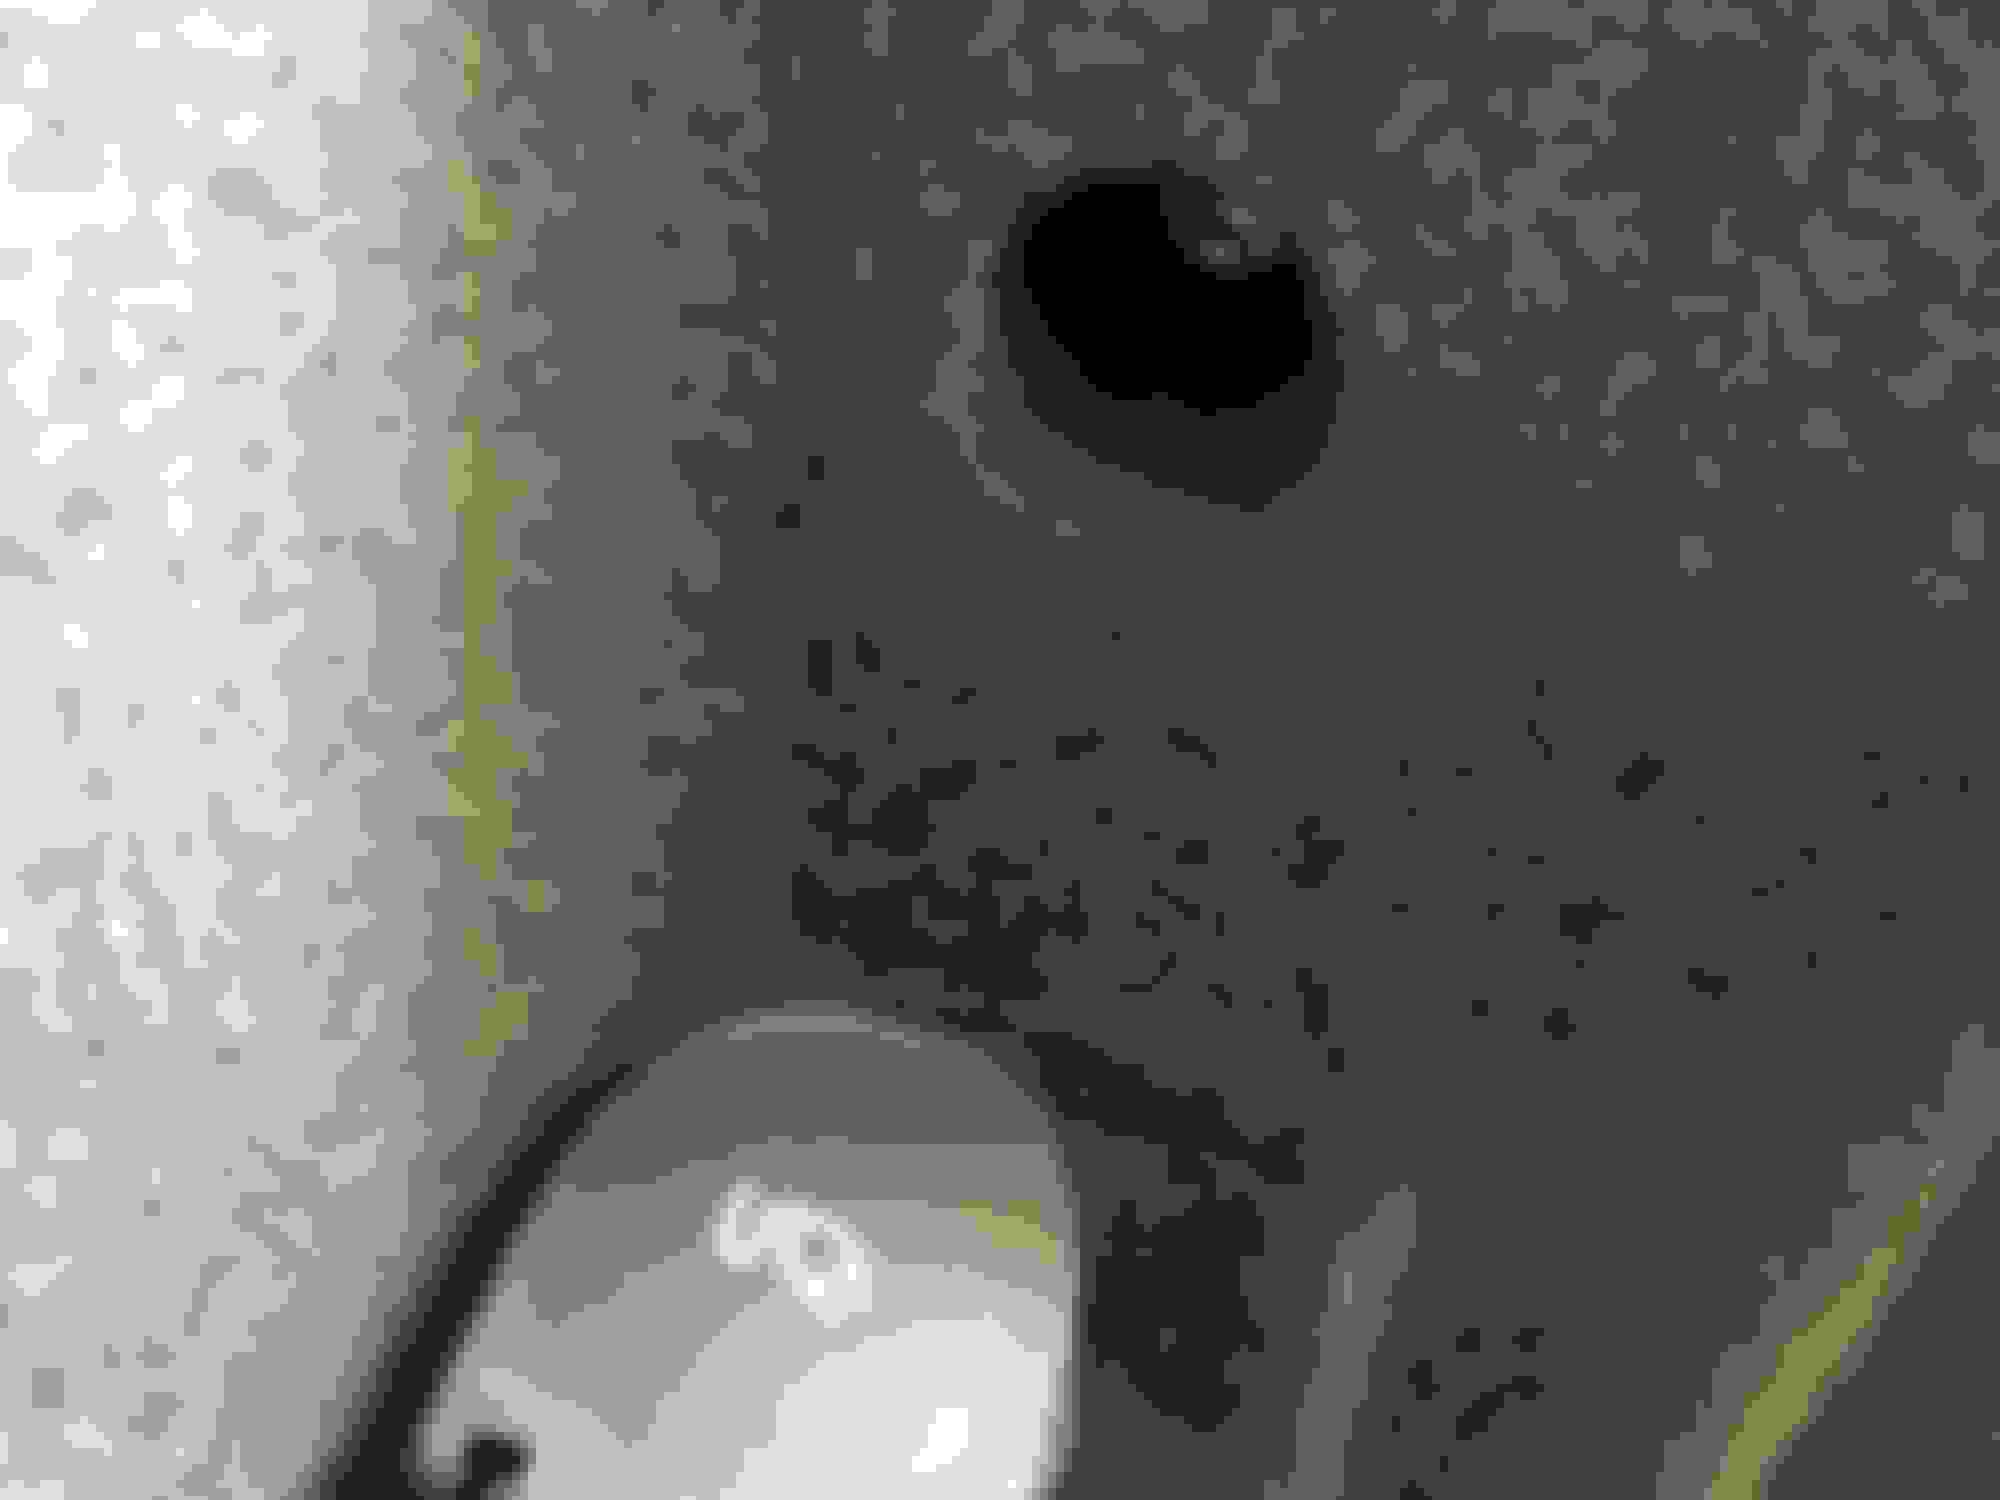
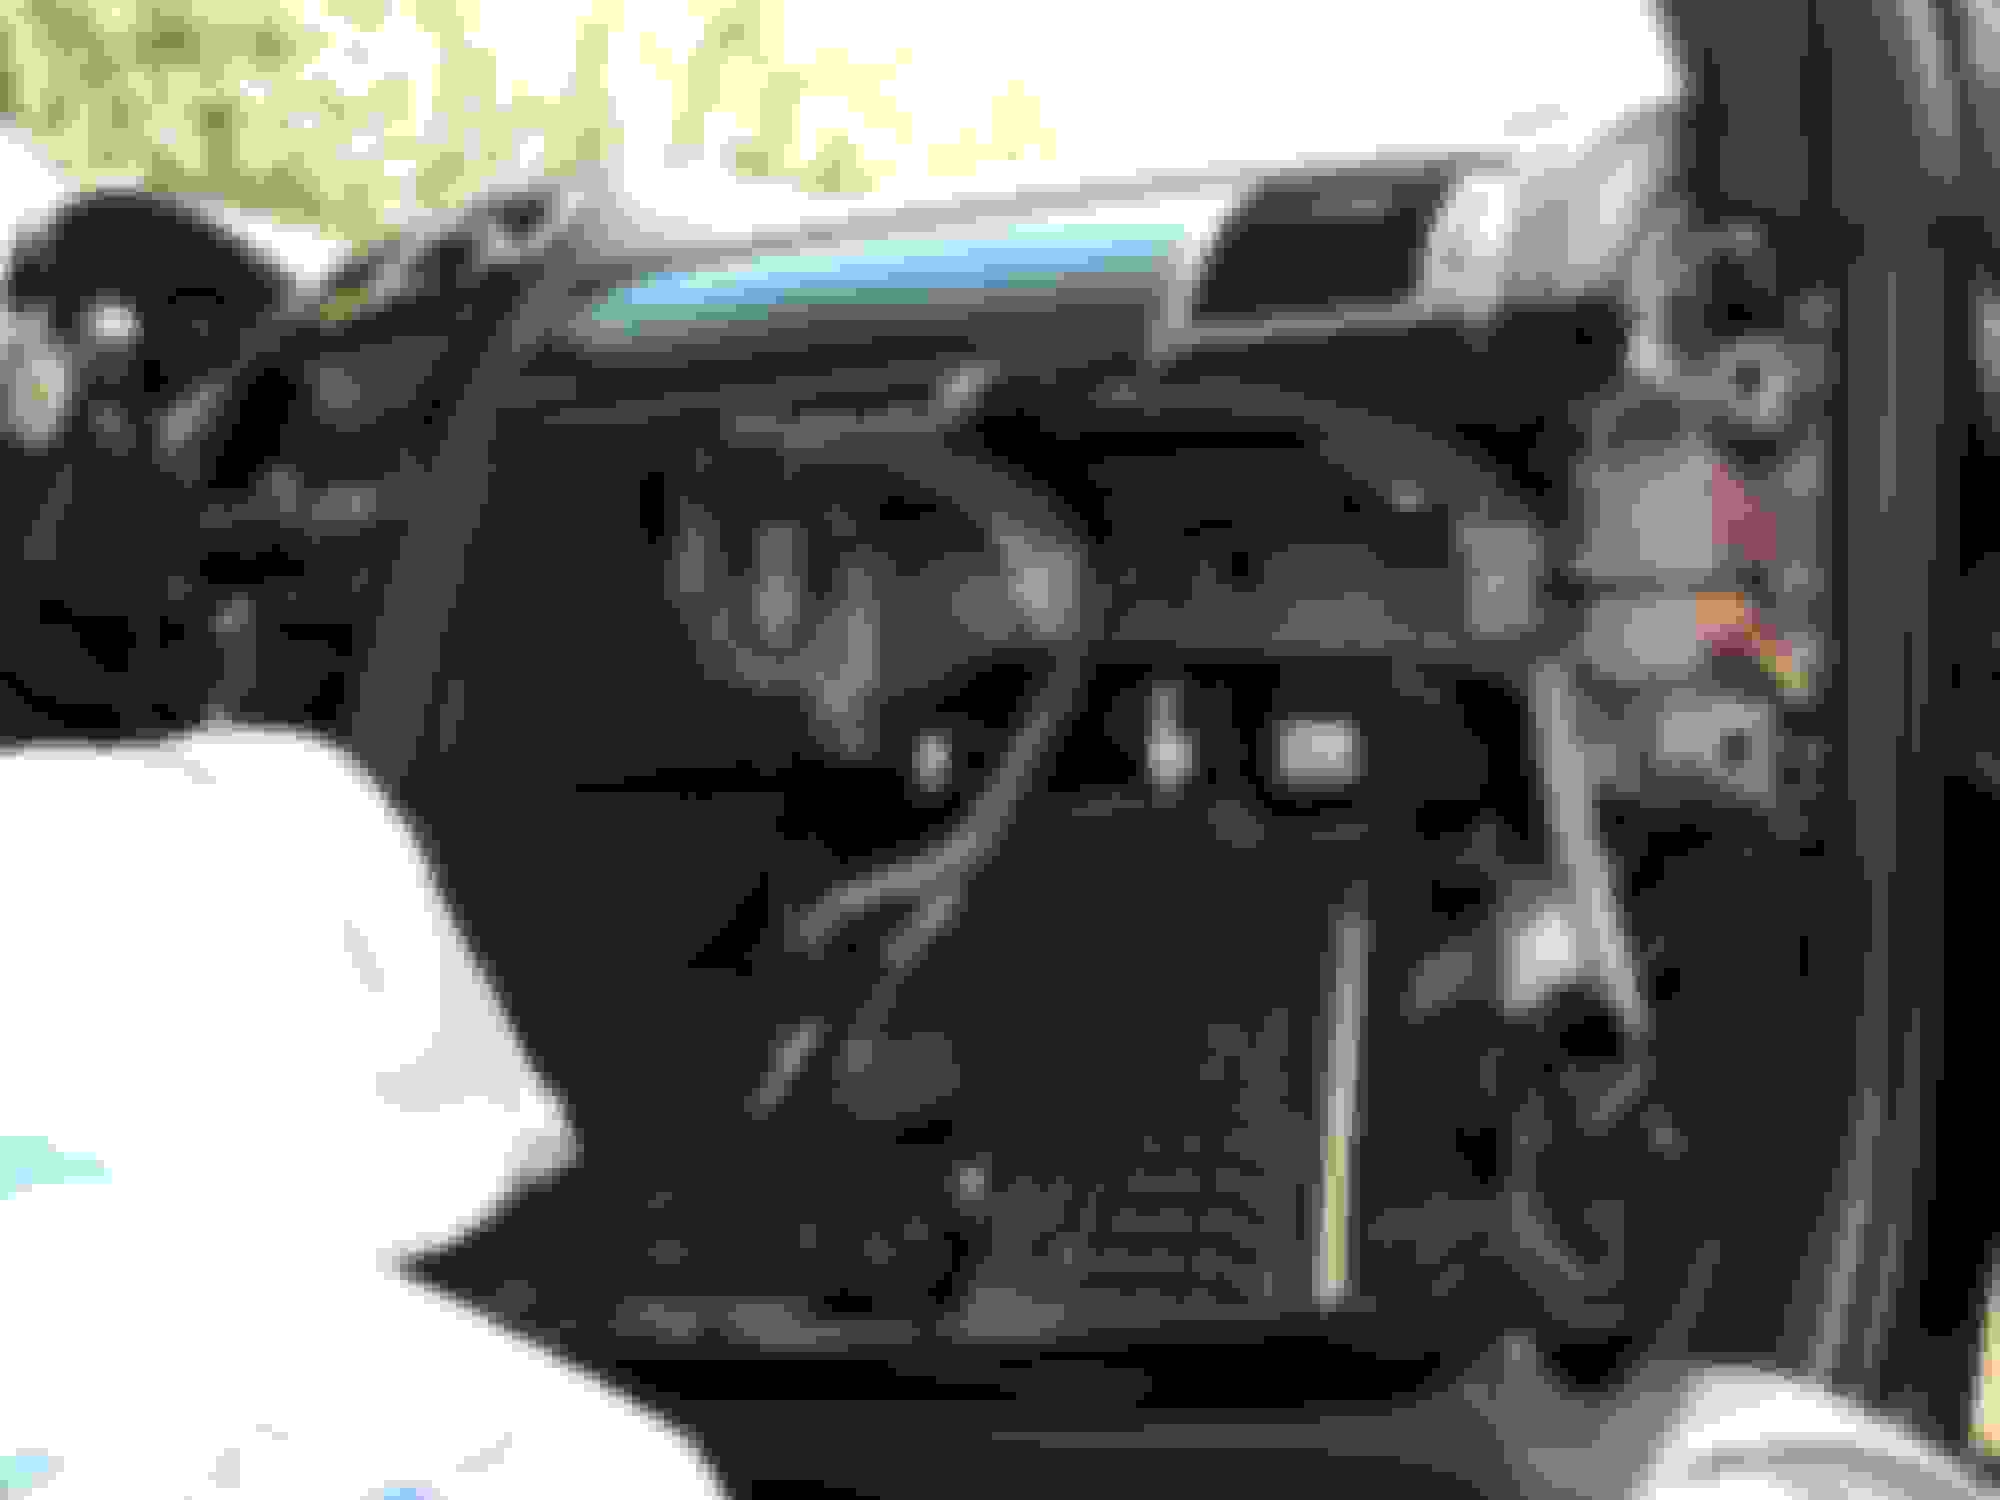
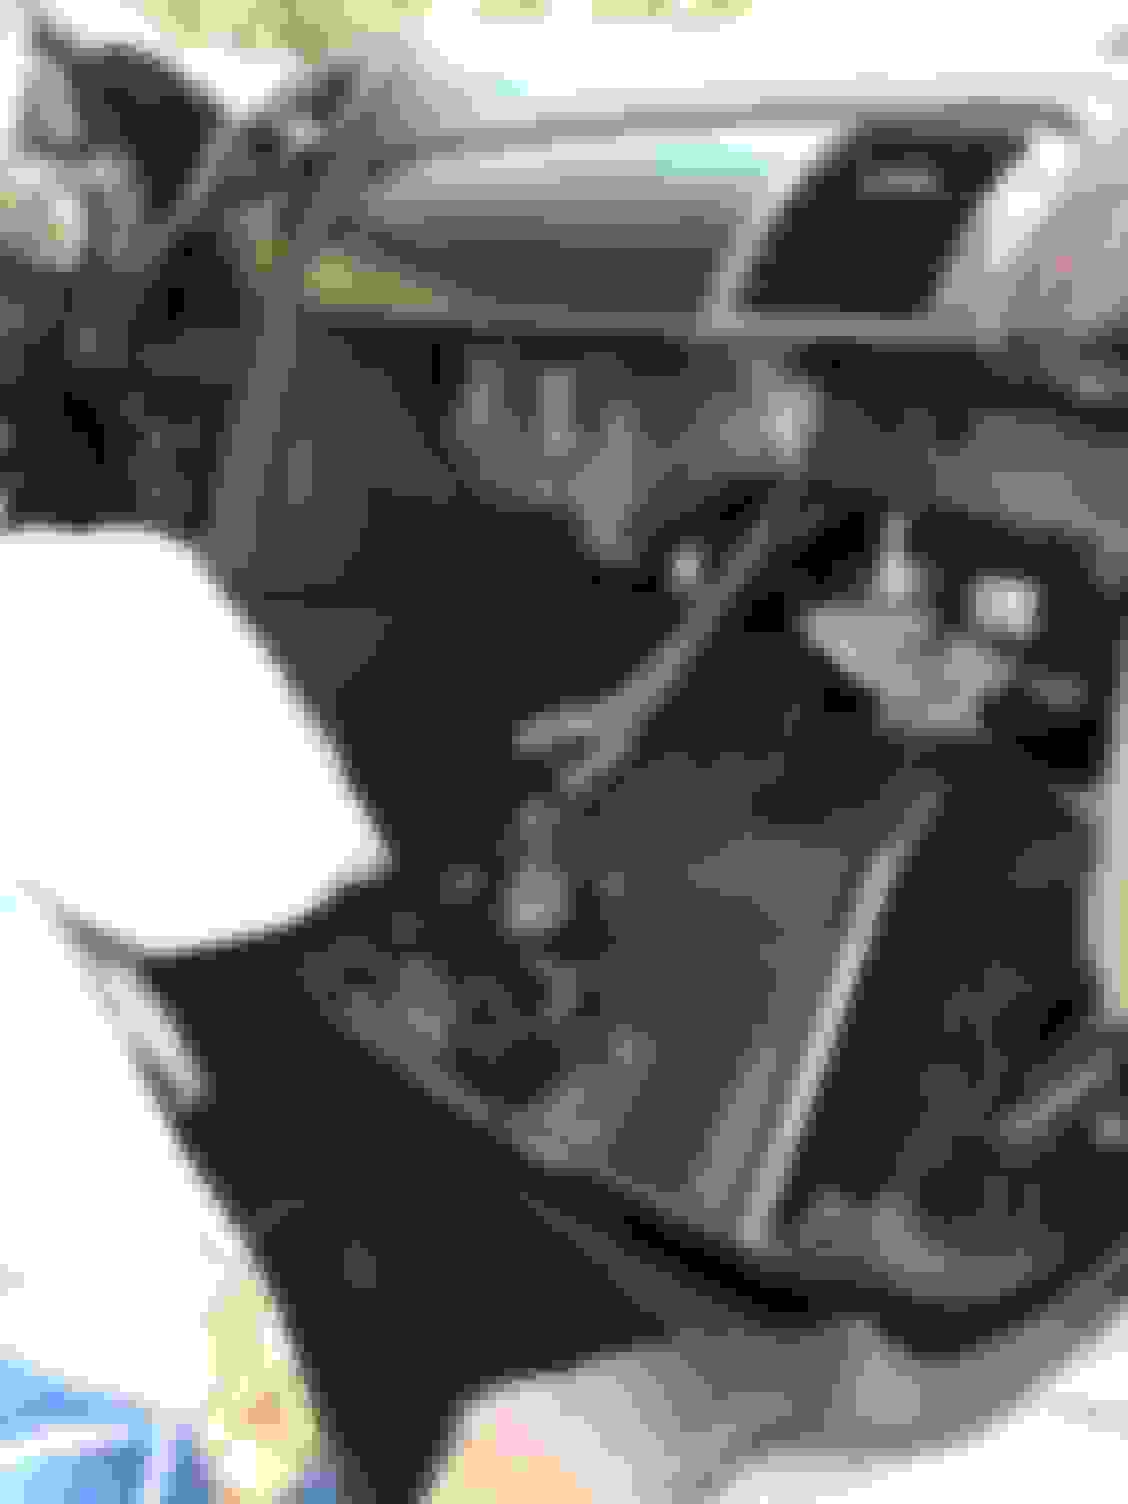
My soul intentions was to simply de cloud my headlight lenses as vision was extremely poor , I had no idea that when I opened it up the wiring would be in such poor condition.
 
Reply
Old Jul 2, 2020 | 06:49 AM
  #1291  
Marco75's Avatar
Senior Member
10 Year Member
Liked
Loved
Community Favorite
Joined: Dec 2014
Posts: 123
Likes: 116
From: Long Island
Default

Finally found a set of Takoba wheels for my Portfolio... had them refinished and installed.


Reply
Old Jul 3, 2020 | 03:56 AM
  #1292  
Laird Ravenscraig's Avatar
Joined: May 2020
Posts: 33
Likes: 55
From: Austria
Default Fixing the Glovebox Damper

Hi!

Today I fixed my glovebox Damper.
Worktime just 1 hour.
Now the Glovebox opens smooth....


Screw to remove

Another two in the Box

Screw above the Power Socket

Another below the Box


Glovebox


Fixed it with a cable tie
 
Old Jul 3, 2020 | 06:16 AM
  #1293  
barnsie's Avatar
Senior Member
Joined: Sep 2019
Posts: 591
Likes: 470
From: Leicetershire, UK
Default

^^^^^^^
Great pics! Thanks for sharing.
 
Reply
Old Jul 3, 2020 | 06:22 AM
  #1294  
kj07xk's Avatar
Veteran Member
10 Year Member
Liked
Loved
Community Favorite
Joined: Jan 2015
Posts: 5,315
Likes: 2,589
From: Naperville, Illinois USA
Default

Easy alternative to drilling a small hole and using a small bolt or cotter pin. Nice.
 
Reply
Old Jul 4, 2020 | 04:10 PM
  #1295  
JackJohn's Avatar
Senior Member
Joined: Sep 2008
Posts: 727
Likes: 202
From: Richmond, TX.
Default

.
 

Last edited by JackJohn; Jul 4, 2020 at 04:12 PM. Reason: Wrong thread
Reply
Old Jul 4, 2020 | 06:14 PM
  #1296  
Paulo Sérgio's Avatar
Joined: May 2020
Posts: 43
Likes: 36
From: Oporto
Default

Upper control arms replaced? any reason for that?
 
Reply
Old Jul 6, 2020 | 07:01 PM
  #1297  
JackJohn's Avatar
Senior Member
Joined: Sep 2008
Posts: 727
Likes: 202
From: Richmond, TX.
Default

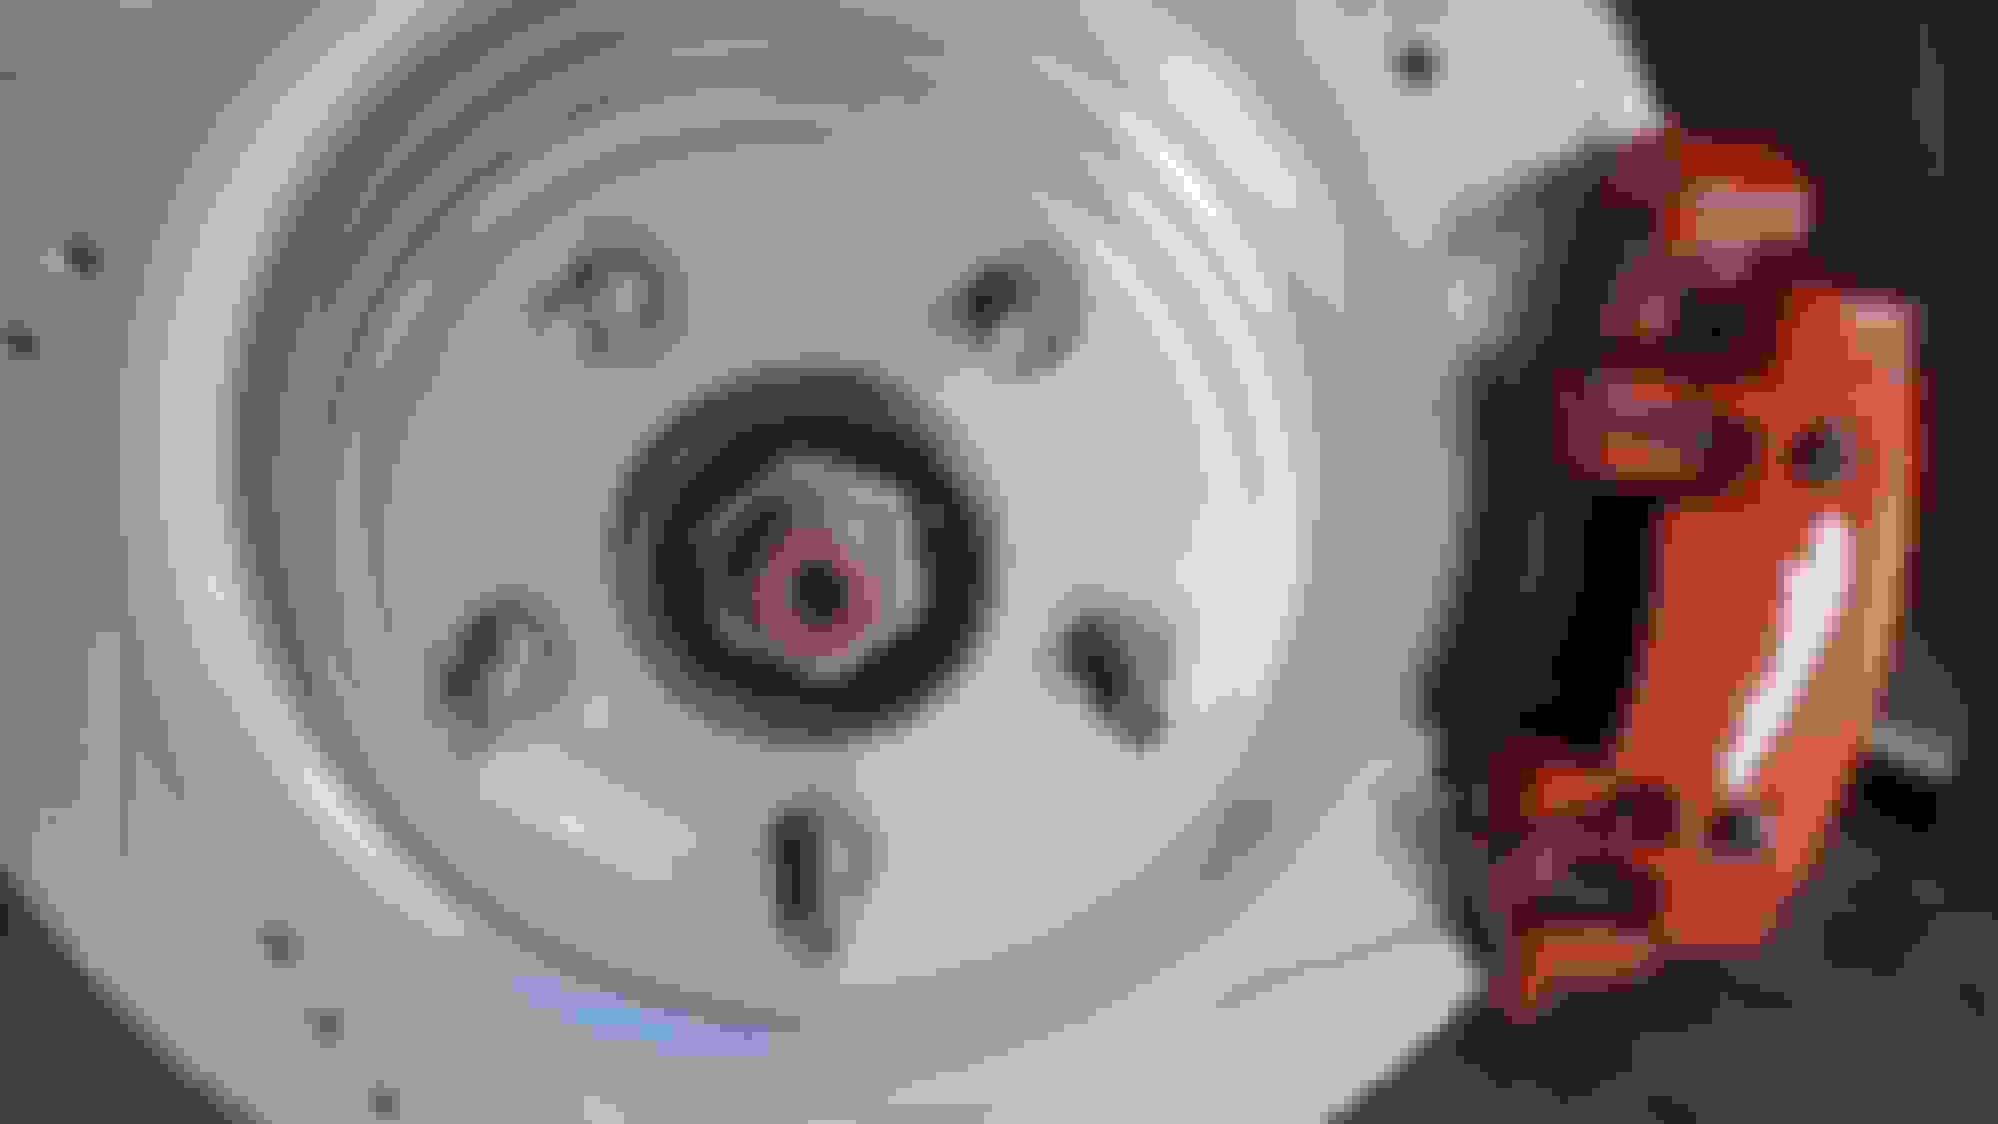
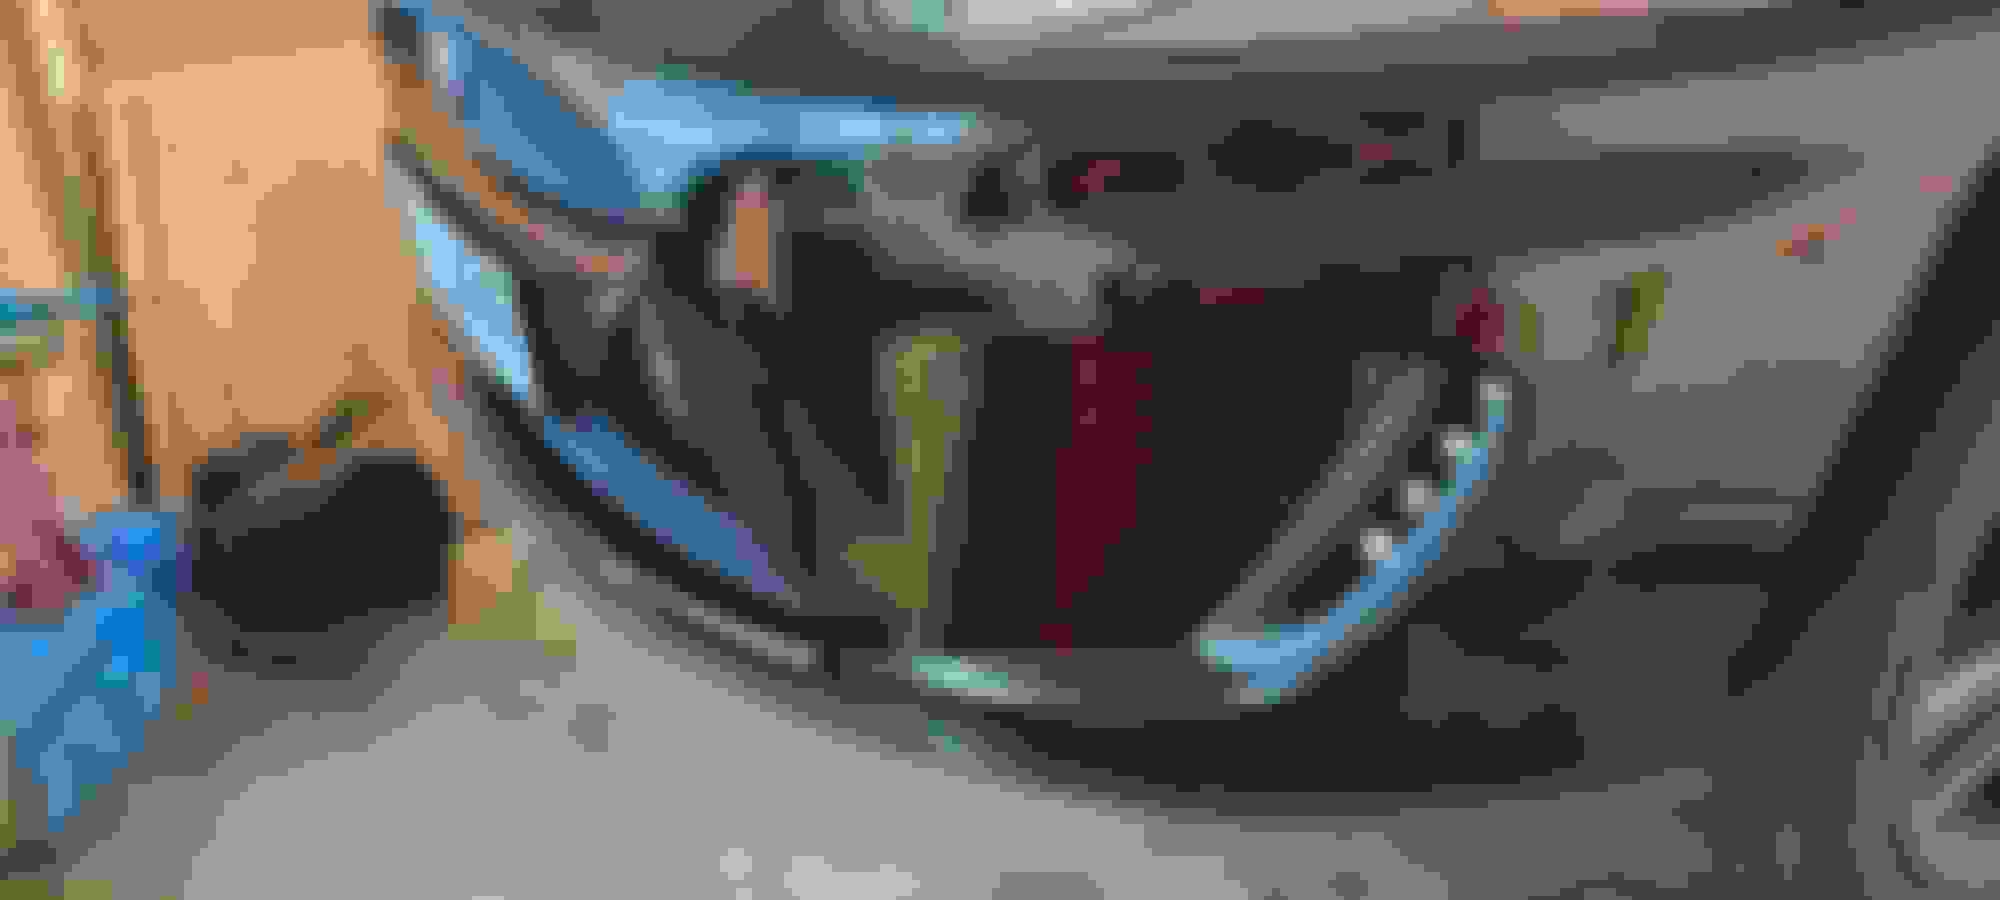
This weekend was a good one for the Jag. First, the battery was replaced, would not start on Thursday, put it on a 10a charger overnight, still wouldn't start on Friday. Purchased new battery and replaced it. Old battery was dated 10/2014 so it was time. Then over Saturday/Sunday we replaced the rotors with drilled and grooved ones from Stoptech and all new pads from Stoptech. Painted the rotors and put on new decals.

 
Reply
Old Jul 9, 2020 | 05:20 PM
  #1298  
vintageyz's Avatar
Junior Member
5 Year Member
Liked
Loved
Community Favorite
Joined: Jun 2019
Posts: 27
Likes: 28
From: Idaho
Default


These are shots of my wheel change. I purchased the 20" Sentas damaged. A large crack in one and scuffs on all. Turned out there was more damage as the work went on. The repairs turned out great and the powder coat completed. I also did a ceramic coating on the all the wheels exterior and interiro. Now looking at a refurb of the wheel bolts and detailing on the wheel/tire combo.
 
Reply
Old Jul 12, 2020 | 12:58 PM
  #1299  
peterv8's Avatar
Senior Member
Joined: Aug 2017
Posts: 988
Likes: 380
From: Södra Sandby, Sweden
Default

Finally got the time for a polish! :-)


Used Sonax rubbing compound with green pad on my polisher, then Sonax polish with blue pad and last Sonax Hardwax with black pad! Happy with the result! :-)
 
Reply
Old Jul 12, 2020 | 04:37 PM
  #1300  
V7Sport's Avatar
Senior Member
5 Year Member
Liked
Loved
Community Favorite
Joined: Nov 2019
Posts: 542
Likes: 348
From: South County Rhode Island
Default

Originally Posted by peterv8
Finally got the time for a polish! :-)


Used Sonax rubbing compound with green pad on my polisher, then Sonax polish with blue pad and last Sonax Hardwax with black pad! Happy with the result! :-)
Looks awesome😎
 
Reply


All times are GMT -5. The time now is 05:26 AM.