1999 XK8 4.0L Engine changing Tensioners, chains and guides
#1


My 1999 XK8 with 117,000 milesI with the check engine light glowing. Initially I had to replace the Oxygen Sensors. That cleared the light. But then a scan revealed P0016 Crankshaft Position - Camshaft Position Correlation (Bank 1, Sensor A). It would come and go. Disturbing...
I then decided to finally replace the chains, guides and tensioners. The engine was running relatively smooth. I could feel from vibration but though it was normal for an older car.
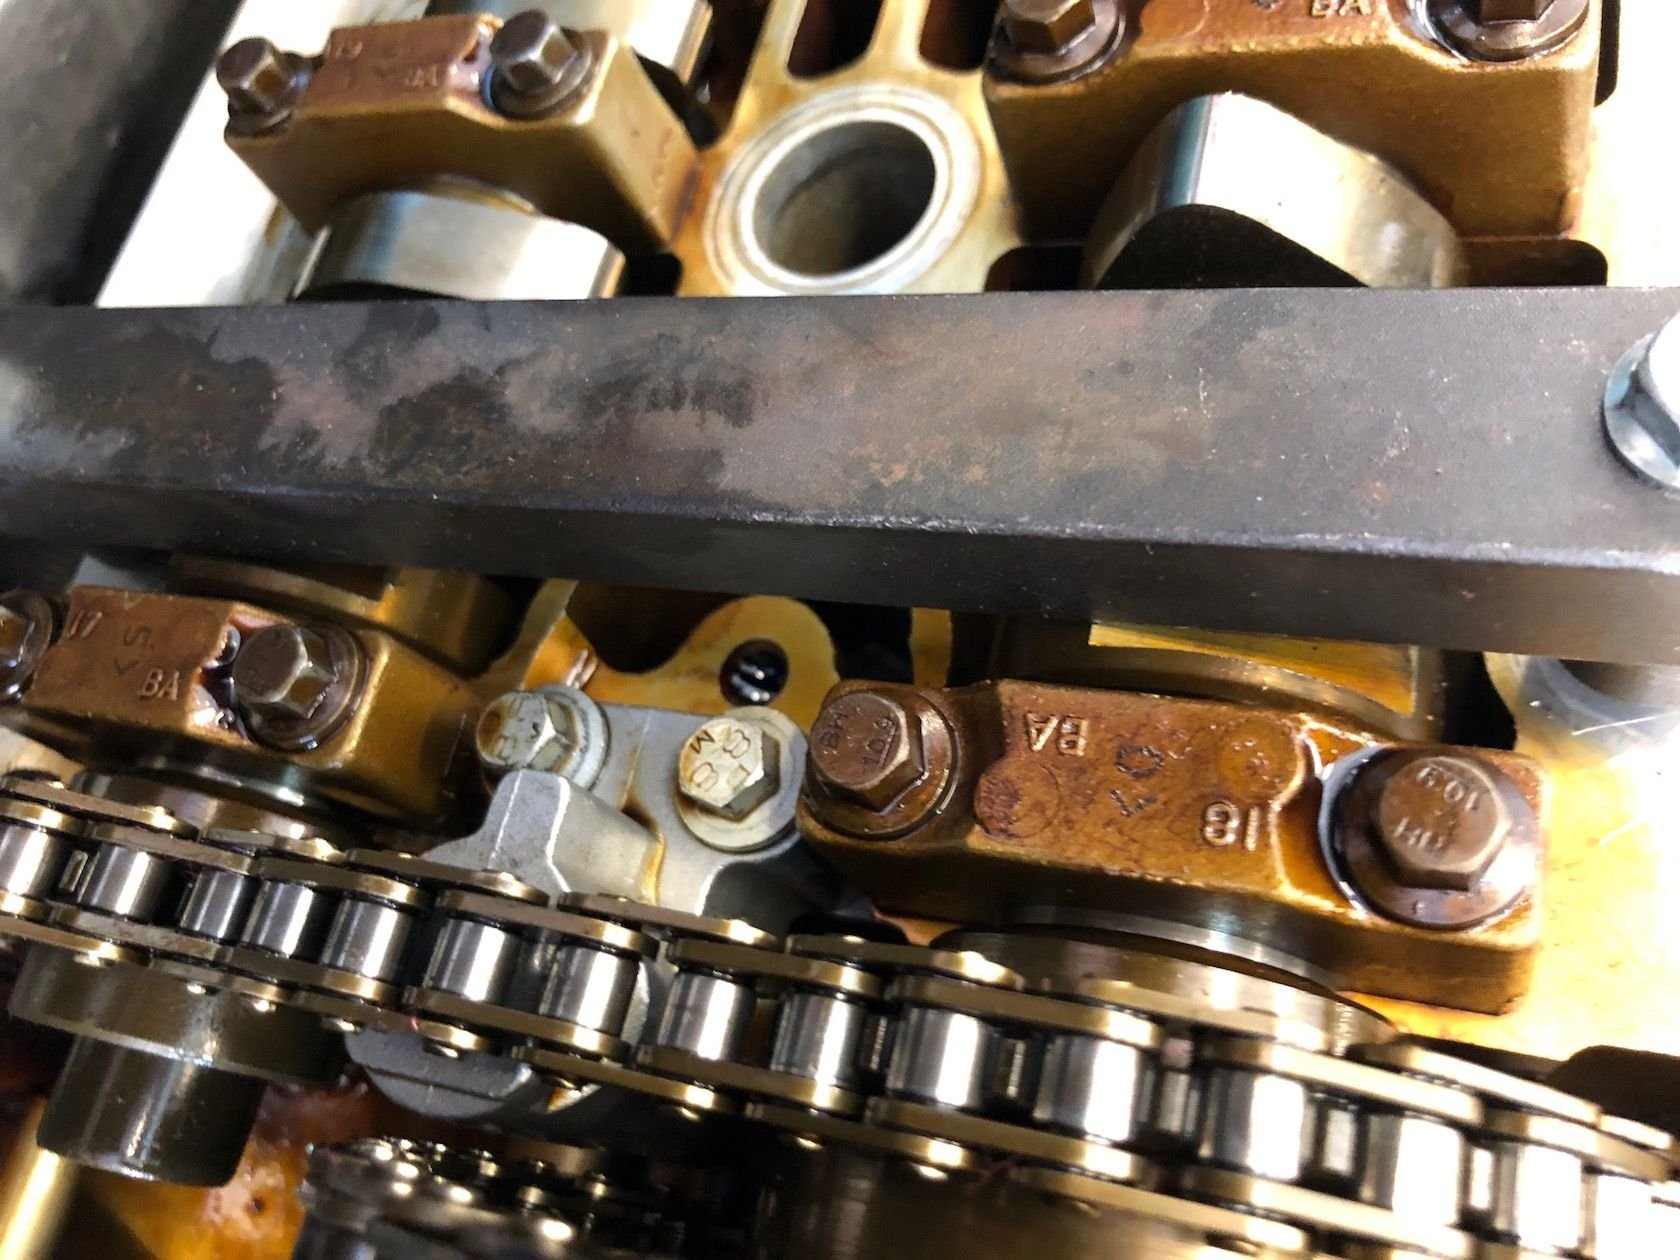
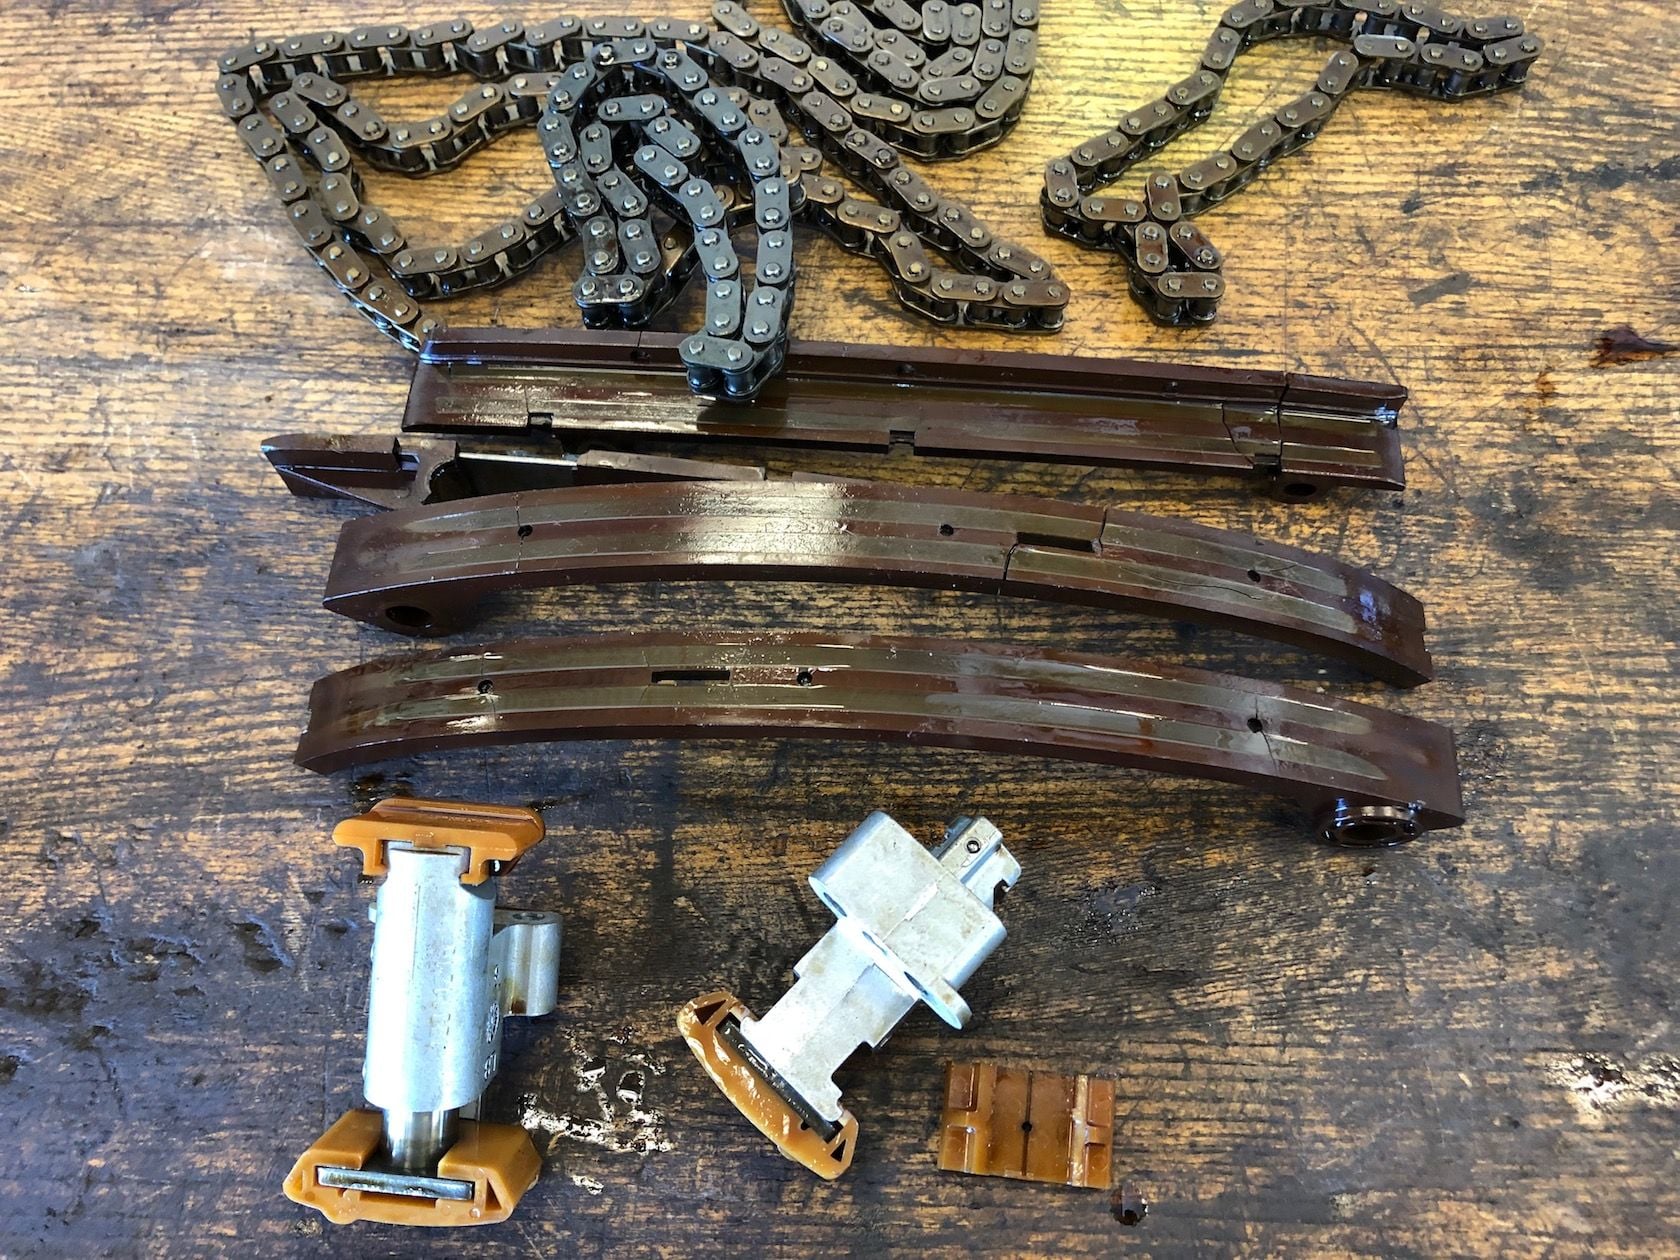
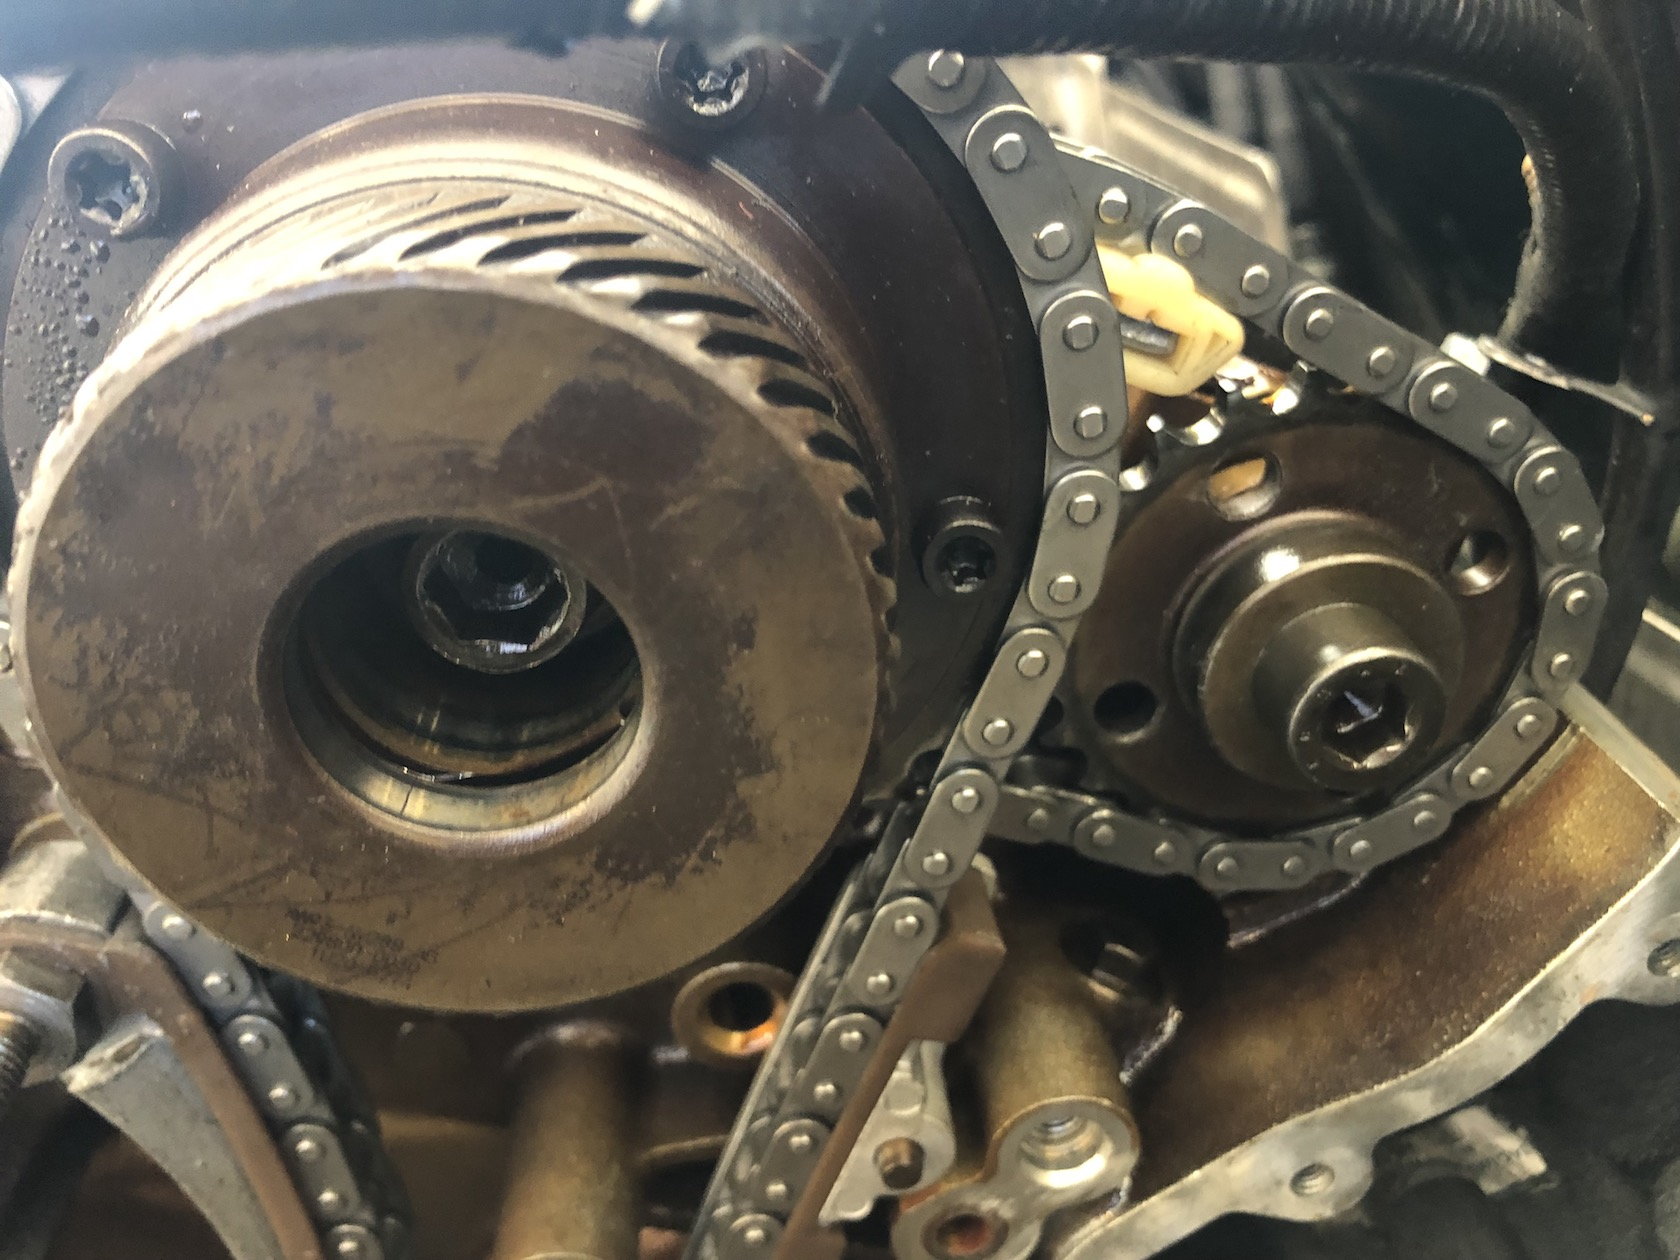
Once I took off the front plate of the engine, surprisingly the top guide on the left bank fell out. Broken at the anchor bolt - bolt intact. Photo No 7 & Photo No 8 On the secondary tensioner the plastic guide cap was lying beside, not on, the tensioner where it belongs. Photo No 5. Needless to say the chain was loose and I hadn't attempted to remove anything yet. Thus the P0016 code. Definitely out of time enough to display the code. The chain didn't jump a tooth - why it didn't is unknown. Apparently the engine had just enough tension to operate good enough. My heart dropped when I reflected that I had been going pretty fast before pulling into the garage. Very lucky, indeed. Now on to the repair.
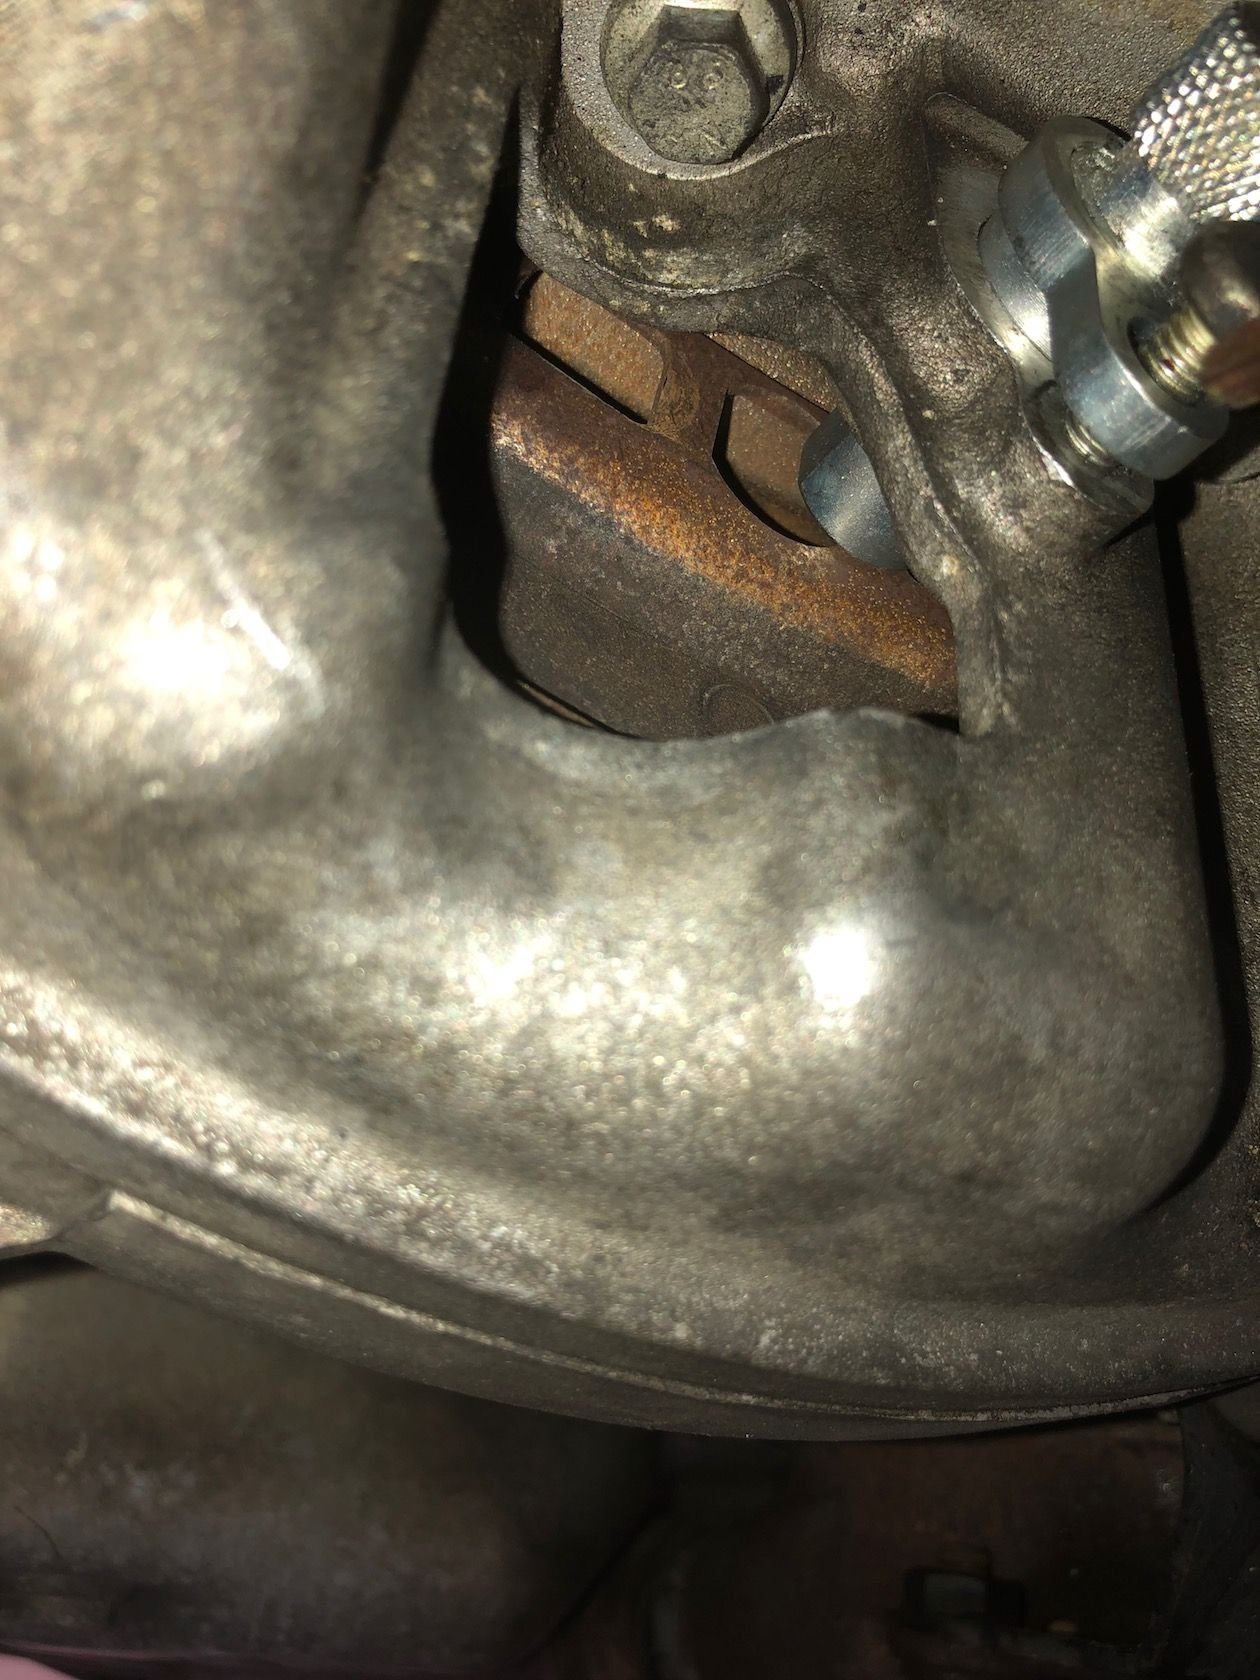
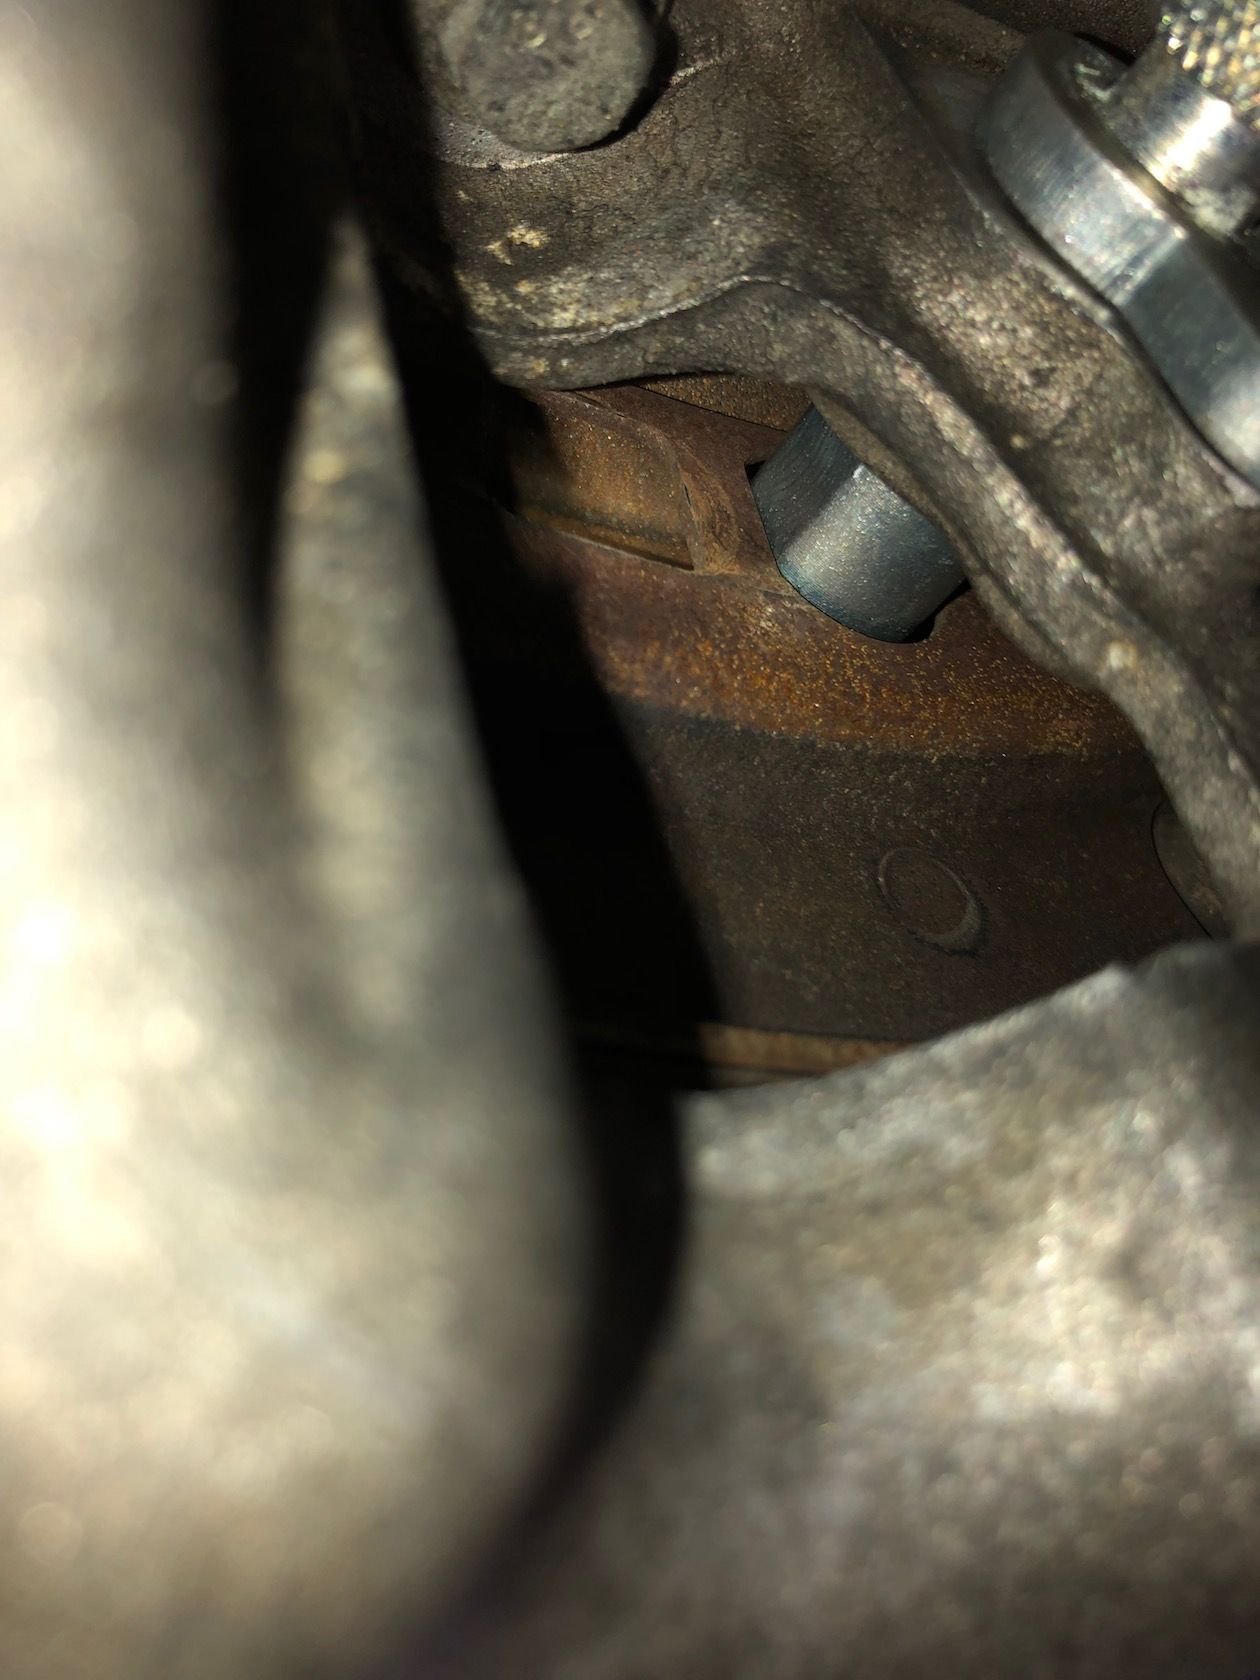
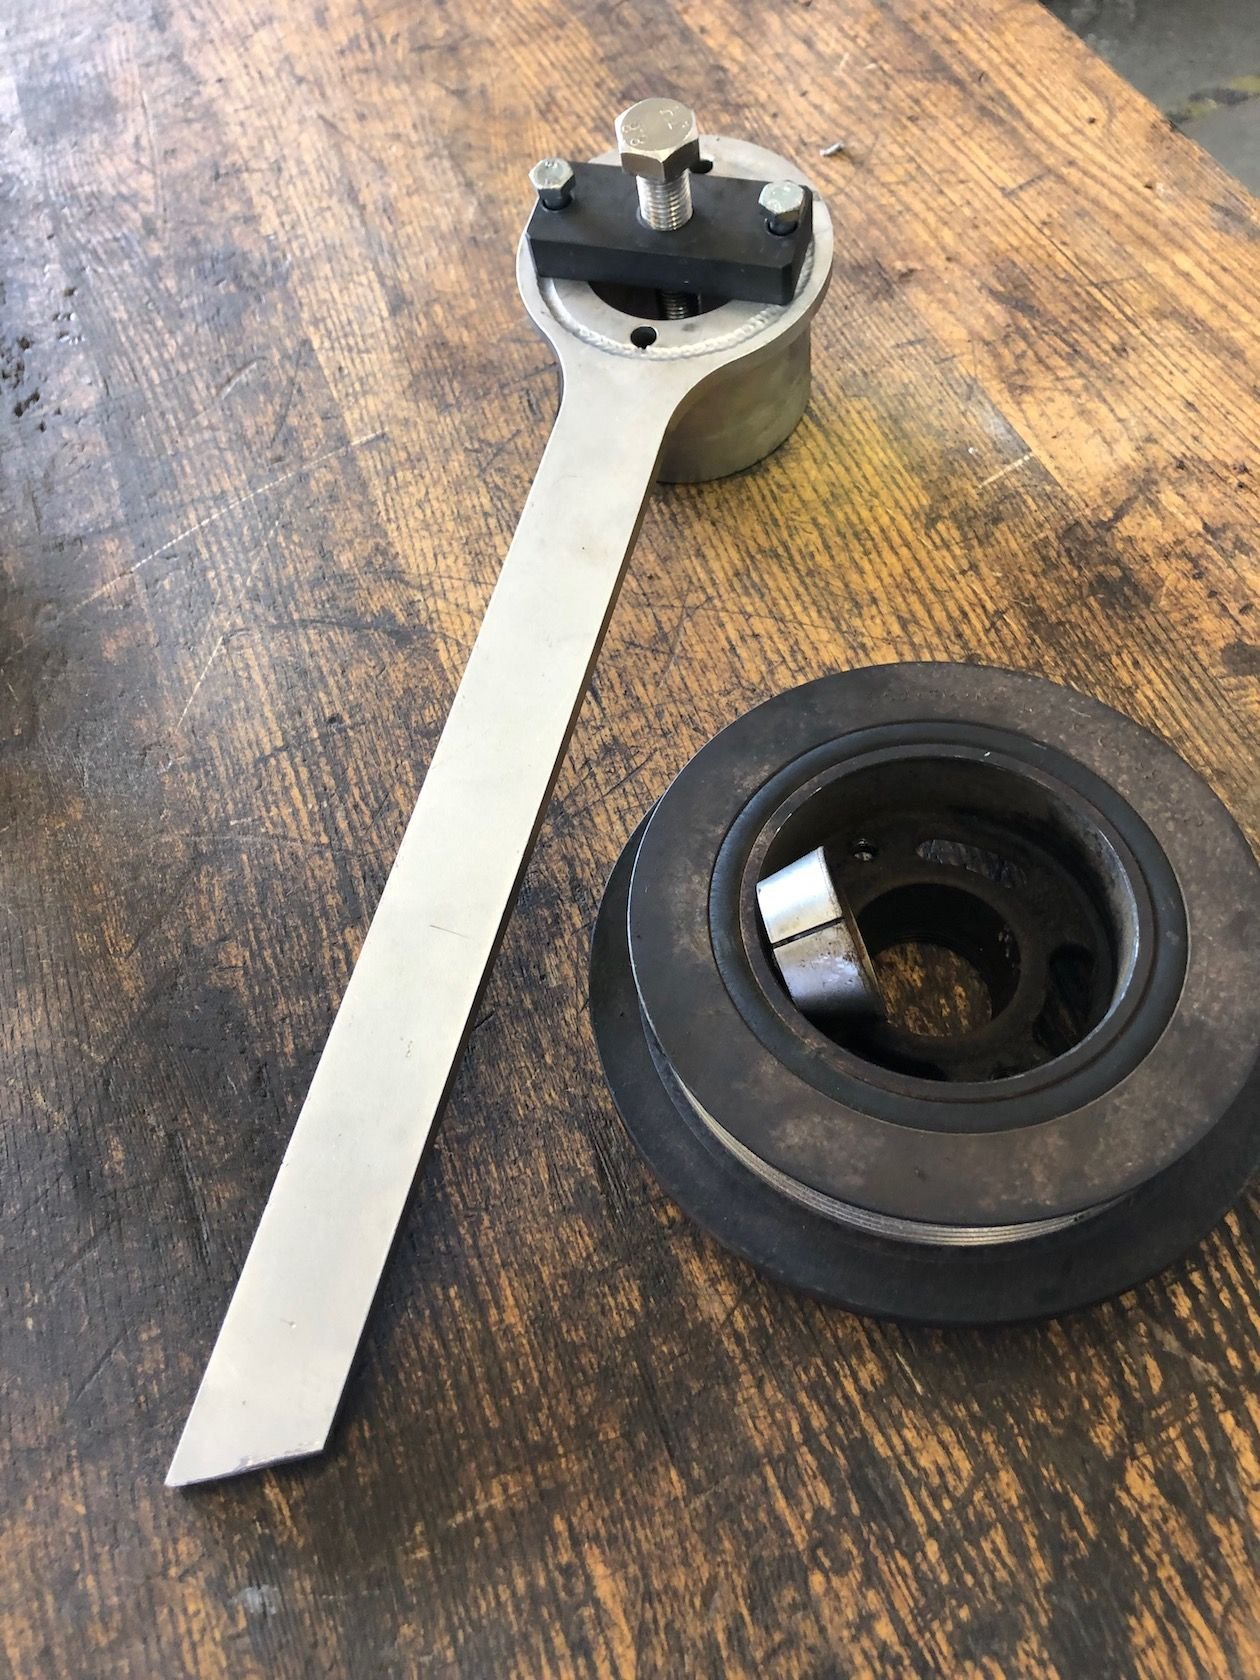
Having the special locking tools and harmonic balancer removal tool is a must to do chains, guides and tensioners. You have to set Top Dead Center (TDC) on the flywheel with the special locking tool and the cam locking bars - Right and Left - to hold and position the cam and pistons where they belong. Photo No 1 The bars will hold the cams in place while loosening the cams HEX bolts to remove the sprockets and VVT sprockets for removing and replacing the chains. I also cut an inch from the end of the Harmonic Balancing tool so it would fit comfortably against the engine compartment while removing the 24mm bolt. Photo No 6.
The procedures have been posted in several forum and on-line posts including some Youtube posts - reference all you can find including the Jaguar manual. The procedures are strange forward. Follow them!
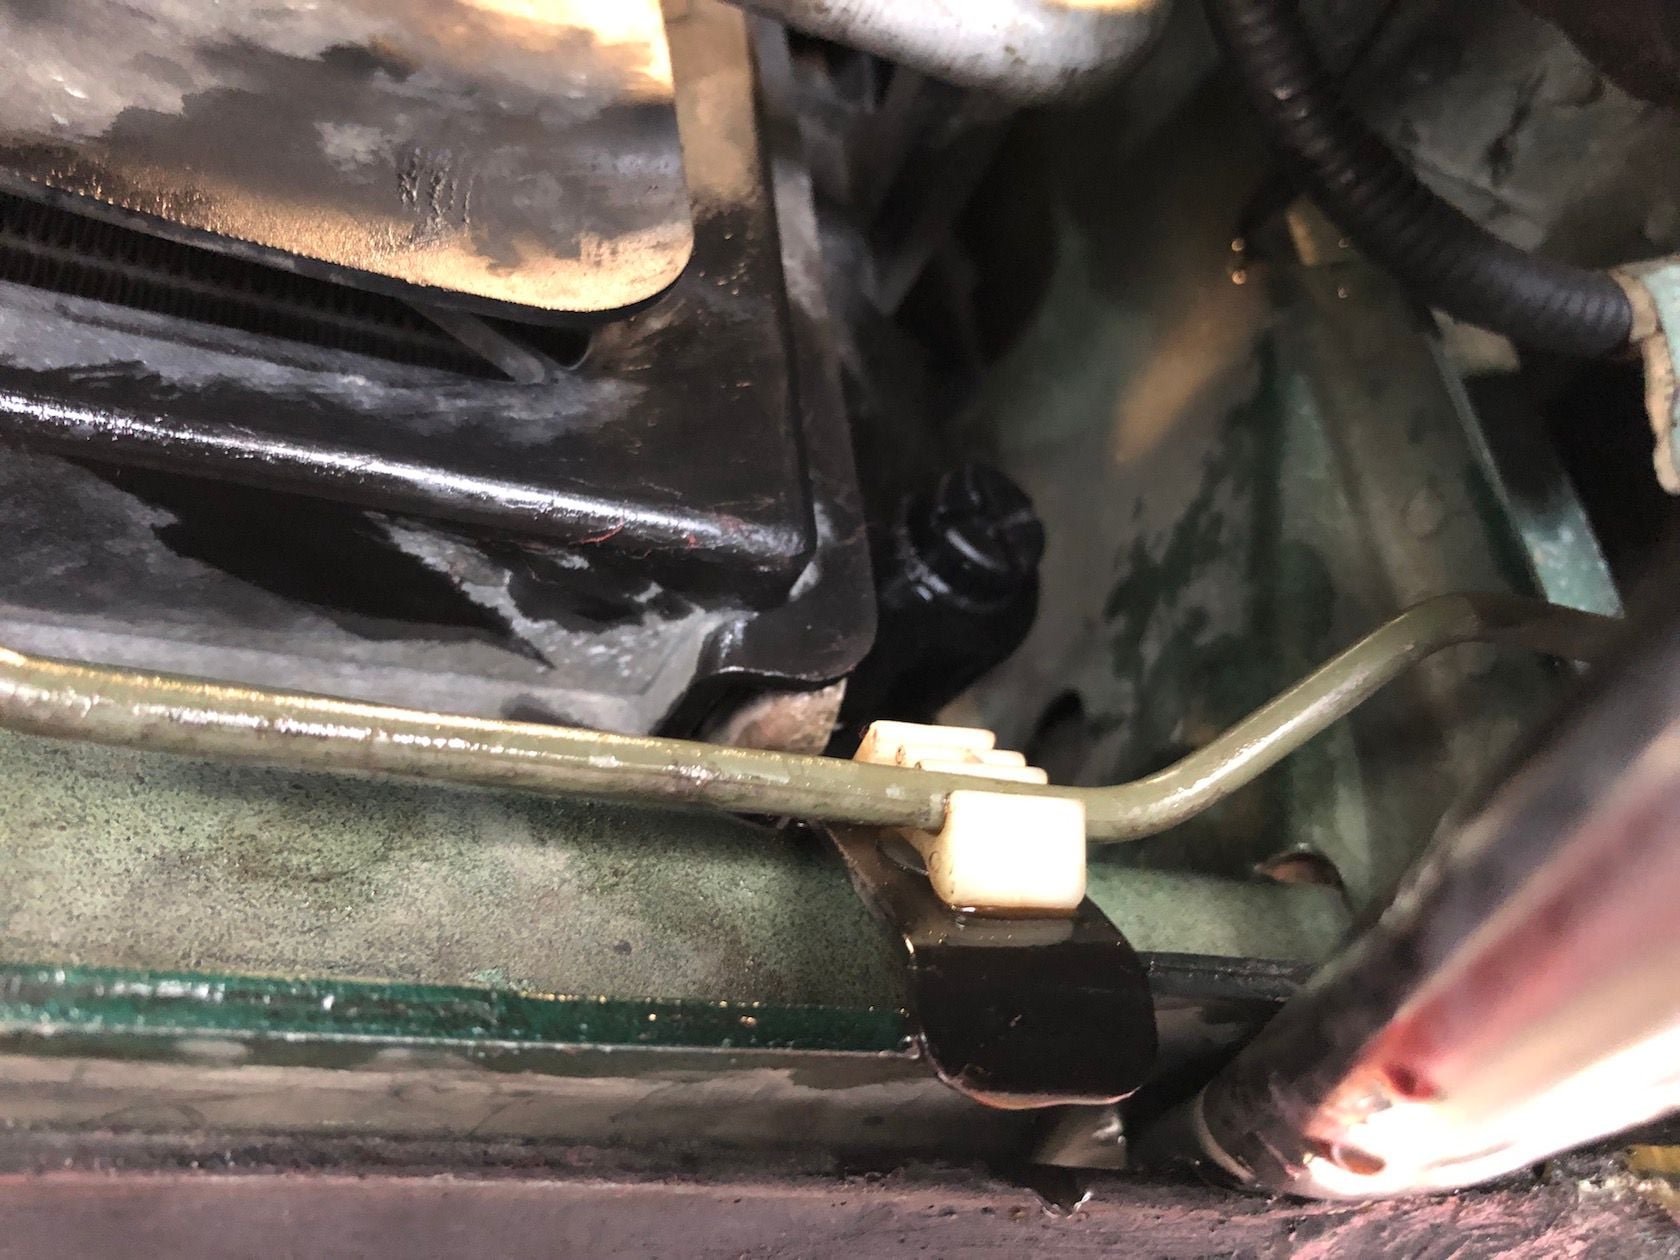
Drain the oil - Drain the Antifreeze - Loosen the oil and antifreeze reservoirs caps before you lift the car and remove the plugs. Photo No 3
In my posted photos I'll highlight a few of the considerations if you feel brave enough to take on this repair procedure.
Lift the car to gain access to the Antifreeze drain plug. It's plastic and should come out fairly easy. Use a tool that fills the slot so not to disfigure the slot. Photo No 3 Fashion a piece of malleable material and place under the Antifreeze plug to guide the Antifreeze into the disposal container. Otherwise Antifreeze will flow all over the front of the car and into the front bumper Valence panel.
Remove the plastic shroud that covers the oil filter. Drain the oil and remove and replace the oil filter.
For TDC reference the opening for the fly wheel just behind the oil pan. To quickly find TDC spin the engine to align the appropriate flats on the cams. The cams should be perfectly parallel facing up. Back under the car remove the Crankshaft Position Sensor and find the appropriate plug in the special locking tools kit. There are two plugs in the kit - one for early and one for later engines. Mine was the silver plug. Whichever one it is it should fit perfectly into the different elongated slot right above the circle mark indicating TDC on the Fly Wheel. Photo No 1 and Photo No 2. You'll know right away if you picked the wrong one. Just won't fit. The right plug slides right in easily. As you align it you may have to jockey the engine back and forth a little bit to find the mark and then fit the locking plug. Now you can begin to tighten the locking cam bars. Just be very conscience of the reason your are replacing the tensioners, chains and guides. The cams may not be perfectly parallel due a failure of one or more components as I described earlier Photo No 4. As you tighten the cams you may have to loosen the HEX bolts holding the sprockets to the cams. But once the sprockets are loose the cams can be locked down.
Locking the sprockets to the cams is done in a couple steps. Orient the sprockets on he bottom drive shaft making sure the teeth are one tooth off-set. Second when you fit the VVT and its accompanying sprocket and chain make sure you can fit the special holding tool -Photo No 9 the one with two round pegs and semi-circle - fits into the holes so you may engage the sprocket fully. There is only so much room to fit the tool so that it doesn't hit the secondary tensioner. How do I know this... As you tighten and lock down the cam to the chain slack should be taken up by the spring-loaded secondary tensioner. On the left - spring load on the bottom - the right spring load on the top.
Once you have applied tensioned and torqued all the sprocket to the cams you can remove the Crankshaft Position Plug and the cam locks.
Replace the cam and coil covers air filter assembly. Make sure all hoses are properly clamped and all the plugs are connected. Its easy to miss something. Double check - double check!
Replace the oil and antifreeze - run the engine - Enjoy the car!
Last edited by Terry Young; 06-24-2019 at 09:30 PM. Reason: Addition of modifying the Harmonic Balancing tool - Added Photos
The following 3 users liked this post by BobRoy:
#4
I got the information the same way you just did, by members of this forum.
If you don't already have it here is a link to more info on our engines.
http://www.jagrepair.com/images/Auto...Code%20168.pdf
If you don't already have it here is a link to more info on our engines.
http://www.jagrepair.com/images/Auto...Code%20168.pdf
The following users liked this post:
Terry Young (06-28-2019)
#5

Up-date - Third times a charm... running smooth and quiet.
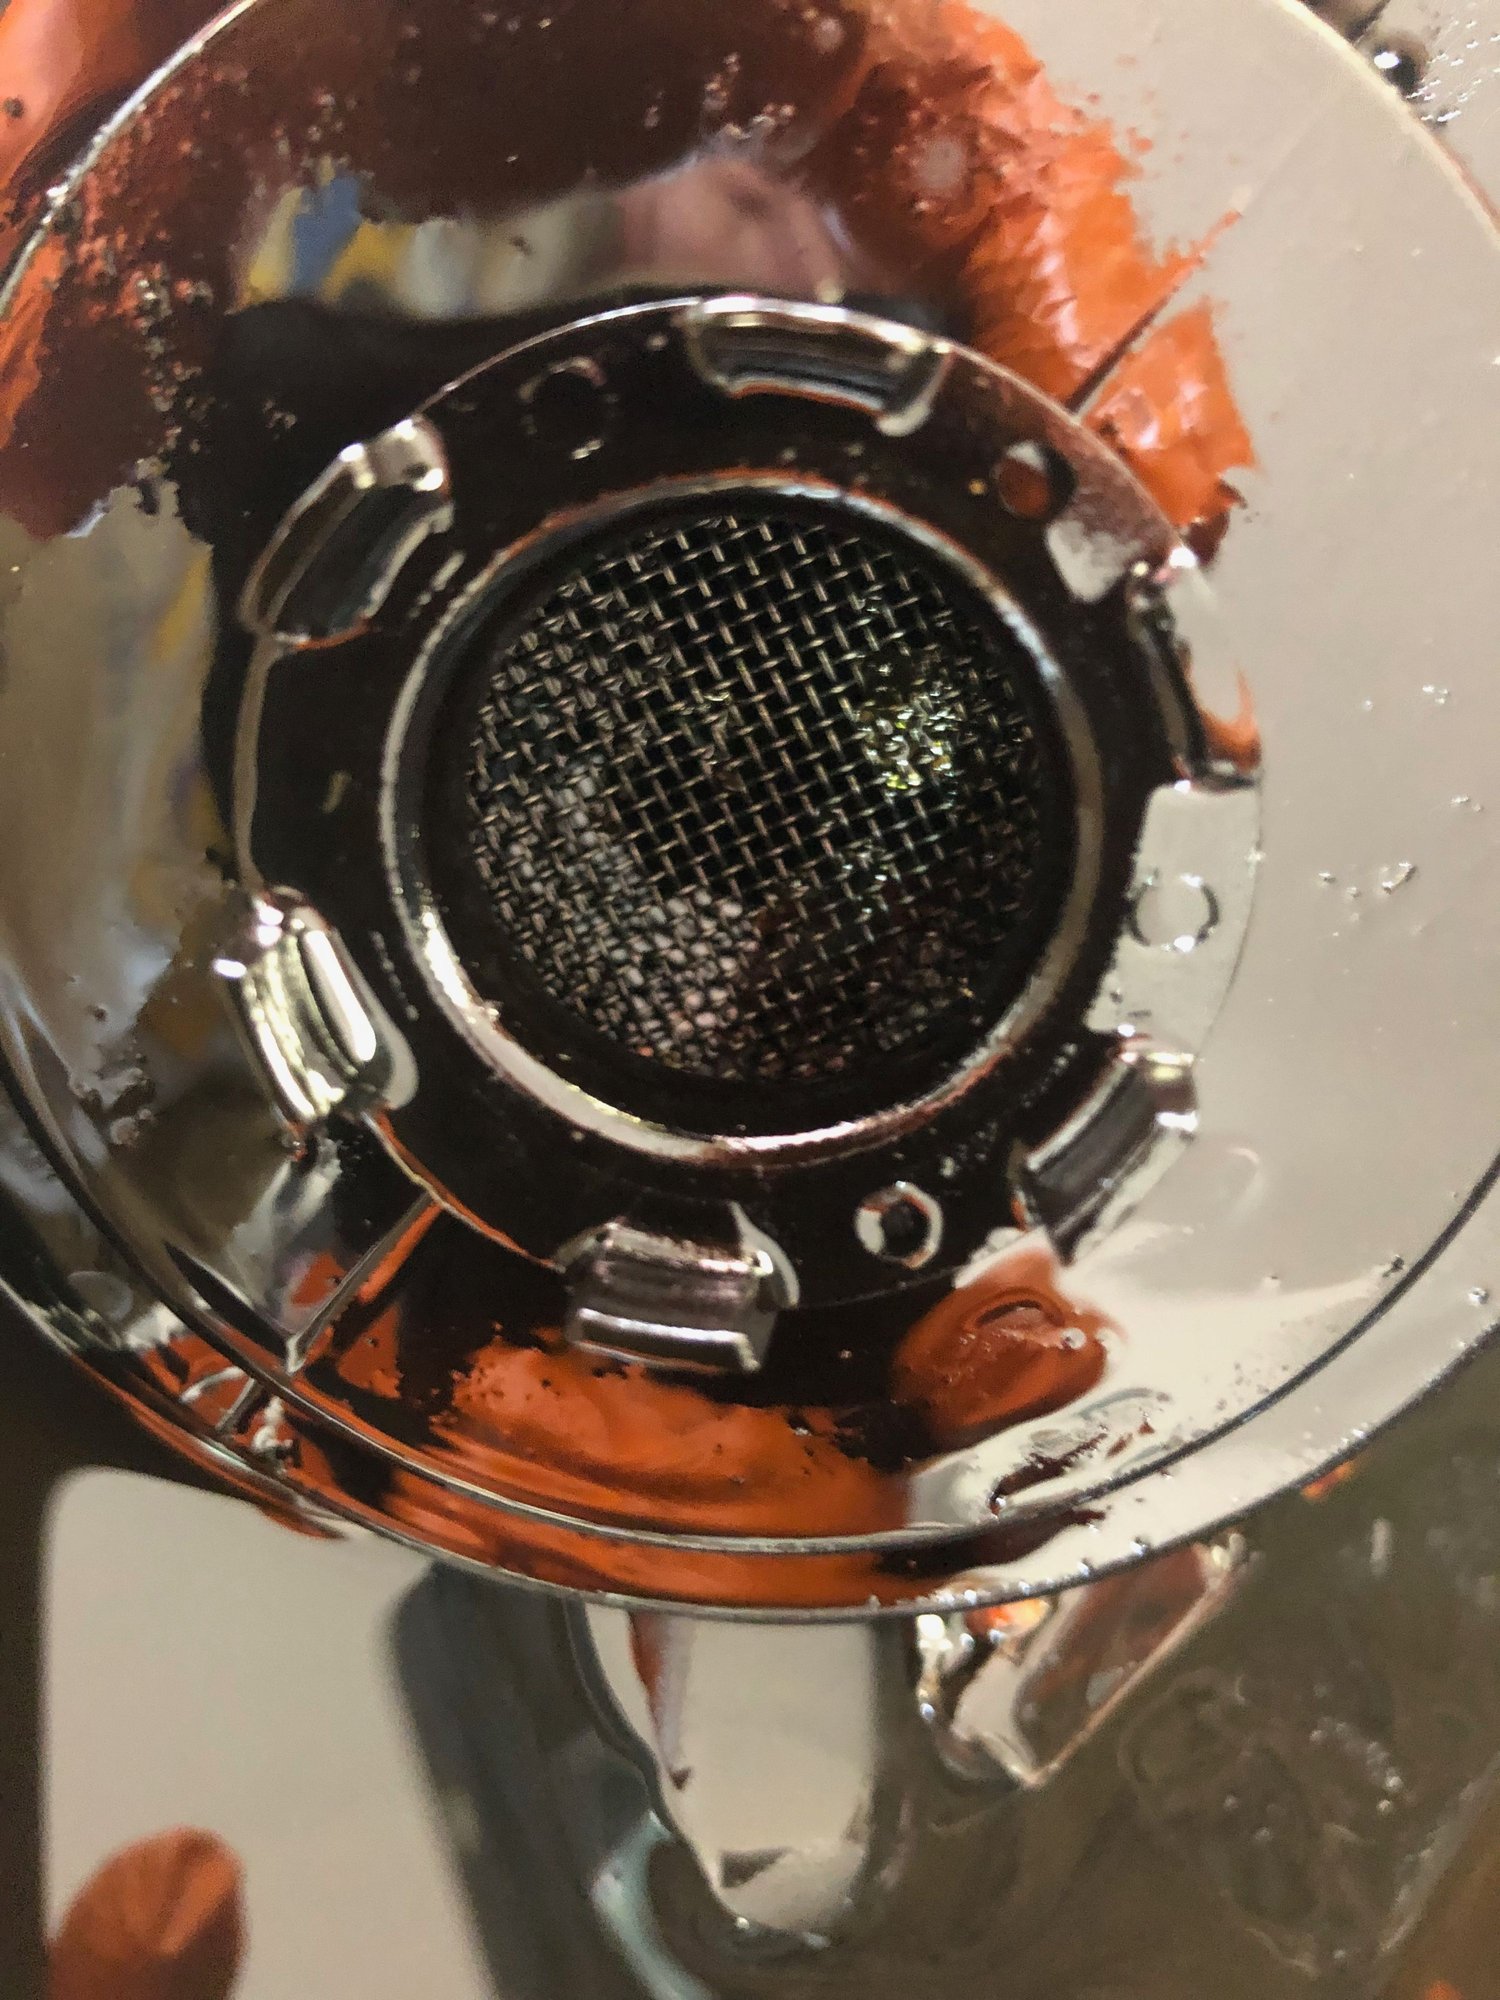
First time removing the front engine cover I found and described in the first part of this thread. What I wasn't prepare for was stripped valve cover bolt holes. And the engine not running very well - error codes showing timing issues. The code P0021 is the OBD-II generic code indicating that the Engine Control Module (ECM) has determined that the bank 2 intake camshaft is more advanced than what the ECM has commanded it to be. Removing the engine cover the cam timing flats were noticeably not aligned. Being as careful as I could took another pass to get the timing correct. But not after reviewing the forum again. Came across an article written about debris in the oil pan https://www.jaguarforums.com/forum/x...e-87845/page2/. and https://www.jaguarforums.com/forum/x...s-sump-184905/. I decided I better look in my oil pan as well. As predicted the pan, screen and some of the tubes were loaded with the chips from the guides.
Again, being careful I thought I had the Flats flat and retention the sprockets. After driving found more codes P1384 and P1396 VVT Banks. So apart again.
After pinning the flywheel and making darn sure the cam flats are absolutely flat to the locking bar before tensioning the cam gears.Then checking again tightening the bars to the cams flats. Re-tensioned the sprockets. This included setting the VVT counterclockwise. BTW my VVT resetting toolís pins didnít fit in the VVT holes. Once I filed the diameter of the pins to fit I could fully retard the VVT. Which is was already. Go figure... Attention to details, follow the Jaguar guide step by step.
Currently I driving a quiet car with no check-engine light. I hope the bulb didn't burnout... The VVT codes are gone for now.
#6
The following users liked this post:
Terry Young (10-06-2020)
#7
Hi, EZDriver,
I purchased the car with 77K. At about 85K replaced the secondary tensioners - both were cracked. In July 2019 with 117K did the work mentioned in the article. I currently have 126K and going strong. 8K since changing all the parts in July 2019. Anticipate putting 5K per year.
I purchased the car with 77K. At about 85K replaced the secondary tensioners - both were cracked. In July 2019 with 117K did the work mentioned in the article. I currently have 126K and going strong. 8K since changing all the parts in July 2019. Anticipate putting 5K per year.
The following users liked this post:
cjd777 (10-06-2020)
Thread
Thread Starter
Forum
Replies
Last Post
Brake buster
XJ XJ8 / XJR ( X308 )
405
10-09-2018 05:51 PM
Dickie_L_J_O
XJ XJ8 / XJR ( X308 )
8
09-13-2015 07:44 AM
Currently Active Users Viewing This Thread: 1 (0 members and 1 guests)


