When you click on links to various merchants on this site and make a purchase, this can result in this site earning a commission. Affiliate programs and affiliations include, but are not limited to, the eBay Partner Network.
I've put together a pictoral history of replacing the head gaskets (and every other gasket, fitting, pipe, tube etc.) on my 60K mile 1997 XK8. I blew the head gasket only a week after finally getting my suspension sorted out (melted shock mounts, flabby coil springs etc.) I could not have gotten this far without the help from the members of this forum, so thanks again in advance of questions as they come...
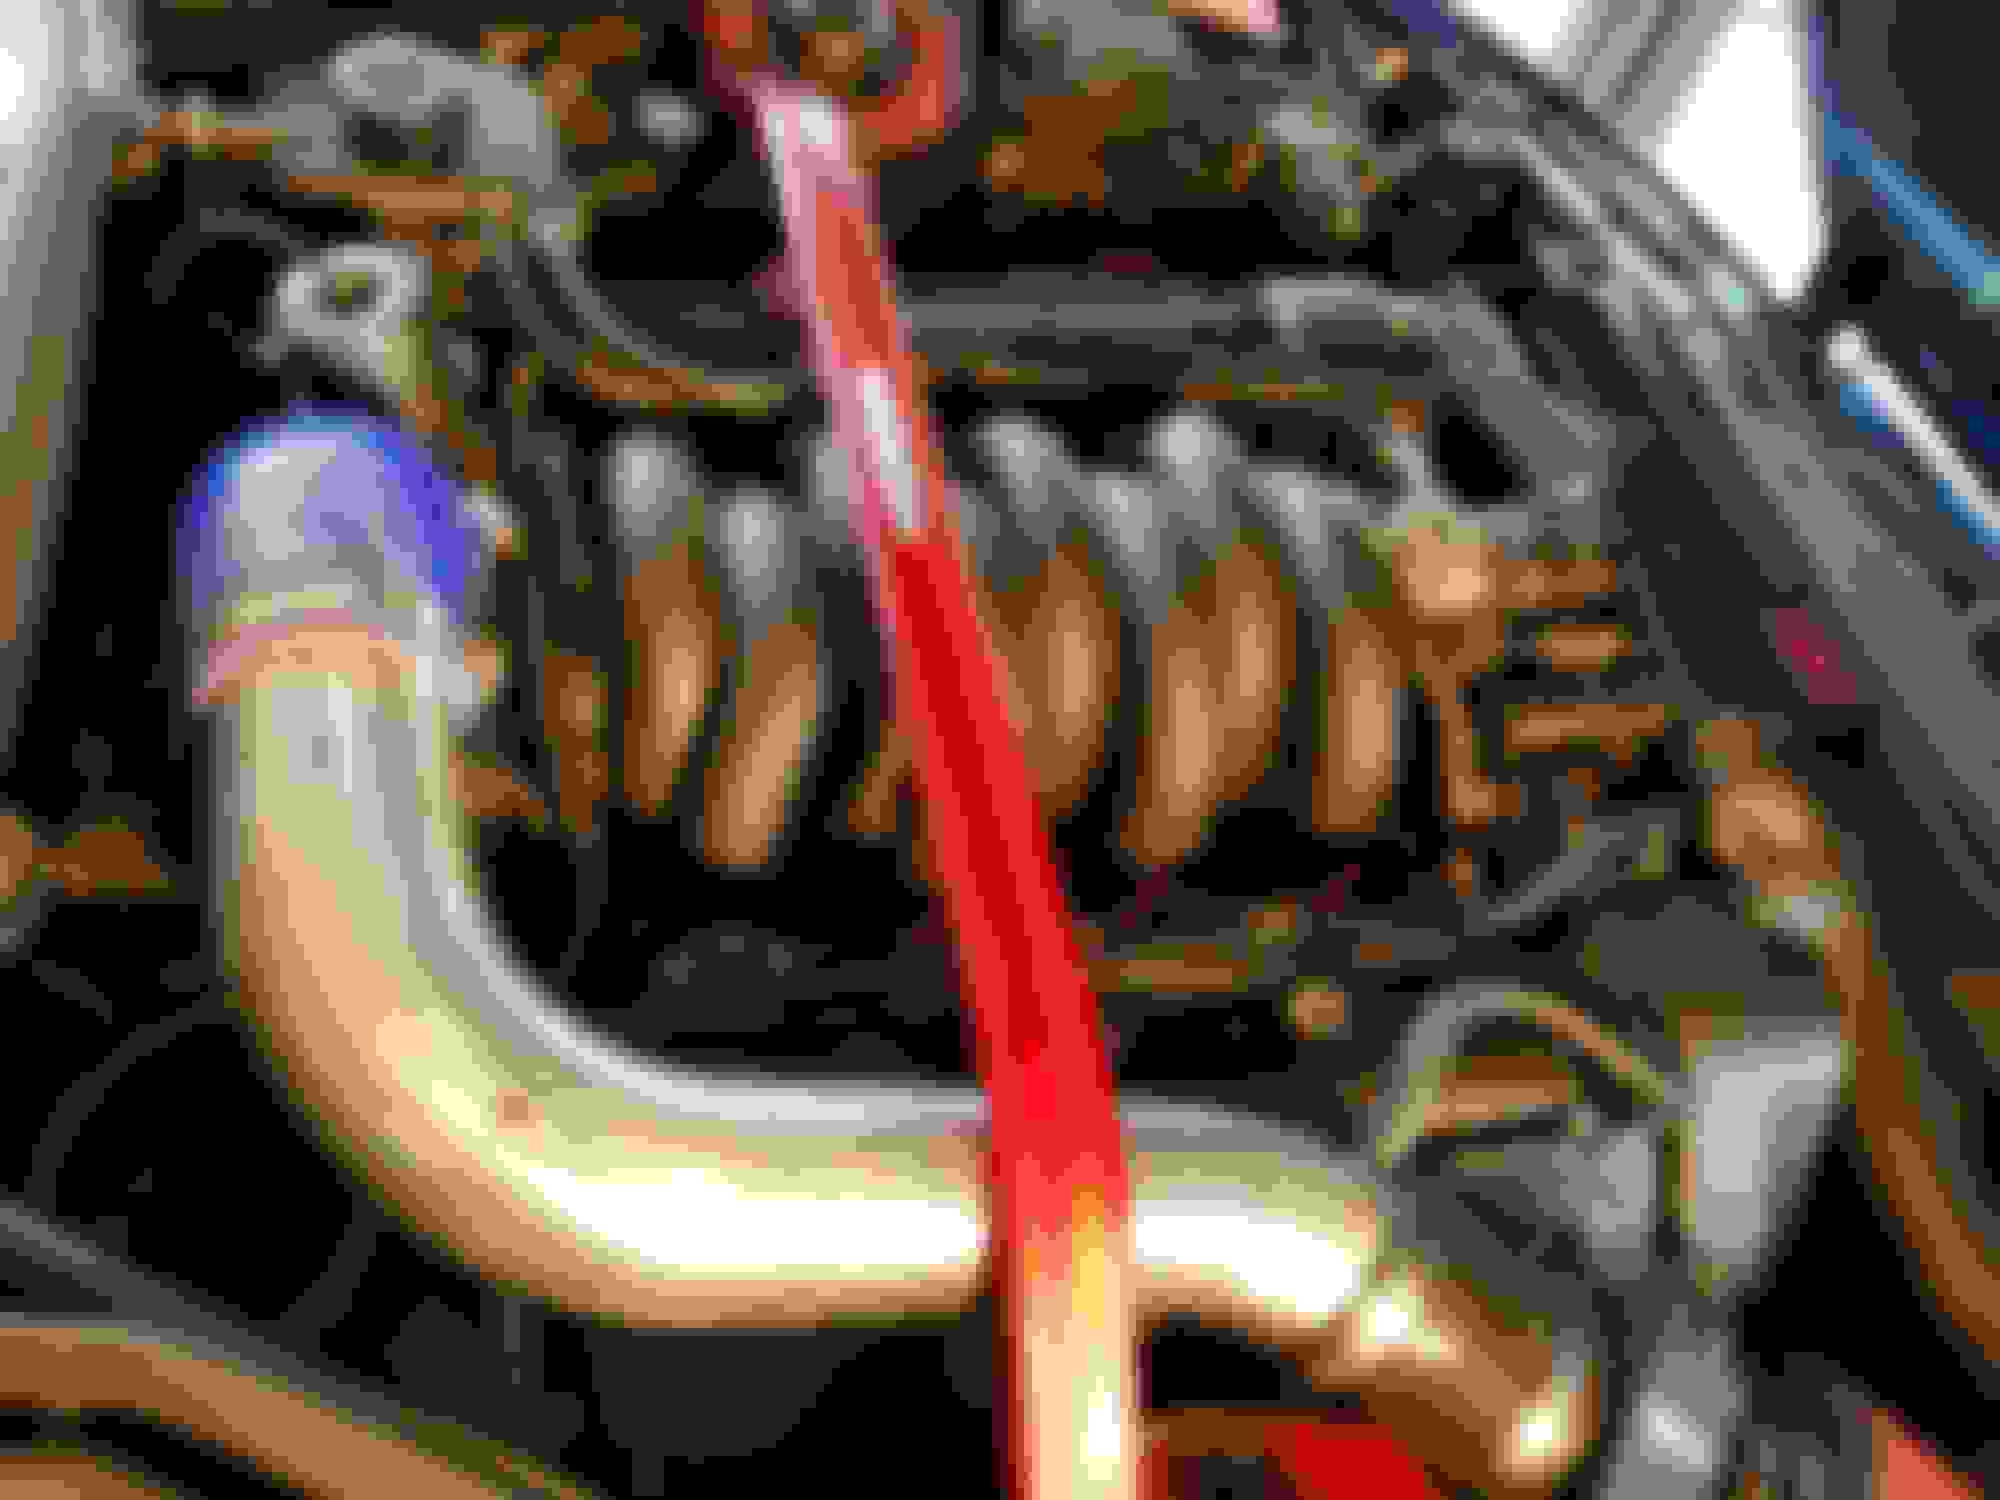
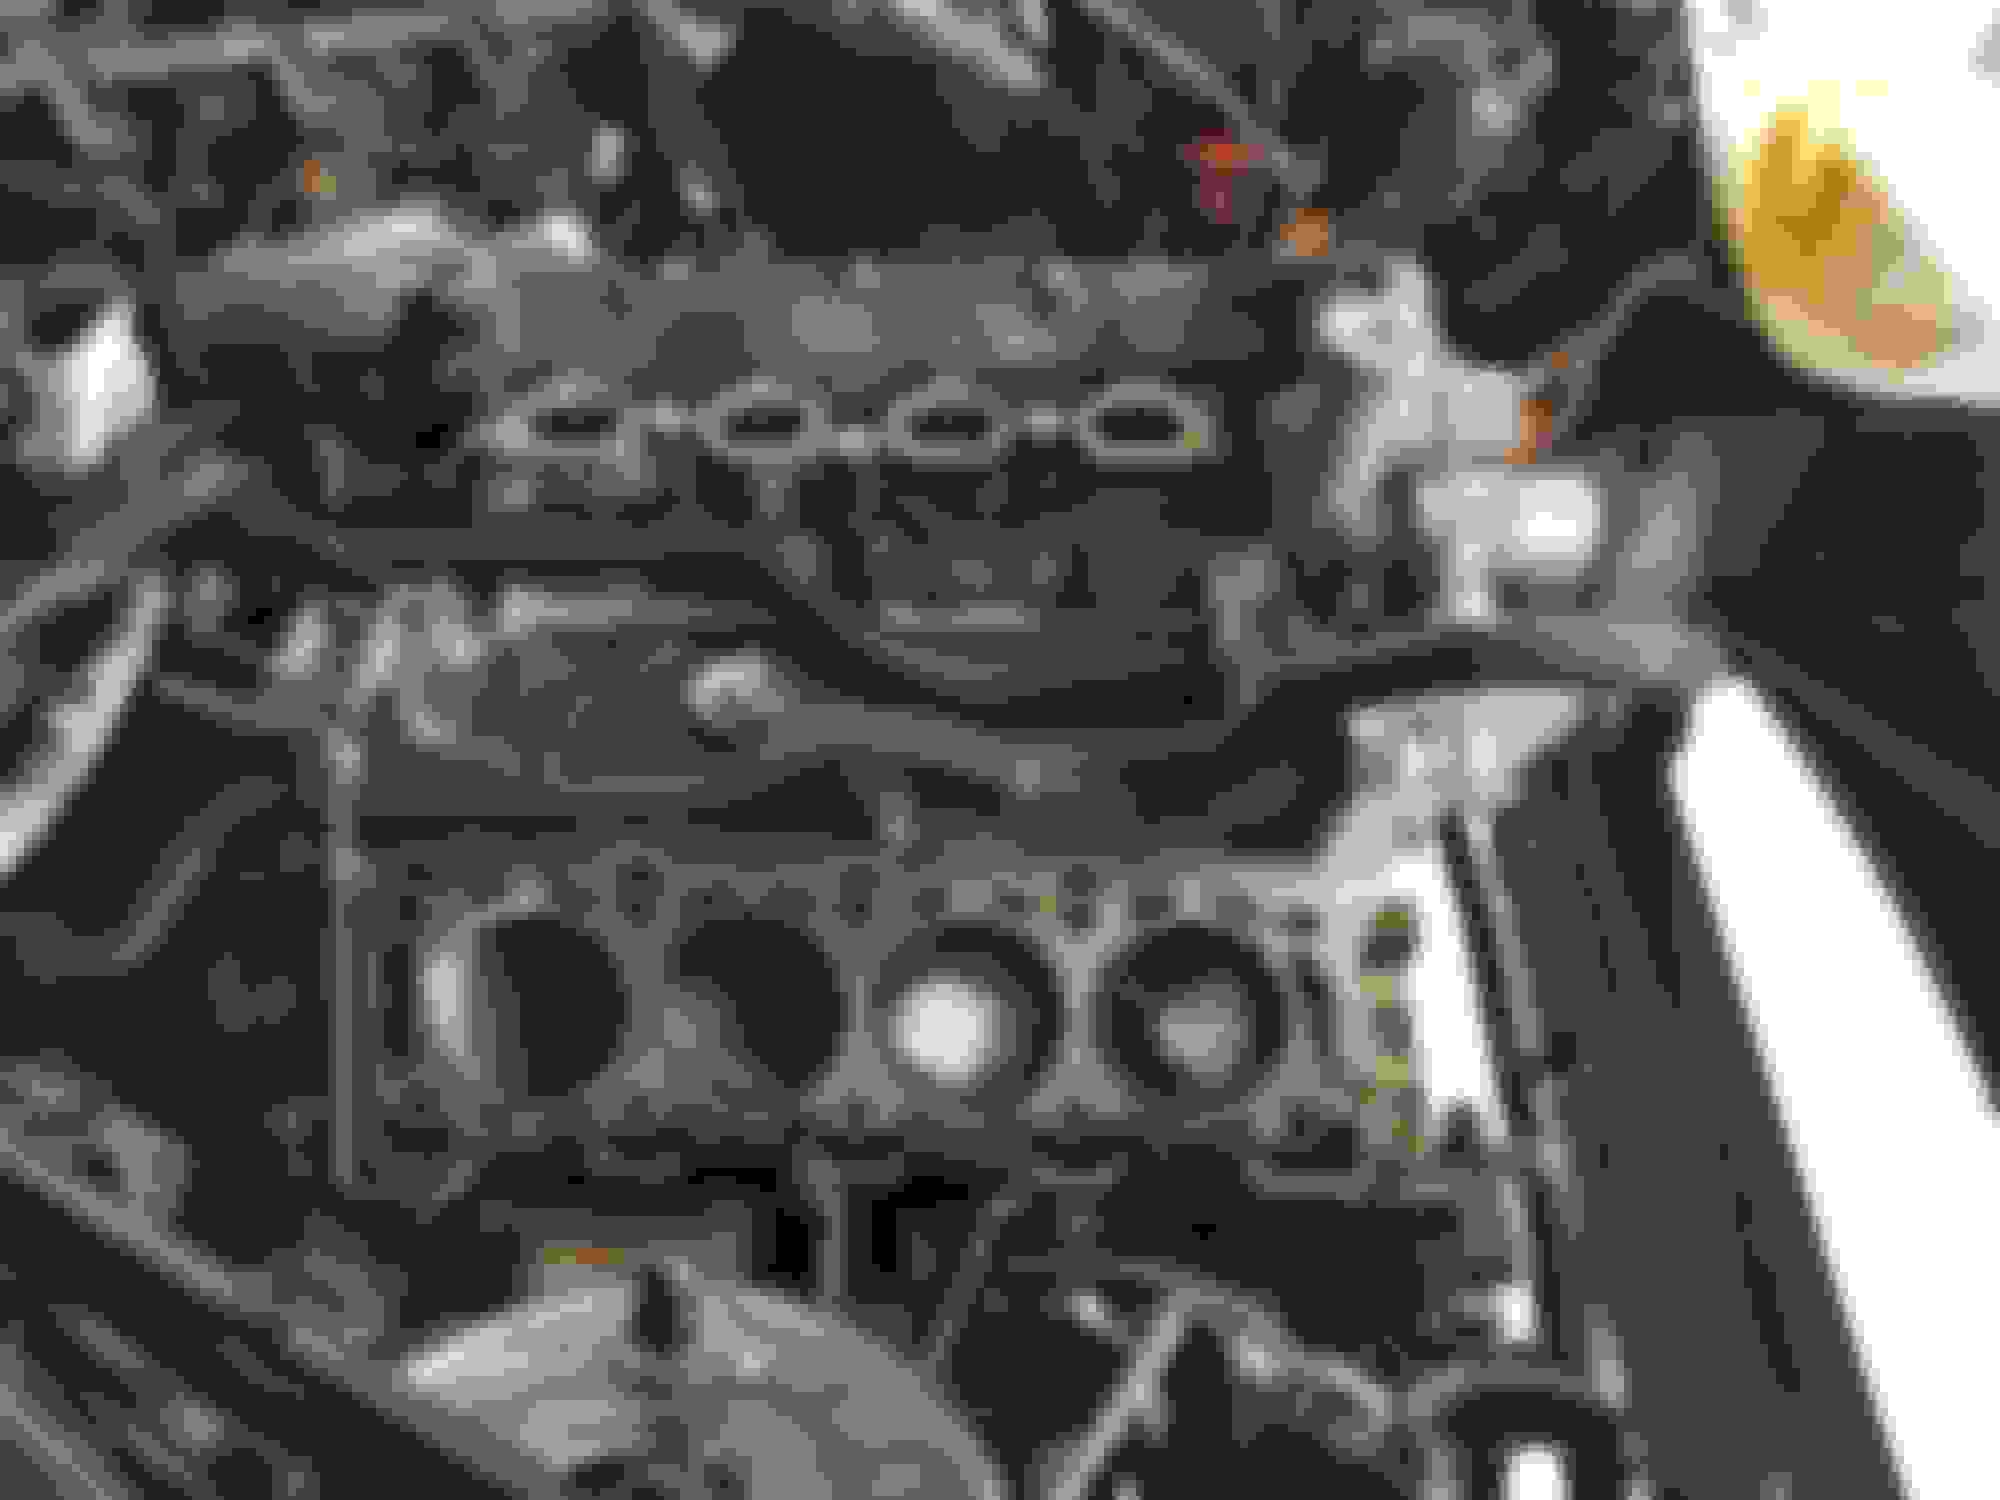
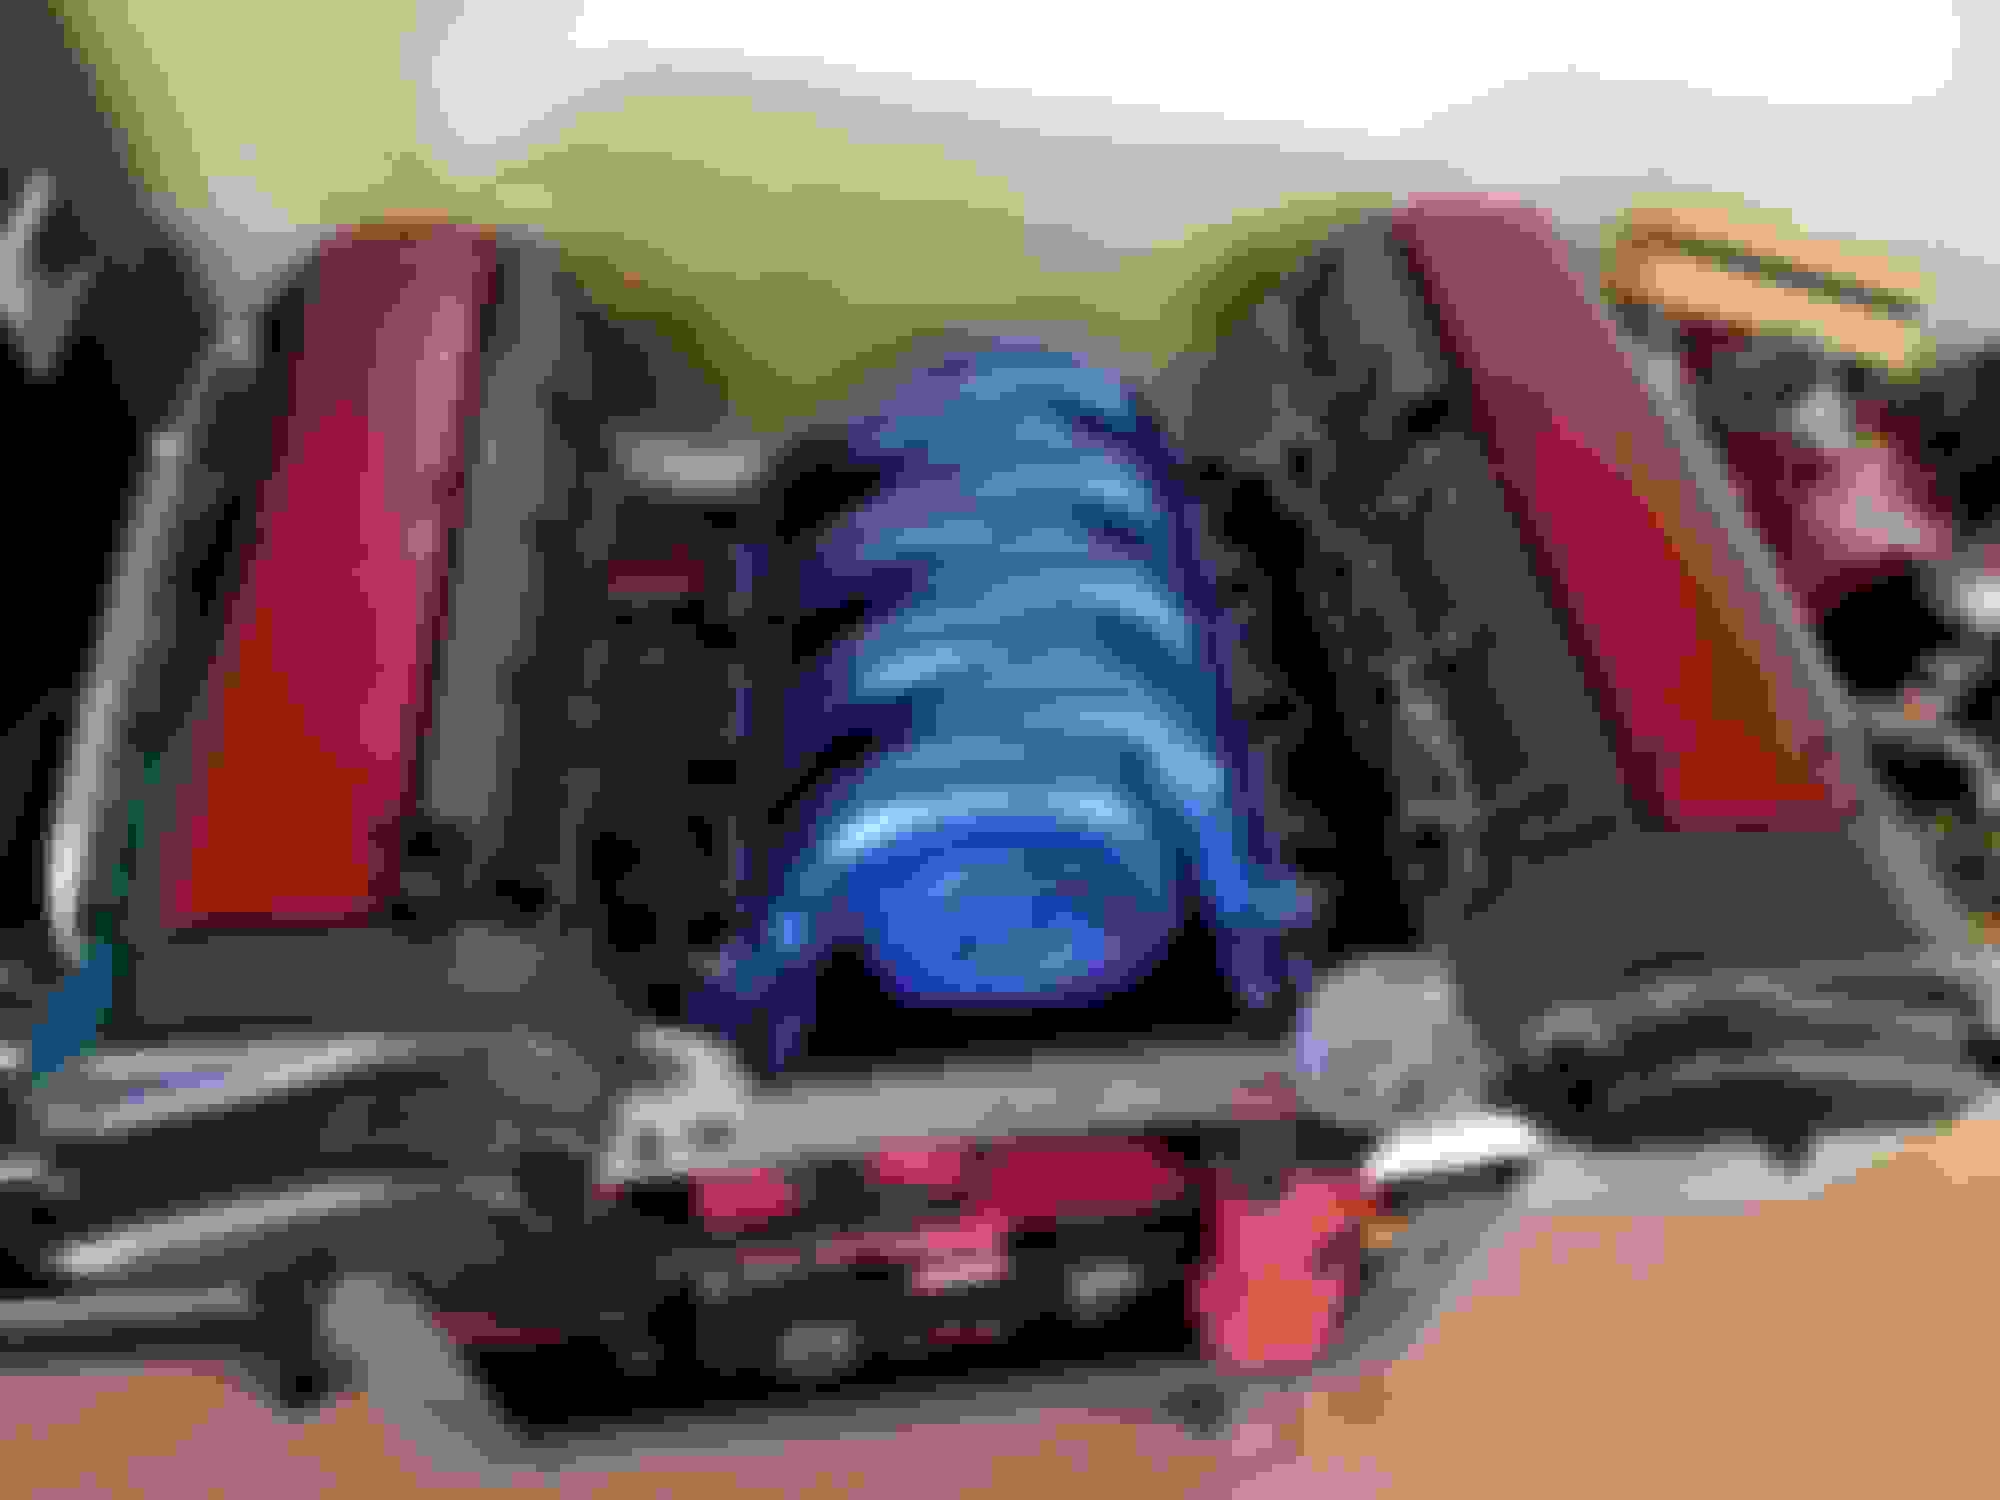
The Patient: Day 1
B Bank
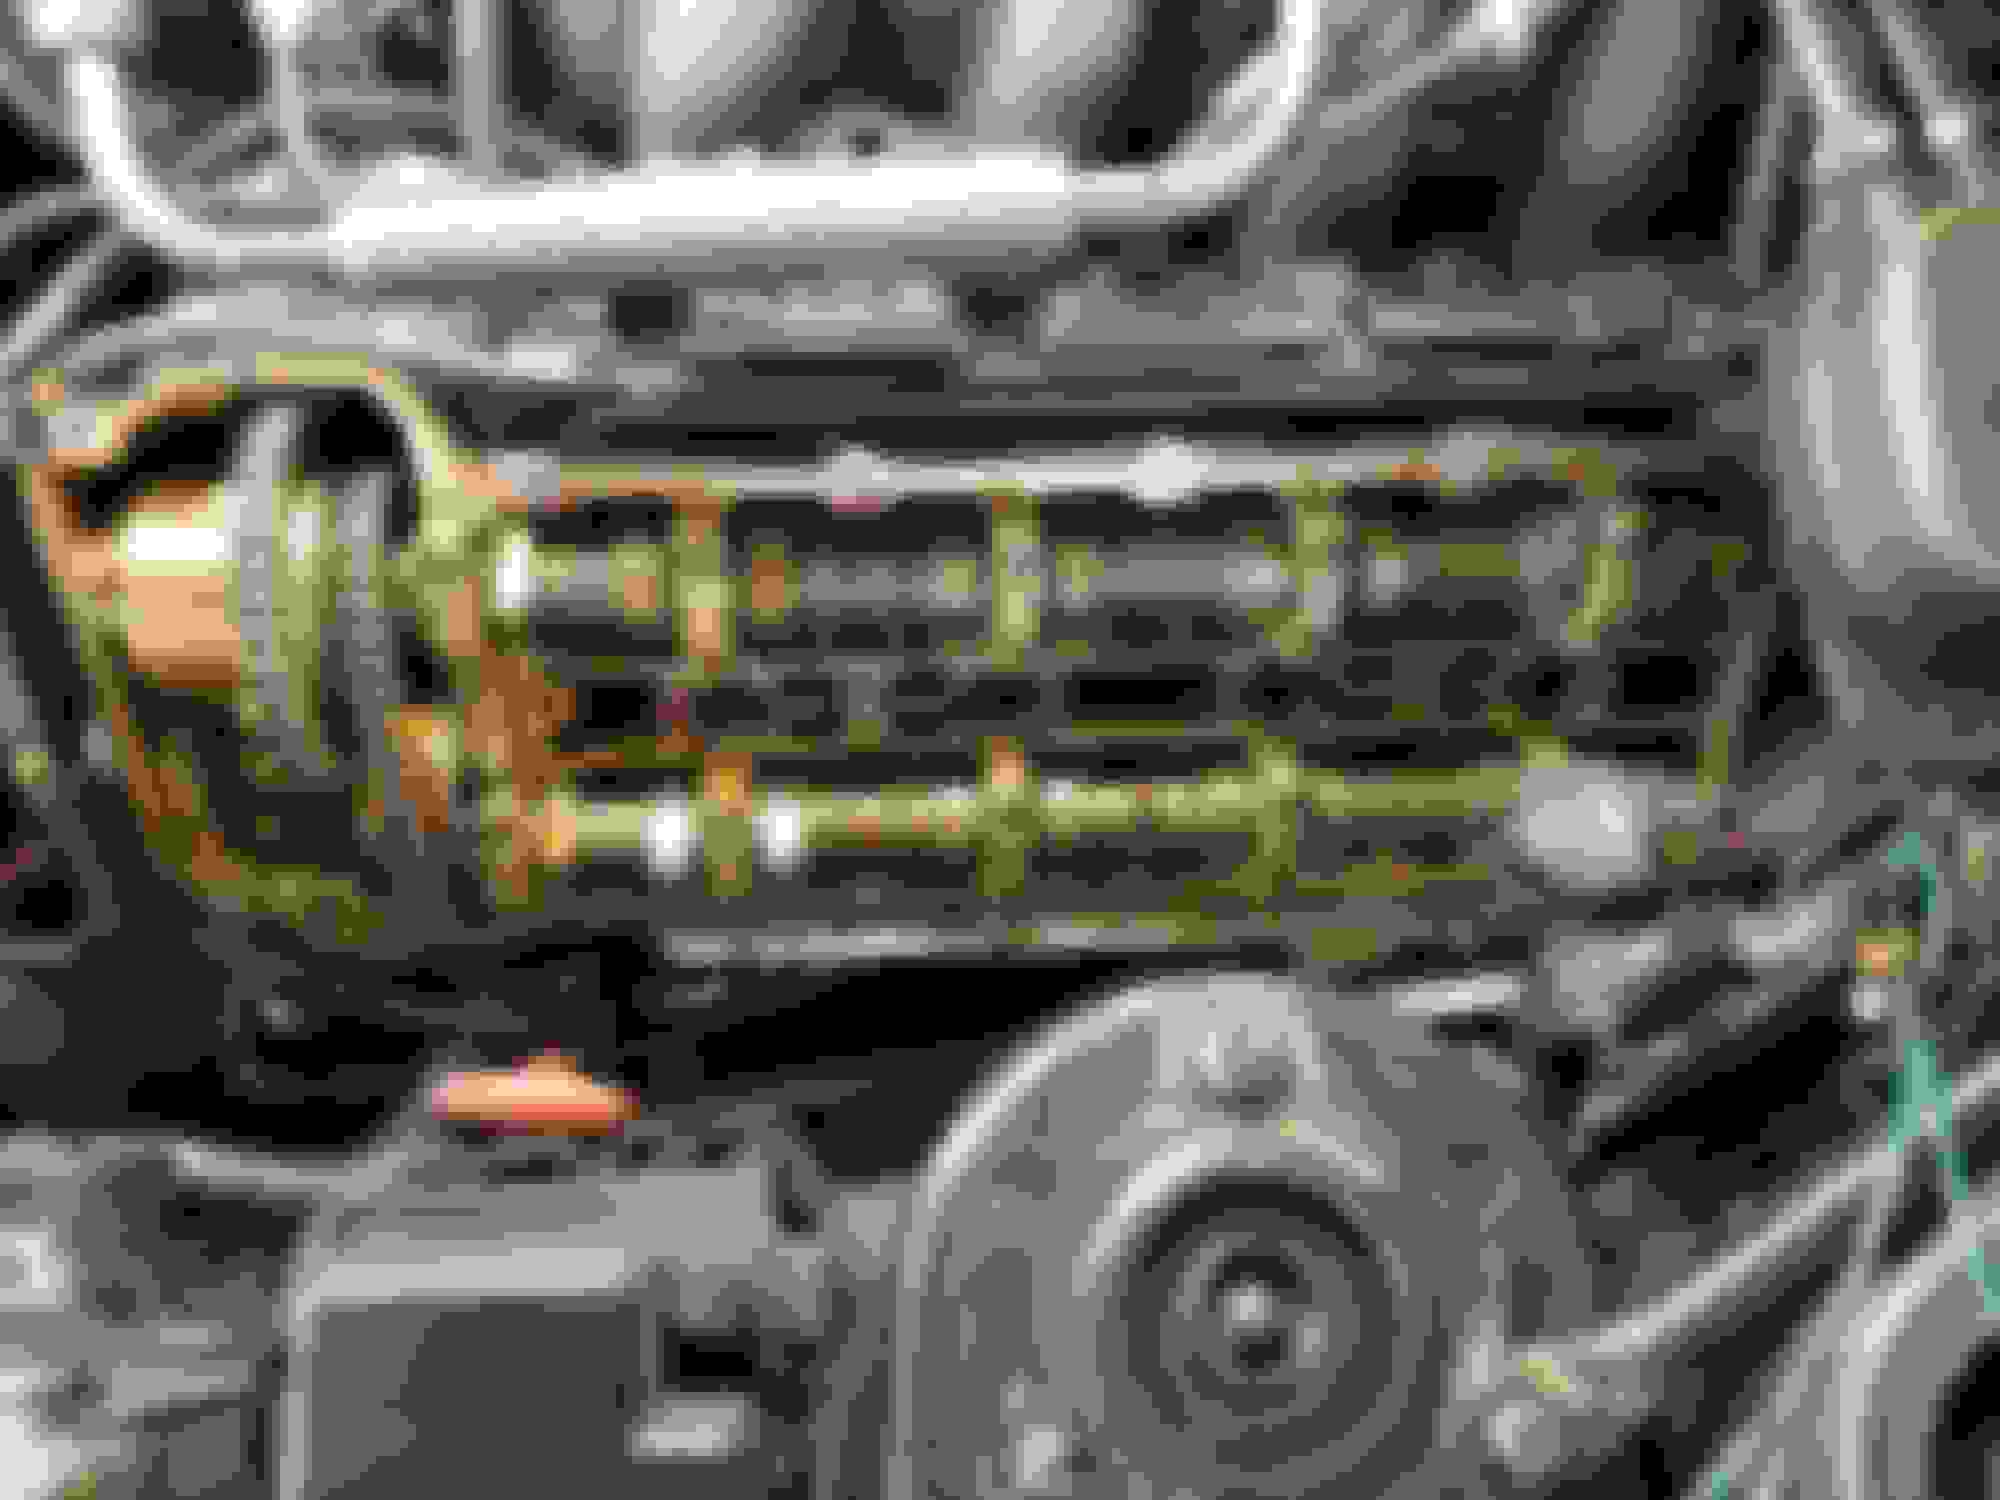
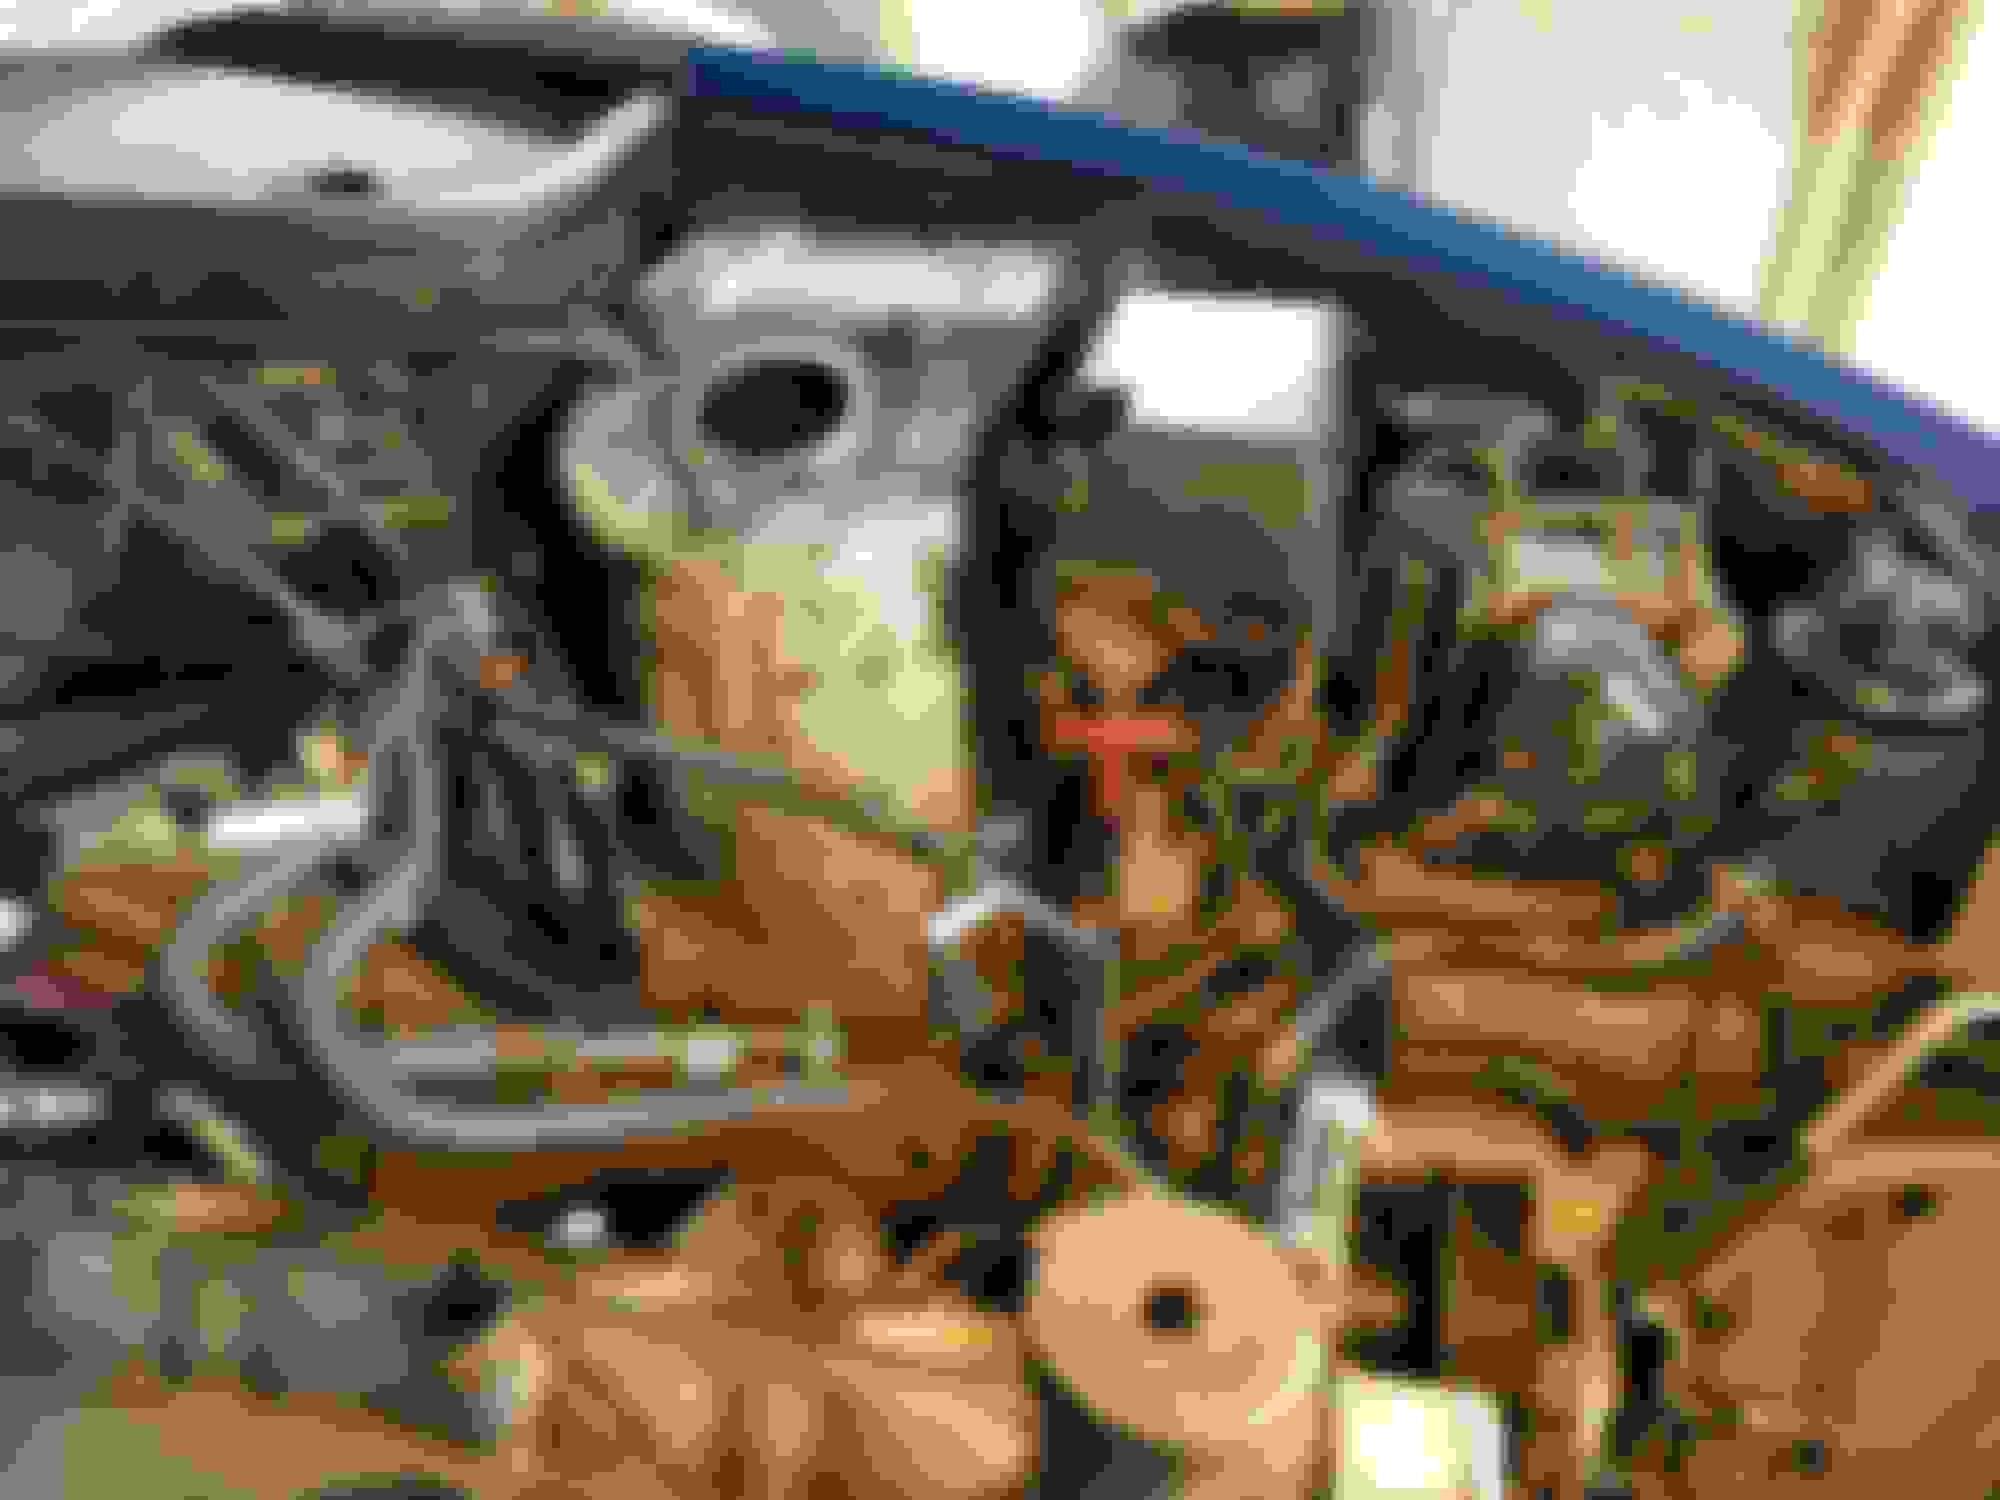
Getting the crankshaft pulley took a 5 feet section of pipe for leverage.
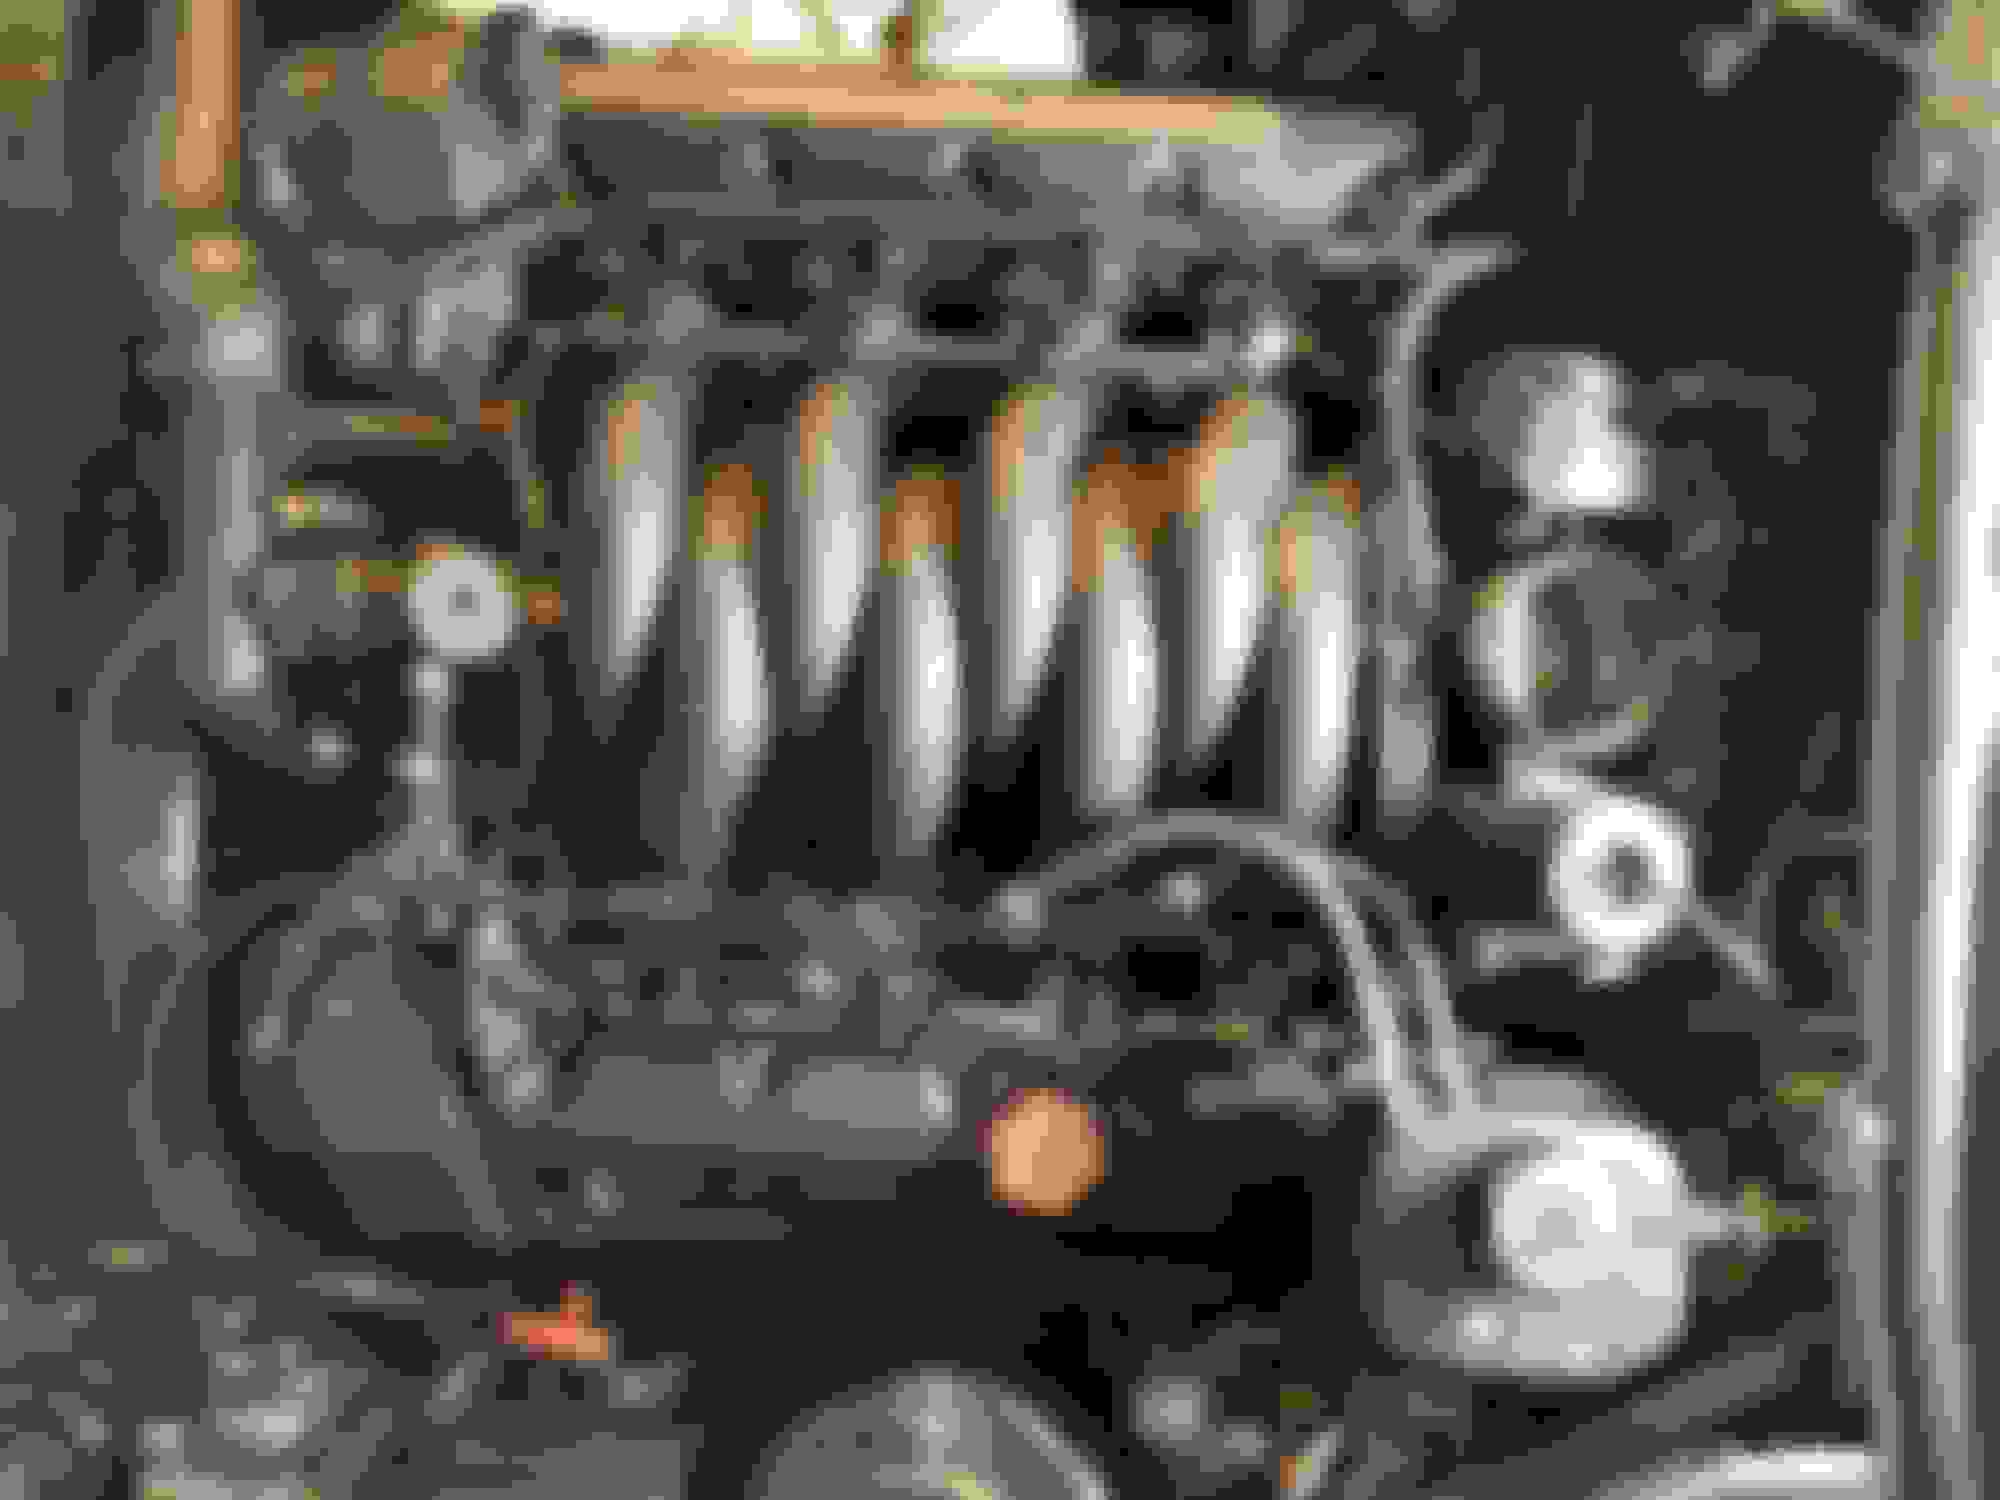
Turns out the previous owner installed the secondary tensioners. The rails showed signs of cracking
Thanks Jo, love the photos. FYI, I removed my " cold" air induction, returned to factory , as I've had occasional check engine, reduced performance lights come on as well as poor running performance on hot days. All cleared up with the re install of factory system. Thanks again. Hope all works out well. Rich
Your engine looks great
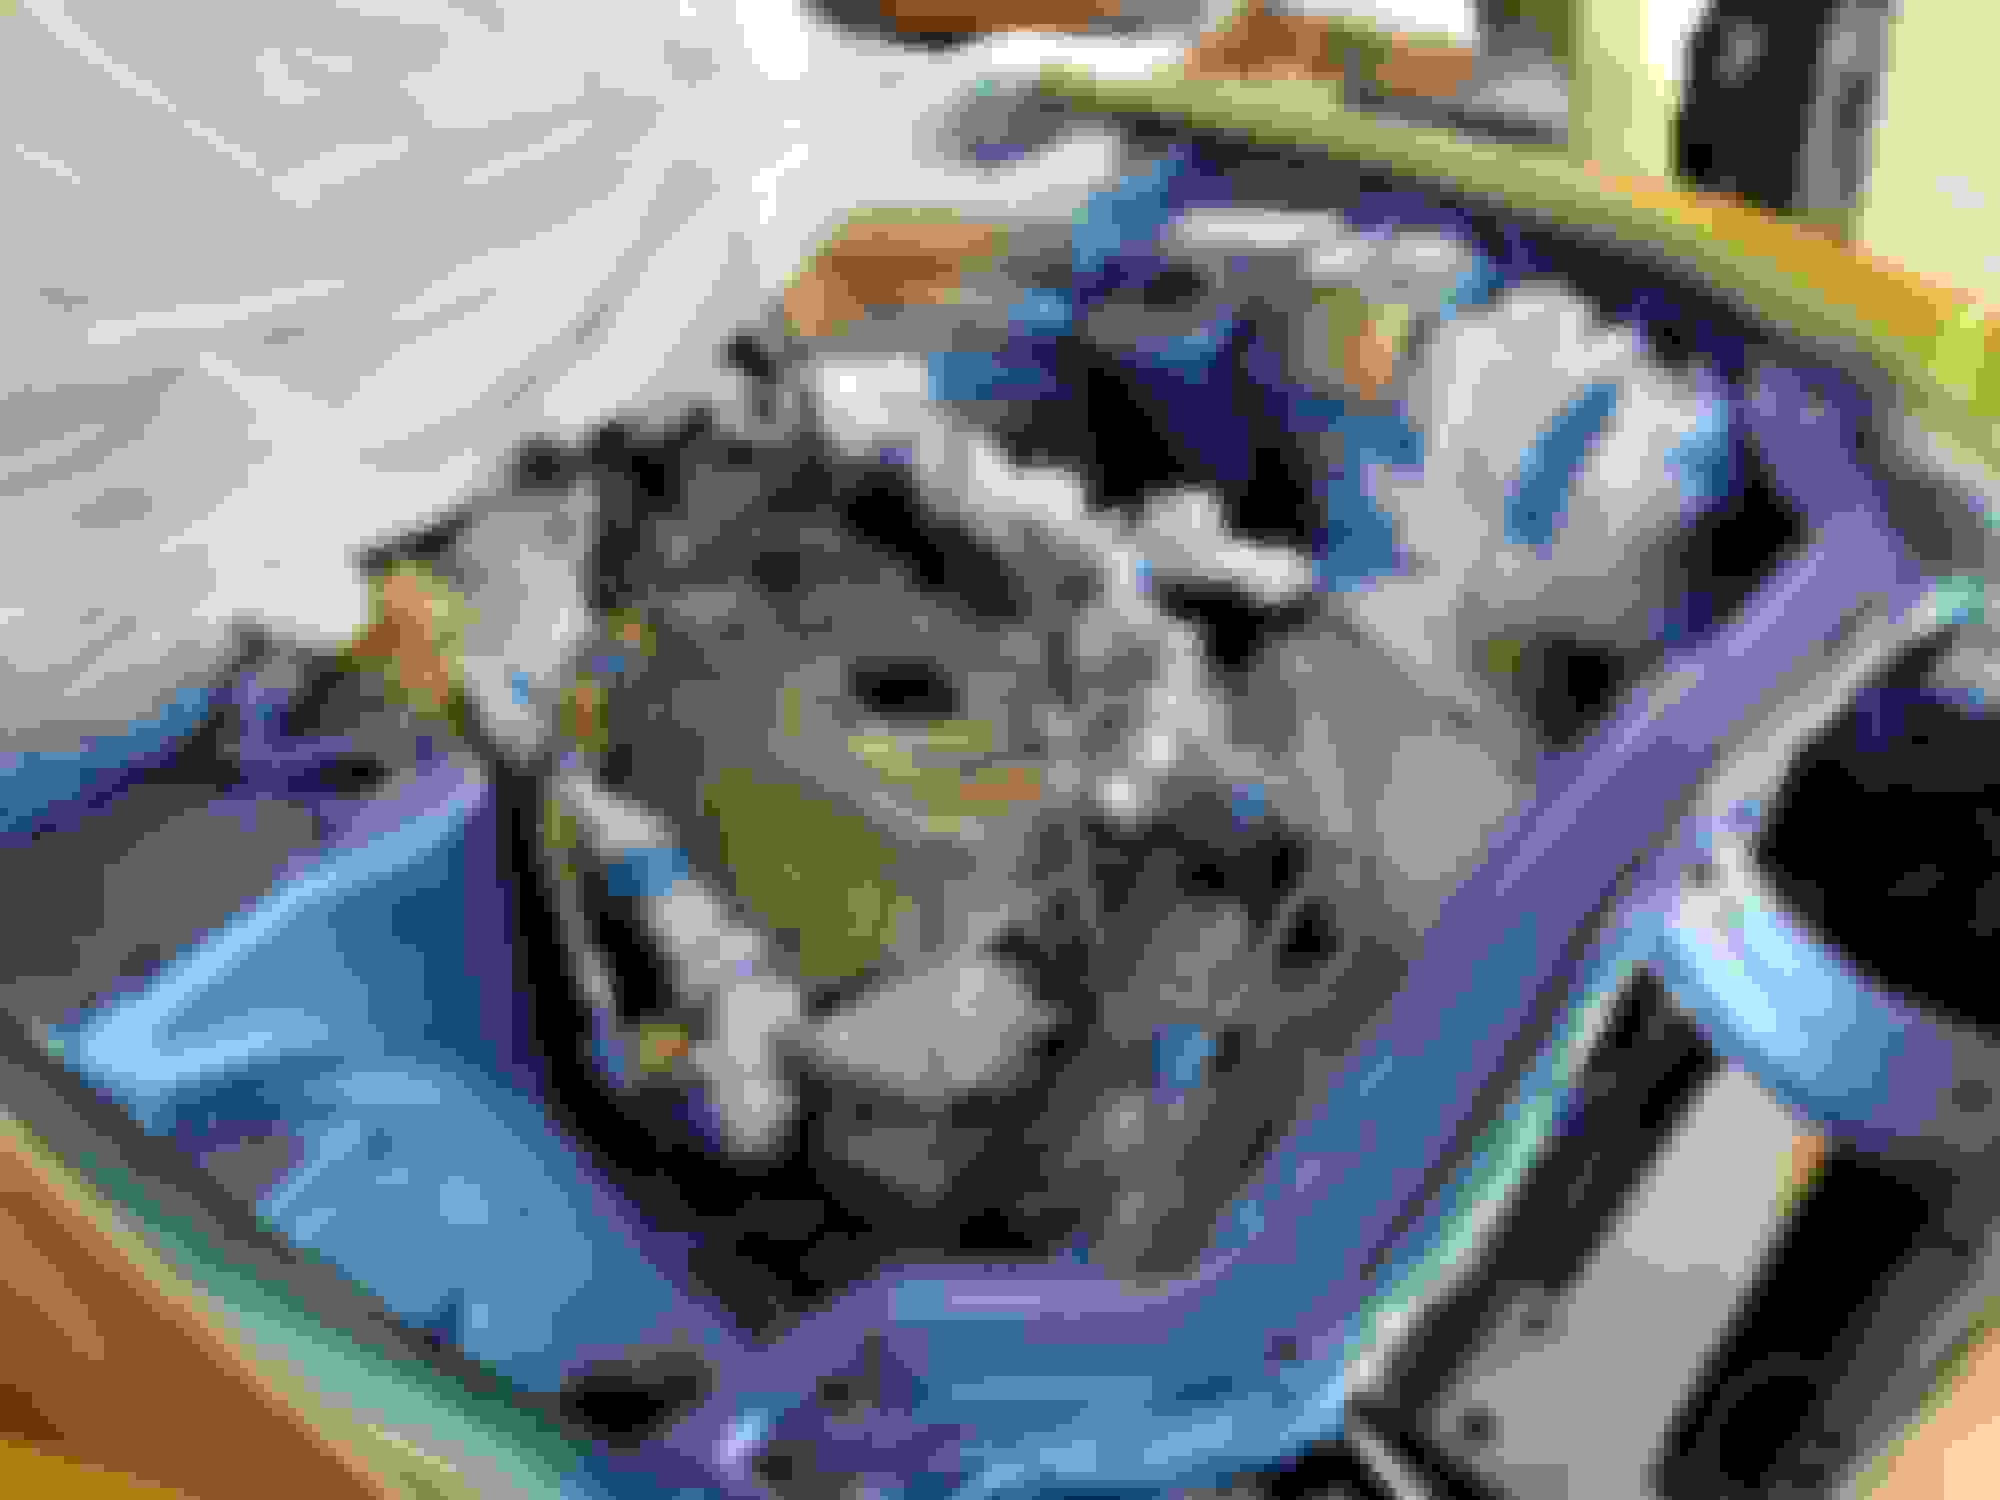
I see that you are putting fiber head gaskets back on. They are the origional replacement.
The fiber head gaskets is what failed on you.
I would suggest that you use MLS head gaskets.
Your engine looks great
I see that you are putting fiber head gaskets back on. They are the origional replacement.
The fiber head gaskets is what failed on you.
I would suggest that you use MLS head gaskets.
You can do a search for head gaskets for a 03 xk8.
The part numbers I have are AJ88987 for the RH bank and AJ88988 for the LH bank.
You need the Jaguar replacement. The Lincoln LS head gaskets are different.
I got mine from RM European for around $50 each.
Congratulations on the Paint job! Man you have outdone yourself......that is a tight fit back in there around the Exhaust Manifolds....Motor's almost to big for the Car......You are a Brave Man!
Your engine looks great
I see that you are putting fiber head gaskets back on. They are the origional replacement.
The fiber head gaskets is what failed on you.
I would suggest that you use MLS head gaskets.
Thanks for the part #s for the metal gaskets. I'm not sure why they continue to sell these if they are prone to failure or have the aftermarket suppliers come up with an improved version?
Well done!, there is great satisfaction and pride in completing such a daunting task, now is time to reap the rewards of your hard work, enjoy the drive.
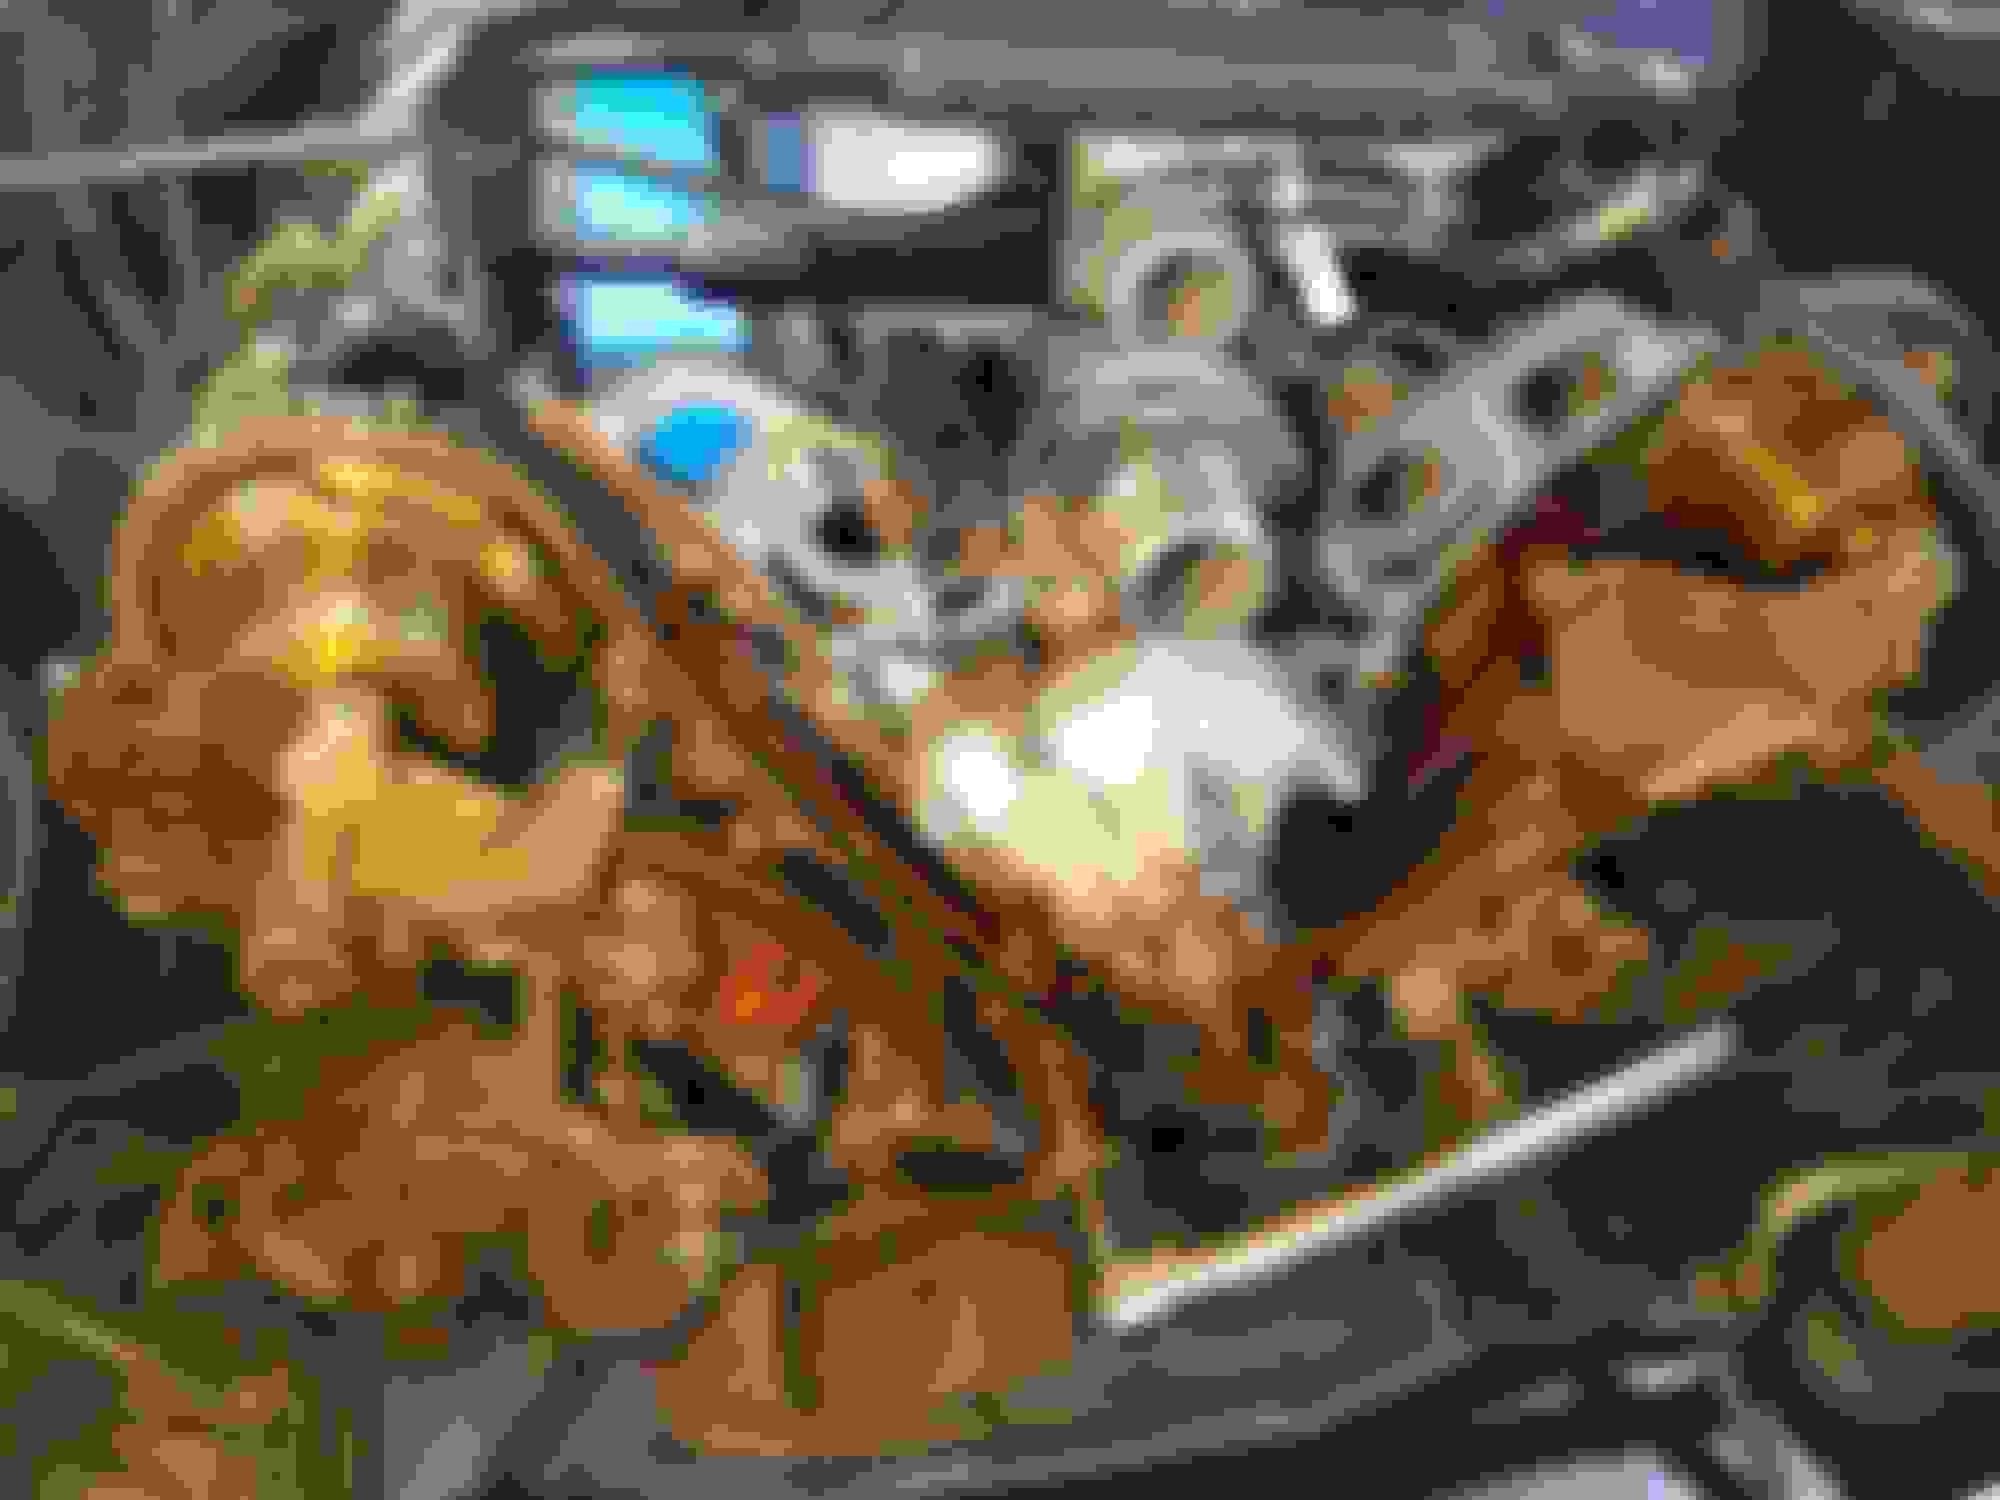
Took the advice of the forum and dumped the composite head gaskets for the one-piece metal.
There's is nothing prettier or more satisfying than building your own Engine! I don't know how many you have done over the years, but this one really looks great to me! I know you are proud of your work!
There's is nothing prettier or more satisfying than building your own Engine! I don't know how many you have done over the years, but this one really looks great to me! I know you are proud of your work!
Congratulations on a job well done!
Billy Clyde in Houston!
Thanks, Billy!
First project like this for me. I've done a few peripheral parts like water pump, etc but this is the first head gasket r/r. I made a few mistkes along the way but learned a lot in the process. Being able to download the service manuals and get advice from the forum made it all possible. The car drives great, loads of smooth high revving power!