When you click on links to various merchants on this site and make a purchase, this can result in this site earning a commission. Affiliate programs and affiliations include, but are not limited to, the eBay Partner Network.
This odyssey all started due to I had a NAV car and converted to a triple gauge car�
Awhile back I installed a reverse camera and the needed converter to add it to my NAV screen, I�ve always liked to have a back up camera, especially in the XK8 vert which has lousy rear view with the top up.
This worked very well but still had viewing issues with the top down during the day and I�ve never liked the look of the dash with the NAV screen setup and feel the triple gauge setup is much more classic looking BUT I did not want to lose my reverse camera. Well the desire to go to triple gauges won out over my love for the reverse camera so I converted and am very pleased with the new dash look.
So the search was on for a suitable way to get the reverse camera working again�.
I tried a clip on mirror with a monitor in it, very unhappy with the results. 1 it was clip on and looked like dodo. � 2 the monitor was unusable during the day light hours due to glare.
I searched and searched for a replacement mirror made for a convertible with good anti-glare technology but no luck plus replacing the mirror meant losing my auto lights feature and the Jag mirror mount is impossible to replace.
The only option left was to add a standalone LCD monitor, while this worked fine with good day time viewing it did not look �installed� rather tacked on and I don�t like that. There was just no good place to put it where it worked well for viewing and also looked ascetically good.
The only option left was to go all in and do a modification of the dash for the monitor, the center air vents looked like a good location for this project if only I could get a small monitor mounted in them�well the photo�s speak for themselves.
I purchased a used air vent, a 3.5� monitor and went to town cutting, filing, gluing, painting and generally burning what brain cells I had left. The center air vent is a very complex assembly with no less than 6 sub assemblies in it, all of them had to be modified. Each side had to be cut down by 1.5� to make room for the monitor, everything had to be reassembled and a mounting system made for the monitor. The horizontal vanes were the hardest as each one had to be cut and reshaped by hand filing with the correct round notch for mounting.To make matters harder I bought the cheapest used air vent assembly I could find which was in bad shape with a lot of cracks and broken mounts (this was an experiment after all). This required a lot more �bonding� of materials than it would have if the assembly had been in good shape which resulted in the rear part of my completed project looking a little �glued� up, but the front results are amazing and IMHO looks like a factory install.
These photo's were taken on a bright day with the top down. The monitor picture is very clear with no glare!
The additional benefits are I now have a spare AV input that I may use for my iphone screen mirroring connection to show album art when playing music (another future project). I also have a Tire Pressure Sensor system installed with AV out so my screen shows the TPS display also.
I intended to do a tutorial on how to do this but to be honest this was experimental and is so involved that I feel if you have the skills to tackle this then you likely have the skills to figure out how to do it. Nothing but basic hand tools were required.
While this came out great and is very acceptable, I know where the flaws are and learned a lot, I may use my original vent, which is in perfect condition, and make another one now that I have the process and design figured out.
Steve, aka JagWrangler, is more than welcome to the idea and design!
This took about 30 hours of design, head scratching, fitting and manufacturing. I think I could do the next one in about 10 hours spread over several days as the expoxy for each stage has to harden over night.
That's phenomenal! So can you hook your navigation back to the new monitor as well?
Anything that will work with a RCA video jack will connect. I'm planning to install the wiring to connect my iPhone to my audio system and video to the monitor. (Apple lighting to HDMI to RCA component audio and video signal. Connect the video to the monitor and the audio to the circuit board inside the CD changer) With the iPhone mirroring program any thing on the phone will show up on the monitor, with audio connected my iTunes as well as NAV on the iPhone will play thru the stereo and the NAV screen will show on the monitor. I'm not sure how well the video will work with the small monitor but all I really want from the iPhone is iTunes. Don't need NAV on Maui!
The monitor is a little small but is restricted by the size of the vent opening on the dash panel. If I do another one I'll experiment with a 4.5" monitor, It's only a little taller but wider. Attached is the monitor I used.
The total cost of this mod is $20 plus the AC vent. The LCD monitors are dirt cheap on eBay. If you use your own it's no cost otherwise used AC vents can be found on eBay for $50 to $100.
I was concerned about the air flow with the smaller vents but I think it actually inproved the air flow. With more pressure in the system due to the smaller opening the air flow is stronger thru both the center and side vents. I also replaced all the degraded foam seals in the AC vent so that likely helped also.
Really nice job. Was the plastic ABS? I ask as I think about what glues would be used. Maybe you just used epoxy instead of ABS glue, but I was just wondering. BYW, you are lucky, that is real nice figure in your dash's walnut veneer.
I couldn't tell (its'late maybe I just missed it), what kind of rear view camera set up did you use or was it that your model has the rear view as an installed option and you just hooked it up with the new monitor. My 1998 doesn't have one so as you can imagine I got to wondering.
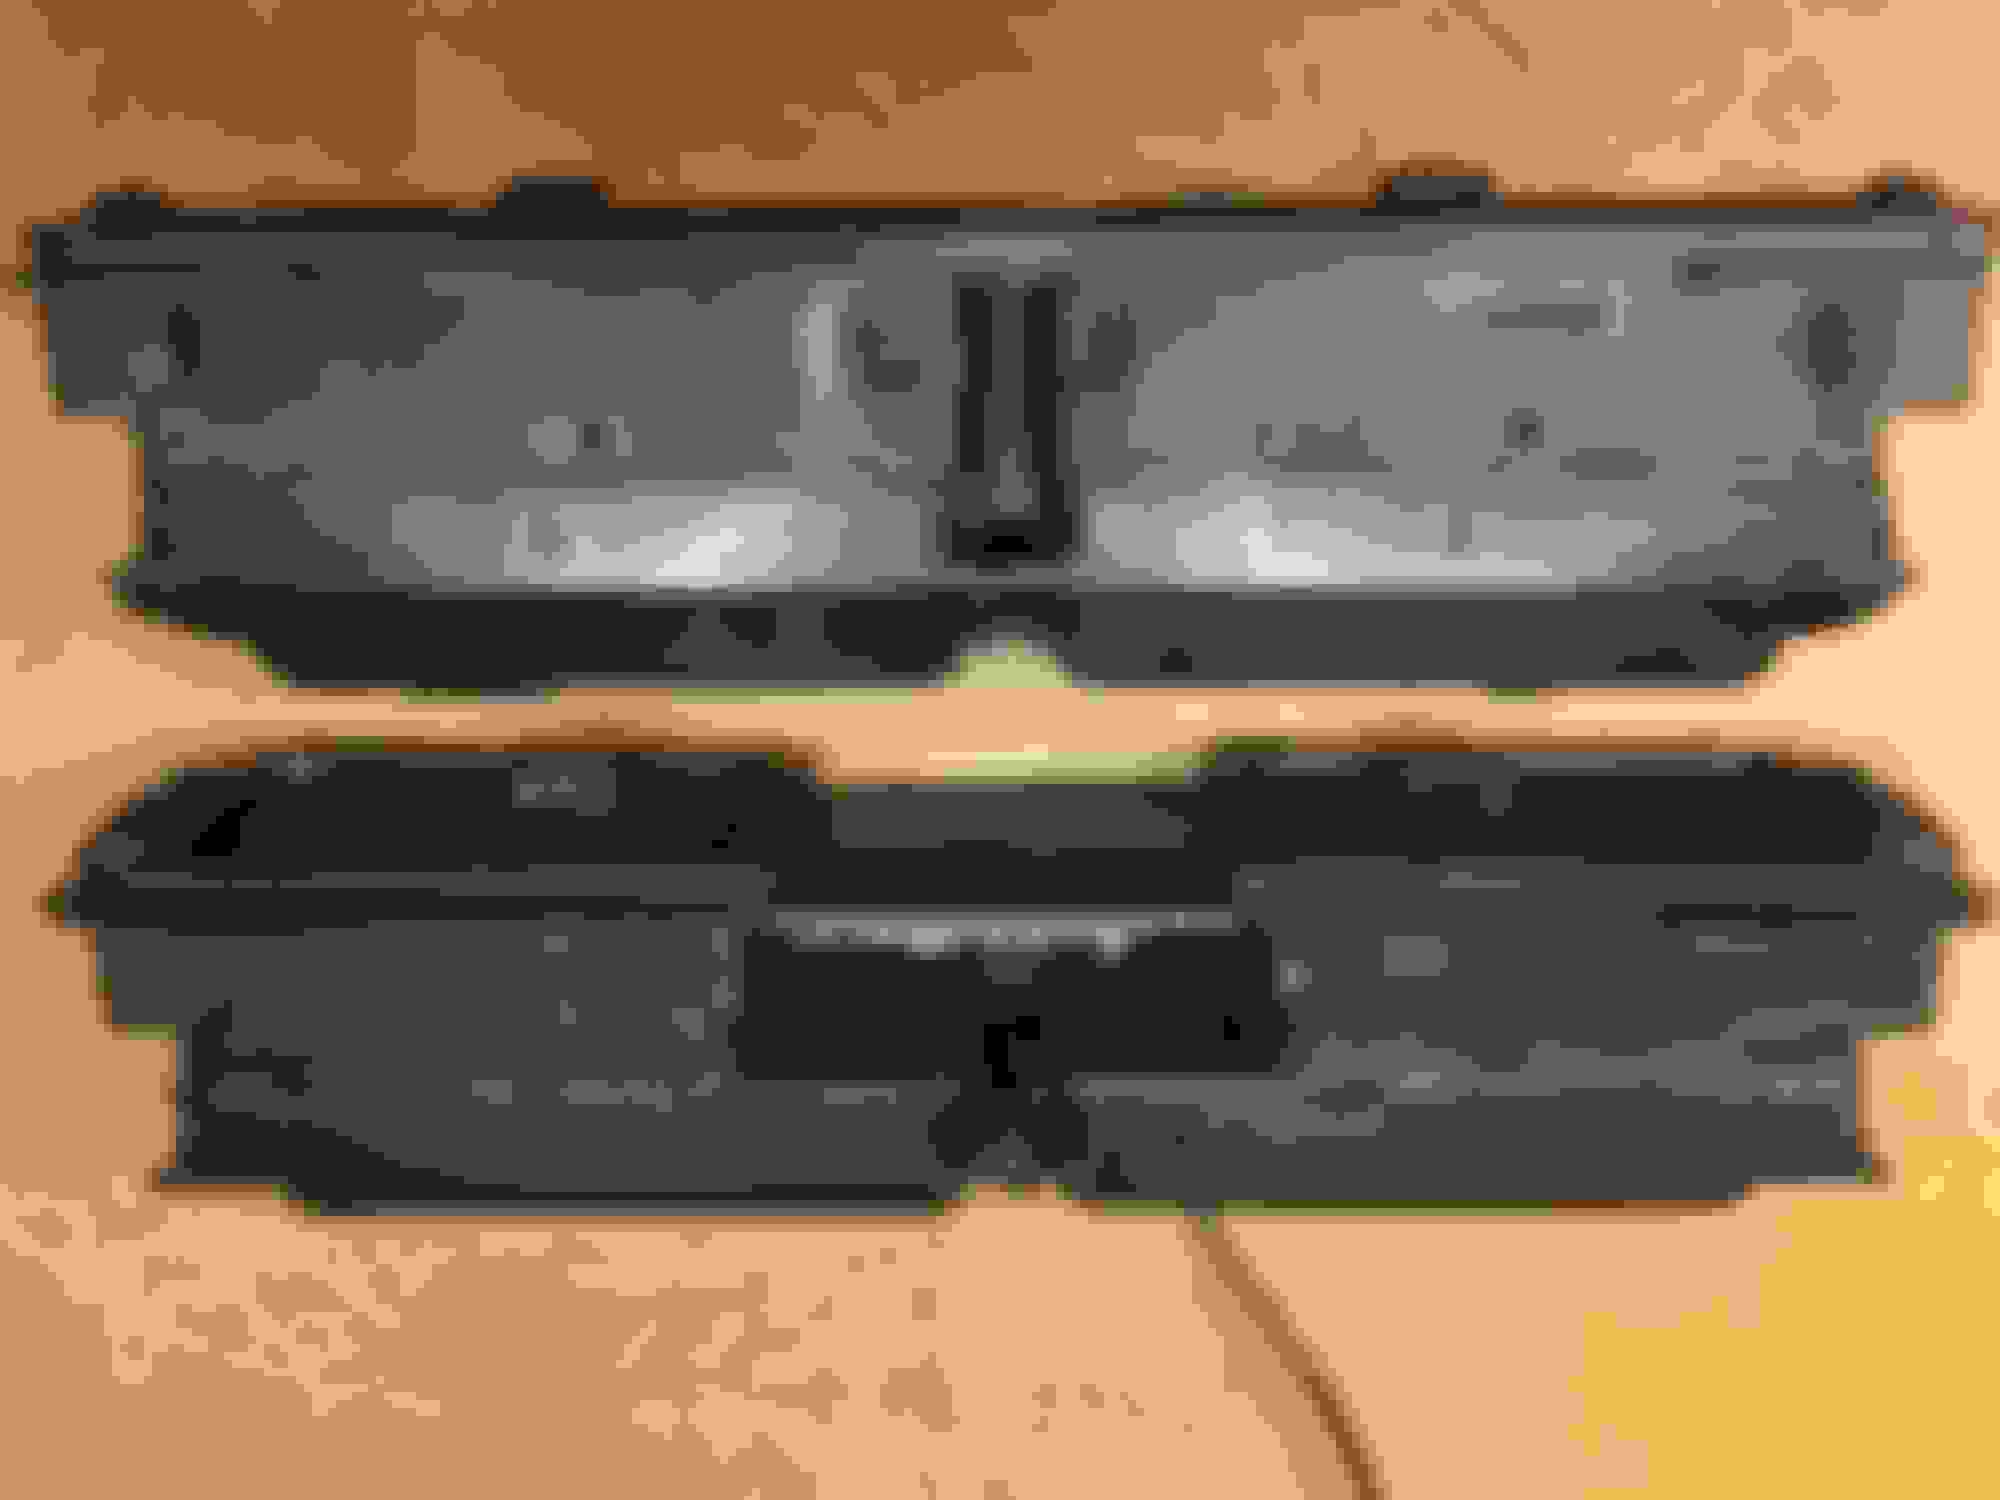
Talk about lucky...that's not the matched triple gauge panel for the rest of the dash panels! They are so close only on very close inspection can you tell the difference, look at the first pic that's my original NAV panel, it's got more burle and is a little "softer" looking.
Yes the vent is made from ABS and I purchased a 12"X12" X 1/8" sheet of ABS From eBay for $3 to make up any parts I needed. I used super glue to spot hold parts together and then used Plastic epoxy to complete the bond.
See attached for a pic of my camera, it's a cheap eBay camera. Also attached is a listing from eBay for a simalar camera.
I'm wondering about the tire pressure display; is that something that I could add to a 2000 XK8? ..or is TPS already built into '03 models?
The TPS is a add on that uses senders screwed onto the valve stems, you can also get a version that goes inside the tire replacing the valve stems.
It has a small controller and an antenna which works very well, I have no signal issues. There is a wireless button you put in the car to turn the screen display on.
It uses RCA out puts/inputs and has the ability to wire a reverse camera also, the camera takes priority over the TPS display.
It works fairly well, on startup it displays the last reading before you turned the car off, takes a few minutes to register new readings. Has alarm set points for low pressure and a seperate alarm for rapid pressure loss. I have issues every now and then with it taking a little long to register the tire pressure and it reads about 2 psi lower than my tire guage.
If you have a NAV car you will need a converter to connect to your factory NAV screen. I have one I'd be willing to sell as I don't need it anymore. The converter is also no longer made so they are hard to find. PM me if interested.