When you click on links to various merchants on this site and make a purchase, this can result in this site earning a commission. Affiliate programs and affiliations include, but are not limited to, the eBay Partner Network.
Well I�ve got back to BAH and to my XK8 which had been in storage. On my holiday break but the missus did take car out for a spin in my absence.
In self isolation here, due to Covid19 restrictions, and had a list of things to do, from the missus, around the house. Finally got round to the Jag. Battery was dead, 10V only even after charging, so got a new one delivered. Tyres needed pumping up. Checked fluids and topped up coolant and engine oil. Hmmm....
Got car started and took it out for a short spin around the block. Dash was full of usual ABS warnings but these wouldn�t go away, so I have the ol� solder the pins in the ABS module to do .... which I kind of expected. Plus my service parts and those parts for the car cover gaskets are Fedex-on the way.
.... interesting to see fresh oil drops on the garage floor though under the Jag. Hmmm...
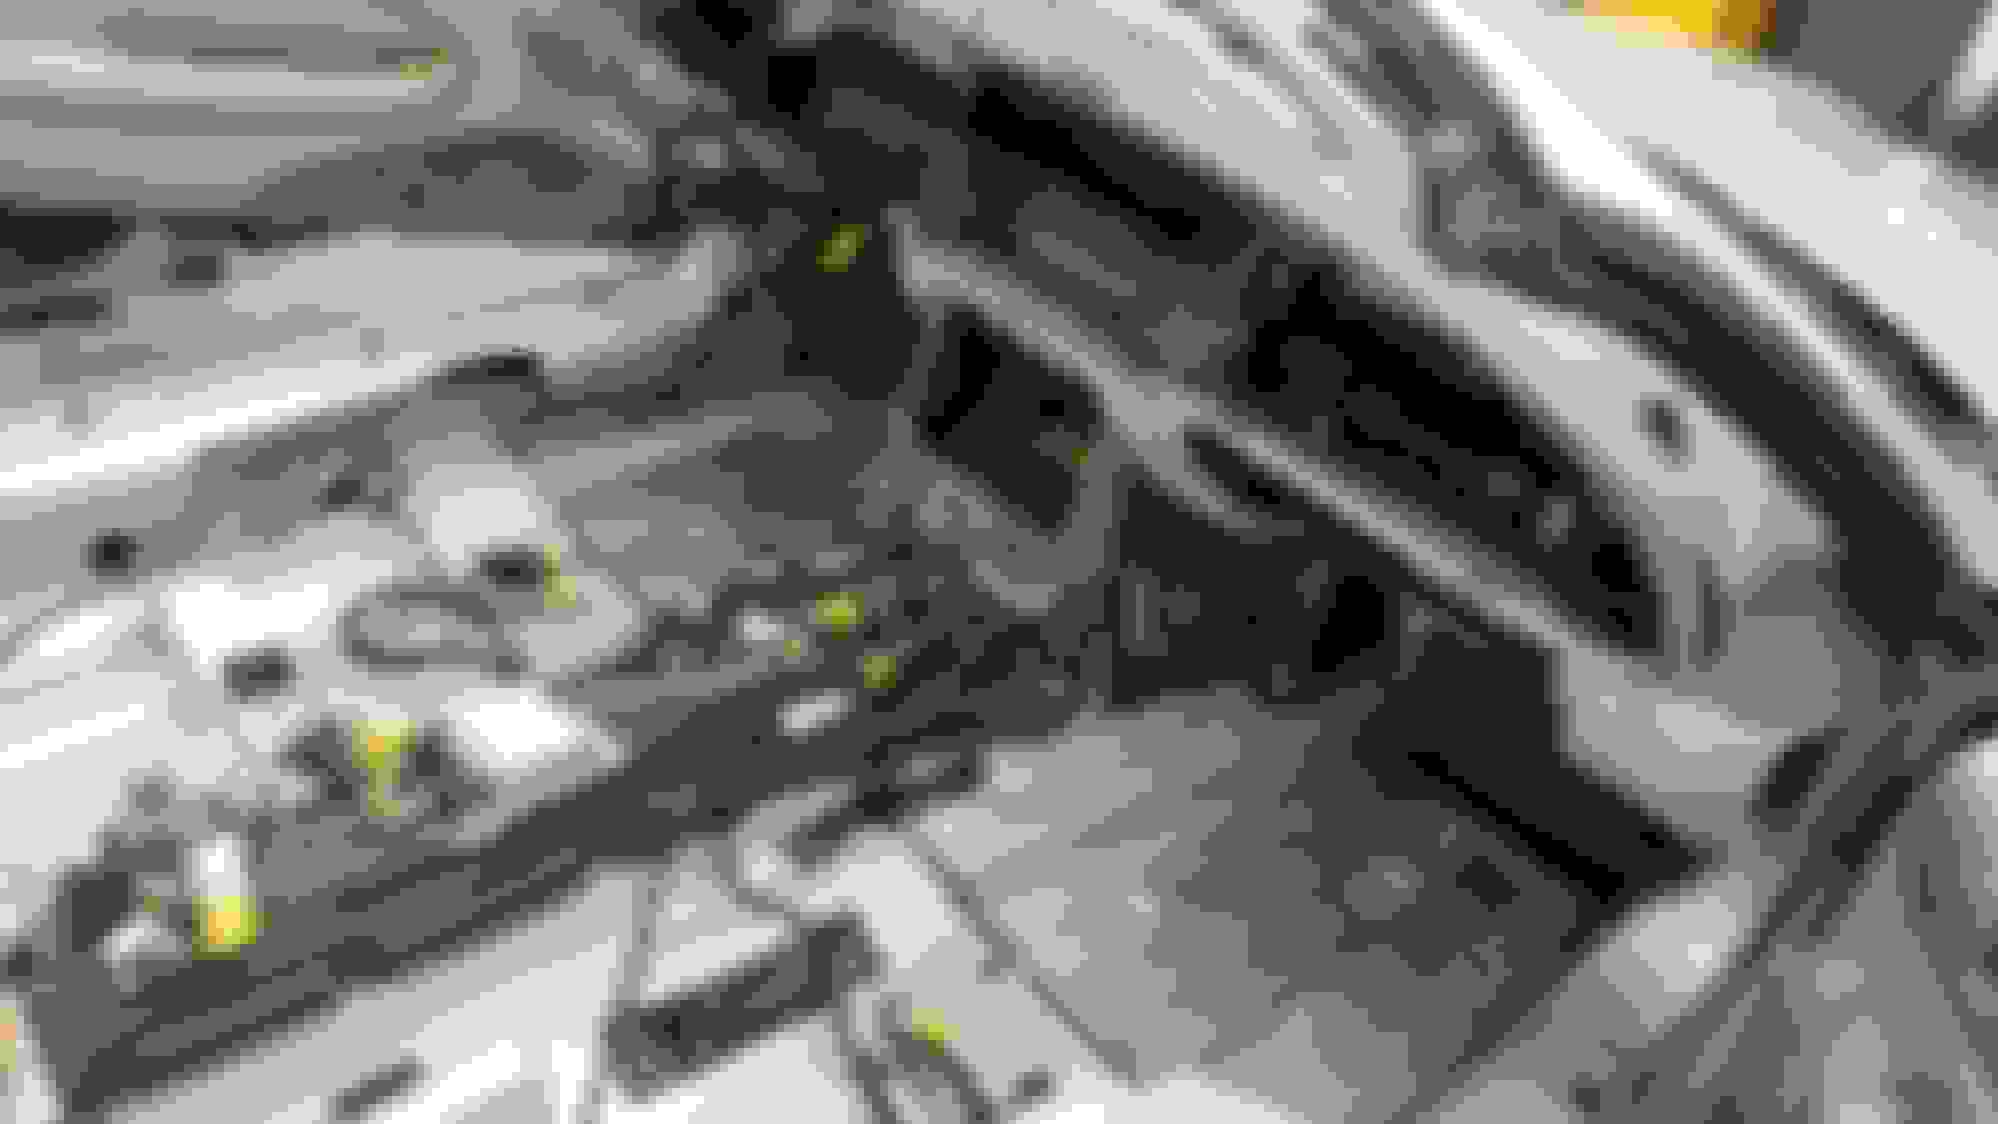
My turn to do this job, which is well documented on this forum. Getting the ABS module off the motor needed the brake lines removed, as two lines were just two tight and I was afraid of kinking them. Plus I found moving the power steering bottle, off the ABS mounting bracket, gave me tonnes of working room. You don�t need to drain it- just move it out the way pipes and all.
Having got the unit out, I�m taking a break, and a beer, as it�s 43degC/110F here. I�ll cut into the module tomorrow.
Swapping interior from beige to black and fixing pesky hydraulic lines
Changing my interior from beige to black. I have all the parts to do it except for the seats. The biggest hurtle is going to be changing out the dashboard and swapping the harnesses in the dash, luckily it's all plug and play. When I removed the carpet I discovered a leaking hydraulic line also, so I will be changing all the lines this weekend. They are original and I cant believe I dodged the green shower. Lol
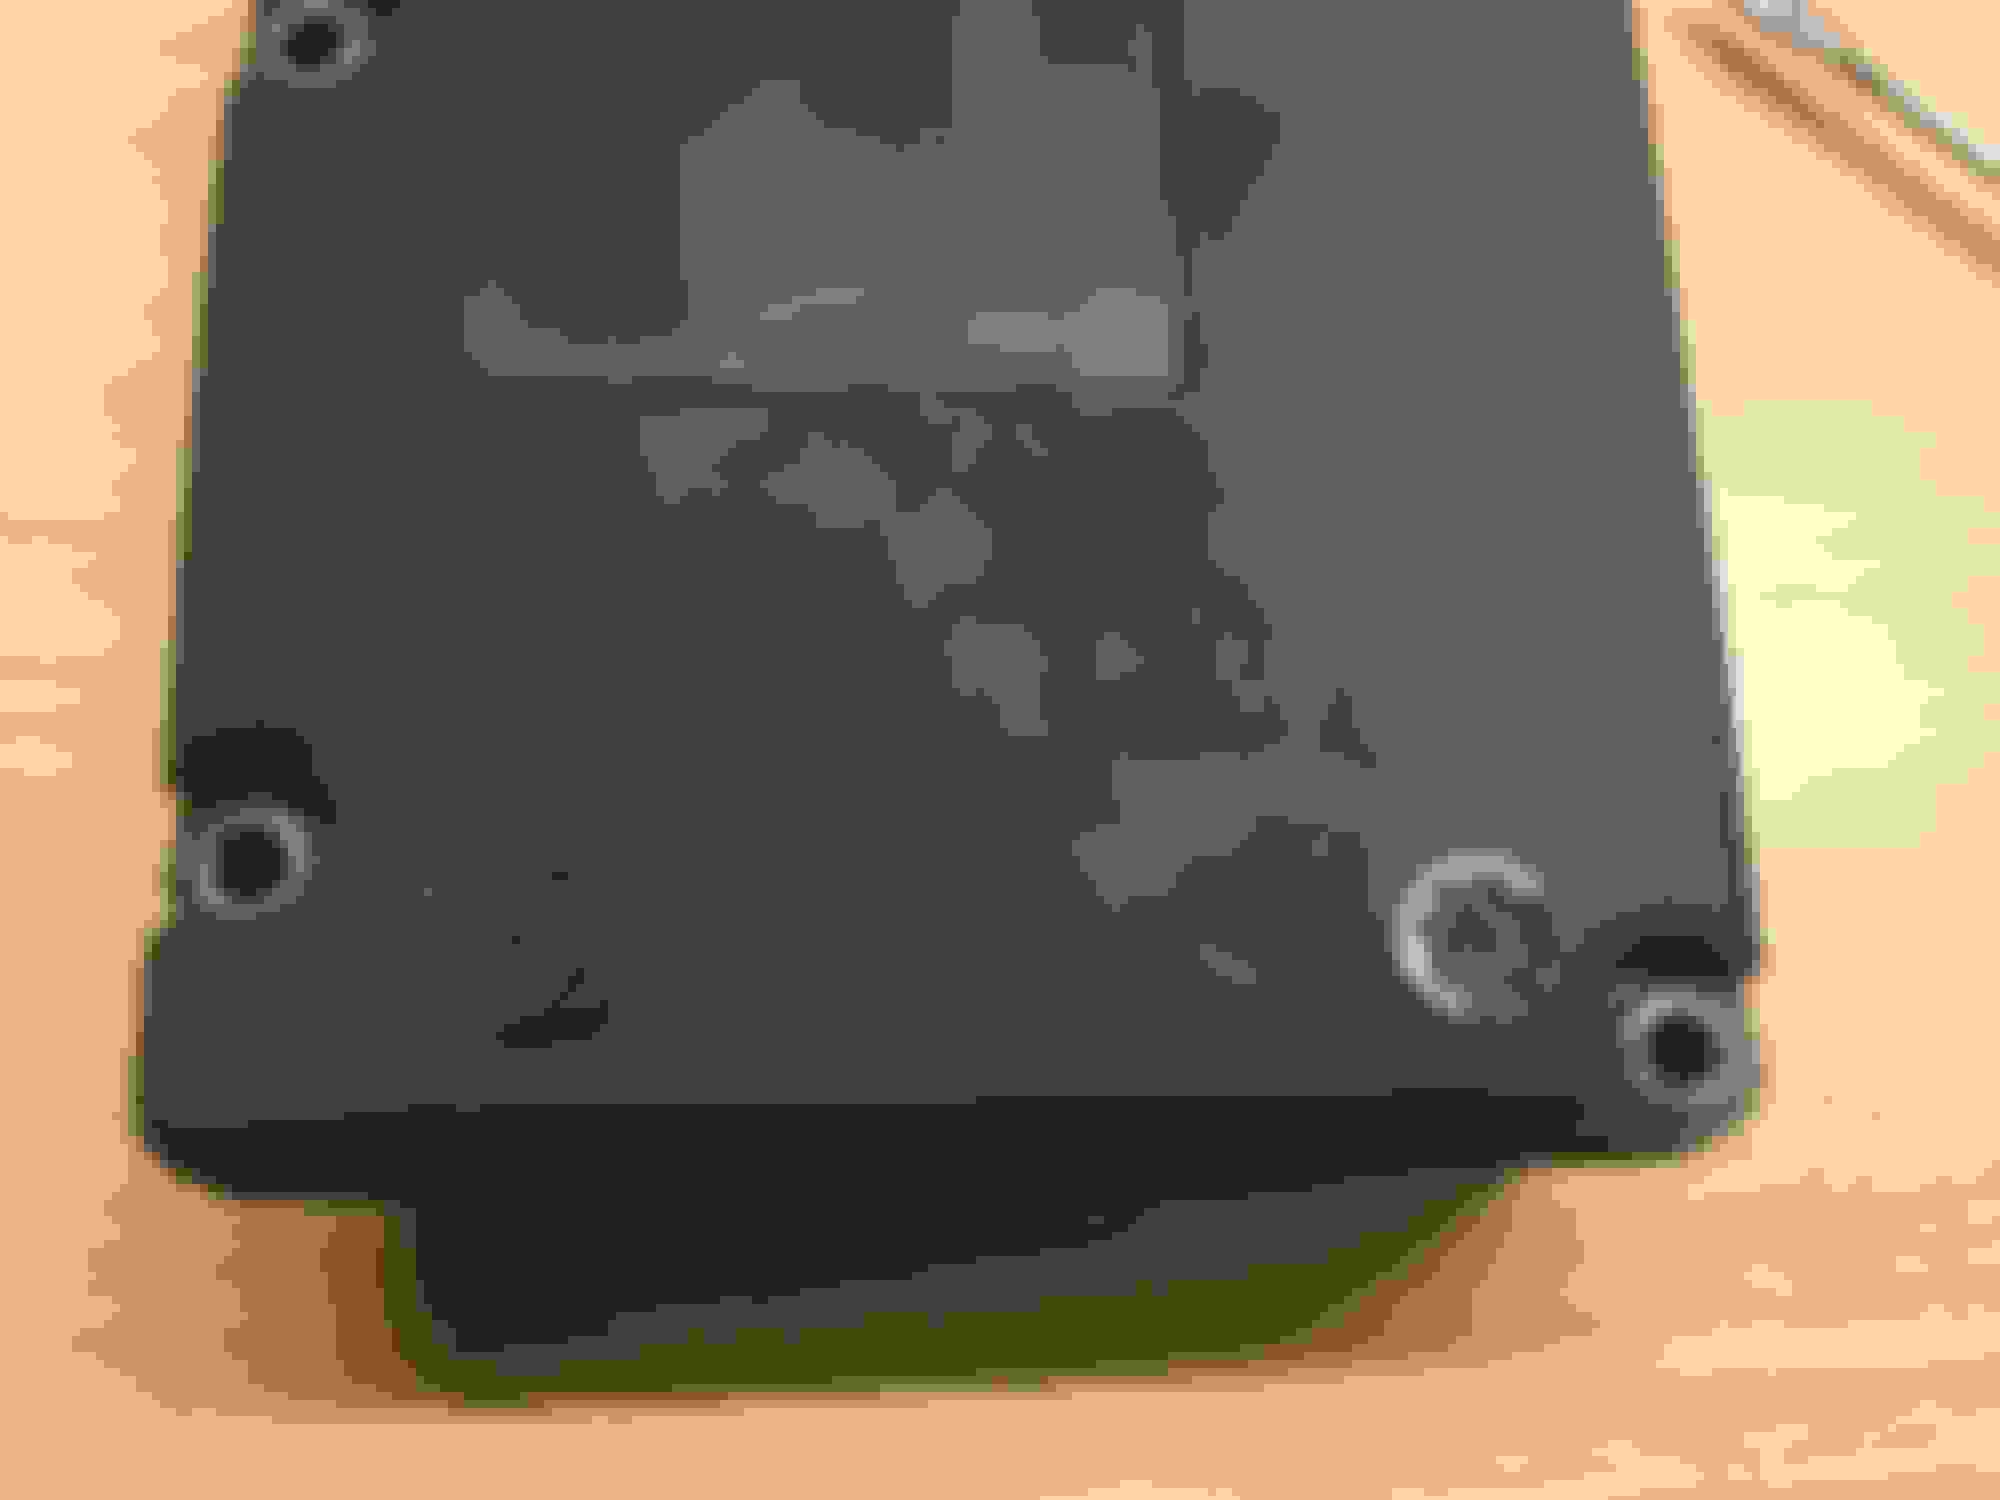
Well got the module fully open. Not too difficult with a fine saw and box knife. However no one mentioned that there are locking washers that need to be removed.
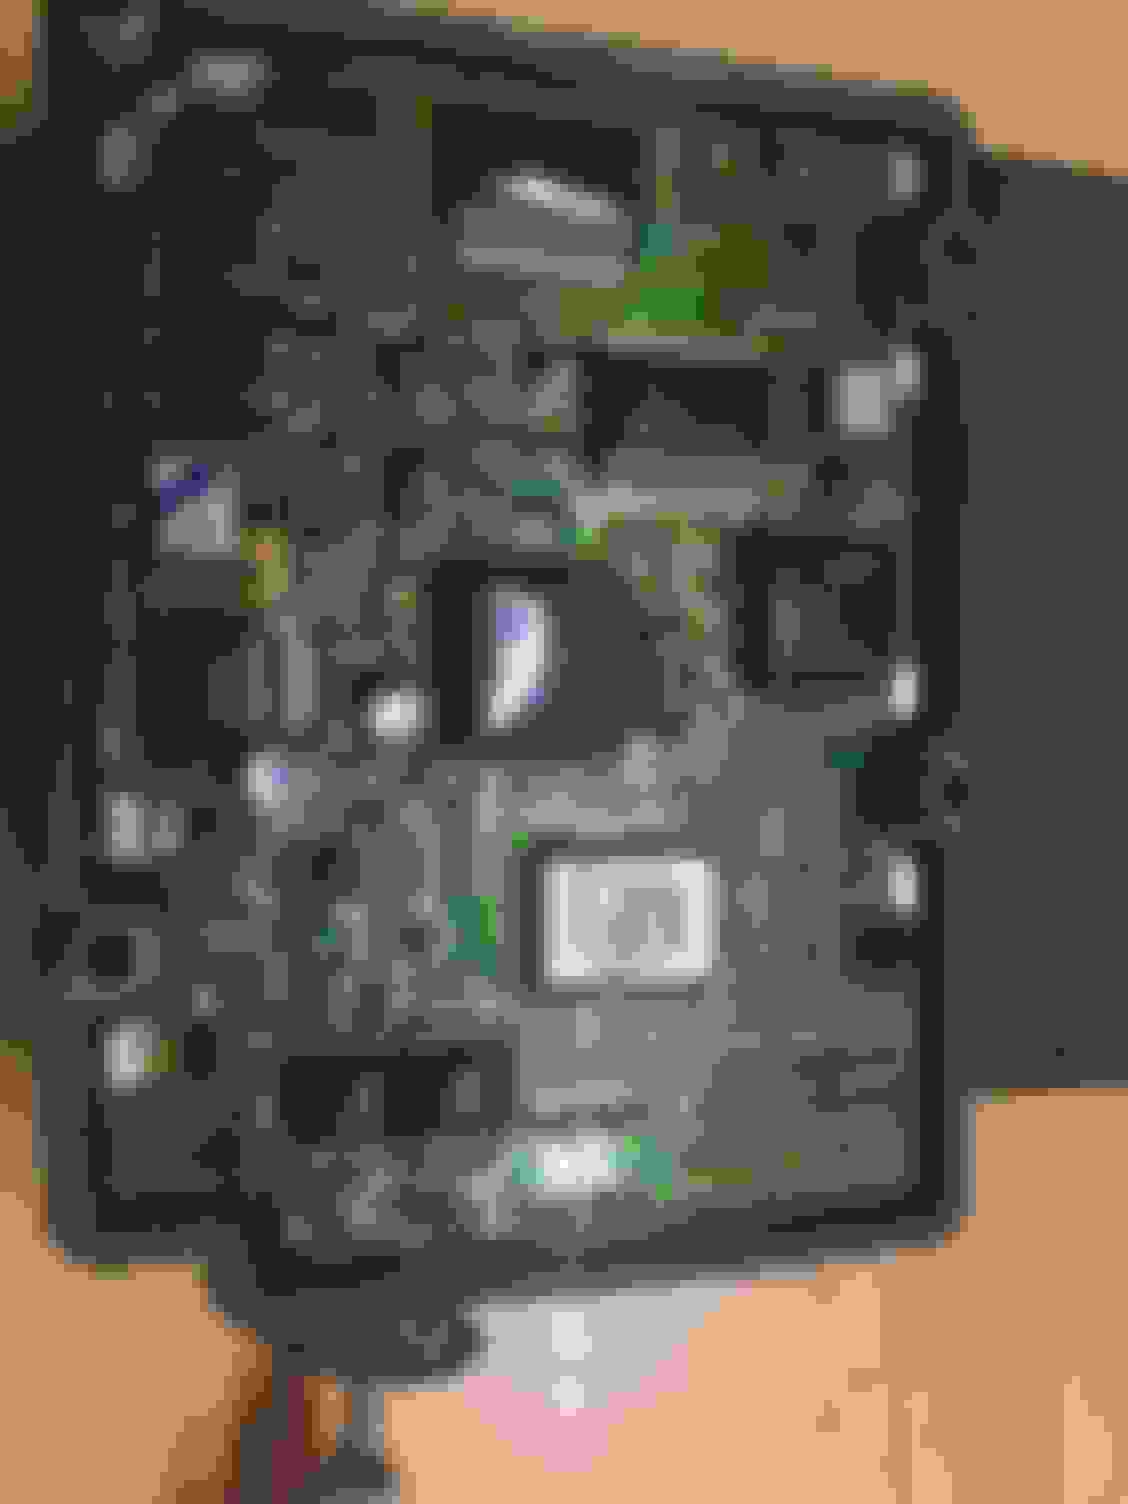
Once open I could see any dodgey solder on the pin connectors.
Also no one mentioned the protective jelly film covering the circuit board. I gently cut around the two power pins to see my problem.
Yep! Definitely cracked. Classic!
Now I found my soldering iron is broken! Bugger! There�s always something that goes wrong in these jobs.
Well got the module fully open. Not too difficult with a fine saw and box knife. However no one mentioned that there are locking washers that need to be removed. ...Also no one mentioned the protective jelly film covering the circuit board. I gently cut around the two power pins to see my problem.
Well done.
I read somewhere that the fumes from 'ordinary' RTV can attack the PCB, so I found a small tube of black neutral-cure, which is supposed to be fine. Those clips are good for holding the two halves of the case together while the RTV cures.
David, thanks for this write up. I have this job coming up as the abs light has started coming on intermittently and I can use all the help / pointers I can get.
When I did my ABS module fix, I had to undo the brake lines to the ABS motor , so my local mechanic came, picked up the car, and did the brake bleed and oil change. This hadn't been done since I had the car. (I don't have the kit, and couldn't shop around as I was in self isolation/quarantine). Plus I needed the AC Freon topped up. So my mechanic got the jobs done for about Bahraini Dinar 30 equiv USD90.
I previously found oil drops on the garage floor, and found out that my wife had the car serviced in my absence. Some idiot had added about 2L engine oil too much. Dip stick level was about 2 1/2 inches above the max mark. So that needed a quick drain of the excess.
Well as now my self isolation/quarantine ended, I took the Jag for a long 1 hour early morning drive. No warnings on Dash board (ABS fix worked) and after a check of the usual throttle response, brakes and suspension, which all seemed ok, I gave the Jag the heavy right foot down the freeway. Then, as no-one was about, at a big roundabout, I threw the car in hard to see if the ABS came on and yep, it's alive.
All things considered - the Jag isn't great, more like Fabulous! Very happy here.
Another THANKS to David for the write up on the ABS Pump & Module. Must note that on the 2003 and later DSC/ABS systems, the ATE (brand) Module is different than early models. The have 2 attaching bolts at top and only 1 at the bottom center of Module. Side note: my car displayed a code C1267 which indicates a internal Module fault. Service Manual states if hard re set does not clear light, replace or repair module. I tired one of the $100 repair services, but they indicated they could not repair, module had a burnt CPU. Now I've decided to try a $350 repair service who indicated they were about 90 % successful in their repairs on this module. Photos sent of both sides so they should be aware of the actual module. New module part # C2N3651. Plus it requires a Re code to my car by factory software. This is ongoing process due to cost of a NEW Module. Bit less than $2K. Will update when a solution is located.
I've learned that all jobs replacing sensors on the XK8s must invariably also involve replacing the fragile/friable connector ... and assorted other "entertaining" diversions. As it was today replacing the coolant temperature sensor, truly a 60 second job.
About a week ago, I went to replace a coolant temperature sensor and found the old broken connector RTVed to the sensor (see below). This necessitated about three days waiting for the "new" connectors from Mouser (ordered 4).
At this point, who knew that the Econoseal E J2 had an ASSY B and an ASSY D version that are the same except for the slots? So, lesson learned (thankfully the ASSY A and ASSY C versions must have disappeared with the last industry consolidation), I waited three days for the "new new" connectors from Mouser (ordered 4).
The "new new" connector perfectly fit the sensor I ordered from Rock Auto. So, I popped the pins in the old connector, installed them in the "new new" connector and prepared to unscrew and rescrew quickly.
Unfortunately, 25 seconds into the operation, coolant flowing from the hole, it became apparent that the sensor from Rock Auto did not fit the hole in the water rail. Hmm. There are two sizes of sensors for this?
So, disgusted, I sent a minion to Autozone who returned with a sensor that looked like mine. And, good news, the "new new" connectors don't fit, but the "new" connectors fit.
So, I popped the pins on the "new new" connector and installed the "new" connector and replaced the sensor.
So, 60 second job = 60 seconds staring at the old connector wondering how many broken connectors are left on my cars (afraid the answer is "all of them"), 1 minute looking in the electrical diagram to identify the connector, 2 x10 minutes looking for connectors at Digikey and Mouser, 2 x 2 minutes opening packages, 20 minutes popping pins and replacing connectors (18 min finding the right pin popper, 1 minute each popping pins), 20 minutes going to get new sensor (admittedly I sent someone, so it's not my time, but I could have had them plowing the back 40), 1 minute replacing the sensor.
Without counting the week waiting for connectors, that's 67 minutes for a one minute job. 67X actual/theoretical seems about right.