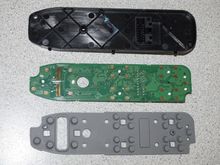
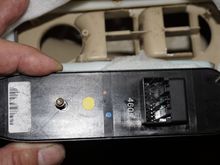
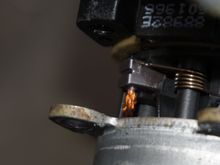
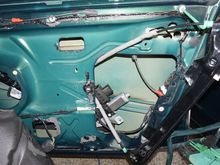
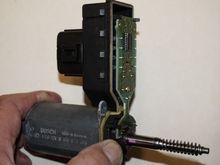
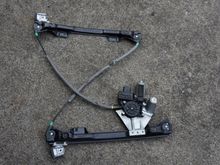
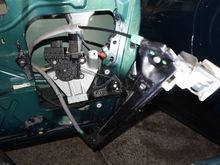
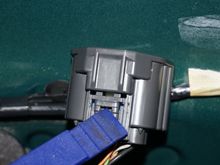
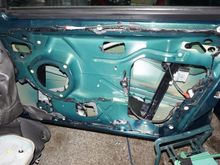
So I had to remove the regulator AGAIN from the door and then I realized that I did not notice a little detail before, when I dested the motor on its own: Yes, it turns for UP and DOWN, but each time in the UP direction! / Above: This is how to remove the switch from the trim: three torx T10 screws! I could not find a hint anywhere of how to do it, and in the end I removed in desperation those screws, expecting to remove the back of the switch, while the switch still sits in there...