When you click on links to various merchants on this site and make a purchase, this can result in this site earning a commission. Affiliate programs and affiliations include, but are not limited to, the eBay Partner Network.
I purchased my 2004 XJR in September of last year. As with any new purchase, I was dying to get to work on cleaning a polishing it up, but I had other projects that I was working on and just couldn�t do much with the Jag until other things were finished. I did change the oil and filter, rear diff oil, and put new tires on it. But I had no spare time for the detailing.
At the start of February, I finally got started on the detailing and have been working on it a little each day for the better part of the past two months.
Before I go any further, I�ve got say, that this forum has made my Jag ownership experience so much more enjoyable. What a great group of people! Knowing that I can come here for answers and advice as issues crop up from time to time is quite a relief. Thanks to all of you who have helped me with advice and comments already. It is truly appreciated.
Since this post will deal mostly with detailing, I thought I should mention a couple of great online resources that really helped me learn how to do all of this properly.
The first is the car detailing forum at http://www.autogeekonline.net/ and their store at http://www.autogeek.net. The store has pretty much every car detailing tool, lotion, or potion you can imagine and their prices are pretty good.
The second (and my favorite), is the YouTube channel AmmoNYC. I have watched every video on the channel and have learned so much about car polishing and detailing that I can�t even begin to explain how informative it is. Go check it out!
So, here are the steps I have taken to bring my car up to the standard I was hoping for:
I started by polishing all the "chrome" trim around the windows. I have a separate thread about that HERE.
I masked off the paint around the headlights and then polished/restored the headlight lenses with a kit purchased from Harbor Freight.
Then I got started on the paint. I thoroughly washed the car and then went over all the paintwork with a
. I really thought that the wash job I had done was thorough, but wow did the clay ever get nasty quickly. It really makes you realize how much contaminants are sitting on top of the paint. I bought a http://www.harborfreight.com/6-in-57-amp-heavy-duty-dual-action-variable-speed-polisher-69924.html (also from Harbor Freight) so that I could do this job a little more professionally than simply using a rag. There are certainly better DA polishers on the market, but this was only $50 and it just for my own cars.
The paint was not in terrible shape and I didn�t want to use a heavy-duty compound. I had a bottle of
and decided to use this as a first step. I systematically worked my way around the car with the polisher and �compounded� all the paint doing one small section at a time. Using a cloth rag, I also compounded all the paint in the door jams, back of the doors, underside of the boot and bonnet, and any jams/paintwork visible when the boot and bonnet are raised.
The compound did its job well and it was time to switch to polishing. For a polish, I purchased
. I changed to a lighter polishing pad on my DA polisher and repeated the whole process. I also polished all of the jams and underside of everything as mentioned above with the compound. This polish was amazing and I couldn�t believe how great my paint looked after this stage. No swirls, just pure high-gloss and great depth of colour. The paint looked new.
. (Sorry if this is starting to sound like a Meguiar�s commercial, but that just the stuff I chose after reading reviews online). This stuff is actually not a natural wax at all, but rather is a polymer based synthetic wax. More of a sealant. Car show folks usually put a couple of coats of sealant on to protect the paint and apply a natural carnauba wax just before a show for added depth and shine. Carnauba wears off quickly and the synthetic waxes/sealants are supposed to stay on longer. I changed to the softer wax application pad on my DA polisher and applied a coat of wax to the whole car. Again, I did all of the jams, undersides, etc. Once done, I applied a second coat of wax, but only to the exterior paintwork. No second coat on the jams.
I treated all of the black plastic parts of the car, engine bay, door seals, etc. with
Next I moved on to the interior. The previous owner had smoked in the car and although it was not awful, you could smell it. I wanted this smell gone. Why anyone would smoke in a $90K car is beyond me! I mean really! I sprayed all of the headliner with a light misting of
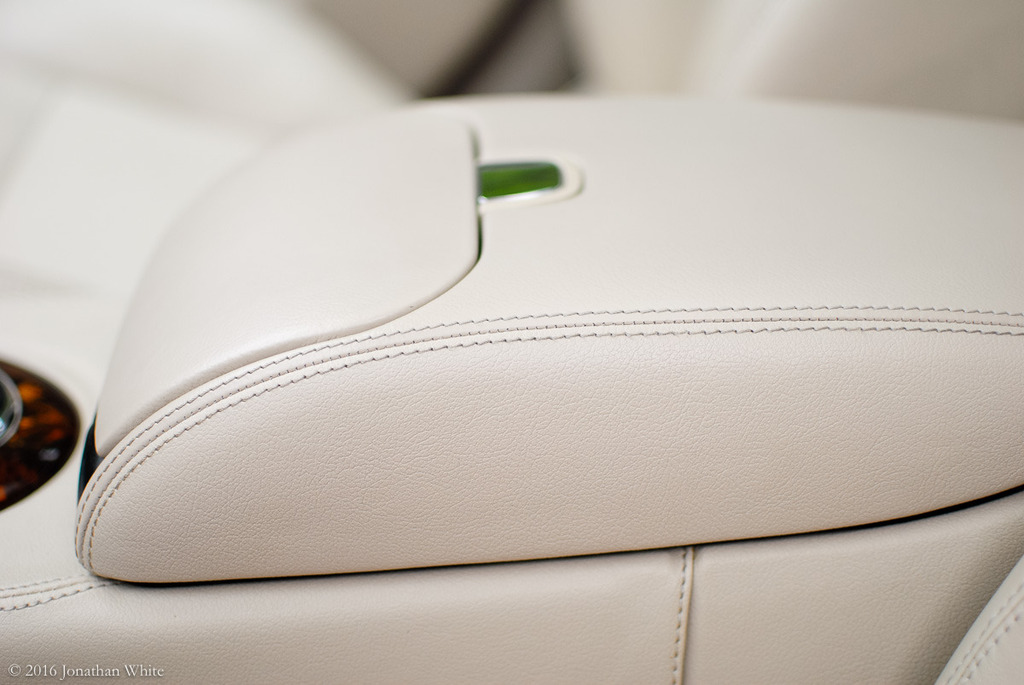
, a tooth brush, and a nail brush. The previous owner had done a decent job wiping down the leather to clean it but only superficially. It was not filthy, but there was dirt deep in the grain of the leather. Most of the stitching however was pretty gross. I used
and a toothbrush to clean the stitching. This took FOREVER!!! Have you ever realized how much stitching there is in an XJ? It�s everywhere, sure the seats are expected, but it�s also all around the center console and dashboard. The stitching was brown and grungy, now it is all white and clean. This was a lot of effort, but well worth it. It really makes the interior look new. Once all the leather was clean, I treated it all with
. This stuff is very nice and smells great. It makes the car smell like coconut (for a couple of days at least). I haven�t done it yet, but I think that I am going to apply a second coat of this Leather Balm.
I have a Hoover SteamVac carpet shampoo machine for use in the house. Pets and kids kind of make this a necessity. The machine has a hand-held upholstery attachment and I decided to use this to shampoo all the carpet in the car. I used hot, hot water and the cleaning shampoo (I don�t remember which brand). I used the hand held attachment to spray on the water/shampoo mix and then scrubbed it with a stiff bristled brush. I then sucked up all the water with the attachment. I doubt that the carpet in this car had ever been shampooed before. The water that I emptied out of the tank was nearly black. The carpets looked great after cleaning, and while they were still wet, I used the brush to put some lines in the carpet. I also shampooed the carpet floor mats using the same process. The car also came with a set of black rubber winter floor mats and I cleaned these and treated them with the Meguiar�s Ultimate Black.
The front seatbelts were both dirty, but the driver�s side was nasty. Using a tip I picked up on AutoGeekOnline I pulled the belts all the way out and put a clamp at the top of the belt so that it couldn�t retract. I put a large white plastic (HDPE) cutting board in the car and cleaned and scrubbed the belts against the board using the carpet shampooing machine. Spray the water/cleaner on, scrub it with a brush, and suck all the water back out. I then left the seatbelts fully extended for a couple of days to completely dry out. This worked beautifully and the belt even retracts much better now when I take it off.
Next, I turned my attention to the wheels. A few months ago when I put new tires on, I had a lot of problems with frozen lug nuts and had to drill off three of them. I wanted to remove the wheels and de-rust the hubs and rotors and change the lug studs and lug nuts. This was the longest part of the project and took me about three weeks to complete all four wheels. With the brake calipers removed, I was able to remove the very rusty rotors, from the very rusty hubs. That's where I hit a snag. I discovered that there is no room behind the hub to remove the wheel stud. No matter how you rotate the hub, there is not enough clearance to remove the stud. I re-seated the wheel lug stud resolved myself to cleaning all the lugs with a wire brush.
I put a wire brush in my angle grinder and cleaned all the rust off of the hub, wheel studs, and rotor. I treated all these parts with Ospho rust converter. I painted the rotors with high temp caliper paint and put a light coating of high-temp copper grease on the hubs and lug stud to prevent future corrosion.
The Bembro brake calipers are supposed to be silver, but mine were black. While all the brakes were disassembled, I cleaned the calipers with de-greaser and a toothbrush. It took a long time, but they cleaned up nicely. I also cleaned/detailed the whole wheel well while I was in there. I treated the wheel well liner with magic black.
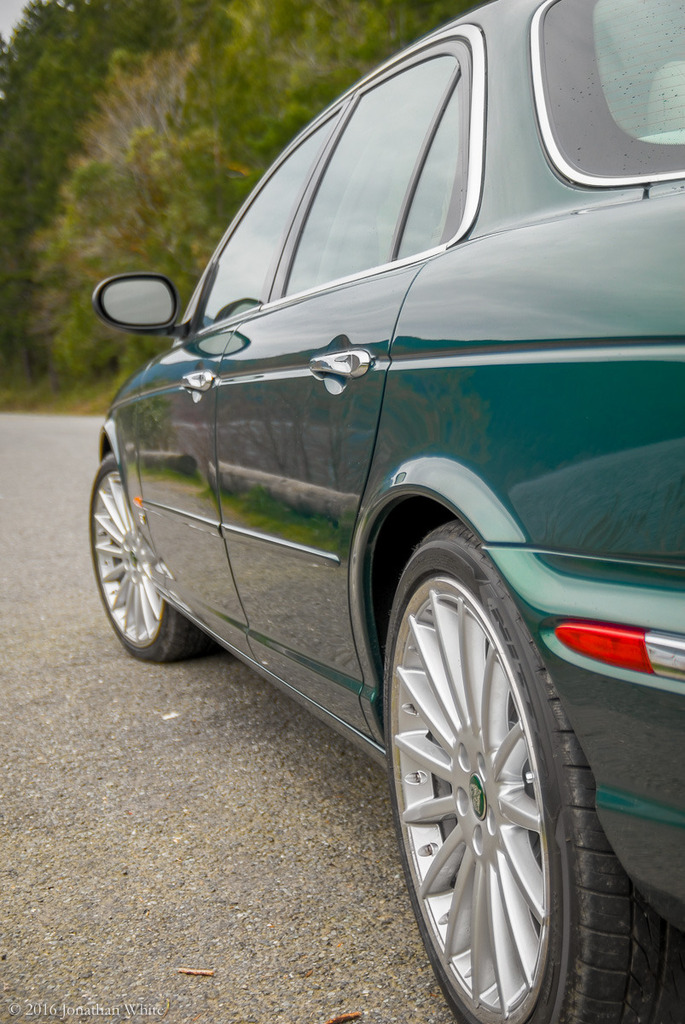
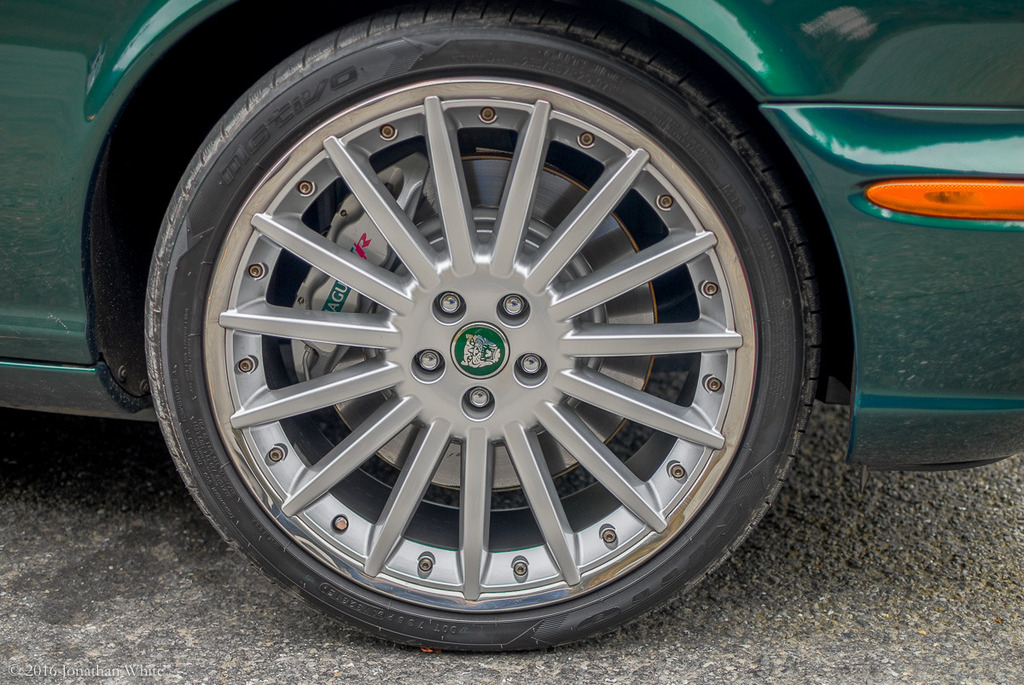
Once all this was done, I cleaned/detailed the wheels. The 20� Sepangs that are on my car are very nice looking but are a bitch to clean. The spoke configuration makes it very hard to clean the inside of the rim and it can only really be done properly with the wheel removed. I doubt that this has ever been done on this car, so there was 12 years of brake dust and grime on the inside of each wheel. I used a scrubbing brush and
degreaser to clean the wheels, hosing them down frequently to check on my progress.
Once the wheel was dry, I worked on the stainless steel trim rings. Two of the wheels had no scuffs but the other two had a little bit of curb rash. I had originally thought about unbolting the hubs and removing the trim rings to polish them. I read to many horror stories about braking the titanium bolts and decided to try and work on the trim rings in place. I sanded out the damage as best I could and then polished the metal using the same method that I used on the window trim above. The polishing pad in my router couldn�t get into all the nooks and crannies, so I completed the job with metal polish and a toothbrush.
Once the trim rings were done, I polished all of the painted surfaces on the wheel, both front and back, using the same process that I used above for the paint on the car. Compound, polish, and wax. I estimate that it took me 2-3 days per wheel to complete this whole process.
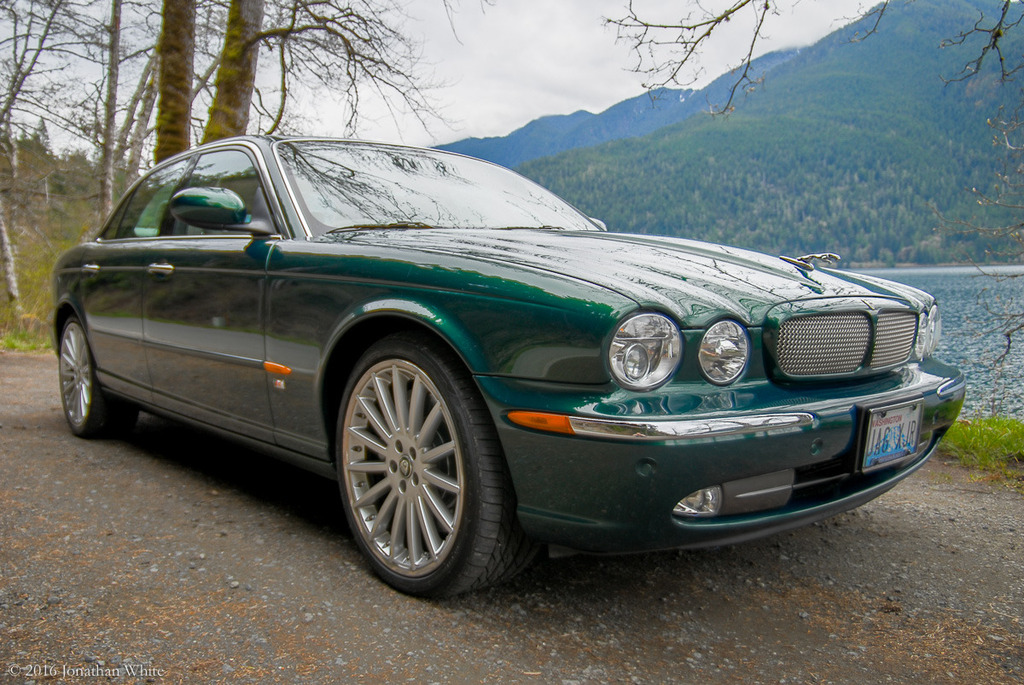
As I reinstalled each wheel, I installed new wheel center caps and new lug nuts. The last thing I did was replace the two fading/peeling Type R badges on the fenders. I still want to replace the XJR badge on the boot, but haven�t been able to source one yet at a reasonable price.
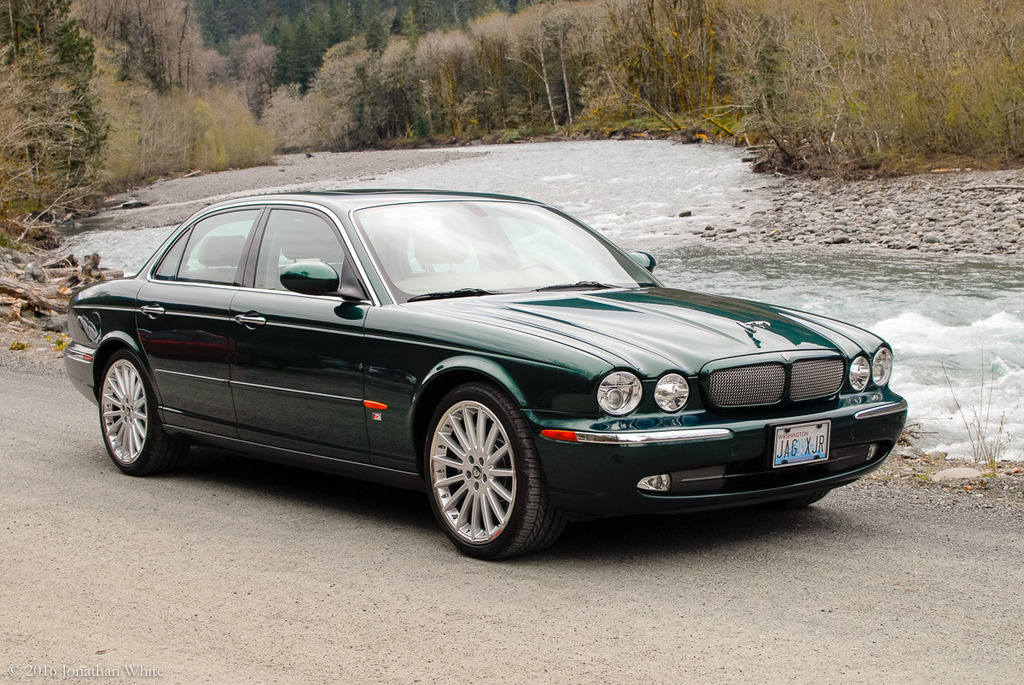
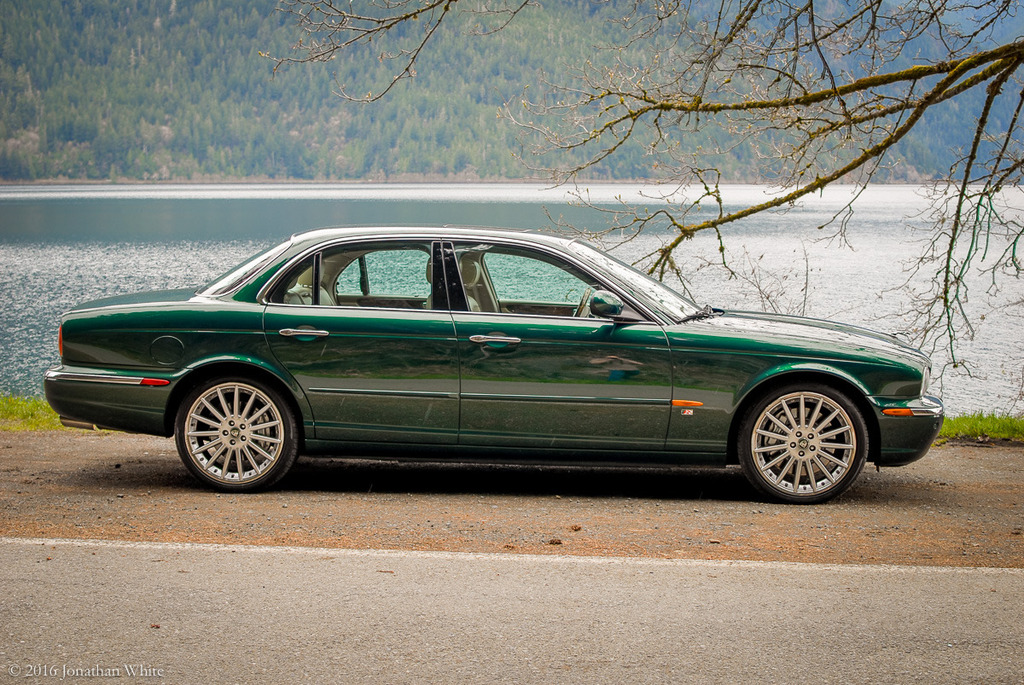
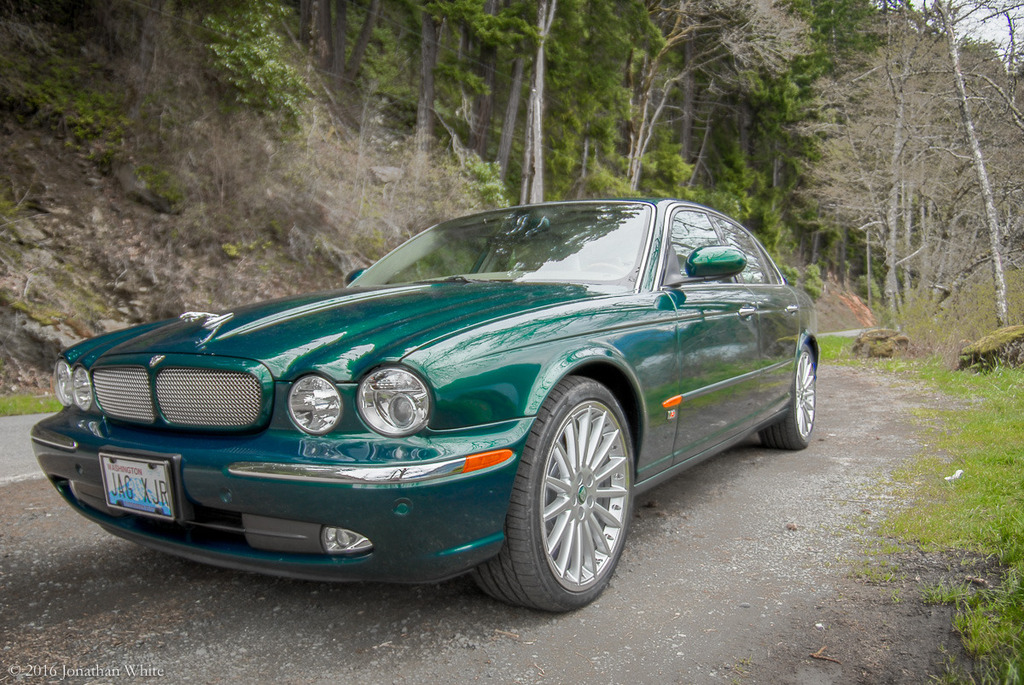
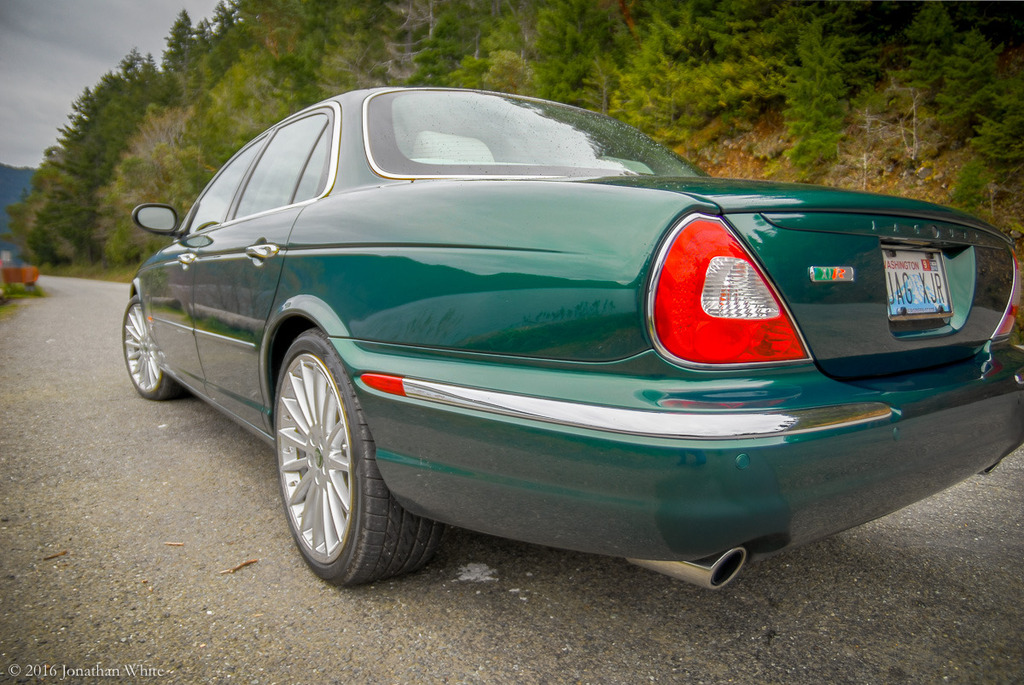
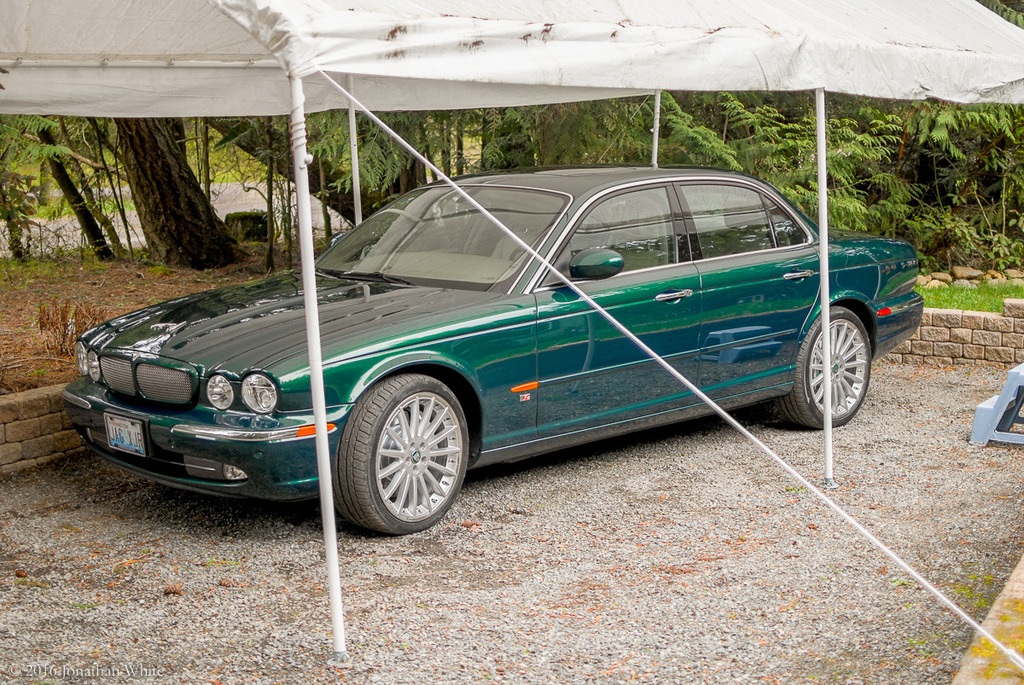
I finished the job this past Saturday and gave the car a wash. I hadn�t been able to drive the car for about 6 weeks while I�ve been doing all of this and I�ve really missed driving it. I took the car out for a drive and took a bunch of photos.
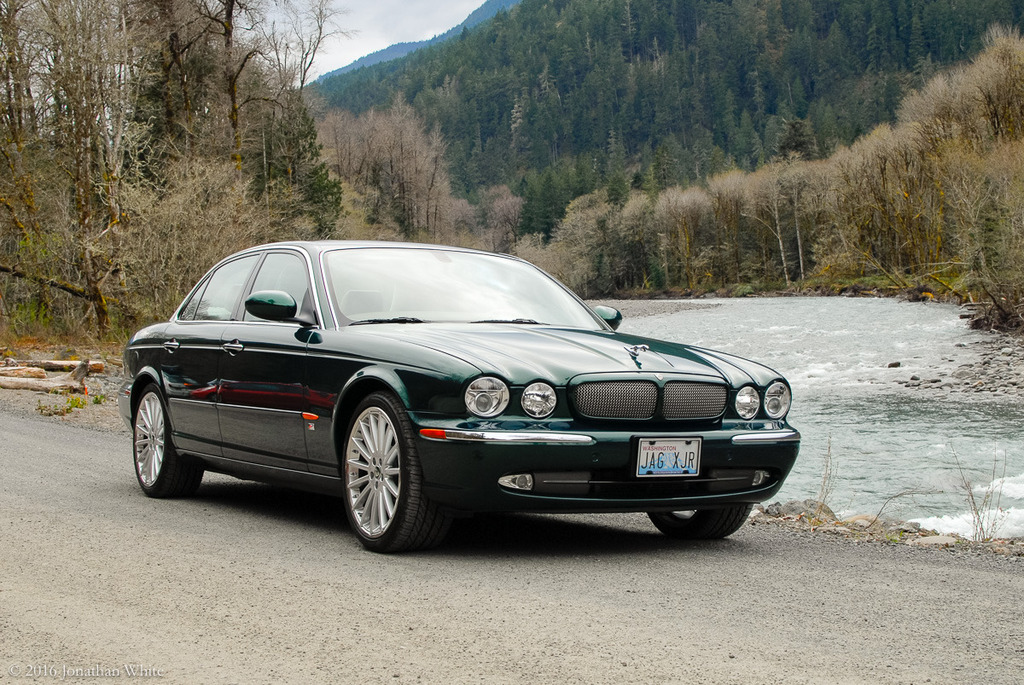
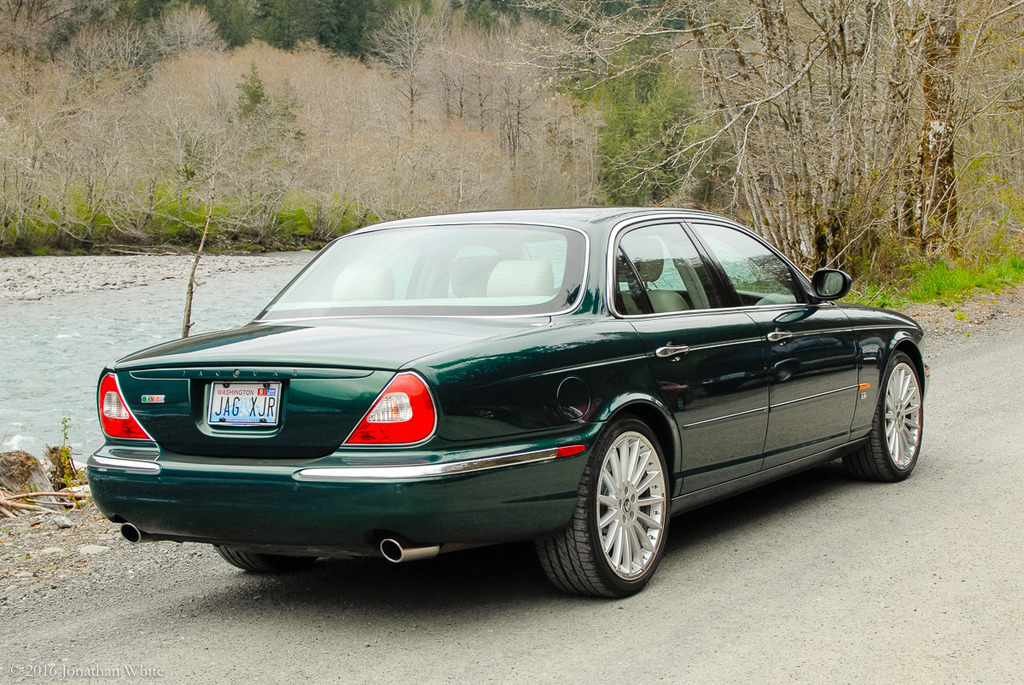
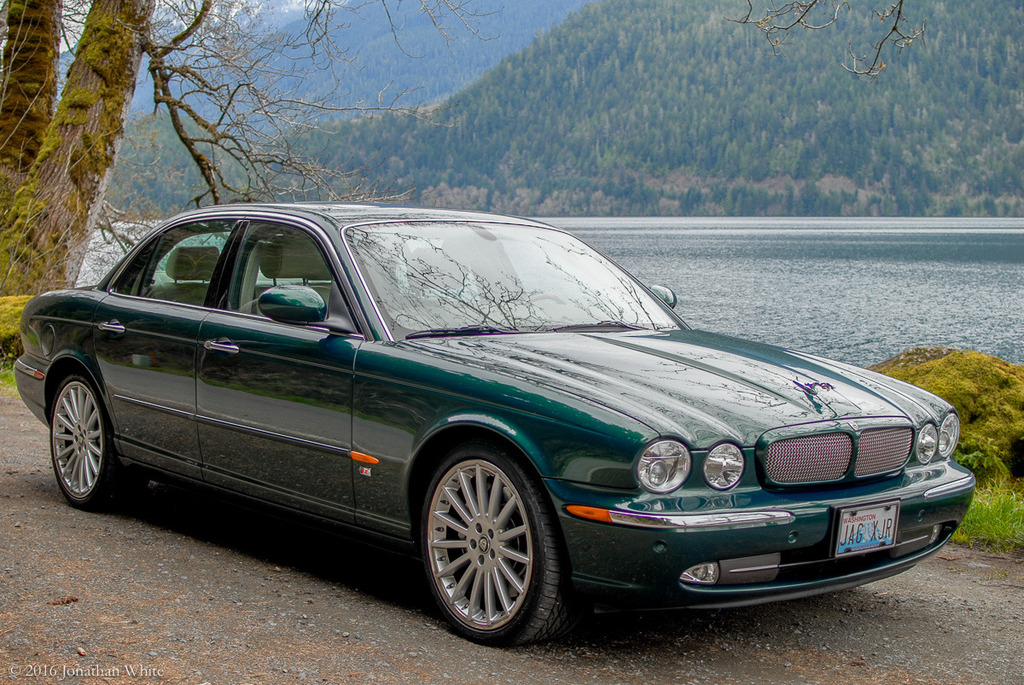
Here are more than enough photos to show you what I�ve been up to.
Thanks for all the photos MrWhite. Not only are you a master detailer but a great photographer also. It is the most comprehensive detail job all around the car that I have seen. Even at the Jaguar dealership when such a car when brand new is not presented this perfectly.
Usually the dove interior will show some dirt marks from simple use of the car, like the armrest. The stitching tends to pick up arm oils over time, you did an awesome job on the stitching also. And I see you said it took forever.
I think that you have achieved the AmmoNYC level of detailing, you may now be qualified to detail a $2 million dollar Ferrari.
Last edited by lcmjaguar; Mar 31, 2016 at 04:34 AM.
Jim, sorry there weren't enough photographs. I'm sure that there will be more throughout the summer.
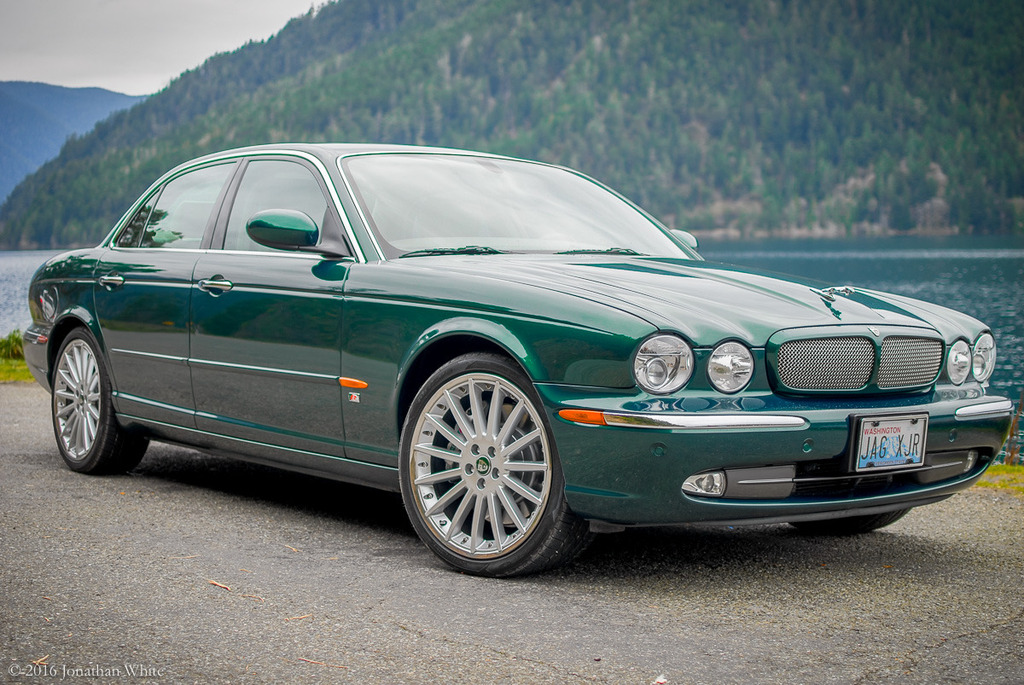
The first few photos were just regular images, which is why the car looks darker. Most of the rest were High Dynamic Range (HDR) photos. That means that each of them are actually 5 separate photos fired in rapid succession but at 5 different exposures. I then combine these in photoshop into a single image. This gives detail in the darker areas like tires and wheel wells, and keeps the detail in the very light areas, like the sky. Because they capture more of the range of available light, they can take on kind of a surreal look if you are not careful to avoid overdoing it.
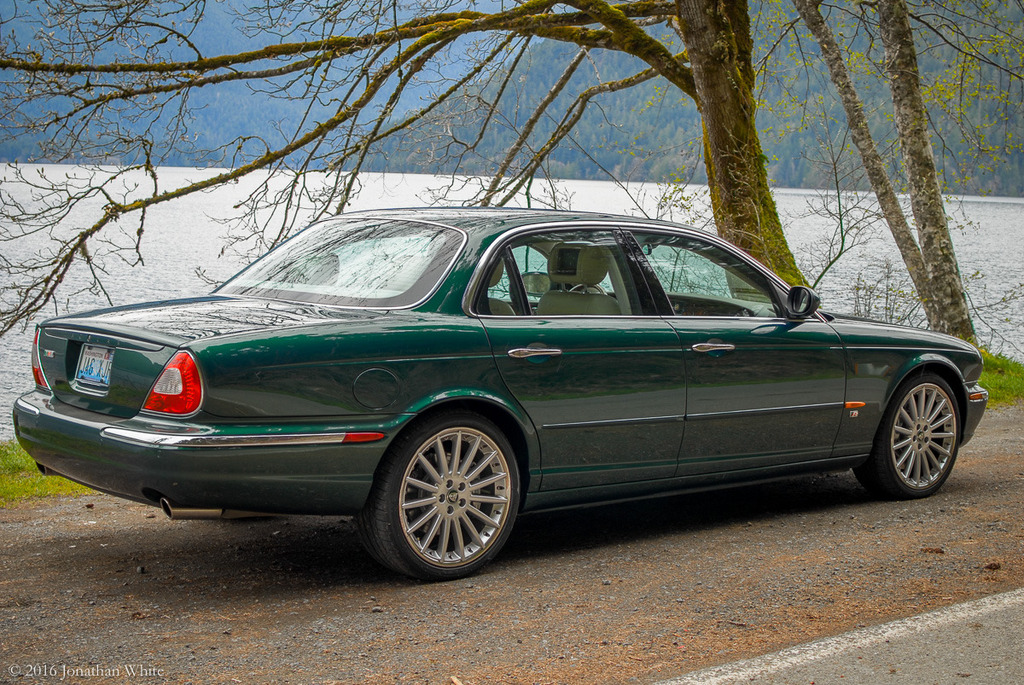
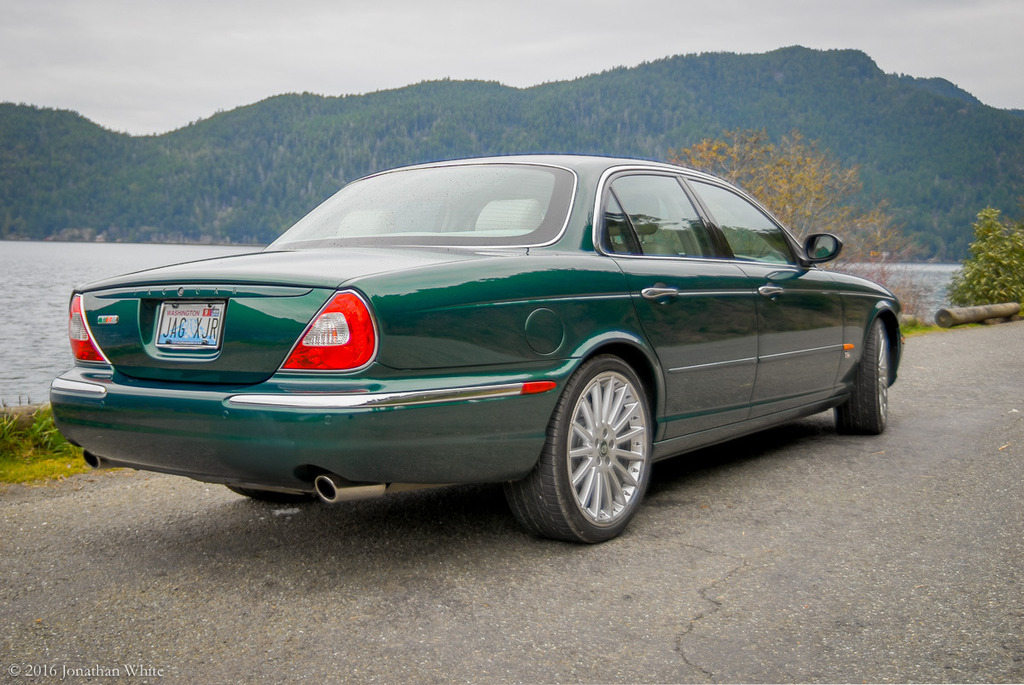
The tires had been scrubbed clean and had been treated with magic black immediately before this drive. In reality they looked quite dark and black. The HDR imagery lightened them up and made them look a little dirty as Wolfy pointed out. Also, driving on the dirt pull out at the side of the road didn't help
I have the 2004 xjr in the brillance red. You did a fantastic job of your description and links. That is always helpful for us to know. Let us know in the future how things hold up. I have to do some polishing as my car got oversprayed while parked at a public garage and I know I"ll have to buff it out, so that clay bar part was helpful too.
I have more mechanical gremlins to finish off first before I can even attempt a pittance of your fantastic detail job. Was very impressed with your photography. Jag should hire you!
hisport, after two months of detailing, I'm ready to get back to other projects. And North Carolina is a little far from me.
hafren, Thanks, I think we have the same car, no? The polish that I used really makes the green paint have amazing depth. Totally changed the look of the paint.
Grio, If you have overspray on the car, give it a very thorough wash and then use the clay bar. You'll be amazed how much will come off a stick in the clay. AmmoNYC has a couple of videos on clay bar that I found really helpful.
hafren, Thanks, I think we have the same car, no? The polish that I used really makes the green paint have amazing depth. Totally changed the look of the paint.
Yes we do Your post was very inspirational and gives me the motivation to get mine looking at least half as good as your looks now.