When you click on links to various merchants on this site and make a purchase, this can result in this site earning a commission. Affiliate programs and affiliations include, but are not limited to, the eBay Partner Network.
I am trying to remove the upper wishbones to replace the bushes and balljoints, and am having some serious problems with the offside.
Nearside came out in five minutes with one swift tap of a pickle fork.
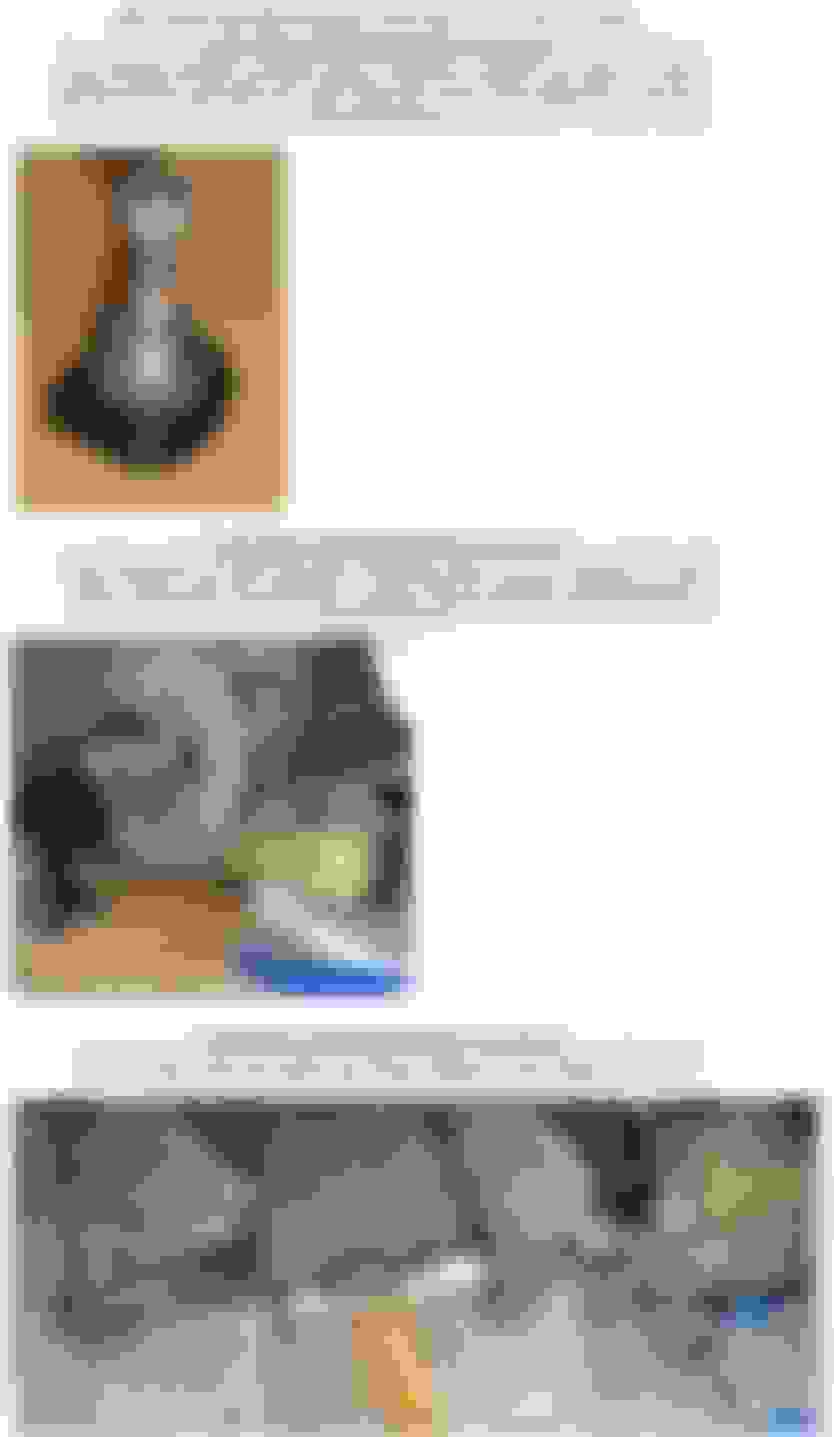
On the offside, I have broke two scissor type splitters, ruptured a seal on a hydraulic splitter, and chipped the legs of a pickle fork trying to get it to break free.
I have tried heat, freeze spray, penetrating oil, and even resorted to soaking it in coke, but it still will not move.
As it is at the moment, I am thinking I am going to have to cut the balljoint and hope the lower ball joint will split and then change the hub.
Anyone any suggestions as to anything I have missed trying, or is replacement looking the like the only option.
You might need to take the upper and lower control arms off as an assembly with the spindle/hub. Then you can work on it on the bench or take to a shop to break out the ball joint.
Is the nut removed and you can't get the shaft out of the top of the spindle?
.
.
.
I had the same issue recently on my Jag. The solution was to get a 12-ton puller from Harbor Freight (12 Ton Hydraulic Gear Puller). This is a MONSTER of a tool but was only $120. The upside is you now have another really cool tool for the garage! I had to use some scrap iron bars to get it to mount onto the carrier if I recall correctly.
That gets the hub carrier separated from the ball joint but getting the ball joint out of the A-arm is another issue altogether. My other 12-ton shop press couldn't do it and I'm headed to a machine shop tomorrow to have them do it. At least once the A-arms are off you can take them to a shop.
Also beware of the camber adjustment bolts getting stuck (the ones holding on the lower A-arm). If they're hard to remove even after the nut is off, it may be that the little adjustment-offset "washers" (don't quite know what to call these) have twisted and are holding onto the bolt. The bolt and the washer have a flat side that's supposed to keep the washer moving with the bolt during the adjustment but if they're over-torqued, the flat side can move around onto the threads. Driving them out with a hammer will then ruin the threads on that very-hard-to-find bolt. (ask me how I know). The solution is to somehow hold the washer still and turn the bolts back so the flat sides are aligned again before trying to remove them.
photo of multiplicity of jack stands and wood blocks
Then used two hammers on opposite sides of the fitting, one held against it as the other smacks it. I think the idea is that you momentarily knock the circle out of round and the taper fit releases."
Ever seen Wheeler Dealers? The mechanic, Ed, has an interesting way of separating ball joint tapers.
He loosens the nut, but leaves it on. Then hits it hard SIDEWAYS with a lump hammer.
Worth a try, maybe?
That's a traditional and manufacturer-approved method of separating ball joints and tie rod ends. In fact, the steering knuckles/vertical links on our '93 XJ40 have flat spots cast in to define the points where the hammer should strike. See Photo 5 in the album at the link below:
Also worth noting that the best tool for the job, in this case, is a BIG lump hammer. It is easier and safer to transfer a large impulse to the nut, the bigger and heavier the lump hammer. So many people try to get away with an ordinary claw hammer. Useless and dangerous.
For the benefit of future readers of this thread, here are the photos I referenced from my photo albums.
Many thanks to Jim Lombardi for his time and magical skills to grab these from the Jag-Lovers site!!!
For the full photo-tutorial see the link in my earlier post.
Two notes:
First, in one of the captions I refer to the steering knuckle/vertical link when clearly I am hammering on the lower control arm, so take care to know the correct place to strike before you commence!
Second, note that I use a bronze hammer for this work. As Mark says, you need to transfer some kinetic energy to separate the ball joint, but you don't want to damage the suspension components. The bronze is softer than the steel control arm, but dense enough to do the job. I start with moderate strikes and increase the force as necessary. It usually doesn't take as much force as you expect.
I have not used the hammer method on aluminum control arms so I can't comment on whether or not it would be prudent, but I would probably try all other methods first.
As Jim mentioned, on really stubborn ball joints you may need to use a combination of a puller plus hammer strikes. If you are going to replace the ball joint and don't care if its boot is damaged, using a ball joint fork and hammer may be even faster.
I'm sure that the average ease of removal is somewhat related to climate. Here in California, most of the tapers seem to pop out with little difficulty. Back in the UK, every one seemed to turn into a battle. Related to damp & corrosion?
This is all of great interest as I need to do my left upper balljoint soon - has a little play in it.
I don't like the bit about the spring exploding outwards!
One of the purposes of the second hammer is inertia. It's like holding an anvil behind
the joint. Otherwise, using one hammer, a lot of the impact is transferred and absorbed
by the rubber bushings further along the line. This dulls the impact and nothing much
happens.
One guy used a 10 lb sledge held behind the joints. Popped first time, every time.