stuck rear lower shock bolt
#1
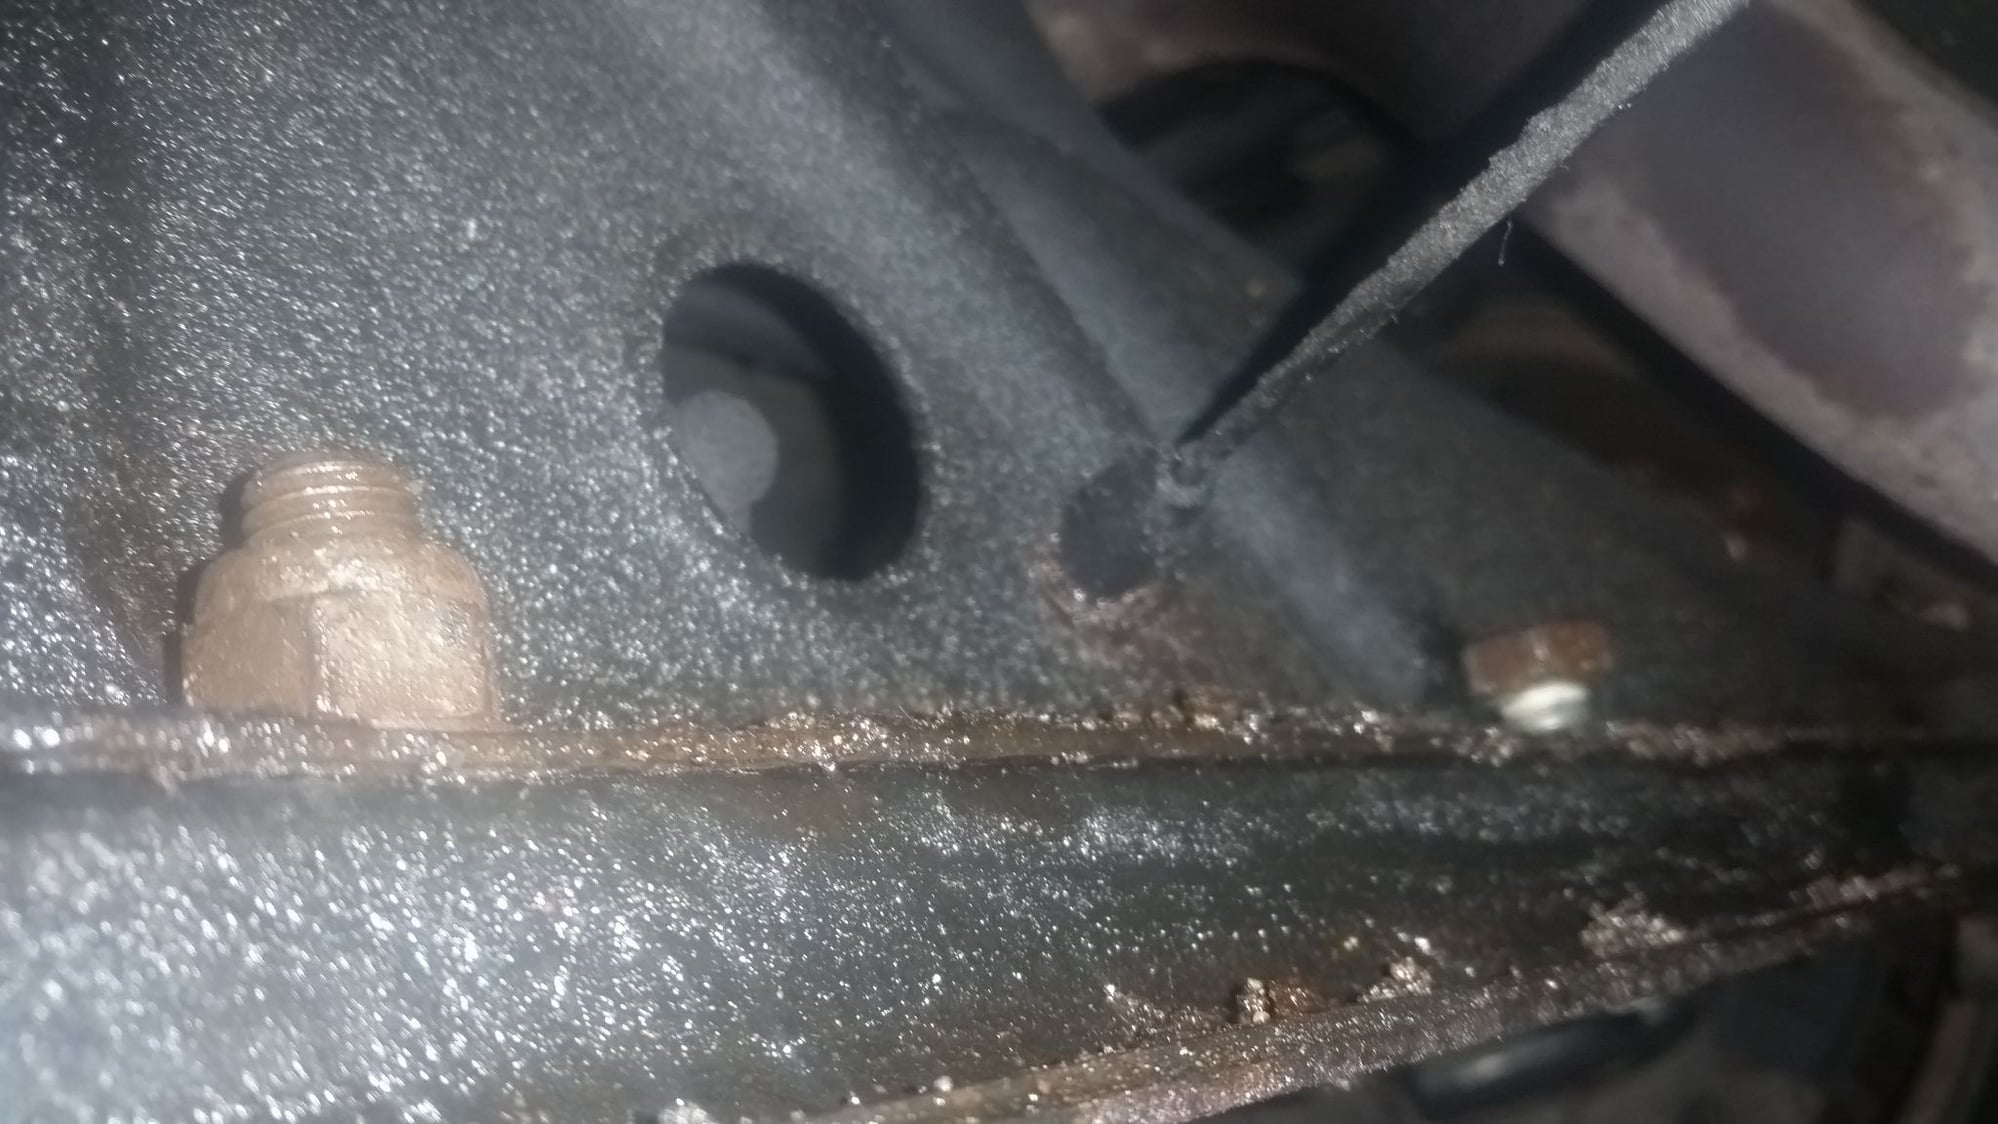
Hello, i am trying to replace rear shocks in a 2003 xj8 (x308) that has a lot of rust. i was able to remove only part of the bolt that goes through the lower shock bushing and the wishbone. i cut the bottom of the shock and then cut the bolt off just past the wishbone so the shock could come out. now im struggling with the remainder of the bolt in the wishbone. ive tried a 2 ft bar plus a 4 ft pipe on the head of the bolt, but it didnt budge. i then cut off the head of the bolt to try and hammer it towards the front of the car but no luck. ive tried hammering in both directions (towards the rear of the car, and towards the front). ive also soaked it in pb blaster, put a mapp torch on it for a few seconds, but all it moved was like 1/16" or 1/32" towards the rear of the car.
i was hoping to try and take the wishbone out of the car, but i cant get the large bolt that supports the top of the wishbone out. ive got its nut out, but the 18 inch or so long bolt appears to be also frozen and there is limited space with the car on axle stands.
Any suggestions on how to get this smooth remainder part of the lower shock bolt out of the right rear wishbone?
also when i am successful in getting this remainder out, does it matter how the spring is put back- ie does the white painted line have to face in any particular direction? ive not removed the second side's shock yet, so can i just copy the orientation of the white line?
thanks a lot
#2
Sounds like the only way is to continue to soak the bolt in pb blaster, and heat the housing with an oxy/acetylene torch. Frequent heating and cooling may break it free from the apparent corrosion that is holding it, combined with equally frequent hammering, but I think you will need more heat than a mapp torch.
As for the spring orientation, the bottom of the spring carrier has a groove that is shaped with a "stop" in it for the end of the spring to fit in, this determines where the spring should sit.
.
As for the spring orientation, the bottom of the spring carrier has a groove that is shaped with a "stop" in it for the end of the spring to fit in, this determines where the spring should sit.
.
The following users liked this post:
Don B (01-23-2019)
#3
Join Date: Feb 2013
Location: Trying to escape Central Florida
Posts: 4,636
Received 1,769 Likes
on
1,303 Posts
Here is a thread from another member where I posted an exploded view of the rear shock and wishbone area.... https://www.jaguarforums.com/forum/x...4/#post1873271
...hope that helps. Also CK is correct a acetylene fire wrench will heat that up nicely...especially if you folks use salt up there....its nasty on undercarriages. Another suggestion may be a nut splitter (if it comes to that), I don't know if you can get on it enough though, its been awhile since I had to get back in that area. I know its tough to do this type of work on stands, especially this time of year.
In case you don't have it, bookmark this site... http://www.jagrepair.com/Default.htm ...you can look up almost anything for your car and there are many member provided fixes. Its a good thing to have.
Last edited by Highhorse; 01-22-2019 at 10:23 AM.
The following users liked this post:
Don B (01-23-2019)
#4
Hi, i will give it a try today with a map gas torch ( i dont have an oxy acetylene torch). i also opened the bolt holding the hub to the wishbone. i didnt mark the exact position of the head of the bolt. Looking later at jtis, it says to mark it. is it a big deal, or is there a way of figuring out i have it correct? i think all my spacers are still in the hub because they didnt fall out. all that came out was the 1 large washer next to the nut for the hub/wishbone bolt.
#5
i was also wondering for new lower shock bolts, is it ok to use 1/2" instead of m12? i have found 1/2" bolts the exact same length and with the same length of the smooth and threaded part as the original. the only difference would be a looser fit for the 1/2" in the "barrel" of the wishbone. or will it likely make noise? thanks
#6
i was also wondering for new lower shock bolts, is it ok to use 1/2" instead of m12? i have found 1/2" bolts the exact same length and with the same length of the smooth and threaded part as the original. the only difference would be a looser fit for the 1/2" in the "barrel" of the wishbone. or will it likely make noise? thanks

https://www.jaguarmerriamparts.com/parts/2001/Jaguar/XJ8/L/?siteid=215718&vehicleid=202494&diagram=4721455
.
Last edited by Carnival Kid; 01-22-2019 at 11:57 AM.
#7
i was also wondering for new lower shock bolts, is it ok to use 1/2" instead of m12? i have found 1/2" bolts the exact same length and with the same length of the smooth and threaded part as the original. the only difference would be a looser fit for the 1/2" in the "barrel" of the wishbone. or will it likely make noise? thanks
The following users liked this post:
Don B (01-23-2019)
Trending Topics
#8
hi, i was mistaken, it is actually n m14 bolt that is original. i tried fitting the 1/2" bolt, but it is way too loose, so i will get the oem ones. i was able to get the old bolt out by drilling. thank you all for your help. ive ordered now new pigtail spring seats as they appear to be slightly ripped on the edges. once i get those i will start the reassembly.
The following users liked this post:
Don B (01-23-2019)
#10
#11
The following users liked this post:
Don B (01-23-2019)
#12
Join Date: Feb 2014
Location: Crossroads of America
Posts: 19,389
Received 12,734 Likes
on
6,378 Posts
You can usually reuse those thin rubber spring seats even if they're torn a bit. I wash them in dish soap and water, dry them, then apply a good rubber protectant. Also, although it is counter-intuitive, I find it easier to install them after I've positioned the shock/spring assembly in place, but before I've bolted anything together. Push the shock up a bit so you can stick a screwdriver through its bolt hole to hold its bottom end flush with the bottom of the spring, then lift the shock/spring assembly and work the thin rubber seat into position. Every time I've tried to install the rubber seat first, I knock it out of position while raising the shock/spring into position.
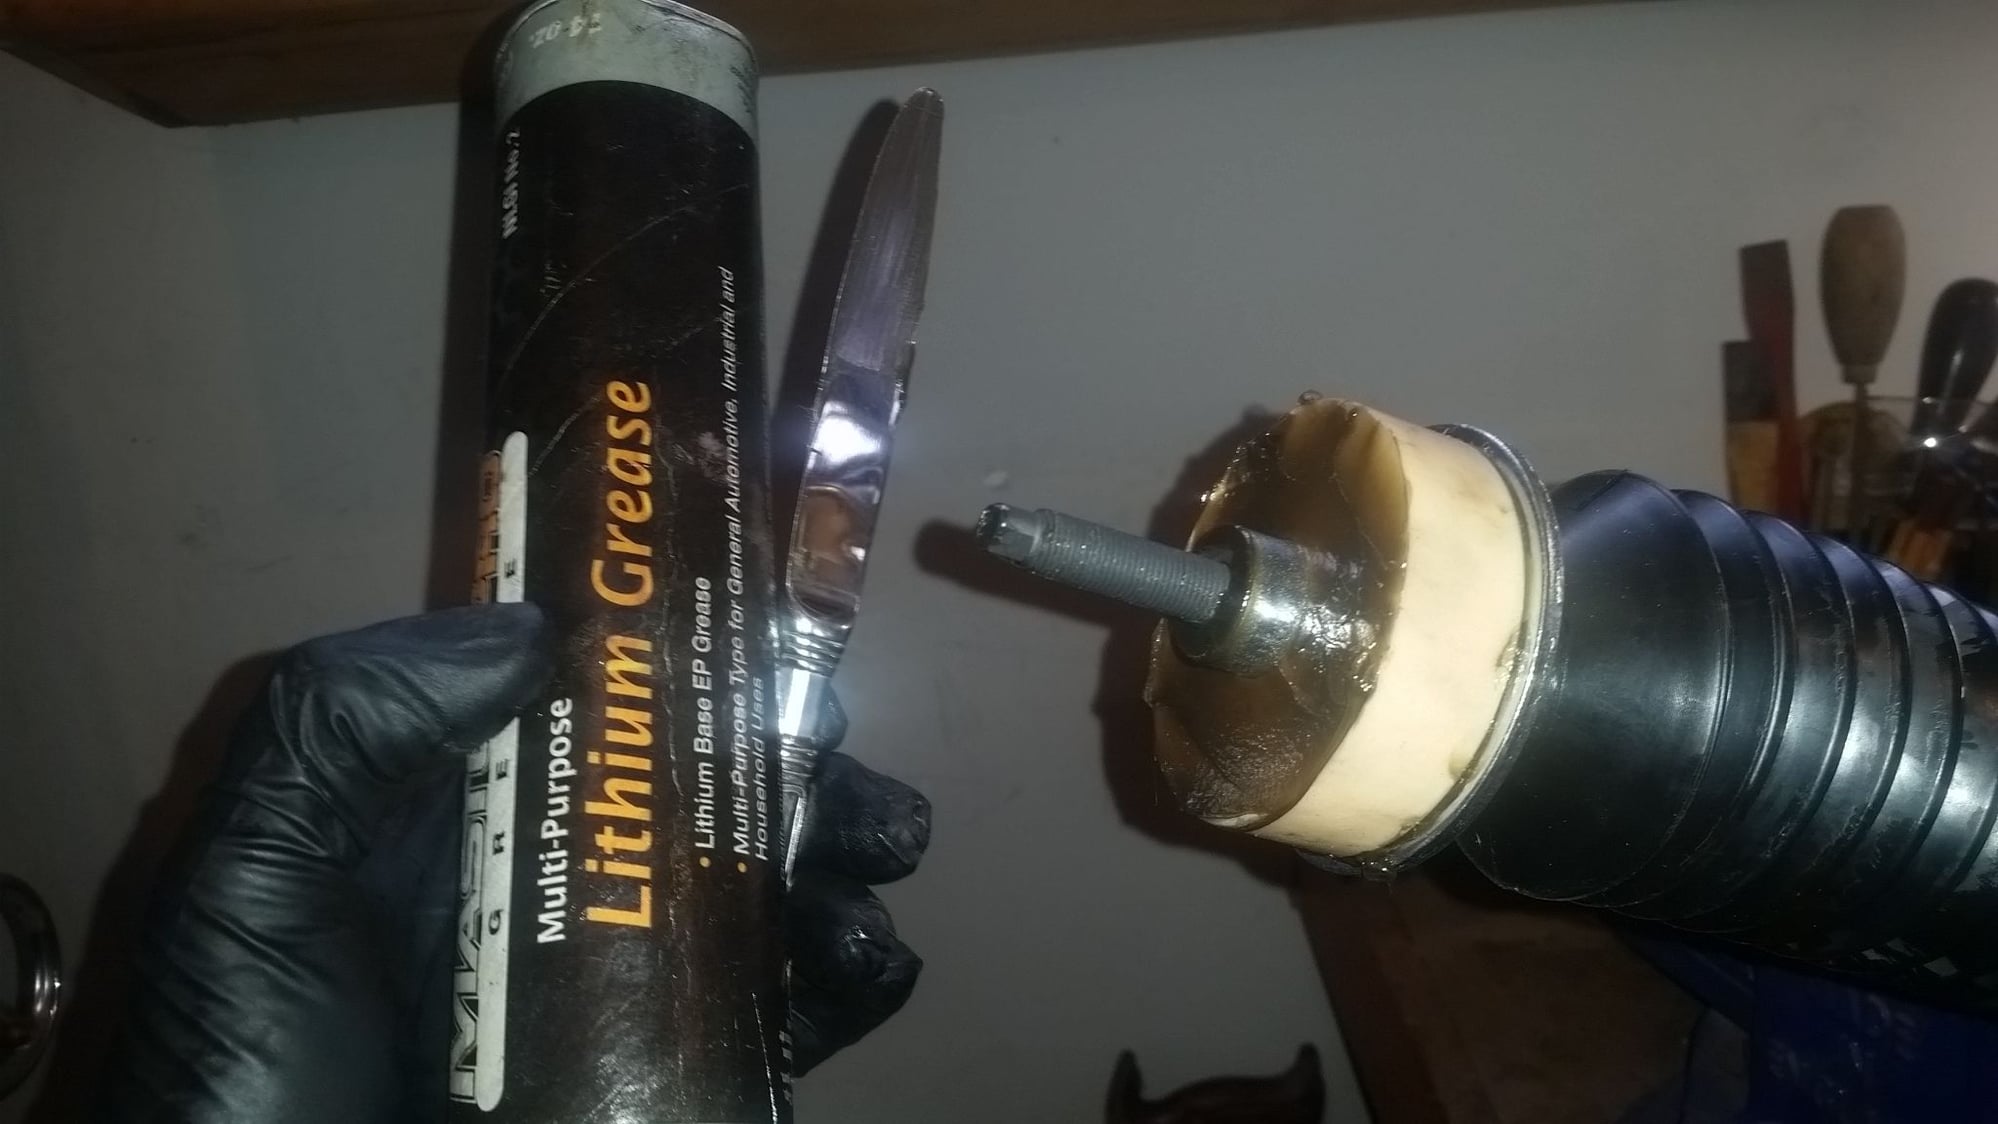
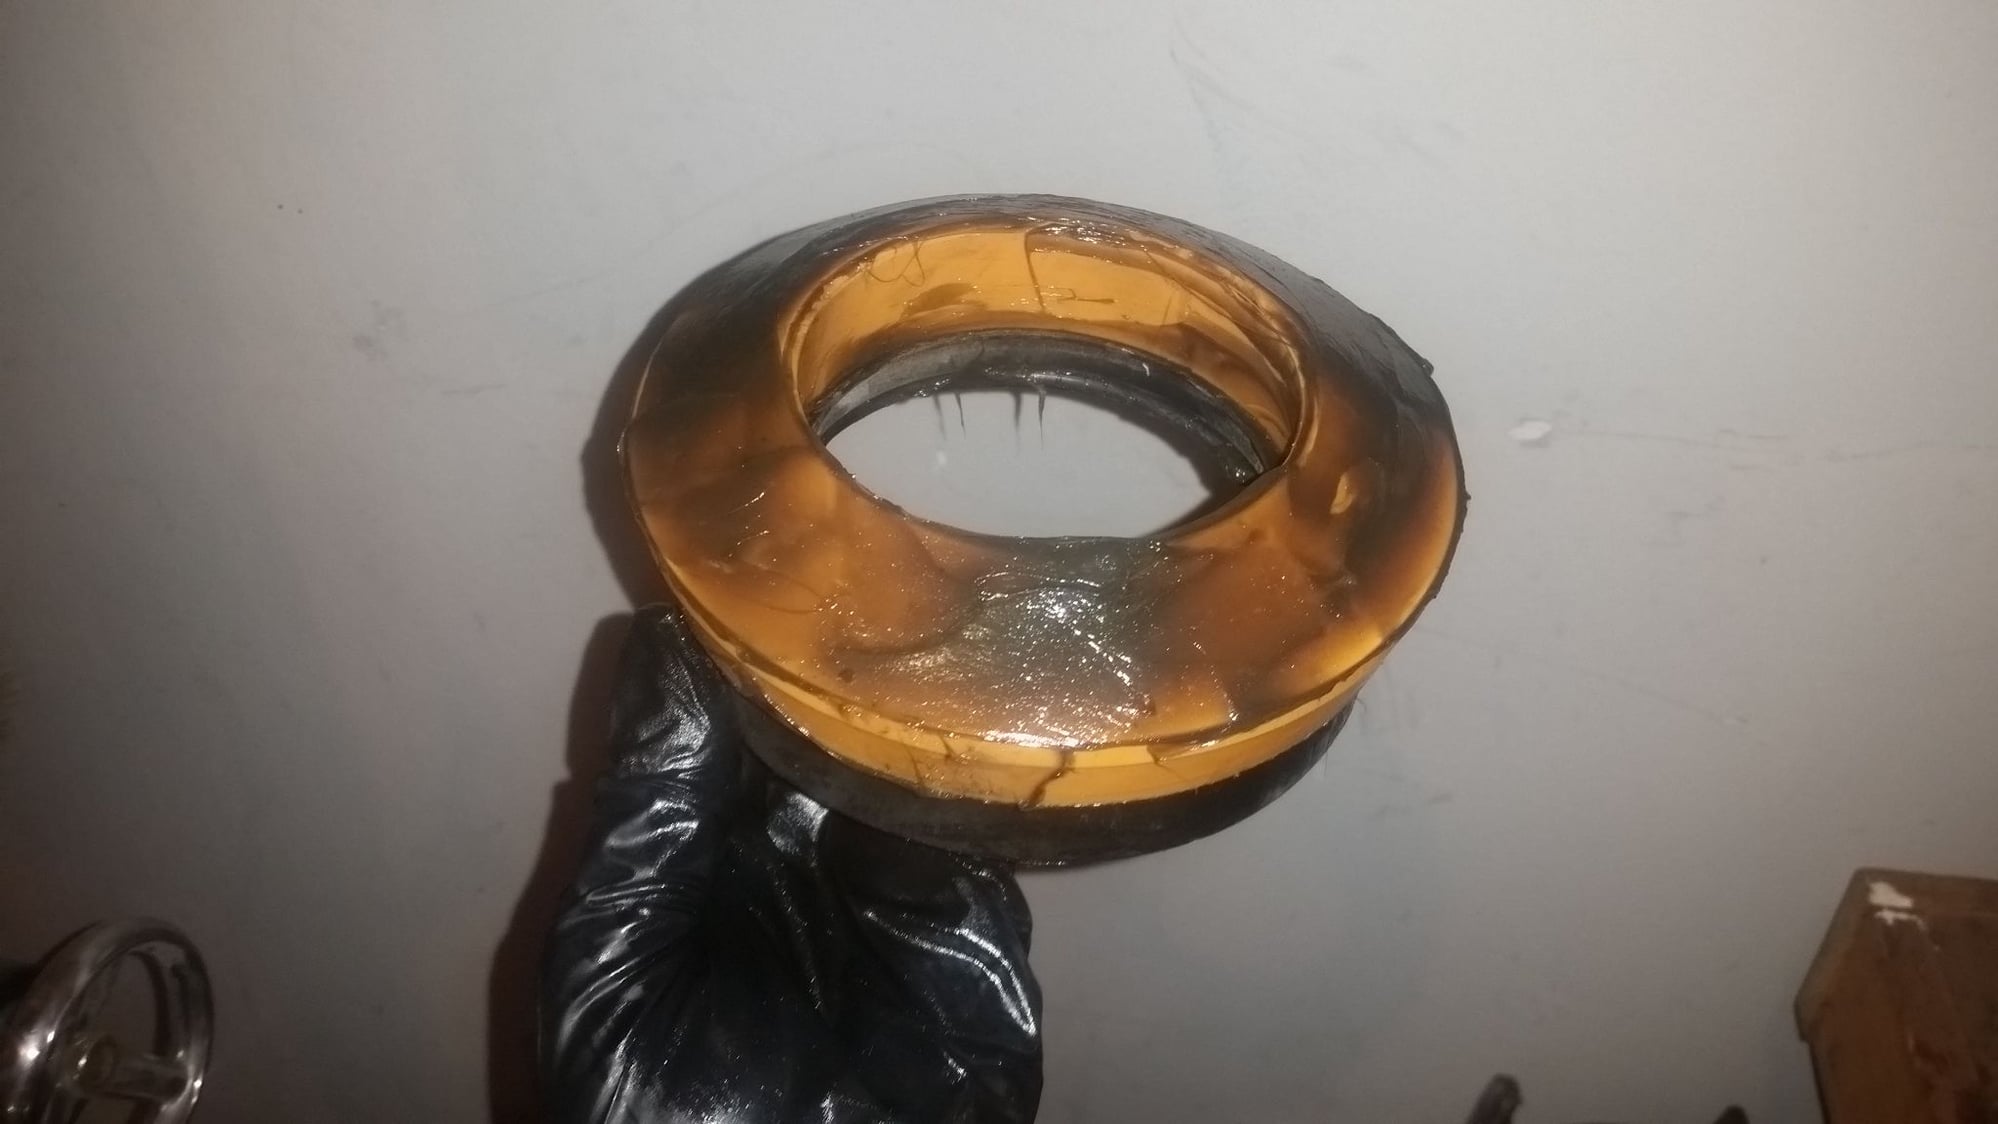
One other tip: before you assemble the shocks with the new bushings, apply heavy lithium grease to all the mating surfaces of all the bushings, including the two cylindrical bushes on the shock shaft (above and below the upper mounting plate), and the large spring isolator "donut" bushing. You can assemble it dry and may get away with it, but too often you'll have a dry squeak once you start driving the car. The lithium grease prevents the dry squeaks and will not harm the rubber bushings like petroleum-based grease would.
Also, note that the torque spec for the nuts that secure the upper mounting plate to the studs in the wheel well is relatively low (16-20 ft. lbs. if I recall correctly), so don't overtighten the nuts and strip or break a stud.
Also, while you have the subframe off, check the large subframe bushings for signs of deterioration, and also check your flexible coupling where the driveshaft meets the differential. This is a great time to replace those items if they are cracked or deteriorated.
Cheers,
Don
#13
hi, we have only removed 6 of the 8 a frame bolts. the front-most 2 (closest to transmission) are spinning in their nuts that are welded to the car. they took a lot of force to unseize as they were rusty, but ive spinned them already 4-5 circles and they seem to be at the same height still. im not sure if the nuts are damaged, or wrong screws were used, or some prior mechanic cross threaded them. ive been able to take the shocks out with the amount of room i have. do you think i should try and deal with those 2 bolts? im afraid if i manage to take them out, that maybe the nuts are damaged and i wont be able to put the bolts back.
thanks
thanks
#14
#15
Join Date: Feb 2013
Location: Trying to escape Central Florida
Posts: 4,636
Received 1,769 Likes
on
1,303 Posts
White lithium spray is primarily used on internal parts or none directly exposed areas and will wear away somewhat quickly when exposed. I would use the wheel bearing grease instead if that's what you have.
#16
hi would the wheel bearing grease damage the foam isolator? or damage the rubber of the bushings? or would it be ok? thanks
#17
Join Date: Feb 2014
Location: Crossroads of America
Posts: 19,389
Received 12,734 Likes
on
6,378 Posts
Here's how I grease the bushings using a butter knife:


Cheers,
Don
Last edited by Don B; 01-24-2019 at 09:48 PM.
The following 2 users liked this post by Don B:
Carnival Kid (01-24-2019),
Highhorse (01-24-2019)
#18
Join Date: Feb 2013
Location: Trying to escape Central Florida
Posts: 4,636
Received 1,769 Likes
on
1,303 Posts
#19
Join Date: Feb 2014
Location: Crossroads of America
Posts: 19,389
Received 12,734 Likes
on
6,378 Posts
hi, we have only removed 6 of the 8 a frame bolts. the front-most 2 (closest to transmission) are spinning in their nuts that are welded to the car. they took a lot of force to unseize as they were rusty, but ive spinned them already 4-5 circles and they seem to be at the same height still. im not sure if the nuts are damaged, or wrong screws were used, or some prior mechanic cross threaded them.

Cheers,
Don
Last edited by Don B; 01-25-2019 at 12:43 PM.
The following users liked this post:
Highhorse (01-24-2019)
#20
thank you for the pictures. for any one who has the same problem as me getting the lower shock bolt out, the bolt only needs to be drilled half an inch or so from each side. the wishbone holds it only at the very beginning of where it enters the wishbone, and at the end. so what we did was we heated it up, then started drilling holes from the side facing the rear of the car, until we were almost the entire diameter of the bolt. we then went to the other side where it went into the shock before, and started drilling from there, and then we hammered it out.
it seems like the old upper bushings werent bad, and the donut wasnt bad either. it was the lower shock bushing making noise, and the shock itself was easily compressible with 1 hand. on the new shock i was barely able to make it move down using 2 hands and going very slowly.
it seems like the old upper bushings werent bad, and the donut wasnt bad either. it was the lower shock bushing making noise, and the shock itself was easily compressible with 1 hand. on the new shock i was barely able to make it move down using 2 hands and going very slowly.
Thread
Thread Starter
Forum
Replies
Last Post
jazzwineman
S-Type / S type R Supercharged V8 ( X200 )
27
01-01-2019 06:06 PM
ixj8it
XJ XJ8 / XJR ( X308 )
6
04-23-2012 05:32 PM
Currently Active Users Viewing This Thread: 1 (0 members and 1 guests)


